
1. Product Overview
The MEETION Wireless Keyboard and Mouse Combo provides a full-sized keyboard with a wrist rest and a 3-DPI adjustable mouse, offering a reliable 2.4G wireless connection for various computing needs.
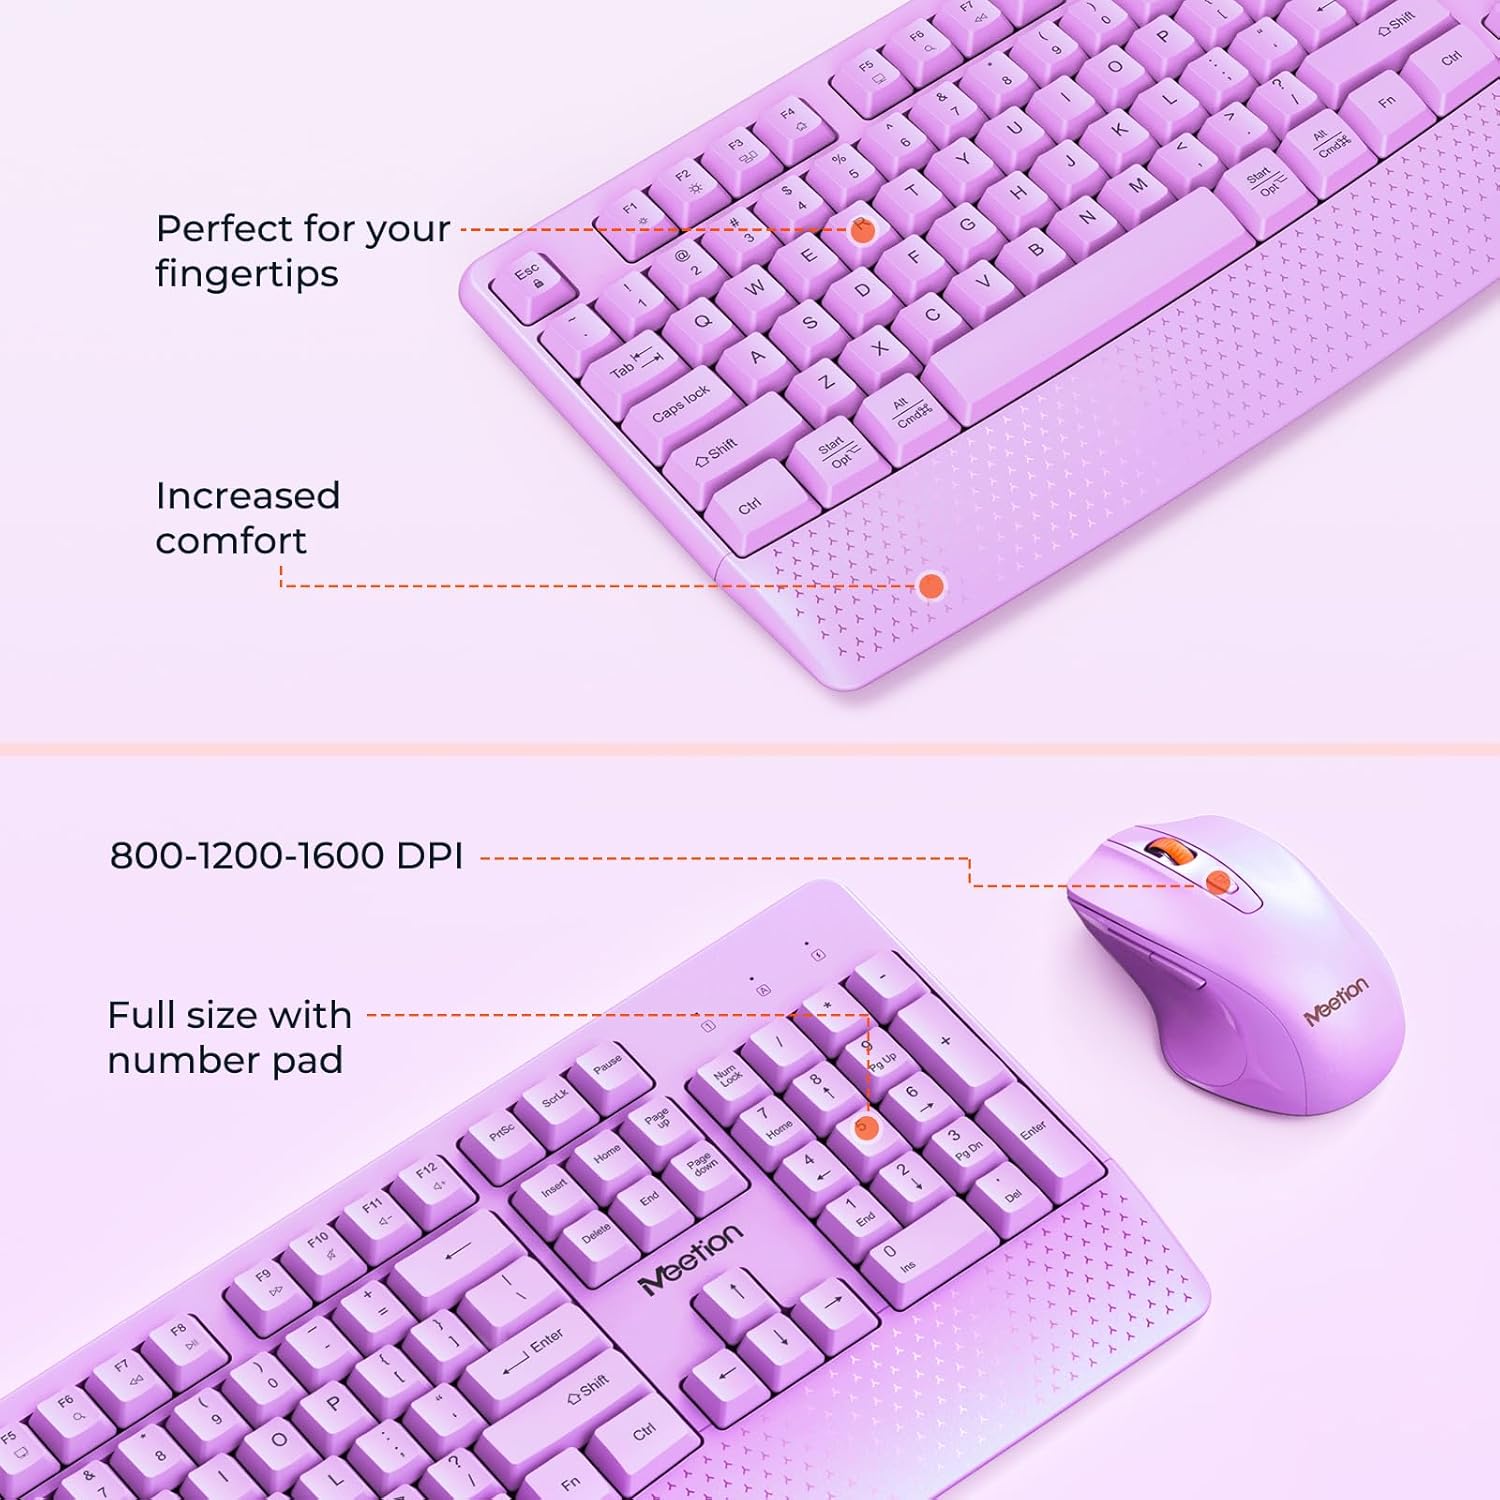
Image: The keyboard features a full-size layout with a number pad and an integrated wrist rest for comfort. The mouse offers adjustable DPI settings.

Image: An overview of the keyboard and mouse, highlighting various function keys on the keyboard and the buttons and features of the mouse.
2. Setup Instructions
2.1. Battery Installation
The keyboard requires two AA batteries, and the mouse requires one AA battery. Batteries are not included.
- Locate the battery compartment on the underside of the keyboard and mouse.
- Open the battery covers.
- Insert the batteries, ensuring correct polarity (+/-).
- Close the battery covers securely.

Image: This image illustrates the battery compartments for both the keyboard (requiring 2 AA batteries) and the mouse (requiring 1 AA battery).
2.2. Connecting the Wireless Receiver
The keyboard and mouse share a single 2.4G USB Nano Receiver.
- Locate the USB Nano Receiver, typically stored in the mouse's battery compartment or packaging.
- Plug the USB Nano Receiver into an available USB-A port on your computer.
- If your device only has USB-C ports, use the provided USB-C adapter. First, plug the USB Nano Receiver into the USB-C adapter, then plug the adapter into your device's USB-C port.
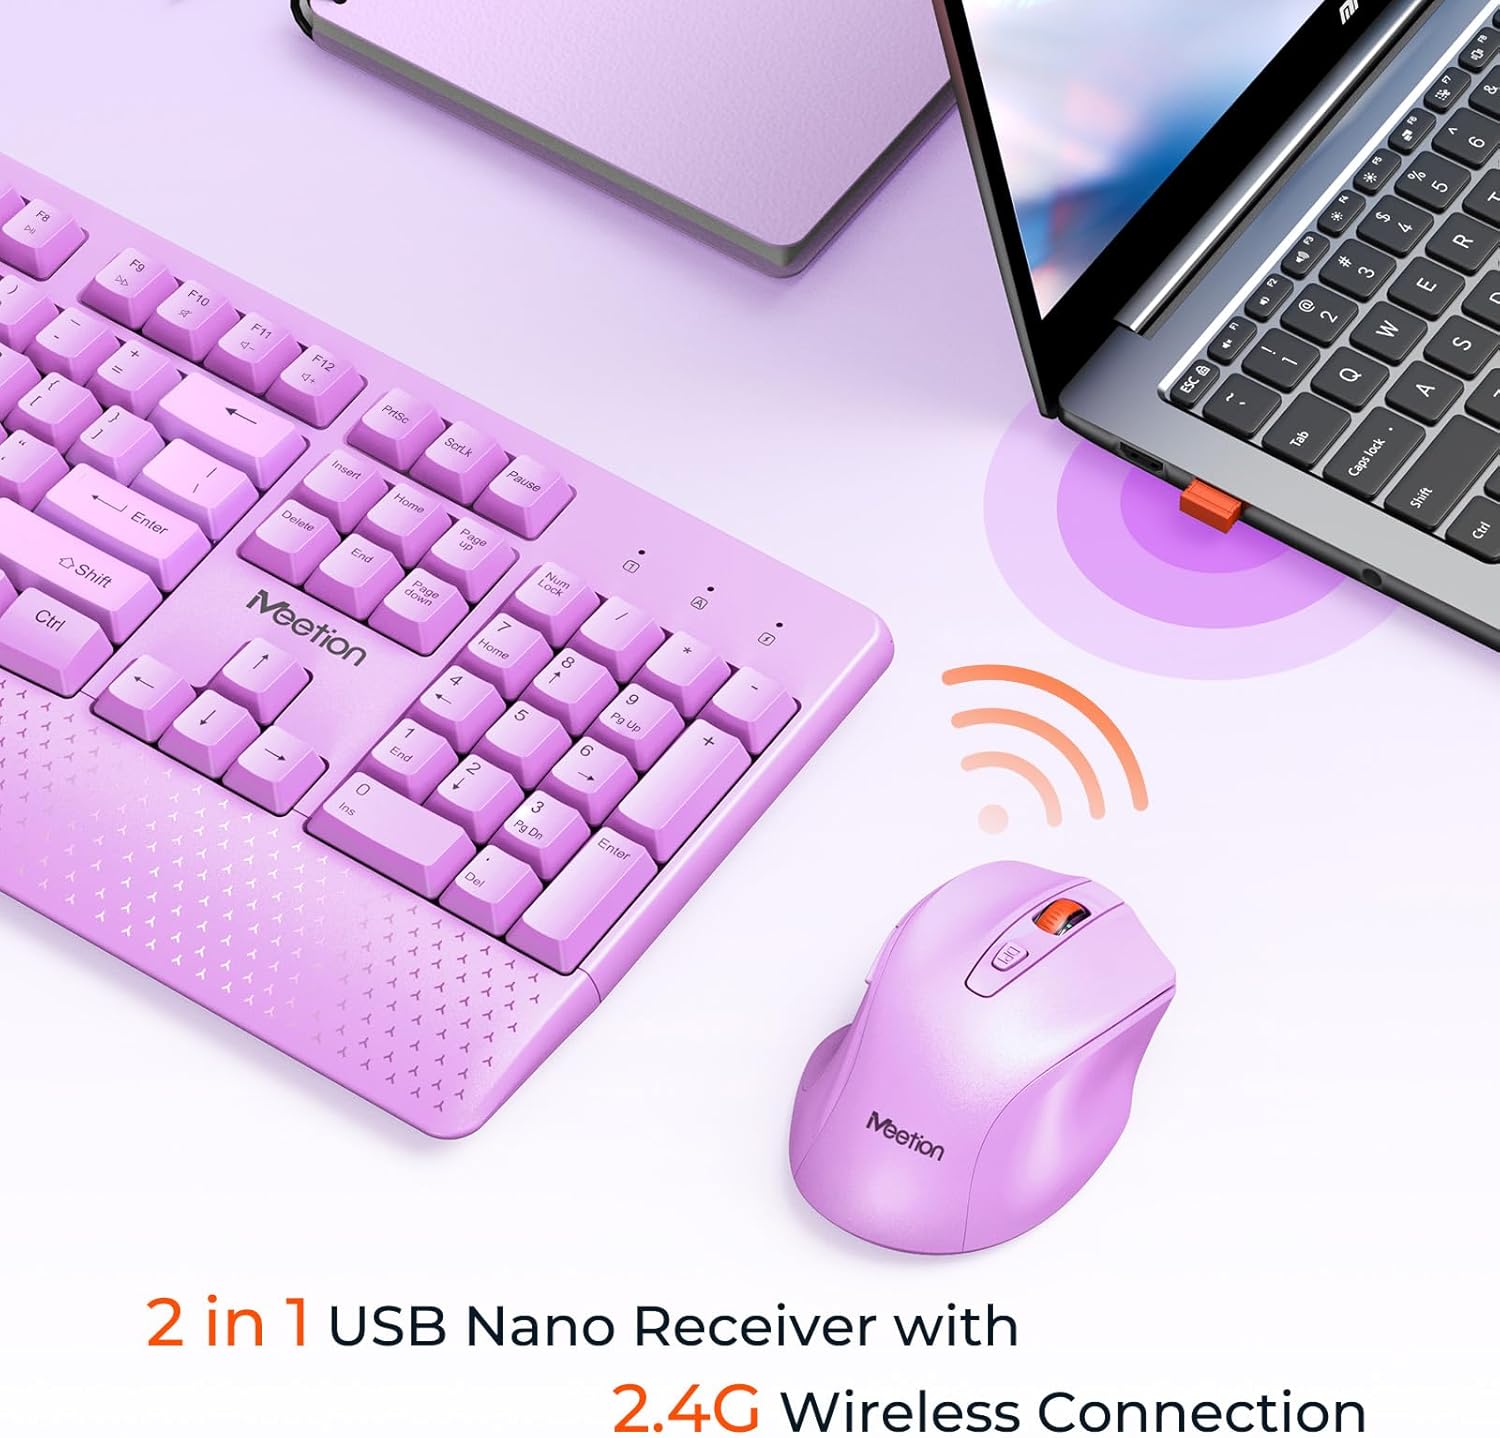
Image: The keyboard and mouse wirelessly connect to a laptop via a 2.4G USB Nano Receiver, shown plugged into a USB port.
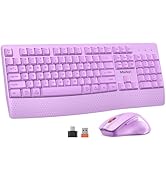
Image: A diagram demonstrating how to use the USB-C adapter: the USB receiver plugs into the adapter, which then plugs into a Type-C port on a computer.
2.3. Powering On
- For the mouse, slide the ON/OFF switch located on its underside to the 'ON' position.
- The keyboard does not have a separate power switch; it activates automatically upon successful connection and battery insertion.
3. Operating Instructions
3.1. Keyboard Usage
- Full-Size Layout: The keyboard features a standard full-size layout, including a numeric keypad for efficient data entry.
- Integrated Wrist Rest: The ergonomic wrist rest is designed to provide comfort and reduce strain during extended typing sessions.
- Adjustable Tilt: Flip out the kickstands on the underside of the keyboard to adjust the typing angle for improved comfort.
- Function Keys: Utilize the Fn (Function) key in combination with F1-F12 keys for multimedia controls and other shortcuts. Refer to the keyboard layout for specific functions.
Image: A close-up of the keyboard's side profile, illustrating the adjustable 8-degree tilt angle provided by the kickstands for ergonomic typing.
3.2. Mouse Usage
- Ergonomic Design: The mouse is shaped to fit comfortably in your hand, promoting natural wrist and arm posture.
- Adjustable DPI: Cycle through DPI settings (800, 1200, 1600) by pressing the DPI button located behind the scroll wheel. This allows you to adjust cursor sensitivity to your preference.
- Silent Clicks: The mouse features silent click buttons for a quiet working environment.
- Side Buttons: Use the side buttons for forward and backward navigation in web browsers and other applications.

Image: A detailed diagram of the mouse, labeling its components including the Left Button, Right Button, Scroll Wheel, DPI Button, Forward/Backward buttons, ON/OFF switch, Optical sensor, Battery Cover, Anti-Slip Pads, and USB Nano Receiver storage slot.
Image: An illustration demonstrating the adjustable DPI settings of the mouse, showing options for 800, 1200, and 1600 DPI.
4. Maintenance
4.1. Cleaning
- To clean the keyboard and mouse, power them off and remove batteries if possible.
- Use a soft, damp cloth to wipe surfaces. Avoid harsh chemicals or abrasive materials.
- For keyboard keys, use compressed air to remove dust and debris.
4.2. Battery Replacement
Replace batteries when performance degrades or the low battery indicator (if present) illuminates. Follow the battery installation steps in Section 2.1.
5. Troubleshooting
- No Connection: Ensure batteries are correctly installed and charged. Verify the USB Nano Receiver is securely plugged into a working USB port. If using a USB-C adapter, ensure it is properly connected.
- Mouse Not Responding: Check the mouse's ON/OFF switch. If the mouse enters sleep mode after inactivity, click any button to wake it up.
- Lag or Intermittent Connection: Move the keyboard and mouse closer to the USB Nano Receiver. Avoid placing the receiver near other wireless devices or large metal objects that may cause interference.
- DPI Adjustment Not Working: Press the DPI button on the mouse to cycle through the available sensitivity settings (800/1200/1600 DPI).
6. Specifications
| Feature | Detail |
|---|---|
| Brand | MEETION |
| Model (Keyboard) | MT-CA330 |
| Model (Mouse) | MT-CA130 |
| Connectivity Technology | 2.4G Wireless, USB |
| Keyboard Special Feature | Wrist Rest |
| Mouse DPI Settings | 800-1200-1600 |
| Keyboard Batteries | 2 AA batteries (not included) |
| Mouse Batteries | 1 AA battery (not included) |
| Compatible Devices | PC, Computer, Laptop, Windows, Mac, Gaming Console |
| Package Dimensions | 17.56 x 10.75 x 1.89 inches |
| Item Weight | 1.98 pounds |
7. Warranty and Support
For warranty information and technical support, please refer to the documentation included with your product packaging or visit the official MEETION website. Keep your purchase receipt for warranty claims.

