
1. Introduction
Thank you for choosing the Polaroid PD-E73H Dash Cam. This device is designed to record your journeys in high definition, providing a reliable eyewitness on the road. It captures incidents in crisp, clear detail, which can be valuable for insurance claims and legal disputes. This manual provides essential information for the proper installation, operation, and maintenance of your dash cam.
2. Product Overview
The Polaroid PD-E73H Dash Cam features a compact design with a 2.0-inch color LED display and a 120-degree wide-angle lens to cover the entire road. It includes various ports and control buttons for easy operation.

Figure 2.1: Front View of the PD-E73H Dash Cam. This image shows the front of the dash cam, highlighting the main lens and the overall compact form factor.
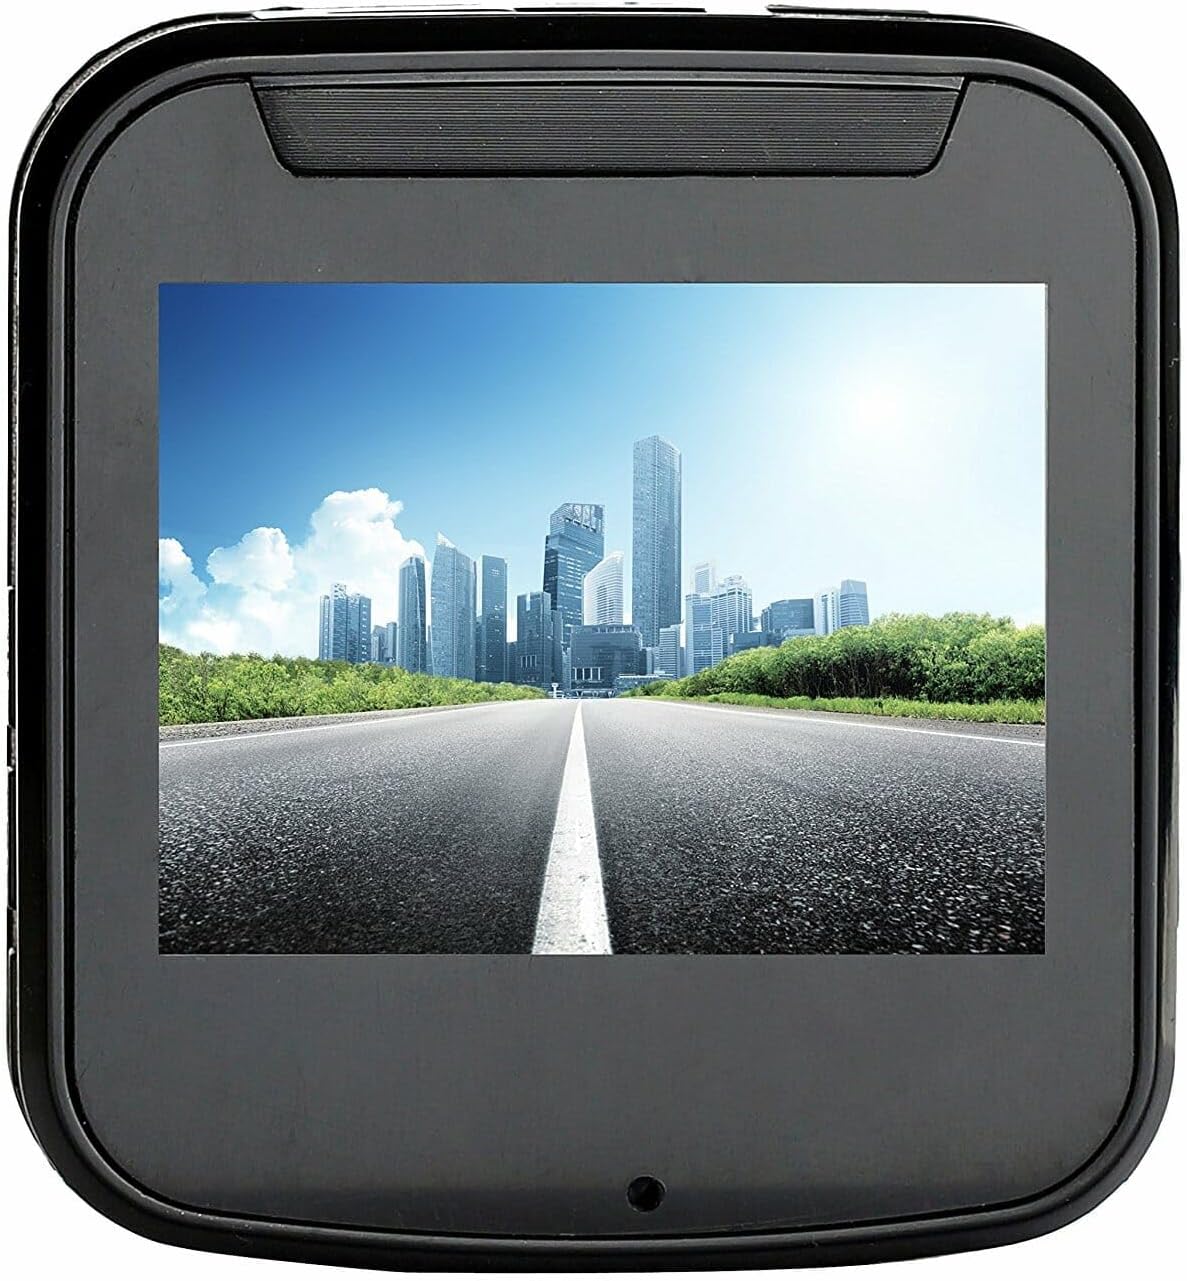
Figure 2.2: Side View of the PD-E73H Dash Cam. This image displays the side of the dash cam, illustrating the AV/OUT port, Menu button, and Mode button for device control.
Key Components:
- Main Lens: Captures video footage.
- 2.0" TFT LED Display: For menu navigation and video playback.
- Control Buttons: Typically include Menu, Mode, and navigation buttons (refer to Figure 2.2).
- Micro USB Port: For power supply and data transfer.
- Micro SD Card Slot: For media storage (card not included).
- AV/OUT Port: For video output.
- Built-in Microphone: For audio recording (can be turned off).
3. Setup
3.1 Inserting the Micro SD Card
- Ensure the dash cam is powered off.
- Locate the Micro SD card slot on the device.
- Insert a Micro SD card (up to 32GB, Class 10 or higher recommended) into the slot until it clicks into place. Ensure the card is inserted with the correct orientation.
- To remove, gently push the card in until it clicks, then release, and it will spring out.
Note: A Micro SD card is not included with the dash cam. It is essential for recording. Format the card in the dash cam's settings before first use.
3.2 Mounting the Dash Cam
- Clean the area on your windshield where you intend to mount the dash cam.
- Attach the mounting bracket to the dash cam.
- Securely attach the dash cam with its bracket to the windshield, ensuring it does not obstruct your view. Position it centrally for optimal road coverage.
- Adjust the lens angle to ensure it captures the road ahead clearly.
3.3 Power Connection
- Connect the provided power cable to the Micro USB port on the dash cam.
- Plug the other end of the power cable into your vehicle's 12V power outlet (cigarette lighter socket).
- The dash cam will typically power on automatically when the vehicle's ignition is turned on and begin recording. It will power off when the ignition is turned off.
4. Operating Instructions
4.1 Basic Recording
- Automatic Recording: Once powered on, the dash cam will automatically start continuous loop recording. Video clips are saved to the Micro SD card.
- Loop Recording: When the Micro SD card is full, the dash cam will automatically overwrite the oldest unlocked video files to make space for new recordings.
- Video Clip Length: You can set the duration of video clips (e.g., 1, 3, or 5 minutes) in the settings menu.
4.2 G-Sensor (Emergency Recording)
The built-in 3-axis G-sensor automatically detects sudden impacts or collisions. When an event is detected, the current video file is automatically locked and protected from being overwritten by loop recording. These files are crucial for accident evidence.
4.3 Parking Guard Mode
The parking guard mode provides impact monitoring when your vehicle's ignition is off. If an impact is detected while parked, the dash cam will automatically power on and record a short video clip, then power off. This feature helps protect your vehicle from hit-and-run incidents.
4.4 Audio Recording
The dash cam has an option for audio recording. You can enable or disable this feature through the device's menu settings according to your preference.
4.5 Driving Fatigue Alert
This feature monitors your driving duration and provides a warning to ensure you do not drive for excessively long periods without a break, promoting safer driving habits.
4.6 Menu Navigation and Playback
- Accessing Menu: Press the 'Menu' button to access settings such as resolution, loop recording duration, G-sensor sensitivity, date/time, and audio recording options.
- Mode Button: Use the 'Mode' button to switch between video recording, photo mode, and playback mode.
- Video Playback: In playback mode, use the navigation buttons to browse through recorded files. Select a file and press 'OK' (or equivalent) to view it on the 2.0" LED screen.
5. Features
The Polaroid PD-E73H Dash Cam is equipped with several features to enhance your driving safety and recording experience:
- Full HD 1080p Recording: Captures video in high definition for clear incident details.
- 2.0" Color LED Display: Provides easy access to menus and video playback.
- 120-Degree Wide-Angle Lens: Offers a broad view of the road, covering multiple lanes.
- Loop Recording: Ensures continuous recording by overwriting the oldest unlocked files.
- G-Sensor: Automatically detects collisions and protects relevant video files.
- Parking Guard: Monitors impacts when the vehicle is parked and ignition is off.
- Driving Fatigue Alert: Warns drivers about prolonged driving periods.
- Motion Sensor: Can detect movement and initiate recording (check settings for activation).
- Date and Time Stamp: Records are dated and timed for accurate event logging.
- Micro USB 2.0 Interface: For power and data connectivity.
- Built-in Li-polymer Rechargeable Battery: Provides power for parking guard mode and short-term operation.
6. Maintenance
6.1 Cleaning the Device
- Use a soft, dry cloth to clean the dash cam body.
- For the lens and screen, use a specialized lens cleaning cloth to avoid scratches. Do not use abrasive cleaners or solvents.
6.2 Micro SD Card Management
- Regularly format your Micro SD card (e.g., once a month) through the dash cam's menu to ensure optimal performance and prevent data corruption.
- Replace the Micro SD card if you notice frequent errors or reduced performance.
6.3 Battery Care
- Avoid exposing the dash cam to extreme temperatures, which can affect battery life.
- Ensure the dash cam is regularly powered via the car charger to maintain the built-in battery's charge.
7. Troubleshooting
If you encounter issues with your Polaroid PD-E73H Dash Cam, refer to the following common problems and solutions:
- Dash Cam does not power on:
- Ensure the power cable is securely connected to both the dash cam and the vehicle's power outlet.
- Check if the vehicle's power outlet is functioning.
- The built-in battery might be fully discharged; connect to power and wait a few minutes.
- Dash Cam stops recording or shows a card error:
- Ensure a compatible Micro SD card (Class 10, up to 32GB) is inserted correctly.
- Format the Micro SD card through the dash cam's settings menu.
- Try a different Micro SD card to rule out card malfunction.
- Video footage is blurry or unclear:
- Clean the dash cam lens and your windshield.
- Ensure the protective film has been removed from the lens.
- Check video resolution settings in the menu.
- G-sensor is too sensitive or not sensitive enough:
- Adjust the G-sensor sensitivity level in the dash cam's settings menu.
- Date and time are incorrect:
- Set the correct date and time in the dash cam's settings menu.
If these steps do not resolve the issue, please contact customer support.
8. Specifications
| Model Number | PD-E73H |
| LED Display | 2.0" TFT LED |
| Sensor | CMOS |
| Lens | F2.4 |
| Resolution | 1.3 MP |
| Wide Angle | 120 degrees |
| Movie Size | 1080p, 720p |
| File Format | JPEG, MJPEG |
| Media Storage | Micro SD card (up to 32GB, not included) |
| Interface | Micro USB to USB 2.0 |
| Power Supply | Built-in Li-polymer rechargeable battery |
| Product Dimensions (L x W) | 18.6L x 11.8W centimetres |
| Item Weight | 0.31 Kilograms |
9. Warranty and Support
For warranty information, please refer to the documentation provided at the time of purchase or contact your retailer. If you require technical support or have questions not covered in this manual, please visit the official Polaroid support website or contact their customer service department.
Please retain your proof of purchase for warranty claims.


