1. Introduction
This user manual provides detailed instructions for the AUSEK 5K Ultra HD Sports Action Camera. Please read this manual thoroughly before using the camera to ensure proper operation and to maximize its capabilities. This camera is designed for capturing high-quality videos and photos in various environments, including underwater, thanks to its robust features and included accessories.
Key Features:
- 5K Video Resolution: Records stunning 5K video at 30 frames per second.
- 48MP Photo Resolution: Captures high-resolution still images.
- Dual Touch Screens: Features a 2.0-inch rear touch screen and a 1.4-inch front screen for easy framing and control.
- 170° Wide-Angle Lens: Provides an expansive field of view for capturing more of the scene.
- EIS Stabilization: Electronic Image Stabilization ensures smooth and steady footage.
- 30M Waterproof: Submersible up to 30 meters with the included waterproof case.
- Wi-Fi Connectivity: Connects to a mobile app for remote control and file transfer.
- Remote Control: Includes a 2.4G wireless remote for convenient operation.
- 2 x 1350mAh Batteries: Provides extended recording time.
2. What's in the Box
Please check the contents of your package to ensure all items are present:
- AUSEK 5K Action Camera
- Waterproof Case
- Remote Control
- User Manual (this document)
- Various Mounting Accessories
- 2 x 1350mAh Rechargeable Batteries
- USB Charging Cable
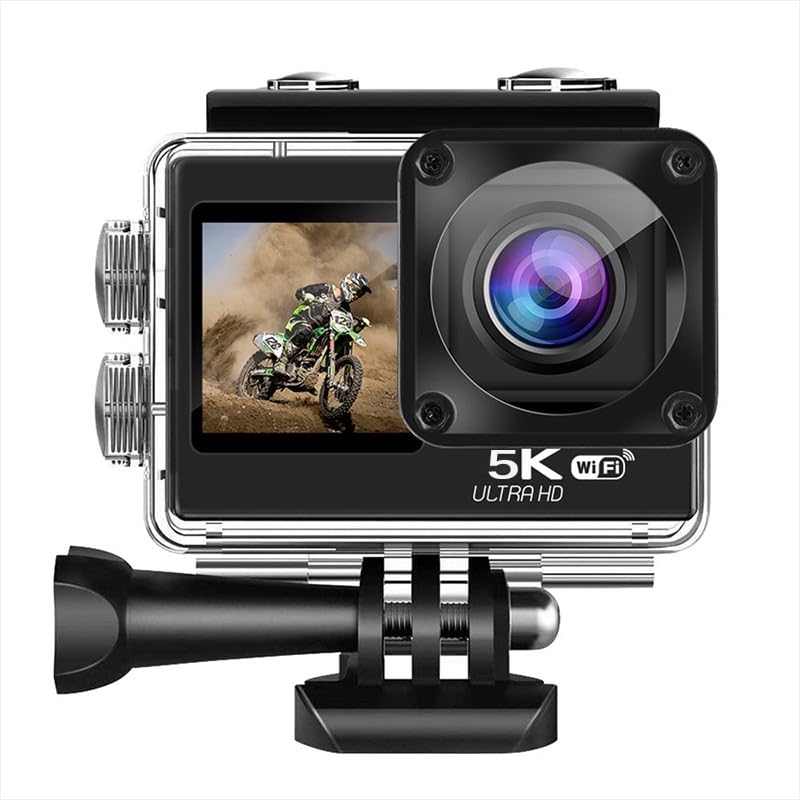
Image: The AUSEK 5K Action Camera with its waterproof case, remote control, and various mounting accessories.
3. Camera Components
Familiarize yourself with the camera's main parts and controls:
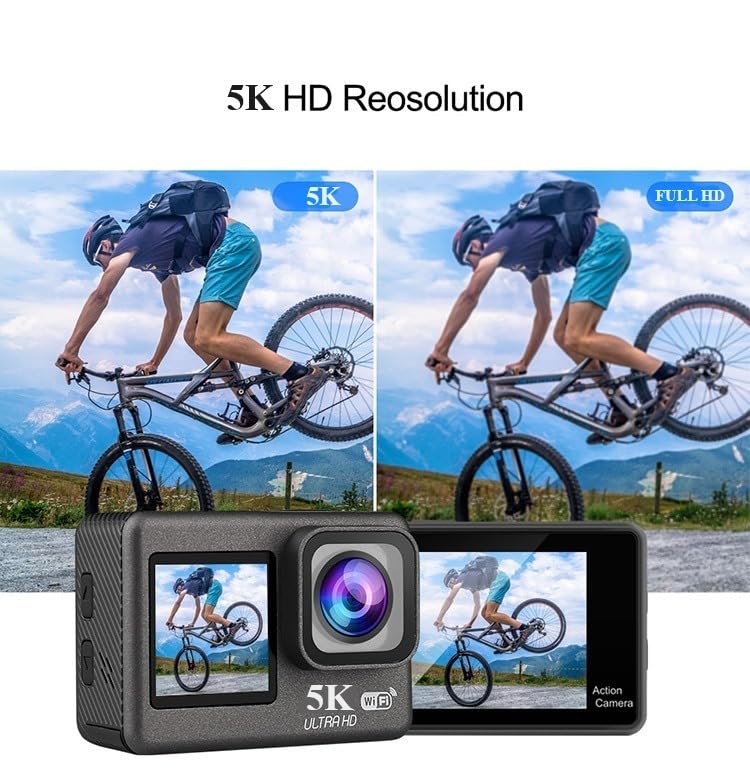
Image: Front view showing the lens and front screen, and rear view showing the main touch screen.
- Front Screen (1.4-inch): For selfie framing and quick status checks.
- Rear Touch Screen (2.0-inch): Main display for viewing, settings, and playback.
- Lens: 170° wide-angle lens for capturing expansive scenes.
- Power/Mode Button: Used to power the camera on/off and switch between modes.
- Shutter/OK Button: Used to start/stop recording, take photos, or confirm selections.
- Up/Down Buttons: For navigation in menus and digital zoom.
- Battery Compartment: Located at the bottom, holds the rechargeable battery.
- MicroSD Card Slot: For inserting the memory card.
- USB Port: For charging and data transfer.
- HDMI Port: For connecting to an external display.
- Microphone: Built-in for audio recording.
4. Setup
4.1. Battery Installation
- Open the battery compartment cover located at the bottom of the camera.
- Insert one of the provided 1350mAh batteries, ensuring the correct orientation according to the diagram inside the compartment.
- Close the battery compartment cover securely.
- To charge, connect the camera to a USB power source using the provided USB cable. The charging indicator will illuminate.
4.2. MicroSD Card Installation
A high-speed (Class 10 or higher, U3 recommended) MicroSD card up to 256GB is required (not included).
- Locate the MicroSD card slot on the side of the camera.
- Insert the MicroSD card with the gold contacts facing the back of the camera until it clicks into place.
- To remove, gently push the card in until it clicks, then release to eject.
4.3. Using the Waterproof Case
The included waterproof case allows the camera to be used underwater up to 30 meters (98 feet).
- Ensure the camera is clean and dry before placing it inside the waterproof case.
- Open the latch on the top of the waterproof case and gently insert the camera.
- Close the latch firmly to ensure a watertight seal.
- Before first use, it is recommended to test the waterproof case without the camera inside to ensure no leaks.

Image: An illustration demonstrating the camera's waterproof capability up to 30 meters when enclosed in its protective case.
5. Operating the Camera
5.1. Power On/Off
- Power On: Press and hold the Power/Mode button for a few seconds until the screen illuminates.
- Power Off: Press and hold the Power/Mode button for a few seconds until the screen turns off.
5.2. Mode Switching
Press the Power/Mode button repeatedly to cycle through the different modes: Video Recording, Photo, and Playback.
5.3. Recording Video
- Ensure the camera is in Video Recording mode.
- Press the Shutter/OK button to start recording. A red indicator light will flash, and a recording icon will appear on the screen.
- Press the Shutter/OK button again to stop recording. The indicator light will stop flashing.
5.4. Taking Photos
- Ensure the camera is in Photo mode.
- Frame your shot using the screen.
- Press the Shutter/OK button to take a photo.
5.5. Dual Touch Screens
The camera features a 2.0-inch rear touch screen for primary control and a 1.4-inch front screen for convenient selfie framing and quick status checks.
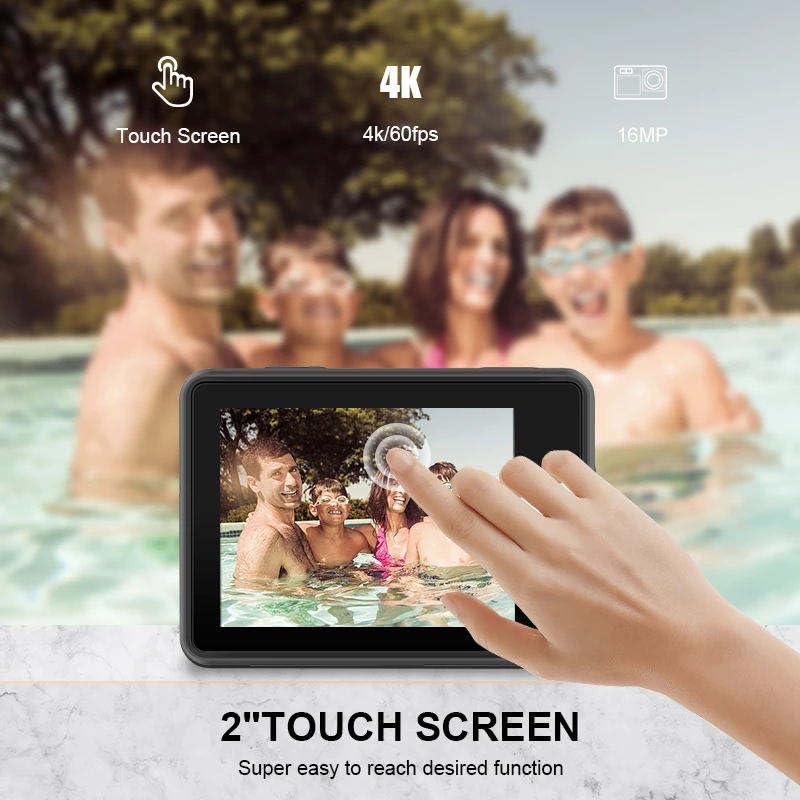
Image: A hand touching the camera's rear screen, demonstrating its touch functionality for easy navigation.
5.6. EIS Stabilization
Electronic Image Stabilization (EIS) helps to reduce blur and shake, resulting in smoother video footage, especially during active movements.

Image: A side-by-side comparison showing the difference between video captured without EIS (blurry) and with EIS (stable and clear).
5.7. Wi-Fi Connectivity & Mobile App Control
Connect your camera to a smartphone or tablet via Wi-Fi for remote control, live preview, and easy file transfer.
- Download the recommended mobile application (refer to the camera's on-screen instructions or user manual for app name) from your device's app store.
- On the camera, enable Wi-Fi from the settings menu. The camera's Wi-Fi name and password will be displayed.
- On your smartphone, go to Wi-Fi settings and connect to the camera's Wi-Fi network.
- Open the mobile app to control the camera remotely, view live footage, and download content.
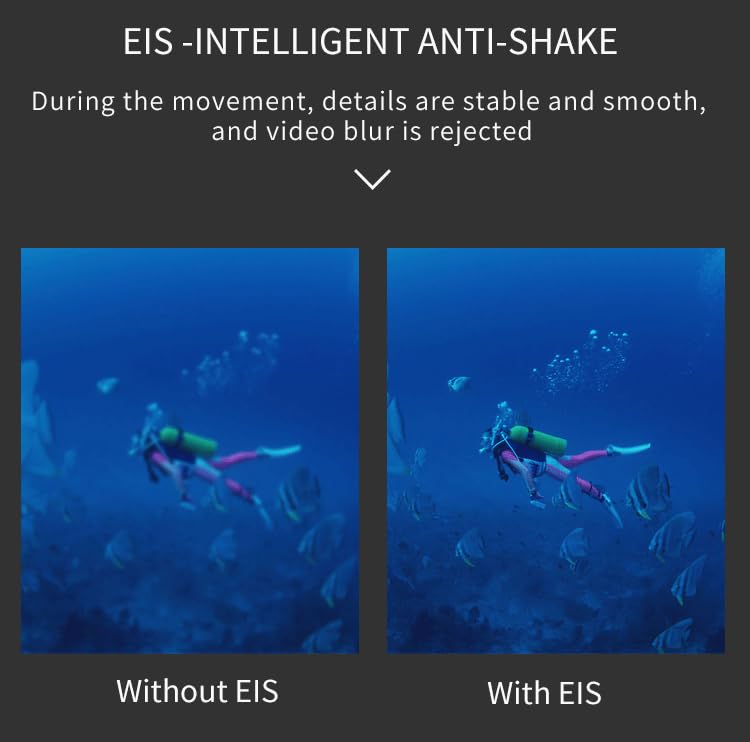
Image: A smartphone displaying a live feed from the action camera, illustrating the Wi-Fi connectivity and app control feature.
5.8. Remote Control
The included 2.4G wireless remote control allows for convenient operation from a distance of up to 10 meters.
- Video Button: Press to start/stop video recording.
- Photo Button: Press to take a still photo.

Image: The compact 2.4G wireless remote control, designed for easy operation of the action camera from a distance.
5.9. Wide Angle Lens
The 170-degree wide-angle lens captures a broader perspective, ideal for landscapes, group shots, and immersive action footage.
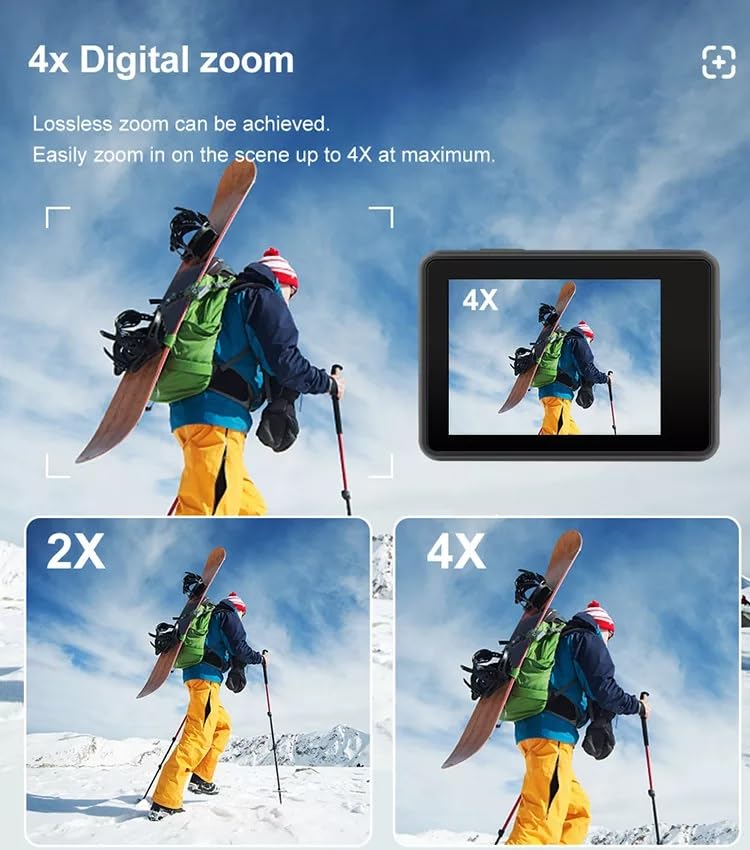
Image: A visual comparison demonstrating the expansive 170-degree field of view provided by the camera's wide-angle lens, showing significantly more of the scene than narrower lenses.
5.10. Digital Zoom
The camera supports up to 4x digital zoom, allowing you to magnify your subject. Note that digital zoom may reduce image quality compared to optical zoom.
Image: Multiple frames illustrating the effect of 2x and 4x digital zoom on a scene, showing how the subject is magnified on the camera screen.
6. Maintenance
6.1. Cleaning the Camera
- Use a soft, lint-free cloth to clean the camera lens and screens.
- For stubborn smudges, lightly dampen the cloth with water or a lens cleaning solution.
- Do not use harsh chemicals or abrasive materials.
6.2. Battery Care
- Store batteries in a cool, dry place when not in use.
- Avoid fully discharging batteries before recharging to prolong their lifespan.
- If storing for extended periods, charge batteries to approximately 50% capacity.
6.3. Storage
- Store the camera in a dry, dust-free environment.
- Remove the battery if the camera will not be used for an extended period.
7. Troubleshooting
| Problem | Possible Cause | Solution |
|---|---|---|
| Camera does not power on. | Low or dead battery; Battery inserted incorrectly. | Charge the battery; Reinsert battery correctly. |
| Cannot record video or take photos. | No MicroSD card; MicroSD card full or corrupted; Card speed too slow. | Insert a MicroSD card; Delete files or use a new card; Use a Class 10 or U3 rated card. |
| Poor video/photo quality. | Lens is dirty; Insufficient lighting; EIS not enabled. | Clean the lens; Ensure adequate lighting; Enable EIS in settings. |
| Wi-Fi connection issues. | Incorrect password; Too far from camera; App not updated. | Verify password; Move closer to camera; Update mobile app. |
| Remote control not working. | Remote battery low; Out of range; Not paired. | Replace remote battery; Operate within 10m; Refer to remote pairing instructions. |
8. Specifications
| Feature | Detail |
|---|---|
| Brand | AUSEK |
| Model Name | 5k Bike Camera |
| Video Resolution | 5K @ 30fps |
| Photo Resolution | 48MP |
| Dual Screens | 2.0-inch Rear Touch Screen, 1.4-inch Front Screen |
| Wide Angle Lens | 170° |
| Image Stabilization | Electronic Image Stabilization (EIS) |
| Waterproof Depth | Up to 30 meters (with waterproof case) |
| Storage | Micro SD card, up to 256GB (not included) |
| Battery Capacity | 2 x 1350mAh |
| Connectivity | Wi-Fi, HDMI, USB |
| Supported Audio Formats | AAC, MP3 |
| Video Capture Format | MP4, AVI |
| Digital Zoom | 4x |
9. Warranty and Support
9.1. Warranty Information
The AUSEK 5K Ultra HD Sports Action Camera comes with a 1 Year Warranty from the date of purchase. This warranty covers manufacturing defects and workmanship under normal use. It does not cover damage caused by misuse, accidents, unauthorized modifications, or natural disasters.
9.2. Customer Support
For any technical assistance, warranty claims, or product inquiries, please contact AUSEK customer support:
- Customer Support Phone: 08048977694
Please have your product model and purchase date ready when contacting support.
10. Official Product Videos
No official seller videos were found for this product in the provided data.


