
1. Introduction
Thank you for choosing the KGUSS Topping PA5 II Plus Power Amplifier. This compact desktop amplifier is designed to deliver high-fidelity audio with a fully balanced Class D amplifier circuit, ensuring clear sound and high output power. This manual provides essential information for the proper setup, operation, and maintenance of your amplifier.

Image: Front and rear view of the Topping PA5 II Plus Power Amplifier, highlighting its compact design and various input/output ports.
2. Package Contents
Please check that all the following items are included in your package:
- Topping PA5 II Plus Power Amplifier
- Power Adapter
- Power Cable
- Product Information Card
- Quick Start Guide

Image: Illustration of the amplifier, power adapter, power cable, product information card, and quick start guide included in the box.
3. Product Overview
3.1 Front Panel
The front panel features the main controls for the amplifier:
- Volume Knob: Analog potentiometer for precise volume control.
- Input Selector: Switch between balanced (BAL) and single-ended (SE) inputs.
- Trigger Switch: Controls the 12V trigger function (ON/OFF).

Image: Close-up of the amplifier's front panel, showing the volume knob, input selector switch, and trigger switch.
3.2 Rear Panel
The rear panel provides all necessary connection ports:
- TRS/RCA Inputs: For connecting audio sources. IN1 typically refers to RCA, IN2 to TRS.
- Speaker Terminals: For connecting passive speakers (R Out, L Out).
- 12V Trigger Input: For synchronized power control with other devices.
- DC 38V Power Input: For connecting the external power adapter.

Image: Detailed view of the amplifier's rear panel, showing TRS and RCA inputs, speaker output terminals, 12V trigger input, and DC power input.
4. Setup
Follow these steps to set up your PA5 II Plus amplifier:
- Placement: Place the amplifier on a stable, flat surface with adequate ventilation. Avoid placing it near heat sources or in direct sunlight.
- Connect Speakers: Connect your passive speakers to the speaker terminals on the rear panel. Ensure correct polarity (positive to positive, negative to negative) and that no bare speaker wire touches the metal enclosure to prevent short circuits.
- Connect Audio Source: Connect your audio source (e.g., DAC, preamplifier) to either the TRS (balanced) or RCA (single-ended) input ports on the rear panel.
- 12V Trigger (Optional): If using a 12V trigger-compatible device, connect a 12V trigger cable from your source device to the 12V Trigger input on the PA5 II Plus. Set the trigger switch on the front panel to ON.
- Connect Power: Connect the provided power adapter to the DC 38V input on the amplifier, then plug the power cable into a wall outlet.
- Initial Power On: Turn on the amplifier using the power switch.

Image: The power adapter and power cable supplied with the amplifier, essential for proper power connection.
5. Operation
Once set up, operating your PA5 II Plus is straightforward:
- Power On/Off: Use the main power switch to turn the unit on or off. If the 12V trigger is enabled, the amplifier will power on/off in sync with the connected source device.
- Select Input: Use the input selector switch on the front panel to choose between the balanced (TRS) or single-ended (RCA) input based on your connected audio source.
- Adjust Volume: Rotate the volume knob on the front panel to adjust the output volume to your speakers. Start with a low volume and gradually increase it to a comfortable listening level.
- Listening: Ensure your audio source is playing, and enjoy the high-quality sound from your PA5 II Plus amplifier.
6. Key Features
- Fully Balanced Structure: The PA5 II Plus utilizes a fully balanced design and an innovative Class D amplifier circuit for high power and low distortion, ensuring pure sound quality without hum, noise, or ground loops.
- Ultra-Low Distortion: Achieves THD+N as low as <0.0003% at 5W into an 8Ω load, providing an exceptionally clean audio signal.
- High Output Power: Delivers up to 140W x 2 into 4Ω (at 10% THD) or 125W x 2 into 4Ω (at 1% THD), sufficient for most speakers.
- Comprehensive Circuit Protection: Includes protection against overvoltage, undervoltage, short circuit, overcurrent, and overheating, ensuring safe and reliable operation.
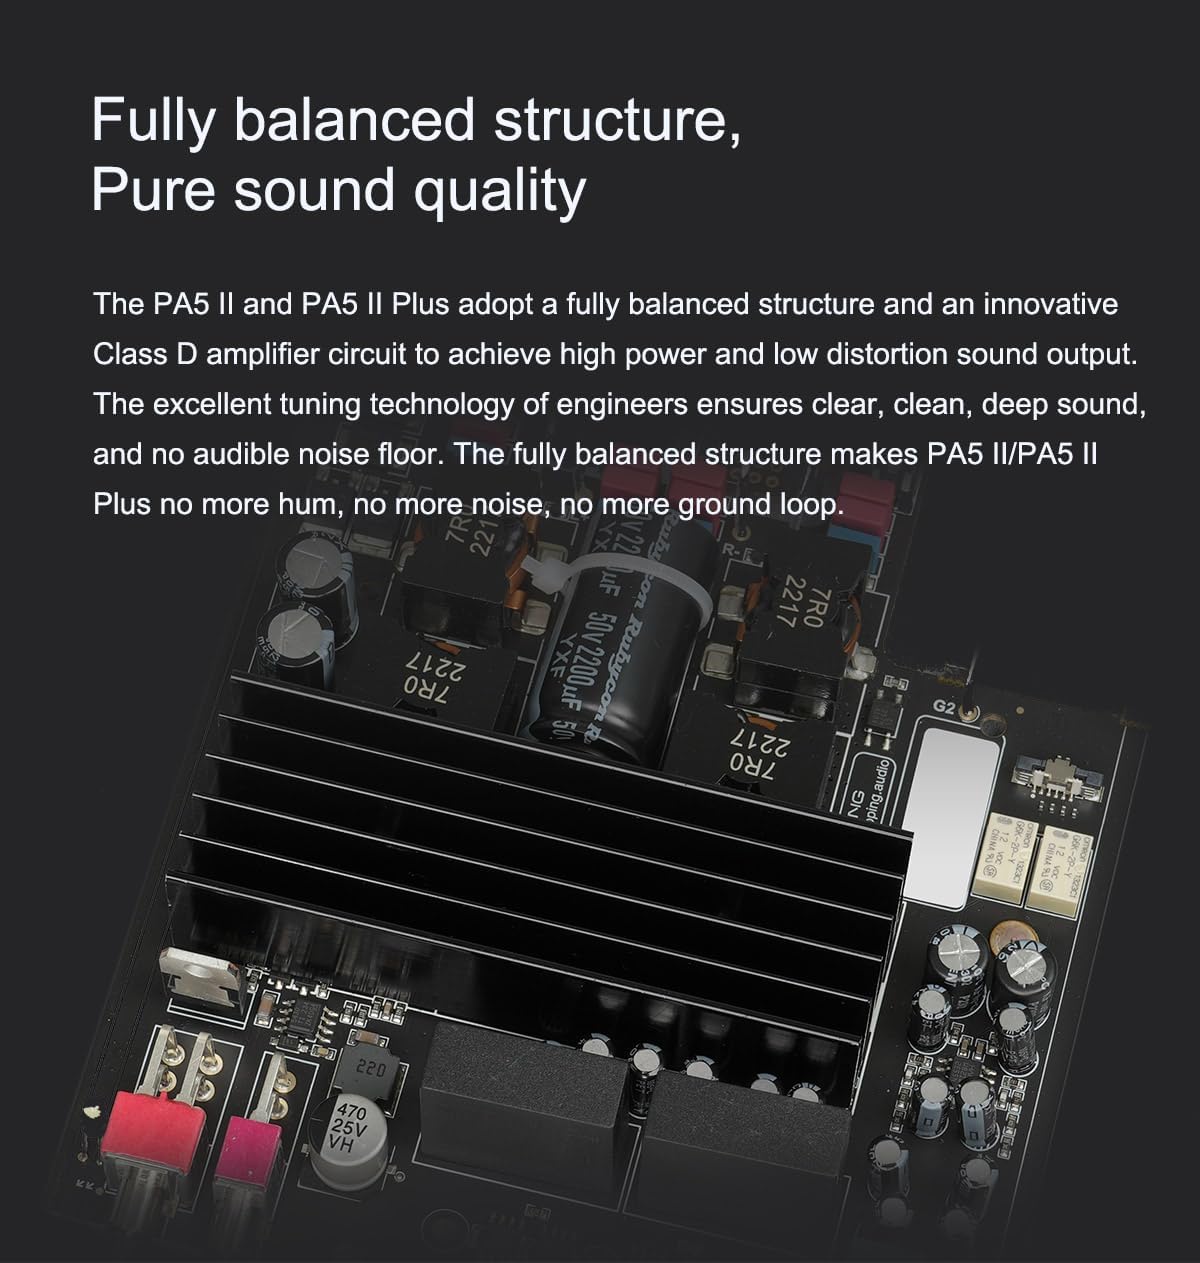
Image: An internal view of the amplifier, illustrating the fully balanced circuit design and high-quality components that contribute to its pure sound quality.

Image: A graph illustrating the extremely low Total Harmonic Distortion plus Noise (THD+N) performance of the PA5 II Plus across various frequencies, demonstrating its clean audio output.
7. System Integration
The PA5 II Plus is designed to integrate seamlessly into various audio setups. For a comprehensive system, consider pairing it with compatible Topping DACs and headphone amplifiers.
7.1 Recommended Combinations
- PA5 II Series + E50 DAC + L50 Headphone Amplifier: This combination provides a complete audio chain from digital source to speakers and headphones.
- PA5 II Series + D10 Balanced: The D10 Balanced DAC offers high-fidelity USB decoding and TRS balanced output, making it an excellent partner for the PA5 II Plus when a simple USB input is desired.

Image: A stack of Topping audio components, including the PA5 II Plus amplifier, E50 DAC, and L50 Headphone Amplifier, demonstrating a complete high-fidelity audio system.
8. Specifications
Detailed technical specifications for the KGUSS Topping PA5 II Plus Power Amplifier:
| Attribute | Specification (Balanced Input) | Specification (Single-Ended Input) |
|---|---|---|
| THD+N (4Ω 5W) | <0.0004% | <0.0005% |
| THD+N (8Ω 5W) | <0.0003% | <0.0004% |
| SNR @MAX OUT 1kHz A-wt | 124dB | 121dB |
| Dynamic Range @1kHz A-wt | 124dB | 121dB |
| Frequency Response | 20Hz-40kHz (±0.3dB) | |
| Output Power (4Ω THD+N<10%) | 140W x 2 | 140W x 2 |
| Output Power (4Ω THD+N<1%) | 125W x 2 | 125W x 2 |
| Output Power (8Ω THD+N<1%) | 85W x 2 | 85W x 2 |
| Input Sensitivity | 2.6Vrms | 1.3Vrms |
| Gain | 19.2dB | 25.0dB |
| Channel Balance | 0.1dB | |
| Adapter Impedance | 4-8Ω | |
| Measured Dimensions | 16.6cm x 12.9cm x 4.1cm | |
| Weight | 680g | |
| Power Input | DC38V/4.0A (2 pin aviation connector) | |
| Signal Inputs | SE (RCA L+R), BAL (TRS L+R) | |
| Signal Output | Speaker terminal (BTL) | |
| Volume Control | Analog Potentiometer | |
| Display | White LED | |
| Standby Power Consumption | <0.5W | |
Note: The above data is the result of tests in the TOPPING laboratory under specific conditions.

Image: A comprehensive table detailing the electrical and performance specifications of the PA5 II Plus amplifier.

Image: Diagram showing the physical dimensions of the amplifier and a list of included accessories.
9. Troubleshooting
If you encounter any issues with your PA5 II Plus amplifier, please refer to the following common problems and solutions:
9.1 Troubleshooting Guide
| Phenomenon | Solution |
|---|---|
| Can't be turned on |
|
| No sound |
|
| Abnormal sound |
|
| One channel with noise/no output |
|
| Channel imbalance |
|
| Can the amp be used in bridged mode (mono amp)? | The amplifier is already internally bridged. Therefore, you cannot short any of the output terminals together for mono operation. |
Video: An official troubleshooting guide for the Topping PA5 II Plus, demonstrating common issues and their solutions.
10. Care and Maintenance
To ensure the longevity and optimal performance of your PA5 II Plus amplifier, follow these guidelines:
- Cleaning: Use a soft, dry cloth to clean the exterior of the amplifier. Avoid using abrasive cleaners, solvents, or chemical sprays.
- Ventilation: Ensure the amplifier has adequate airflow around it. Do not block ventilation openings.
- Temperature: Operate the amplifier within its specified operating temperature range (23 °C). Avoid extreme heat or cold.
- Storage: When not in use for extended periods, store the amplifier in a cool, dry place, away from dust and moisture.
11. Support
For further assistance, technical support, or warranty inquiries, please visit the official KGUSS store or contact their customer service:
- KGUSS Store: Visit the KGUSS Store on Amazon