1. Introduction and Safety Information
Thank you for choosing the Philips 5000 Series DST5010/10 Steam Iron. To ensure safe and efficient use of your appliance, please read this user manual carefully before first use and retain it for future reference.
Important Safety Instructions
- Always check that the voltage indicated on the appliance corresponds to the local mains voltage before you connect the appliance.
- Do not use the appliance if the plug, the mains cord, or the appliance itself shows visible damage, or if the appliance has been dropped.
- This appliance is not intended for use by persons (including children) with reduced physical, sensory or mental capabilities, or lack of experience and knowledge, unless they have been given supervision or instruction concerning use of the appliance by a person responsible for their safety.
- Children should be supervised to ensure that they do not play with the appliance.
- Never leave the iron unattended while it is connected to the mains.
- Always place the iron on a stable, heat-resistant surface, preferably an ironing board.
- Do not immerse the iron or its cord in water or any other liquid.
- Unplug the iron from the mains socket before filling the water tank, emptying the water tank, and after use.
- Keep the iron and its cord out of reach of children when it is switched on or cooling down.
2. Product Overview
The Philips 5000 Series DST5010/10 steam iron is designed for efficient and effective ironing, featuring a durable soleplate and powerful steam output.
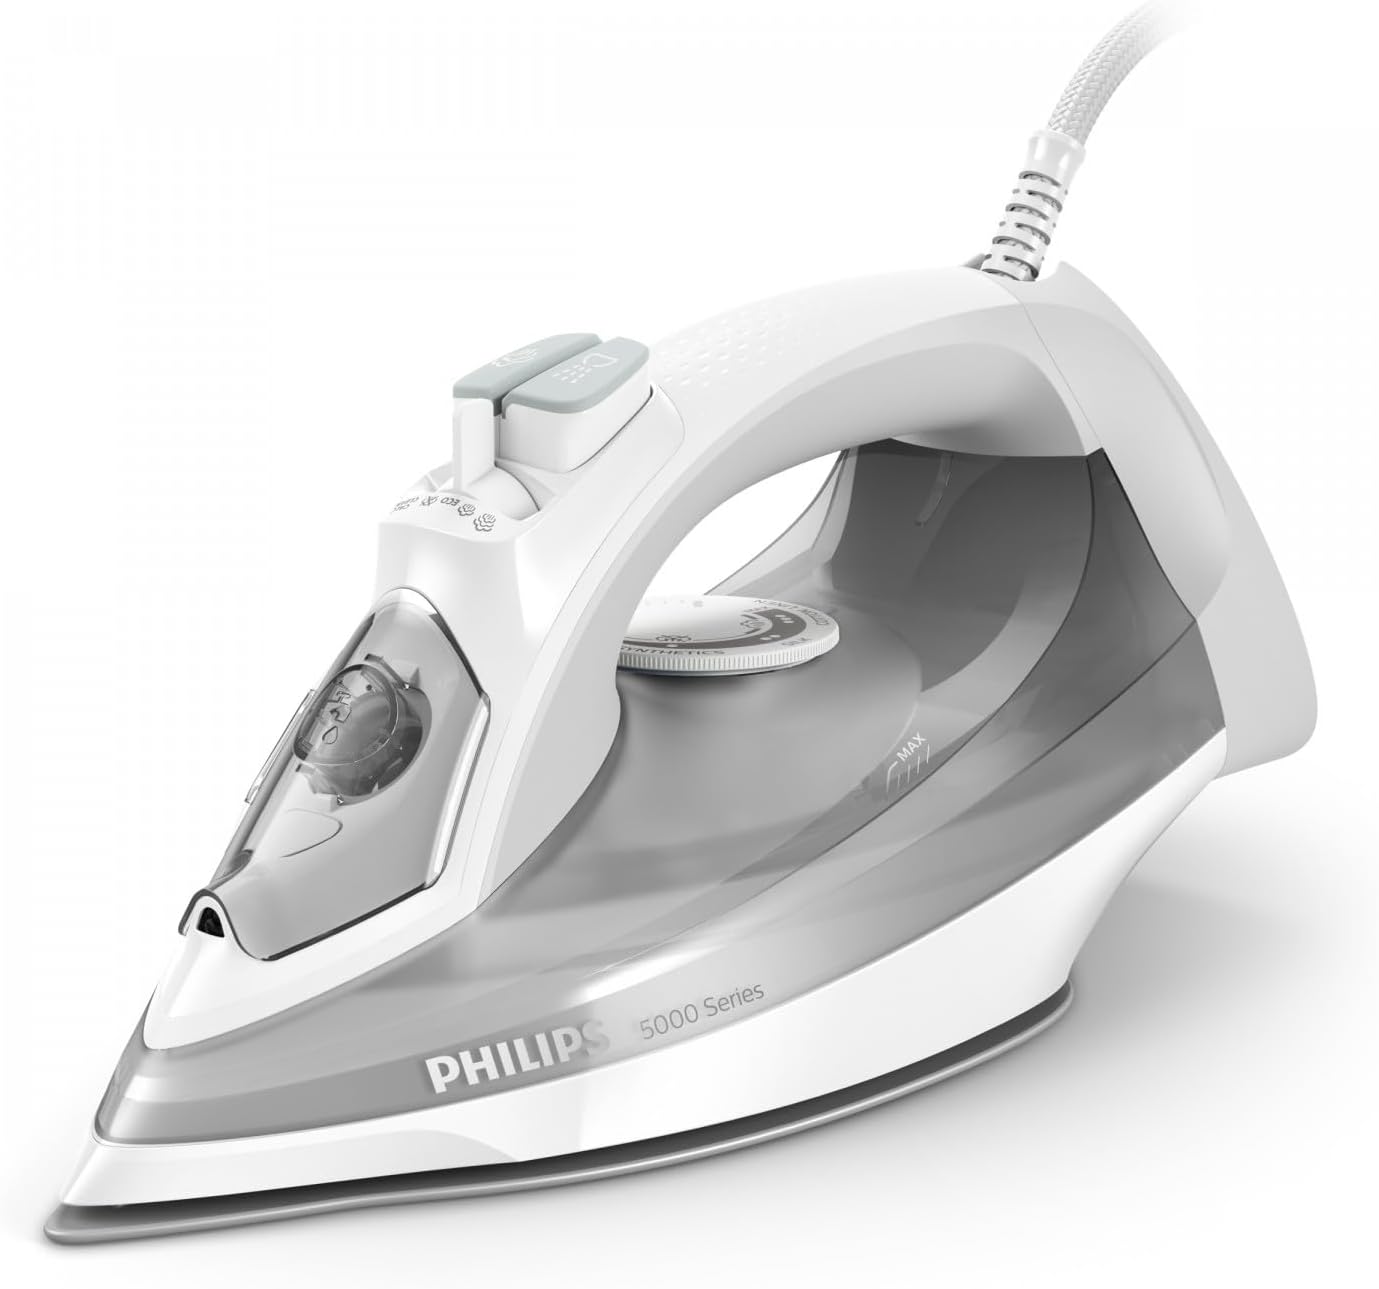
Figure 1: Front-side view of the Philips 5000 Series DST5010/10 Steam Iron. This image shows the overall design, including the handle, water tank, and soleplate.
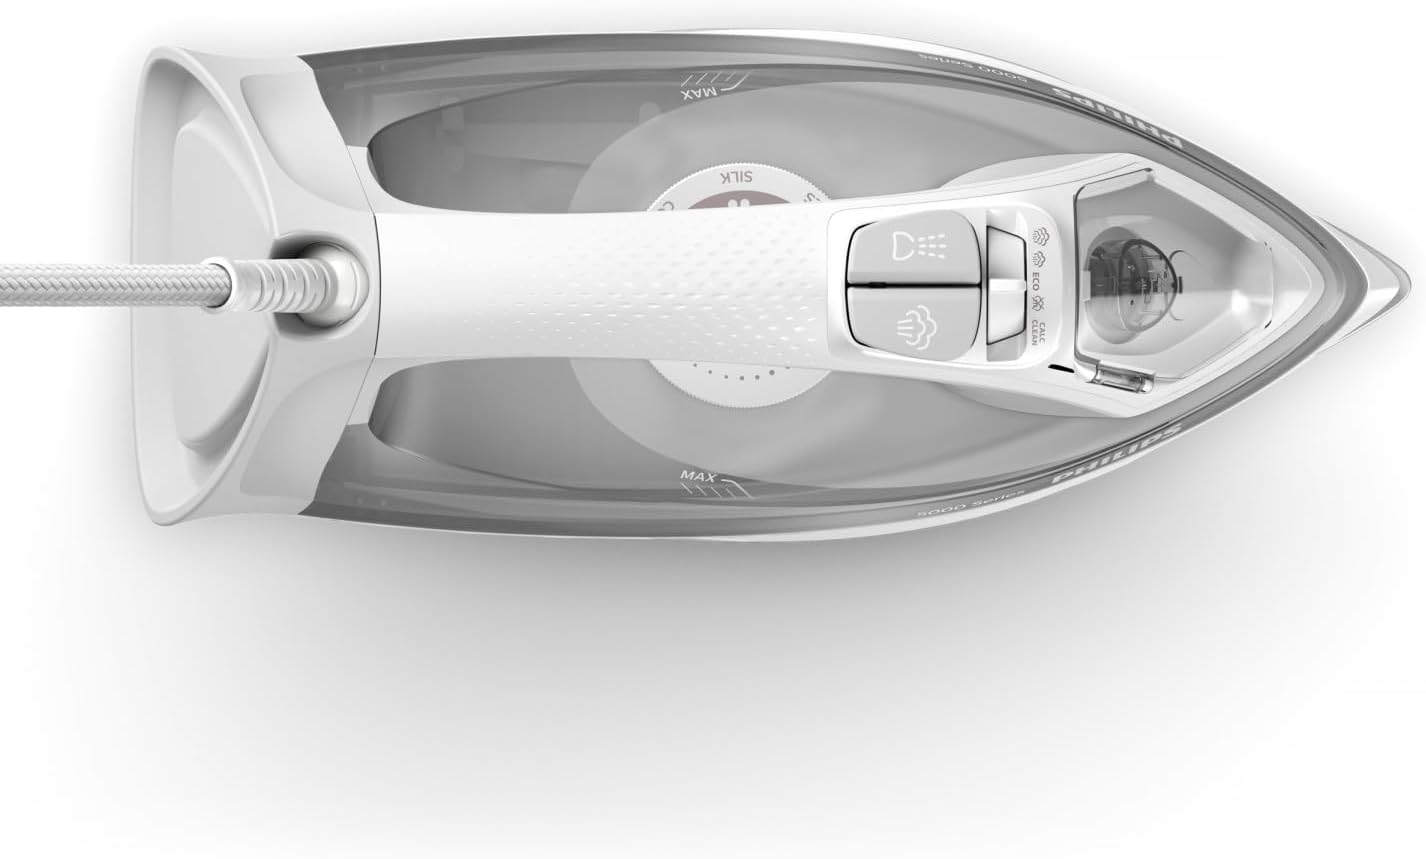
Figure 2: Top-down view of the Philips 5000 Series DST5010/10 Steam Iron. This perspective highlights the water filling inlet, spray button, and steam boost button.
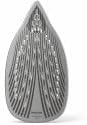
Figure 3: Close-up view of the soleplate of the Philips 5000 Series DST5010/10 Steam Iron, showing the steam vents and smooth surface.

Figure 4: The Philips 5000 Series DST5010/10 Steam Iron positioned on an ironing board, ready for use.
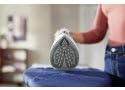
Figure 5: The soleplate of the Philips 5000 Series DST5010/10 Steam Iron gliding over fabric during ironing.
Parts of the Iron
- Water filling inlet
- Spray nozzle
- Steam boost button
- Spray button
- Temperature dial
- Water tank
- Soleplate
- Power cord
3. Setup and First Use
Before First Use
- Remove any stickers or protective foil from the soleplate.
- It is normal for a small amount of smoke to be produced during the first use as the heating elements are being conditioned. This will stop after a short while.
Filling the Water Tank
- Ensure the iron is unplugged from the mains socket.
- Set the steam control to the 'dry ironing' position (no steam).
- Open the water filling inlet cover.
- Fill the water tank with tap water up to the 'MAX' indication. For areas with hard water, it is recommended to use a mixture of 50% tap water and 50% distilled water. Do not use perfumed water, water from tumble dryers, or chemically descaled water, as these may cause staining or damage to the iron.
- Close the water filling inlet cover securely.
4. Operating Instructions
Setting the Temperature
- Place the iron on its heel rest on a stable surface.
- Plug the iron into a grounded wall socket.
- Turn the temperature dial to the desired setting according to the fabric type. Refer to the fabric care labels on your garments. The iron's indicator light will illuminate.
- Wait until the indicator light turns off, indicating that the set temperature has been reached. The light will cycle on and off during ironing to maintain the temperature.
Steam Ironing
Steam ironing is suitable for garments that can withstand high temperatures and moisture.
- Ensure the water tank is filled (see 'Filling the Water Tank').
- Set the temperature dial to a steam-suitable setting (usually between '••' and 'MAX'). The steam function will only operate effectively at higher temperatures.
- Once the indicator light turns off, adjust the steam control to the desired steam level.
- Begin ironing.
Dry Ironing
For delicate fabrics or when steam is not required.
- Ensure the water tank is empty or the steam control is set to the 'dry ironing' position.
- Set the temperature dial to the appropriate setting for your fabric.
- Wait for the indicator light to turn off before ironing.
Spray Function
Use the spray function to moisten stubborn creases.
- Press the spray button (usually located near the handle) to release a fine mist of water onto the fabric.
Steam Boost Function
For removing particularly stubborn creases or for vertical steaming.
- Press the steam boost button firmly for a powerful burst of steam.
- Wait a few seconds between bursts to allow the steam chamber to reheat.
Vertical Steaming
Ideal for curtains, hanging garments, or delicate items that cannot be ironed flat.
- Hang the garment on a hanger.
- Set the iron to a high temperature setting and ensure the water tank is filled.
- Hold the iron vertically, a few centimeters away from the fabric.
- Press the steam boost button repeatedly while moving the iron up and down over the fabric.
5. Maintenance and Cleaning
Regular maintenance ensures optimal performance and extends the lifespan of your iron.
After Each Use
- Unplug the iron and allow it to cool down completely.
- Empty any remaining water from the water tank.
- Store the iron on its heel rest in a dry, safe place.
Cleaning the Soleplate
- To clean the soleplate, wipe it with a damp cloth and a non-abrasive (liquid) cleaner.
- Do not use scouring pads, abrasive cleaning agents, or sharp objects, as these will scratch the soleplate.
Calc-Clean Function (if applicable)
Your Philips iron may feature an integrated Calc-Clean function to remove scale build-up. Refer to your specific model's instructions for detailed steps. Generally:
- Fill the water tank to the MAX level.
- Set the steam control to 'no steam' and the temperature dial to MAX.
- Plug in the iron and wait for the indicator light to go out.
- Unplug the iron.
- Hold the iron over a sink, press and hold the Calc-Clean button (if present), and gently shake the iron until all water and scale particles have been flushed out.
- Plug in the iron again and let it heat up to dry the soleplate.
6. Troubleshooting
If you encounter problems with your iron, consult the following table before contacting customer support.
| Problem | Possible Cause | Solution |
|---|---|---|
| Iron does not heat up. | Not plugged in, power outlet faulty, or temperature dial set to MIN. | Check plug and outlet. Turn temperature dial to a higher setting. |
| No steam or insufficient steam. | Water tank empty, temperature too low, or steam control set to 'dry ironing'. | Fill water tank. Set temperature to a steam-suitable setting. Adjust steam control. |
| Water leaks from the soleplate. | Temperature too low for steam, or water tank overfilled. | Increase temperature. Do not fill water tank beyond 'MAX' mark. |
| Brown stains on fabric. | Impurities in water, or iron needs descaling. | Use appropriate water (see 'Filling the Water Tank'). Perform Calc-Clean. |
7. Specifications
| Feature | Detail |
|---|---|
| Brand | PHILIPS |
| Model Name | DST501010 |
| Power | 2400 Watts |
| Item Weight | 1.54 Kilograms |
| Soleplate Material | Stainless Steel |
| Color | Black |
8. Warranty and Support
This Philips appliance comes with a standard manufacturer's warranty. Please refer to the warranty card included in your product packaging for specific terms and conditions, including warranty duration and coverage.
For product support, spare parts, or to register your product, please visit the official Philips website or contact Philips Consumer Care in your region. Keep your proof of purchase for warranty claims.
Online Support: www.philips.com/support


