
Introduction
This manual provides detailed instructions for the installation, operation, maintenance, and troubleshooting of your wisecoco 12.6 Inch Bar LCD Screen HDMI Display Monitor. This monitor is specifically designed to integrate seamlessly with the Hyte Y60 PC case, serving as an excellent secondary display for monitoring system performance, displaying custom visuals, or extending your desktop.

Figure 1: The 12.6-inch bar LCD screen displaying real-time system performance data.
Setup and Installation
The wisecoco 12.6 Inch Bar LCD Screen is designed for easy installation, particularly within the Hyte Y60 PC case. The package includes all necessary components for a straightforward setup.
Package Contents
Before beginning installation, please verify that all items are present in the package:
- 12.6-inch Bar LCD Screen
- 3.5mm DC Power Cable
- HDMI to Mini HDMI Cable
- Cross Screwdriver

Figure 2: Included accessories: DC power cable, HDMI to Mini HDMI cable, and a screwdriver.
Installation Steps (for Hyte Y60 PC Case)
- Prepare the PC Case: Ensure your Hyte Y60 PC case is powered off and unplugged. Carefully remove the side panel where the monitor will be installed.
- Mount the Screen: The screen features a bracket specifically designed to fit the Y60 case panel. Align the screen with the designated slot on the case. Use the provided screwdriver to secure the screen in place. No additional screws are typically required.
- Connect Video Cable: Connect one end of the HDMI to Mini HDMI cable to the Mini HDMI port on the monitor. Connect the other end to an available HDMI port on your graphics card (GPU) or motherboard.
- Connect Power Cable:
- Connect the 3.5mm DC power cable to the DC 3.5mm port on the monitor. The other end of this cable typically connects to a power source within your PC.
- Alternatively, the screen can be powered via a Micro USB A cable (not included). If using Micro USB A, ensure the input is 5V500mA. If using the DC cable, the input should be 5V2A.
- Cable Management: Route the cables neatly within your PC case to avoid interference with fans or other components.
- Power On: Once all connections are secure, replace the PC case panel, plug in your PC, and power it on. The monitor should be detected as a secondary display.

Figure 3: Visual guide for installing the secondary monitor into the Hyte Y60 PC case.

Figure 4: The monitor seamlessly integrated into a Hyte Y60 PC case, displaying custom visuals.

Figure 5: Dimensions and port layout of the 12.6-inch bar LCD screen.
Operating Instructions
The wisecoco 12.6 Inch Bar LCD Screen functions as a standard secondary display, compatible with PCs and laptops. It offers versatile display options and user-friendly controls.
Display Features
- Resolution: 1920x515 IPS panel for clear and vibrant visuals.
- Response Time: 3-5ms for smooth motion.
- Viewing Angle: 178° wide viewing angle ensures consistent image quality from various perspectives.
- Refresh Rate: 60Hz standard refresh rate.
- Contrast Ratio: 1000:1 for deep blacks and bright whites.
- Built-in Speakers: Integrated dual speakers provide audio output.

Figure 6: The monitor features a 178° full viewing angle and IPS technology for superior image quality.
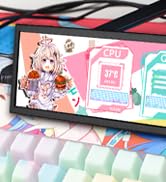
Figure 7: The Wisecoco monitor includes built-in speakers for convenience.
Display Modes
The monitor supports both landscape and portrait modes, allowing for flexible integration into your setup. You can adjust the display orientation through your operating system's display settings.

Figure 8: The monitor supports both portrait and landscape display orientations.
On-Screen Display (OSD) Controls
The monitor features physical buttons on the back for accessing the OSD menu and controlling basic functions:
- Source: Switches between available video inputs (e.g., Mini HDMI 1, Mini HDMI 2).
- Volume +/-: Adjusts the audio output level of the built-in speakers.
- Menu: Accesses the OSD menu for advanced settings (brightness, contrast, color, etc.).
- Power: Turns the monitor on or off.
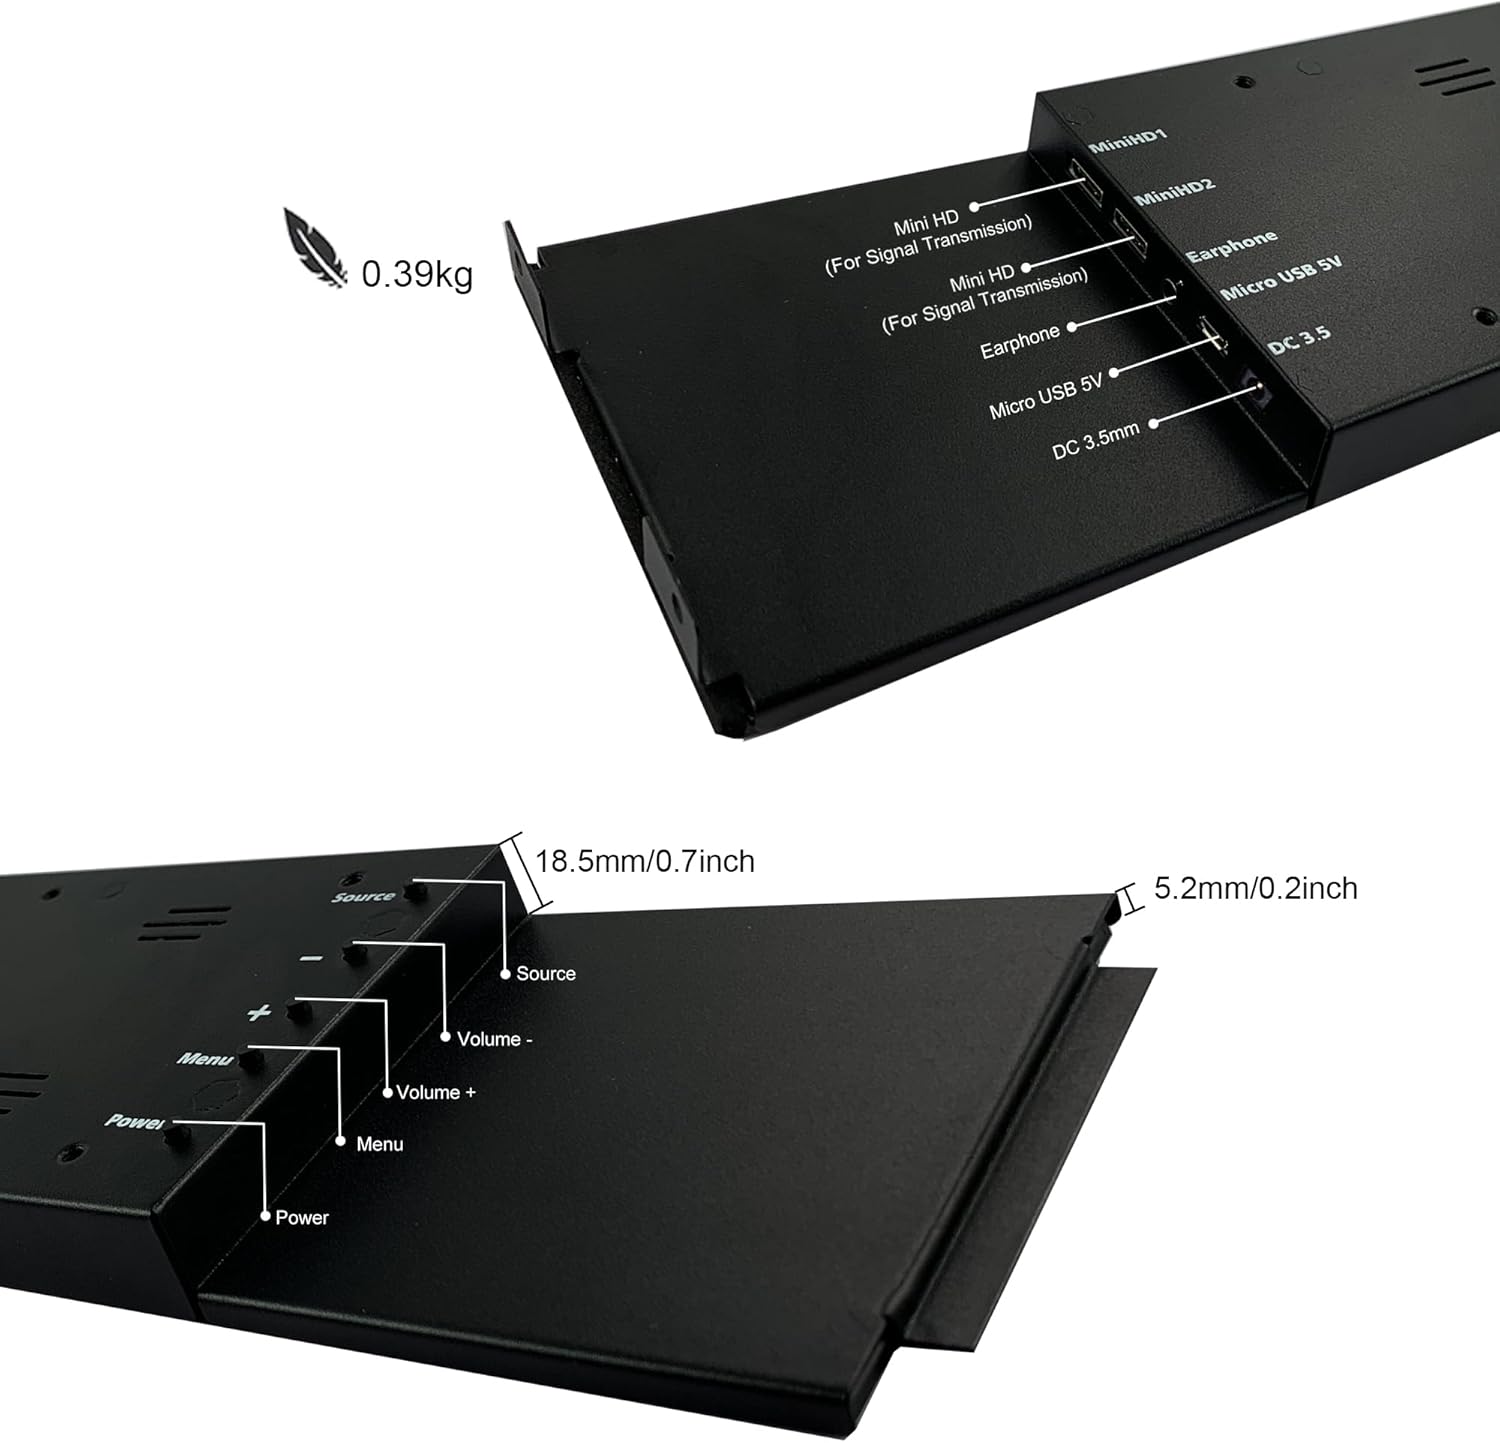
Figure 9: Location of control buttons and ports on the side of the monitor.
Maintenance
Proper maintenance ensures the longevity and optimal performance of your monitor.
- Cleaning the Screen: Use a soft, lint-free cloth specifically designed for electronics. For stubborn marks, lightly dampen the cloth with water or a screen-cleaning solution. Avoid harsh chemicals, abrasive materials, or spraying liquid directly onto the screen.
- General Cleaning: Wipe the monitor's casing with a soft, dry cloth.
- Ventilation: Ensure the monitor's ventilation openings are not blocked to prevent overheating.
- Environmental Conditions: Avoid exposing the monitor to extreme temperatures, high humidity, or direct sunlight.
- Power Off When Not in Use: For extended periods of inactivity, it is recommended to power off the monitor.
Troubleshooting
If you encounter issues with your wisecoco monitor, refer to the following common problems and solutions:
| Problem | Possible Cause | Solution |
|---|---|---|
| No display / "No Signal" message |
|
|
| Screen flashes red, blue, or green when PC sleeps | Specific display settings or driver interaction. | Access the monitor's OSD menu and navigate through settings. Sometimes simply accessing and exiting the menu can resolve this. Ensure GPU drivers are updated. |
| No audio from built-in speakers |
|
|
| Half of the screen not working | Hardware defect or severe connection issue. |
|
Product Specifications
Detailed technical specifications for the wisecoco 12.6 Inch Bar LCD Screen HDMI Display Monitor:
| Feature | Specification |
|---|---|
| Product Dimensions | 1 x 4 x 13 inches |
| Item Weight | 1.74 pounds |
| Manufacturer | Wisecoco |
| Item Model Number | R126F01-HB |
| Standing Screen Display Size | 12.6 Inches |
| Aspect Ratio | 32:9 |
| Voltage | 5 Volts (DC) |
| Resolution | 1920 x 515 |
| Brand | wisecoco |
| Screen Size | 12.6 Inches |
| Screen Surface Description | Glossy |
Warranty and Support
Wisecoco is committed to providing high-quality products and customer satisfaction.
- Warranty: This product comes with a 12-month warranty from the date of purchase.
- Money Back Guarantee: A 30-day money-back guarantee is offered.
- Customer Support: 24-hour customer support is available for any inquiries or assistance.
For warranty claims, technical support, or any other questions, please contact Wisecoco customer service through the official channels provided at the point of purchase or on the Wisecoco brand website.

Figure 10: Wisecoco's commitment to customer satisfaction.


