1. Safety Information
Please read this manual carefully before installation and operation. Failure to follow instructions may result in product damage, property damage, or personal injury. Keep this manual for future reference.
- Installation must be performed by a qualified electrician in accordance with local electrical codes.
- Always disconnect power to the heating system at the main circuit breaker before installing or servicing the thermostat.
- Do not expose the thermostat to water or excessive humidity.
- Ensure the product's voltage rating matches your electrical supply.
2. Product Overview
2.1 Features
- Digital LCD Display: Provides clear temperature readings and settings.
- Power Saving Control: Designed for energy efficiency with low consumption.
- Programmable: Supports intelligent timing and programming for customized heating schedules.
- Touch Control: Easy adjustment of settings via touch buttons.
- Wide Application: Suitable for various environments including hotels, villas, apartments, offices, schools, and commercial spaces.
- Durable Construction: Made from flame-retardant PC material with an IP20 grade.
2.2 Package Contents
The product package includes the following items:
- 1 x Temperature Controller (Thermostat)
- 1 x User Manual (This document)
- 2 x Mounting Screws
2.3 Product Views
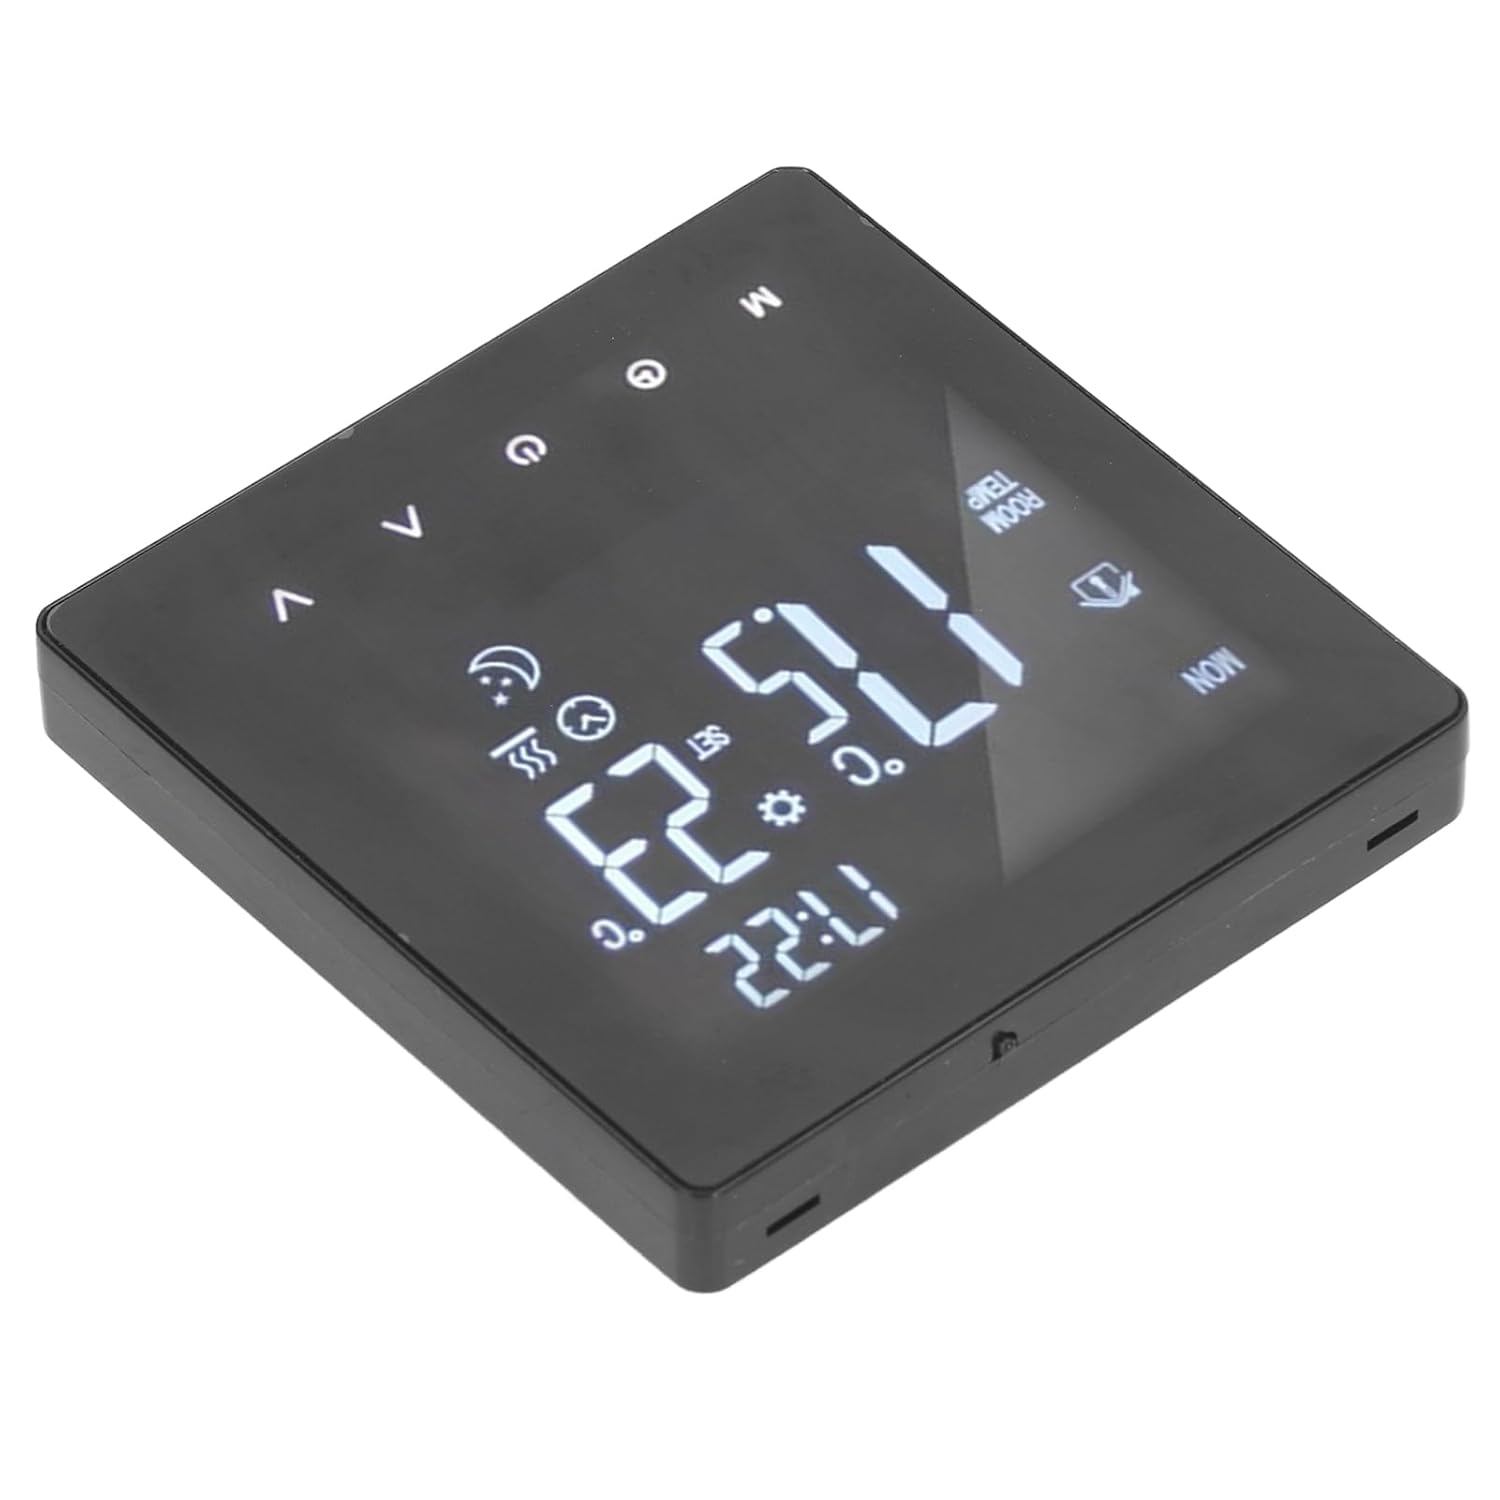
Figure 1: Front view of the Sanpyl K2MRH3A Smart Digital Thermostat, displaying current time and temperature on its LCD screen.

Figure 2: Angled view of the thermostat, highlighting the sleek design and touch-sensitive control buttons.

Figure 3: Rear view of the thermostat, illustrating the wiring terminals for electrical connection and the IP20 rating label.

Figure 4: Close-up of the two screws provided for mounting the thermostat securely.
3. Technical Specifications
| Parameter | Value |
|---|---|
| Item Type | Digital Thermostat |
| IP Grade | IP20 |
| Shell Material | Flame retardant PC |
| Temperature Sensor | NTC |
| Temperature Accuracy | ±1℃ |
| Display | LCD |
| Working Environment | -5 ~ 50℃ |
| Power Consumption | <1W |
| Temperature Setting Range | 5 ~ 60℃ |
| Display Range | 0 to 50℃ |
| Input Voltage | AC 90-240V |
| Maximum Load | 3A |
| Maximum Power | 3500W |
| Control Mode | Intelligent timing; Touch control; Programming time control |
| Color | Black |
| Model Name | K2MRH3A |
4. Setup and Installation
This thermostat is designed for floor water heating boiler systems. Professional installation is highly recommended to ensure correct wiring and safe operation.
4.1 Pre-Installation Checklist
- Ensure the main power to your heating system is turned OFF at the circuit breaker.
- Confirm that the thermostat's voltage (AC 90-240V) is compatible with your electrical supply.
- Have necessary tools: screwdriver, wire strippers, electrical tape.
4.2 Wiring Instructions
Refer to the wiring diagram on the back of the thermostat (Figure 3) and consult a qualified electrician for proper connection to your boiler system. Incorrect wiring can cause damage or pose a safety hazard.
- Carefully remove the front panel of the thermostat to access the wiring terminals.
- Connect the Live (L) and Neutral (N) wires from your power supply to the corresponding terminals on the thermostat.
- Connect the heating load wires (e.g., to the boiler control unit) to the designated output terminals.
- If an external temperature sensor is used (not included), connect it to the appropriate terminals.
- Ensure all connections are secure and insulated.
4.3 Mounting
- Mount the thermostat base to a standard electrical wall box using the provided screws (Figure 4).
- Carefully reattach the front panel to the mounted base, ensuring it clicks securely into place.
- Restore power to the heating system at the main circuit breaker. The LCD display should illuminate.
5. Operating Instructions
The Sanpyl K2MRH3A thermostat features a user-friendly touch interface and a clear LCD display.
5.1 Basic Operation
- Power On/Off: Press the power button (usually indicated by a circle with a vertical line) to turn the thermostat on or off.
- Temperature Adjustment: Use the Up (∧) and Down (∨) arrow buttons to increase or decrease the desired temperature. The set temperature will be displayed.
- Mode Selection: Press the 'M' button to cycle through different operating modes (e.g., Manual, Auto/Program, Holiday).
- Clock Setting: Press the clock icon button to enter time setting mode. Use the Up/Down arrows to adjust hours and minutes, and the 'M' button to confirm or move to the next setting.
5.2 Programming Schedule
The thermostat allows for programmable time control to optimize energy saving and comfort. Specific programming steps may vary slightly based on firmware version. Generally, you will:
- Enter programming mode by pressing and holding the 'M' button or a dedicated program button.
- Select the day or group of days (e.g., Mon-Fri, Sat-Sun).
- Set time periods (e.g., Wake, Leave, Return, Sleep) and their corresponding desired temperatures for each period.
- Confirm and save your settings.
Refer to the on-screen prompts and icons for detailed programming guidance.
6. Maintenance
The Sanpyl K2MRH3A Smart Digital Thermostat requires minimal maintenance.
- Cleaning: Wipe the display and casing with a soft, dry cloth. Do not use abrasive cleaners, solvents, or spray directly onto the thermostat.
- Inspection: Periodically check for any loose connections or signs of damage. If any issues are found, disconnect power and consult a qualified technician.
7. Troubleshooting
If you encounter issues with your thermostat, try the following steps:
| Problem | Possible Cause | Solution |
|---|---|---|
| Thermostat display is blank. | No power supply. | Check the circuit breaker and ensure power is restored. Verify wiring connections. |
| Heating system not responding. | Incorrect wiring; Thermostat in OFF mode; Temperature setting too low. | Ensure thermostat is ON and in heating mode. Increase the set temperature above the current room temperature. Check wiring connections (consult electrician). |
| Temperature readings seem inaccurate. | Thermostat location; Sensor issue. | Ensure the thermostat is not exposed to direct sunlight, drafts, or heat sources. If using an external sensor, check its placement and connection. |
| Cannot program schedule. | Incorrect mode; User error. | Ensure the thermostat is in programming mode. Follow the programming steps carefully as outlined in Section 5.2. |
If the problem persists after attempting these solutions, please contact customer support.
8. Warranty and Support
This product comes with a standard manufacturer's warranty. Please refer to the warranty card included with your purchase or contact the retailer for specific warranty terms and conditions.
For technical support, troubleshooting assistance, or inquiries about replacement parts, please contact Sanpyl customer service through their official website or the retailer where the product was purchased.