1. Introduction
This manual provides essential information for the safe and efficient use of your iiyama XUB2792QSU-B6 27-inch IPS QHD monitor. Please read these instructions thoroughly before operating the device and retain them for future reference. The iiyama XUB2792QSU-B6 is a high-performance 27-inch monitor featuring an IPS panel, QHD (2560x1440) resolution, and a 100Hz refresh rate, designed for clear visuals and smooth performance.

Figure 1: Front view of the iiyama XUB2792QSU-B6 monitor.
2. What's in the Box
Verify that all components are present and in good condition upon unpacking. If any items are missing or damaged, contact your retailer.
- iiyama XUB2792QSU-B6-27IPS2560x1440/100Hz1H1DPHAS Monitor
- Power Cable
- HDMI Cable
- DisplayPort Cable
- USB Cable
- User Manual (this document)
- 1 year technical support information

Figure 2: Cables included with the monitor.
3. Setup
3.1. Assembling the Stand
- Carefully remove the monitor and stand components from the packaging.
- Attach the stand base to the stand column, securing it with the provided screw.
- Mount the assembled stand to the back of the monitor, ensuring it clicks securely into place or is fastened with screws as per the quick setup guide.
3.2. Connecting Cables
Ensure the monitor and your computer are powered off before making any connections.
- Power Cable: Connect one end of the power cable to the monitor's power input and the other end to a power outlet.
- Video Cable: Connect either the HDMI or DisplayPort cable from your computer's video output to the corresponding input on the monitor.
- USB Cable: Connect the upstream USB cable from your computer to the monitor's USB upstream port to enable the monitor's USB hub functionality.

Figure 3: Rear input ports of the monitor.

Figure 4: Side USB ports for convenient access.

Figure 5: Connection diagram for the monitor.
3.3. Powering On
After all cables are connected, power on your computer, then press the power button on the monitor. The monitor should automatically detect the input signal.
4. Operating the Monitor
4.1. Control Buttons
The control buttons are typically located on the rear or bottom right side of the monitor. These buttons allow you to navigate the On-Screen Display (OSD) menu and adjust settings.

Figure 6: Rear view highlighting control button location.
4.2. On-Screen Display (OSD) Menu
Press the 'Menu' button to access the OSD. Use the navigation buttons to browse through options such as Picture Settings, Color Settings, Input Select, and System Settings. Press 'Enter' or the corresponding button to select an option and 'Exit' to leave the menu.
4.3. Input Selection
If you have multiple devices connected, use the 'Input' button or navigate through the OSD menu to select the desired input source (HDMI, DisplayPort).
4.4. Picture Adjustments
Within the OSD, you can adjust various picture settings:
- Brightness/Contrast: Adjust the overall luminance and difference between light and dark areas.
- Color Settings: Modify color temperature, gamma, and individual RGB levels.
- Sharpness: Enhance or soften image details.
- Aspect Ratio: Select between various display modes (e.g., Full, 1:1).
4.5. Ergonomic Adjustments
The monitor stand allows for various ergonomic adjustments to optimize your viewing experience:
- Height Adjustment: Raise or lower the monitor to eye level.
- Tilt: Adjust the screen's vertical angle (forward/backward).
- Swivel: Rotate the monitor horizontally on its base.
- Pivot: Rotate the screen 90 degrees for portrait viewing.

Figure 7: Portrait orientation.

Figure 8: Tilted backward.
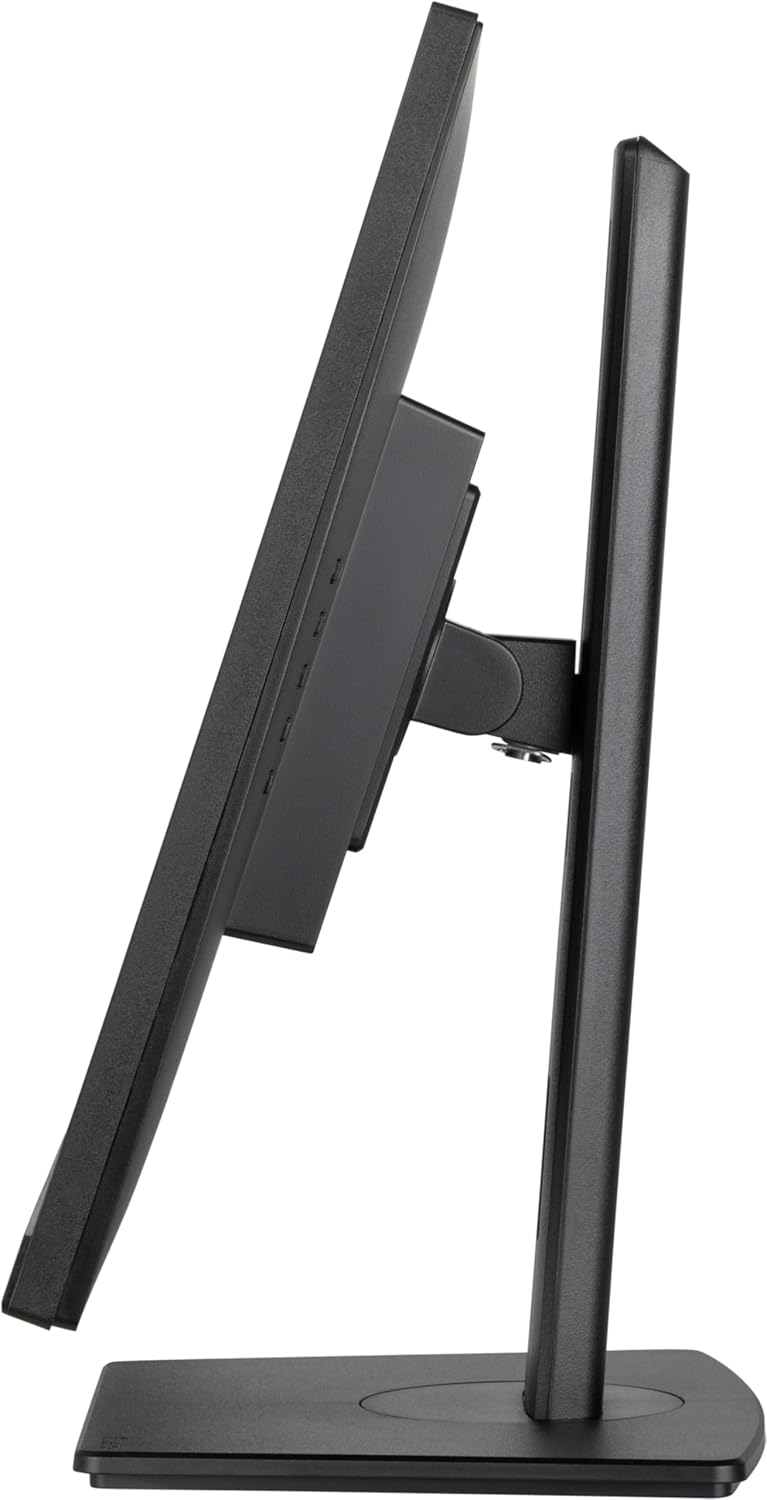
Figure 9: Tilted forward.
5. Maintenance
5.1. Cleaning the Monitor
- Always unplug the monitor from the power outlet before cleaning.
- Use a soft, lint-free cloth lightly dampened with water or a mild, non-abrasive screen cleaner.
- Do not spray cleaner directly onto the screen.
- Avoid using benzene, thinner, ammonia-based cleaners, or abrasive materials, as these can damage the screen surface.
6. Troubleshooting
If you encounter issues with your monitor, refer to the following common problems and solutions:
- No Power: Ensure the power cable is securely connected to both the monitor and a working power outlet. Check the power indicator light on the monitor.
- No Signal: Verify that the video cable (HDMI or DisplayPort) is correctly connected to both the monitor and your computer. Ensure the correct input source is selected via the OSD menu.
- Flickering or Distorted Image: Check the video cable for damage. Ensure your computer's graphics card drivers are up to date. Try adjusting the refresh rate or resolution in your computer's display settings.
- Image Too Dark/Bright: Adjust the brightness and contrast settings in the OSD menu.
- Colors Incorrect: Reset color settings to default in the OSD, or adjust color temperature and individual RGB values.
If the problem persists after trying these steps, contact technical support.
7. Specifications
| Feature | Specification |
|---|---|
| Brand | iiyama |
| Model Number | XUB2792QSU-B6 |
| Screen Size | 27 Inches |
| Panel Type | IPS |
| Resolution | 2560x1440 (QHD) |
| Max Screen Resolution | 2560 x 1440 Pixels |
| Refresh Rate | 100Hz |
| Aspect Ratio | 16:9 |
| Connectivity | 1x HDMI, 1x DisplayPort, 4x USB 3.0 Ports |
| Item Weight | 13.42 pounds |
| Product Dimensions (LxWxH) | 8.25 x 24.13 x 15.53 inches |
| Color | Nero |
| Voltage | 240 Volts |
8. Warranty and Support
Your iiyama XUB2792QSU-B6 monitor comes with a standard manufacturer's warranty. Please refer to the warranty card included in your product packaging for specific terms and conditions. For technical assistance, troubleshooting, or warranty claims, please contact iiyama customer support or visit the official iiyama website for support resources. One year of technical support is included with your purchase.


