1. Introduction and Overview
The Samsung Galaxy Tab S9 Ultra is a high-performance tablet designed for productivity, creativity, and entertainment. It features a large 14.6-inch Dynamic AMOLED 2X display, powered by a Snapdragon 8 Gen 2 processor, ensuring smooth operation for demanding tasks and gaming. The tablet is built with an Armor Aluminum frame for enhanced durability and boasts an IP68 rating for water and dust resistance. It comes equipped with an S-Pen for precise input and creative applications.

Figure 1.1: Front and back view of the Samsung Galaxy Tab S9 Ultra, showcasing its sleek design and camera module.
2. Setup
2.1 Unboxing and Initial Inspection
Carefully remove all components from the packaging. Verify that the tablet, S-Pen, and charging accessories are present. Inspect the tablet for any physical damage before proceeding.
- Samsung Galaxy Tab S9 Ultra tablet
- S-Pen stylus
- USB-C charging cable
- 45W Super Fast Charger (may be included or sold separately depending on region/retailer)
2.2 Charging the Tablet
Before first use, fully charge the tablet. Connect the USB-C cable to the tablet's charging port and the other end to the 45W Super Fast Charger. Plug the charger into a wall outlet. The charging indicator on the screen will show the charging status.
2.3 Powering On and Initial Configuration
Press and hold the Power button located on the side of the tablet until the Samsung logo appears. Follow the on-screen prompts to complete the initial setup:
- Select your preferred language.
- Connect to a Wi-Fi network (supports Wi-Fi 6e for fast connectivity).
- Review and accept the End User License Agreement and Privacy Policy.
- Sign in with your Google account or create a new one.
- Set up a screen lock (PIN, pattern, password, fingerprint, or face recognition).
- Sign in with your Samsung account or create a new one to access Samsung-specific features and services.
- Restore data from a previous device (optional).
2.4 S-Pen Setup
The S-Pen is designed to attach magnetically to the back of the tablet for charging and storage. When first used, the S-Pen will automatically pair with the tablet. Ensure the S-Pen is properly seated in its magnetic slot on the back of the tablet for optimal charging and connectivity.
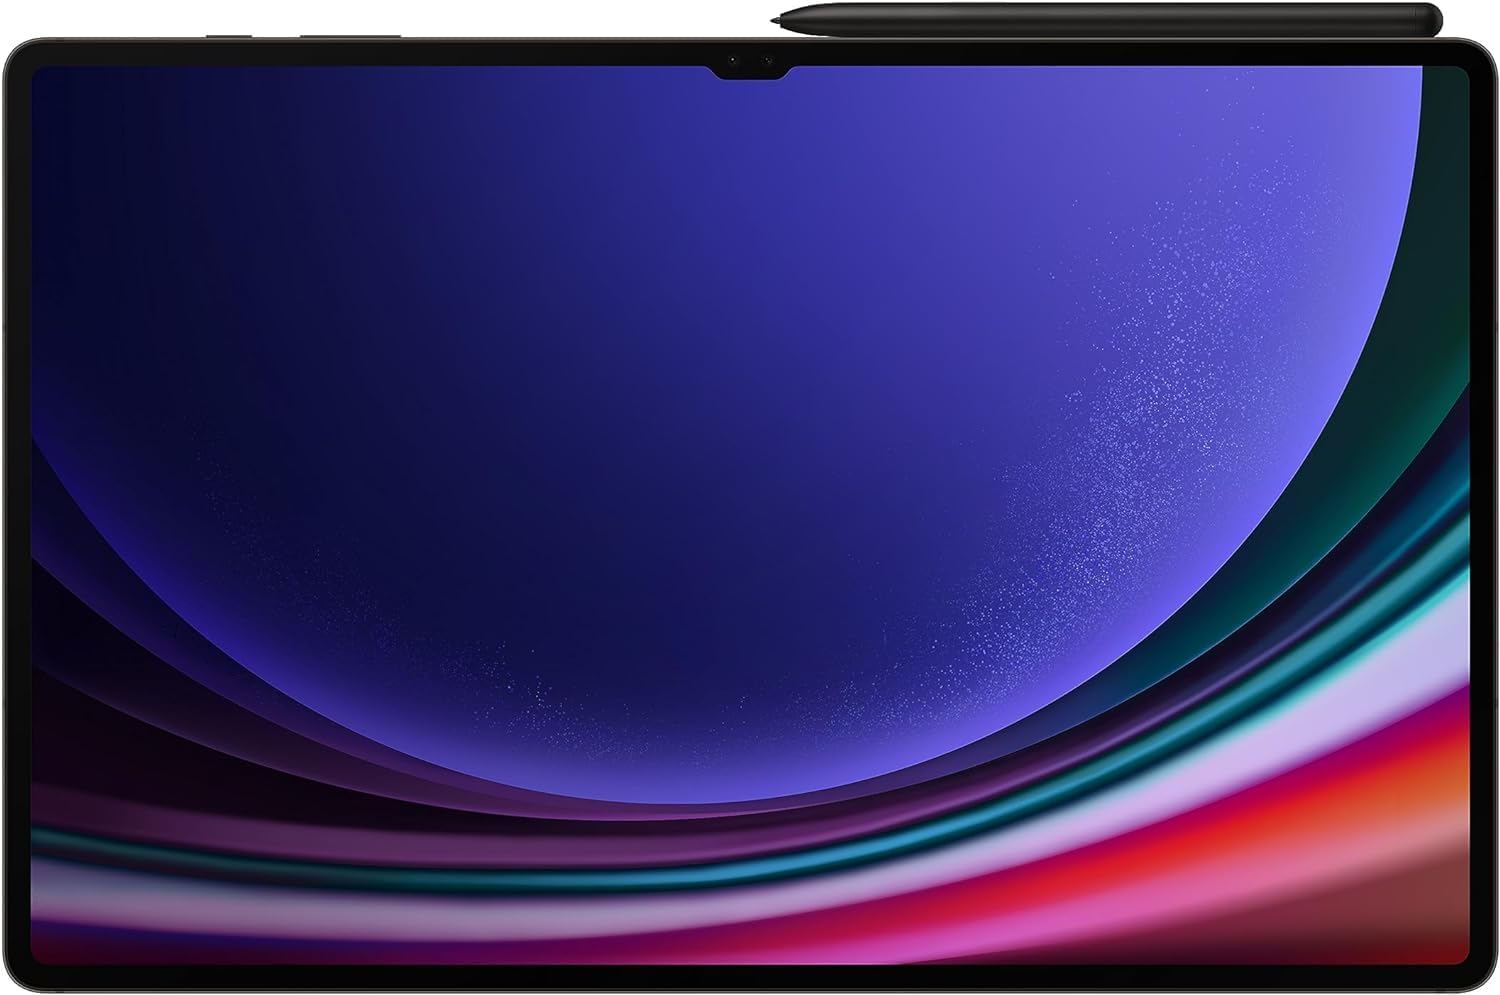
Figure 2.1: Rear view of the tablet showing the magnetic charging slot for the S-Pen.
3. Operating Instructions
3.1 Basic Navigation
The Galaxy Tab S9 Ultra uses a touch-based interface. Common gestures include tapping to select, swiping to scroll, pinching to zoom, and long-pressing for contextual menus. The 14.6-inch Dynamic AMOLED 2X display provides a vibrant and responsive user experience.

Figure 3.1: Front view of the tablet with the display active, demonstrating the large screen size.
3.2 Using the S-Pen
The S-Pen enhances interaction with the tablet. It can be used for:
- Writing and Drawing: Use the S-Pen for precise note-taking and creative artwork in compatible applications.
- Air Command: Hover the S-Pen over the screen and press the S-Pen button to open the Air Command menu, providing quick access to features like Create note, Smart select, Screen write, and Live message.
- Air Actions: Control certain tablet functions remotely using S-Pen gestures, such as navigating presentations or controlling media playback.
3.3 Multitasking and Samsung DeX
The Galaxy Tab S9 Ultra supports advanced multitasking capabilities:
- Split Screen: Open two applications side-by-side by dragging an app from the Recents screen to either side of the display.
- Pop-up View: Open applications in resizable floating windows for flexible workflow.
- Samsung DeX: Transform your tablet experience into a desktop-like environment. Access DeX from the Quick Panel. DeX allows you to open multiple app windows, use a taskbar, and connect external monitors for an expanded workspace.
3.4 Connectivity
- Wi-Fi: Connect to wireless networks using Wi-Fi 6e for high-speed internet access.
- Bluetooth: Pair with Bluetooth devices such as headphones, keyboards, and mice.
3.5 Camera Usage
The tablet features multiple cameras, including dual front cameras, suitable for video calls and capturing photos. Open the Camera app to access various modes and settings.
4. Maintenance
4.1 Cleaning the Tablet
To clean the screen, use a soft, lint-free cloth. For stubborn smudges, slightly dampen the cloth with water or a screen-safe cleaning solution. Avoid harsh chemicals or abrasive materials. For the body, use a dry or slightly damp soft cloth.
4.2 Battery Care
To prolong battery life:
- Avoid extreme temperatures.
- Do not leave the tablet fully charged or fully discharged for extended periods.
- Use the provided or certified charging accessories.
4.3 Software Updates
Regularly check for and install software updates to ensure optimal performance, security, and access to new features. Navigate to Settings > Software update to check for updates.
4.4 Storage Management
Periodically review and manage your tablet's storage. Delete unnecessary files, uninstall unused apps, and consider cloud storage for large media files to maintain performance.
5. Troubleshooting
5.1 Common Issues and Solutions
- Tablet not powering on: Ensure the tablet is charged. Connect it to the charger and wait a few minutes before attempting to power on again.
- Screen unresponsive: Perform a forced restart by holding the Power button and Volume Down button simultaneously for about 7-10 seconds.
- Wi-Fi connectivity issues: Restart the tablet and your Wi-Fi router. Forget and reconnect to the Wi-Fi network in Settings.
- S-Pen not responding: Ensure the S-Pen is fully charged by attaching it to the magnetic slot on the back of the tablet. If issues persist, try resetting the S-Pen connection in Settings.
5.2 Factory Reset
If software issues persist, a factory reset may be necessary. This will erase all data on the tablet, so ensure you back up important information before proceeding. Navigate to Settings > General management > Reset > Factory data reset.
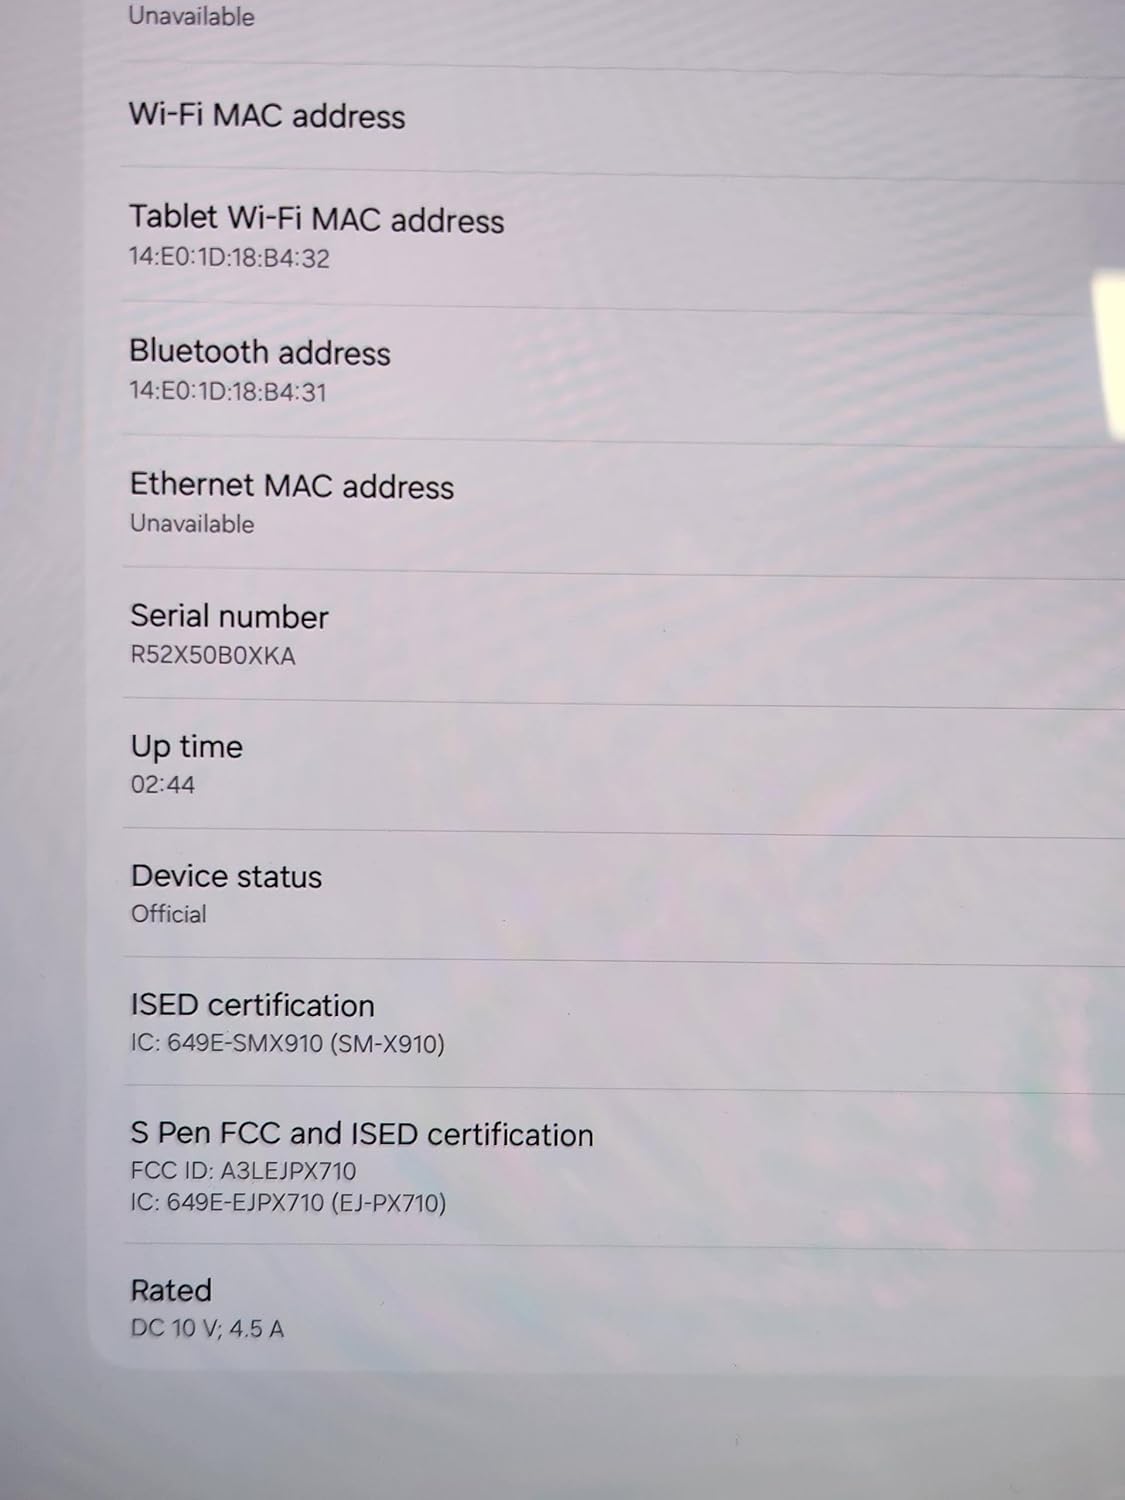
Figure 5.1: Device information screen, useful for verifying model and serial numbers during troubleshooting or support inquiries.
6. Specifications
| Feature | Specification |
|---|---|
| Brand | SAMSUNG |
| Model Name | Galaxy Tab S9 Ultra |
| Screen Size | 14.6 Inches |
| Screen Resolution | 2960 x 1848 Pixels (Dynamic AMOLED 2X) |
| Processor | Snapdragon 8 Gen 2 |
| Memory (RAM) | 16GB (for 1TB model) |
| Storage Capacity | 1 TB (Flash Memory) |
| Operating System | Android 13 |
| Wireless Type | 802.11ax (Wi-Fi 6e) |
| Connectivity | Bluetooth |
| Item Weight | 2.31 pounds |
| Product Dimensions | 16 x 12 x 1 inches |
| Color | Graphite |
| Battery | 1 Lithium Polymer battery (included) |
| Durability | IP68 Water and Dust Resistant, Armor Aluminum Frame |
7. Warranty and Support
This product is a renewed item. Warranty and support terms for renewed products may differ from new products. Please refer to the specific warranty information provided by the seller at the time of purchase or consult the Amazon Renewed program details for applicable return and warranty policies.
For general product information, software updates, and troubleshooting guides, you can visit the official Samsung support website: