1. Introduction
The Ibiza VENUS600 is a portable speaker designed for versatile audio playback and karaoke. It features two 8-inch (20cm) illuminated woofers, an integrated rechargeable battery, and a retractable trolley handle with wheels for easy transport. This manual provides essential information for the safe and effective use of your VENUS600 speaker.

Image 1.1: Ibiza VENUS600 Portable Speaker and Wired Microphone
2. Key Features
- Dual 8-inch (20cm) Illuminated Woofers: Provides dynamic sound with integrated light effects.
- 600W Peak Power Output: Delivers powerful audio performance.
- Multiple Audio Sources: Supports Bluetooth, USB, microSD card, and AUX input.
- Wired Microphone Included: Ready for karaoke or public address.
- Integrated Rechargeable Battery: Ensures portability and extended use.
- Retractable Trolley Handle and Wheels: Facilitates easy transportation.
- True Wireless Stereo (TWS) Function: Allows pairing two VENUS600 units for stereo sound.
- Recording Function (REC): Capture audio directly to USB or microSD.
- Adjustable Audio Controls: Treble, Bass, and Microphone Echo adjustments.

Image 2.1: Key Features Visual Overview
3. Setup
3.1 Unpacking
Carefully remove all components from the packaging. Ensure all items listed in the package contents are present. Retain the packaging for future storage or transport.
3.2 Charging the Battery
- Locate the charging port on the speaker.
- Connect the provided power adapter to the speaker and then to a suitable power outlet.
- The 'CHARGE' indicator light (if present) will illuminate during charging.
- Allow the speaker to fully charge before first use (approximately 4-6 hours). The indicator light may change or turn off when fully charged.
3.3 Initial Placement
Place the speaker on a stable, flat surface. Ensure adequate ventilation around the unit. For optimal sound, position the speaker at ear level when possible.
4. Operating Instructions
4.1 Control Panel Overview
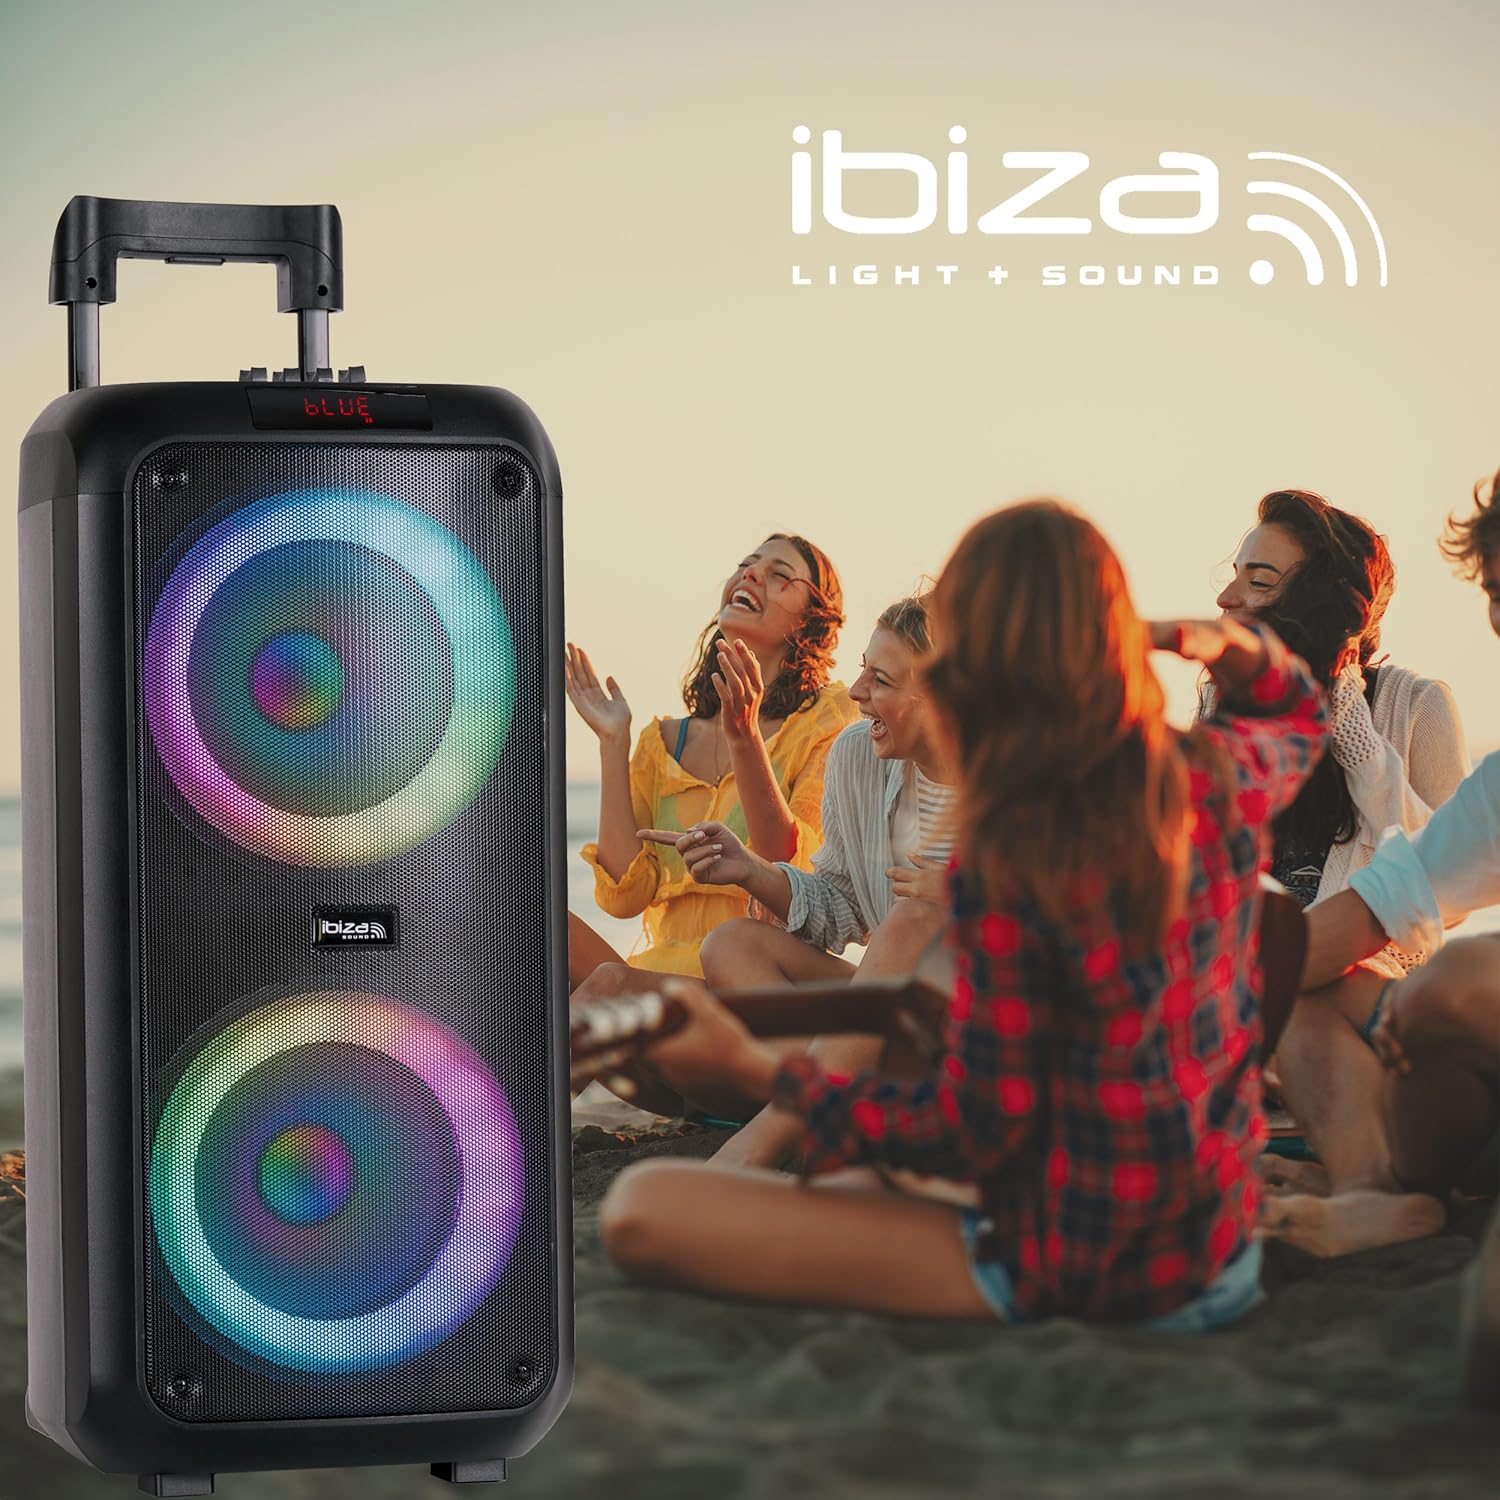
Image 4.1: Control Panel
- CHARGE: Charging indicator.
- GUIT: Guitar input.
- MIC 1 / MIC 2: Microphone inputs.
- AUX: Auxiliary input.
- TF CARD: MicroSD card slot.
- USB: USB input.
- VOLUME: Main volume control knob.
- M. VOLUME: Microphone volume control knob.
- TREBLE / BASS: Equalizer sliders for high and low frequencies.
- M. ECHO: Microphone echo effect slider.
- REC: Record button.
- MODE: Button to switch between input sources (Bluetooth, USB, microSD, AUX).
- PLAY/PAUSE: Play/Pause button for media playback.
- PREV / NEXT: Track navigation buttons.
- M. PRI: Microphone Priority function.
- Power Button: Turns the speaker on or off.
- Light Effect Button: Controls the LED light effects.
4.2 Power On/Off
Press and hold the Power Button on the control panel to turn the speaker on or off.
4.3 Selecting an Audio Source
Press the MODE button repeatedly to cycle through available input sources: Bluetooth, USB, microSD, and AUX.
4.4 Bluetooth Connection
- Turn on the speaker and select Bluetooth mode using the MODE button. The display will show "BLUE" and a pairing indicator may flash.
- Enable Bluetooth on your mobile device (smartphone, tablet, etc.).
- Search for "VENUS600" in your device's Bluetooth settings and select it to pair.
- Once connected, the speaker will emit a confirmation sound, and the display will indicate a successful connection.
4.4.1 True Wireless Stereo (TWS) Function
To pair two VENUS600 speakers for stereo sound:
- Ensure both VENUS600 speakers are powered on and in Bluetooth mode.
- On one of the speakers (this will be the primary unit), press and hold the TWS button (if available, or a combination of buttons as per specific model instructions, otherwise assume automatic pairing or single unit use). (Note: TWS button not explicitly labeled in image, assuming it's part of the MODE or a dedicated button not shown).
- The speakers will attempt to connect to each other. A confirmation sound will indicate successful TWS pairing.
- Connect your mobile device to the primary VENUS600 speaker via Bluetooth as described above.
4.5 USB/MicroSD Playback
- Insert a USB drive or microSD card (formatted to FAT32) containing MP3 audio files into the respective slot.
- The speaker will automatically switch to USB or microSD mode and begin playback. If not, press the MODE button.
- Use the PLAY/PAUSE, PREV, and NEXT buttons to control playback.
4.6 AUX Input
Connect an external audio device (e.g., MP3 player, laptop) to the AUX input using a 3.5mm audio cable. Select AUX mode using the MODE button.
4.7 Microphone Usage
- Connect the wired microphone to either the MIC 1 or MIC 2 input.
- Adjust the microphone volume using the M. VOLUME knob.
- Use the M. ECHO slider to add an echo effect to your voice.
- Press the M. PRI button to activate Microphone Priority, which lowers music volume when the microphone is in use.
4.8 Recording Function (REC)
To record microphone audio to a USB drive or microSD card:
- Ensure a USB drive or microSD card is inserted.
- Connect and set up the microphone as described in section 4.7.
- Press the REC button to start recording.
- Press the REC button again to stop recording. The recorded file will be saved to the USB drive or microSD card.
4.9 Audio Adjustment
Use the TREBLE and BASS sliders on the control panel to fine-tune the sound output to your preference.
4.10 Light Effects
Press the Light Effect Button (represented by a sun icon on the control panel) to cycle through different light modes or turn the lights off.
5. Maintenance
5.1 Cleaning
Wipe the speaker's exterior with a soft, dry cloth. Do not use abrasive cleaners, waxes, or solvents. Avoid spraying liquids directly onto the speaker.
5.2 Battery Care
- To prolong battery life, fully charge the speaker before first use.
- Avoid completely draining the battery frequently.
- If storing the speaker for an extended period, charge it to approximately 50-70% every 3-6 months.
- Do not expose the battery to extreme temperatures.
5.3 Storage
Store the speaker in a cool, dry place, away from direct sunlight and extreme temperatures. If possible, use the original packaging for protection.
6. Troubleshooting
If you encounter issues with your Ibiza VENUS600 speaker, refer to the following common problems and solutions:
| Problem | Possible Cause | Solution |
|---|---|---|
| Speaker does not power on. | Battery is depleted. Power cable is not connected. | Connect the speaker to a power outlet and allow it to charge. Ensure the power cable is securely connected. |
| No sound output. | Volume is too low. Incorrect audio source selected. Device not properly connected. | Increase the main VOLUME knob. Press the MODE button to select the correct input source. Check all audio cable connections or Bluetooth pairing. |
| Bluetooth pairing fails. | Speaker not in Bluetooth mode. Device too far from speaker. Interference. | Ensure the speaker is in Bluetooth mode. Move your device closer to the speaker. Turn off other Bluetooth devices nearby. Try restarting both the speaker and your device. |
| Microphone not working. | Microphone not connected properly. M. VOLUME is too low. | Ensure the microphone is securely plugged into MIC 1 or MIC 2. Increase the M. VOLUME knob. |
| Sound is distorted. | Volume is too high. Audio source quality is poor. | Reduce the main VOLUME. Check the audio quality of your source device. Adjust TREBLE and BASS sliders. |
7. Specifications

Image 7.1: Product Dimensions
- Model Number: 10-5593
- Brand: Ibiza
- Product Dimensions (L x W x H): 27 x 27 x 60 cm
- Item Weight: 6.5 kg
- Power Output: 600 Watts (Peak), 50 Watts (RMS)
- Number of Channels: 2
- Audio Input: Bluetooth, USB, AUX, microSD, Microphone
- Connectivity Technology: Bluetooth
- Battery: 1 Lithium-ion (included)
- Battery Composition: Lithium
- Voltage: 9 Volts (DC)
- Material Type: Acrylonitrile Butadiene Styrene (ABS)
- Color: Black
- Compatible Devices: Smartphone, Tablet
- Mounting Type: Tabletop
- Power Source: Battery Powered
- Manufacturer: Lotronic S.A.
- Country of Origin: China
8. Warranty and Support
For warranty information and customer support, please refer to the documentation provided with your purchase or contact your retailer. Keep your proof of purchase for any warranty claims.


