Introduction
This manual provides essential information for the setup, operation, and maintenance of your HP Series 3 Pro 327pf 27" FHD IPS Monitor. Please read these instructions carefully before using your monitor to ensure proper functionality and safety.
Package Contents
Verify that all components are present in the package:
- HP Series 3 Pro 327pf 27" FHD IPS Monitor
- Monitor Stand (Base and Neck)
- Power Cable
- HDMI Cable (or DisplayPort/VGA cable, depending on region)
- Docztorm USB HUB (Special Edition Portable Docztorm Data Hub)
- Documentation (Quick Setup Guide, Warranty Information)
Setup Instructions
1. Assembling the Monitor Stand
Carefully remove the monitor and stand components from the packaging. Attach the stand neck to the monitor panel, then secure the base to the neck. Ensure all connections are firm.
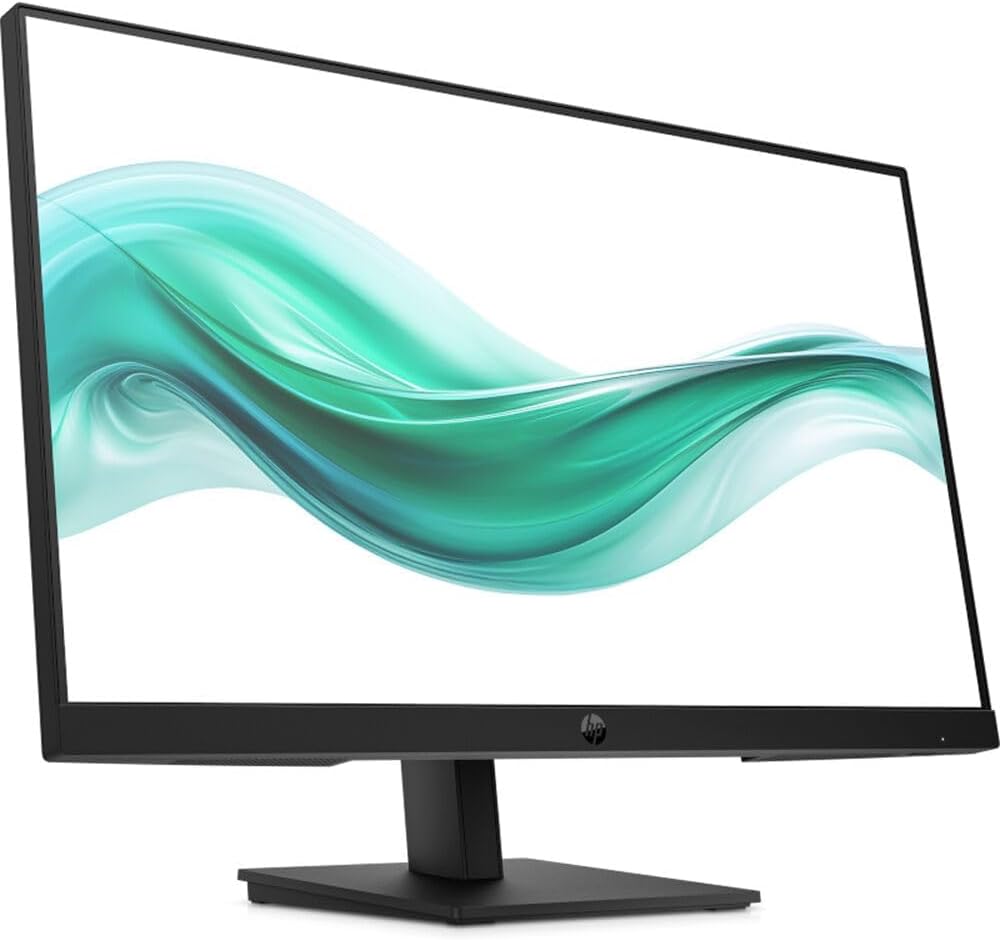
Image: Front view of the HP Series 3 Pro 327pf monitor with its stand assembled, displaying a vibrant green and white wave pattern on the screen.
2. Connecting the Monitor
Connect the monitor to your computer using one of the available video input ports. Ensure the power cable is securely connected to the monitor and a power outlet.
- HDMI Connection: Use an HDMI cable to connect the monitor's HDMI port to your computer's HDMI output.
- DisplayPort Connection: Use a DisplayPort cable to connect the monitor's DisplayPort to your computer's DisplayPort output.
- VGA Connection: Use a VGA cable to connect the monitor's VGA port to your computer's VGA output.
- Power Connection: Connect the power cable to the monitor's power input and then to a wall outlet.
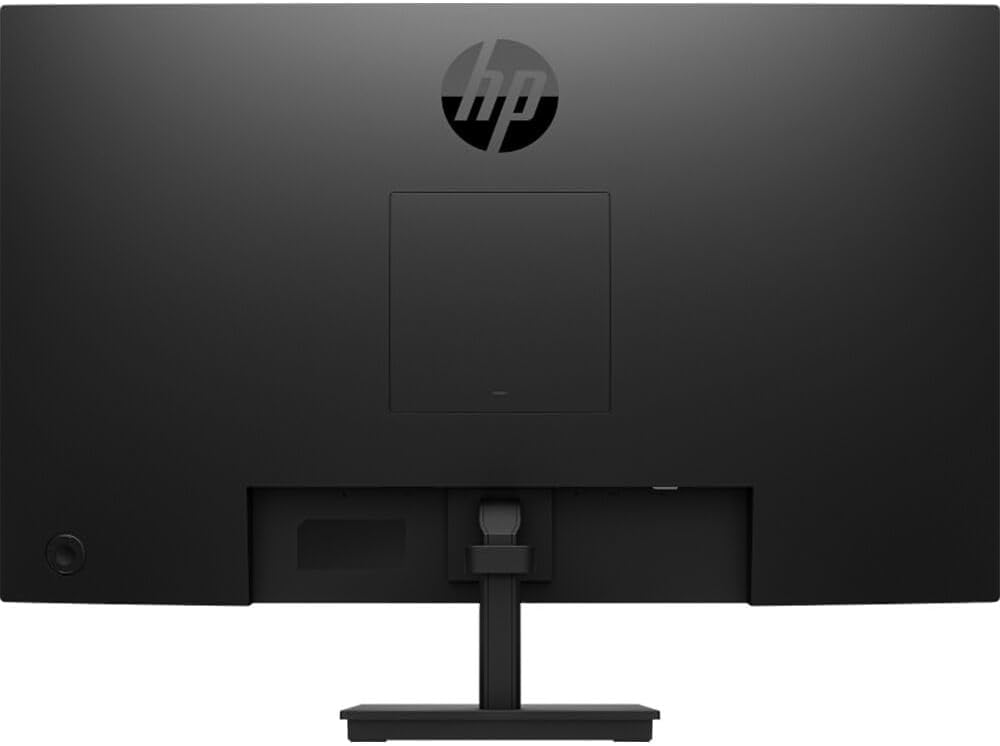
Image: Rear view of the HP Series 3 Pro 327pf monitor, highlighting the VESA mount area and various input ports.
3. VESA Mounting (Optional)
The monitor supports a 100mm x 100mm VESA mount. If you wish to mount the monitor on a wall or an articulating arm, remove the stand and attach the VESA-compatible mounting bracket (sold separately) to the monitor's rear panel.
Operating Instructions
Powering On/Off
Press the power button, usually located on the bottom right or rear of the monitor, to turn the monitor on or off. An indicator light will show the power status.
Using the On-Screen Display (OSD) Menu
The monitor features a joypad OSD button for easy navigation of the on-screen menu. This allows you to adjust various display settings.
- Press the joypad OSD button to activate the OSD menu.
- Use the joypad to navigate through the menu options (e.g., Brightness, Contrast, Color, Input Source).
- Press the joypad to select an option or confirm a setting.
- Use the joypad to adjust values or select sub-options.
- Exit the OSD menu by selecting the "Exit" option or waiting for it to time out.
Key Features
- IPS Technology: Provides wide 178-degree horizontal and vertical viewing angles, ensuring consistent image accuracy from various positions.
- Flicker-Free: Reduces screen flickering for a more comfortable viewing experience, minimizing eye strain.
- Anti-Glare: The matte screen surface helps reduce reflections, improving visibility in brightly lit environments.
- Low Blue Light: Reduces blue light emissions to help protect your eyes during extended use.
- Adjustable Tilt: The monitor can be tilted from -5 to +20 degrees to find your optimal viewing angle.
Maintenance
To ensure the longevity and optimal performance of your monitor, follow these maintenance guidelines:
- Cleaning the Screen: Gently wipe the screen with a soft, lint-free cloth. For stubborn marks, dampen the cloth with a small amount of water or a non-abrasive, monitor-specific cleaning solution. Do not spray liquid directly onto the screen.
- Cleaning the Casing: Use a soft, dry cloth to clean the monitor casing. Avoid using harsh chemicals or abrasive cleaners.
- Ventilation: Ensure the monitor's ventilation openings are not blocked to prevent overheating.
- Power Off When Not in Use: Turn off the monitor when not in use for extended periods to save energy and prolong its lifespan.
Troubleshooting
If you encounter issues with your monitor, refer to the following common solutions:
- No Image on Screen:
- Ensure the power cable is securely connected to both the monitor and the power outlet.
- Verify that the video cable (HDMI, DisplayPort, or VGA) is properly connected to both the monitor and the computer.
- Check if the correct input source is selected in the OSD menu.
- Ensure the computer is powered on and not in sleep mode.
- Image is Blurry or Distorted:
- Adjust the resolution settings on your computer to match the monitor's native resolution (1920 x 1080).
- Check the video cable for damage or loose connections.
- Perform an auto-adjustment or reset display settings via the OSD menu.
- No Sound (if applicable):
- This monitor does not have built-in speakers. Ensure external speakers are connected and properly configured.
- Monitor Flickers:
- While the monitor is flicker-free, external interference can sometimes cause issues. Check for nearby electronic devices.
- Ensure the refresh rate is set correctly in your computer's display settings (100 Hz).
Specifications
| Feature | Specification |
|---|---|
| Model Number | 327pf |
| Display Size | 27 inches |
| Panel Type | IPS |
| Resolution | FHD (1920 x 1080) |
| Aspect Ratio | 16:9 |
| Refresh Rate | 100 Hz |
| Response Time | 5ms GtG (with overdrive) |
| Brightness | 250 nits |
| Contrast Ratio | 1000:1 |
| Color Support | Up to 16.7 million colors (8 bit: 6 bit + FRC) |
| Color Gamut | 72% NTSC |
| Viewing Angle | 178° horizontal, 178° vertical |
| Surface Treatment | Anti-Glare, Matte |
| Flicker Free | Yes |
| Eye Saver Mode / Low Blue Light | Yes |
| Tilt Adjustment | -5 to +20 degrees |
| VESA Mount Compatibility | 100 mm x 100 mm |
| Input Ports | 1 x HDMI, 1 x DisplayPort, 1 x VGA |
| Built-in Speakers | No |
| Dimensions (W x D x H) | 24.05 x 7.49 x 17.25 inches |
| Weight | 11.13 lbs (approx. 5.05 kg) |
Warranty and Support
For warranty information and technical support, please refer to the documentation included with your monitor or visit the official HP support website. Keep your purchase receipt and serial number handy for any warranty claims.
HP Support Website: www.hp.com/support