
Introduction
This manual provides detailed instructions for the installation, operation, and maintenance of your LannlKer Modern LED Pendant Light. Please read this manual thoroughly before installation and retain it for future reference. This fixture is designed to provide adjustable lighting for various indoor spaces such as kitchens, dining rooms, living rooms, and bedrooms.
Safety Information
- Always turn off the main power supply at the circuit breaker before beginning any electrical work.
- Installation should be performed by a qualified electrician or a person with adequate knowledge of electrical wiring.
- Ensure all wiring connections are secure and comply with local electrical codes.
- Do not connect this fixture to a dimmer switch unless specifically designed for LED dimming. This fixture is controlled by the included remote.
- Handle the light fixture with care to prevent damage.
- Keep children away from the installation area.
What's in the Box
Carefully unpack all components and check for any damage. If any parts are missing or damaged, contact customer support immediately.
- LED Pendant Light Fixture
- Ceiling Canopy
- Mounting Hardware
- Remote Control (batteries not included)
- Instruction Manual
Product Overview
The LannlKer Modern LED Pendant Light features a sleek, contemporary design with adjustable color temperature and brightness. It is constructed from high-quality metal aluminum and a silicone lampshade, ensuring durability and optimal light transmission.

The LannlKer Modern LED Pendant Light installed in a contemporary kitchen, showcasing its elegant design and bright illumination.
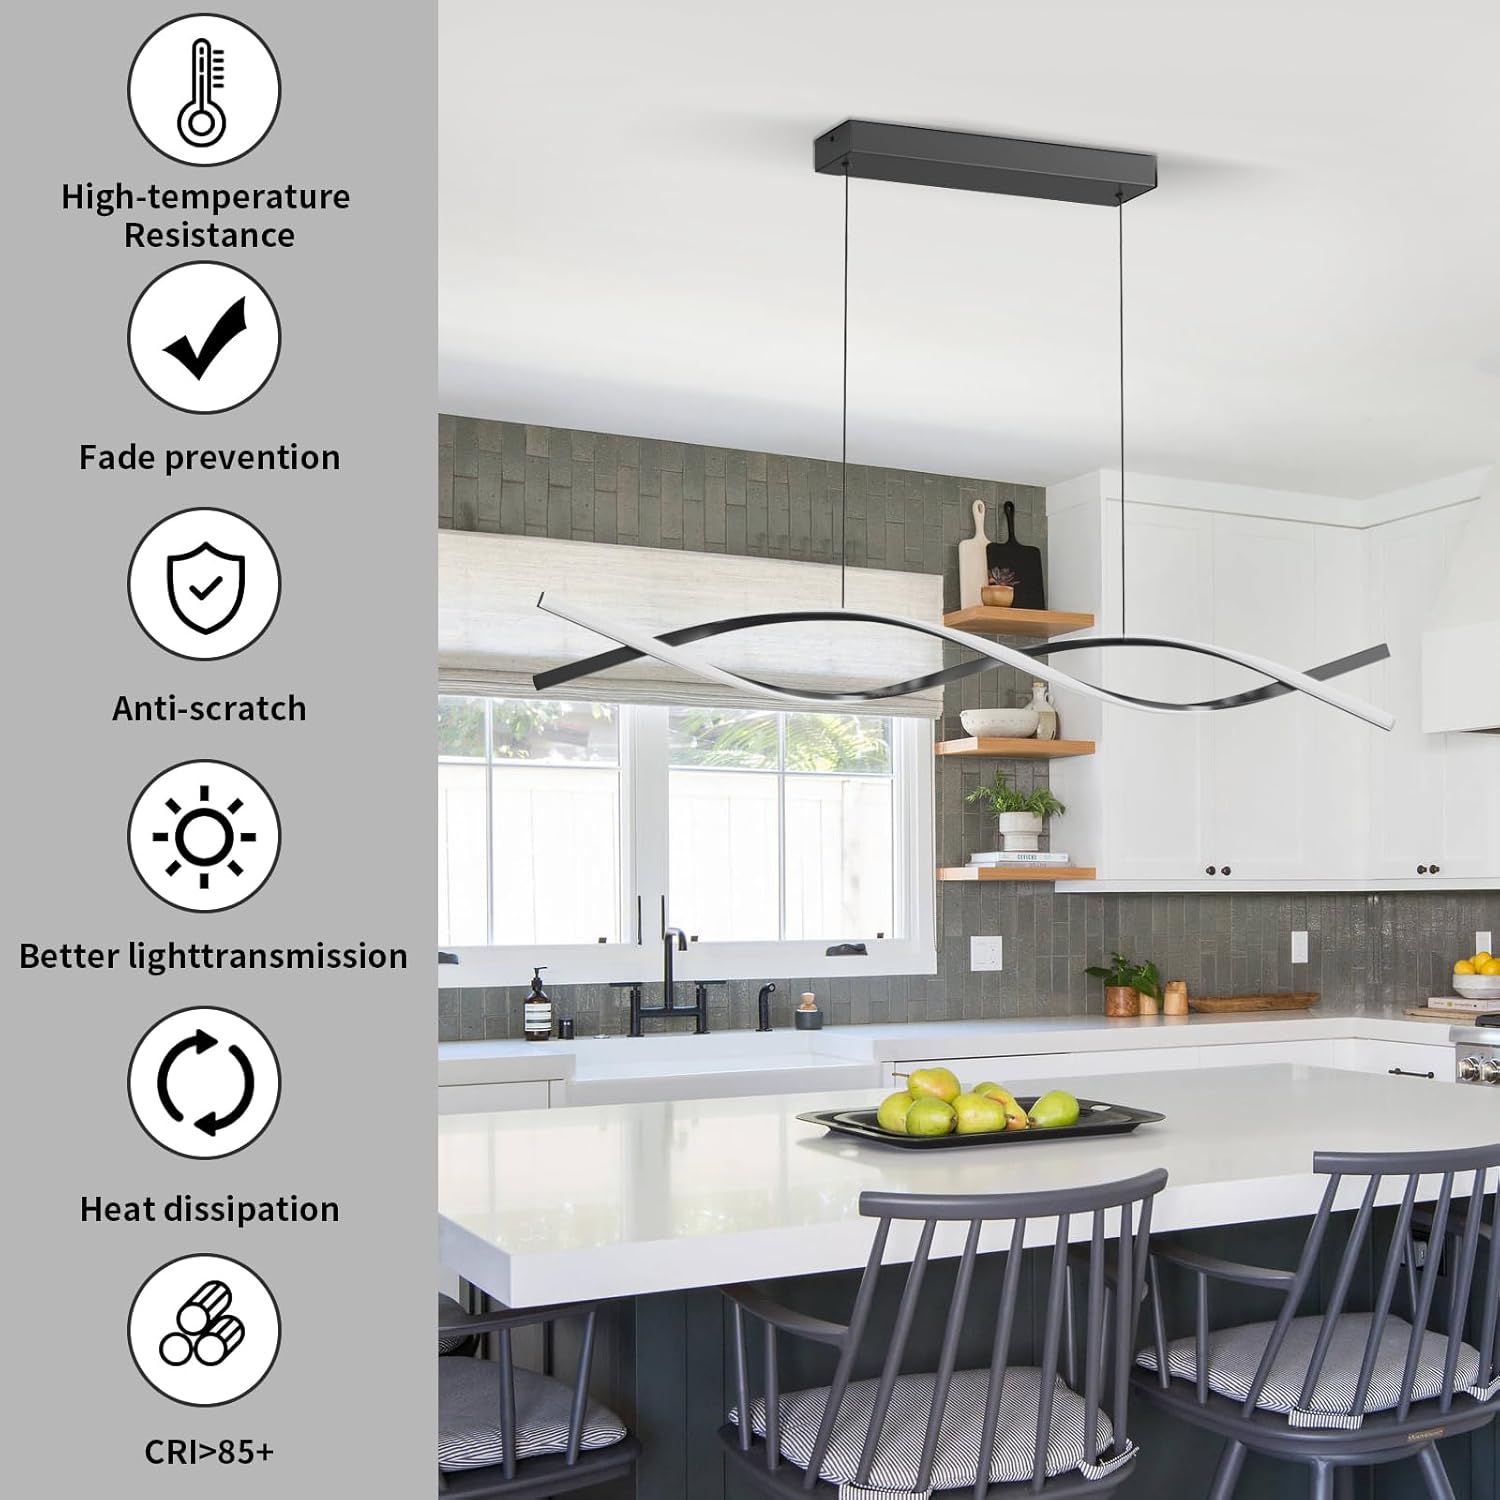
Key features of the pendant light, including high-temperature resistance, fade prevention, anti-scratch properties, enhanced light transmission, efficient heat dissipation, and a Color Rendering Index (CRI) greater than 85.
The fixture offers high brightness with low energy consumption, utilizing hundreds of high-quality LED chip beads to produce up to 48W and 4800 lumens, with a lifespan of approximately 50,000 hours. The light is soft and not harsh, thanks to the high-quality silicone lampshade.
Setup (Installation)
Follow these steps for proper installation of your pendant light. It is recommended to have two people for installation.
- Prepare for Installation: Turn off power at the circuit breaker. Ensure the mounting surface is secure and can support the fixture's weight.
- Install Mounting Bracket: Attach the mounting bracket to the ceiling junction box using the provided screws. Ensure it is firmly secured.
- Connect Wiring: Connect the fixture's wires to your household wiring. Typically, brown wire to live (black in USA), blue wire to neutral (white in USA), and yellow/green wire to ground (green in USA). Use appropriate wire connectors (not always included).
- Attach Ceiling Canopy: Carefully push the ceiling canopy up to the mounting bracket and secure it with the provided screws.
- Adjust Height: The linear dining light has 2 adjustable wires. Simply press the black button connecting the wires to the shade to adjust the height, adapting it to your ceiling height.
- Final Check: Ensure all connections are tight and the fixture is securely mounted. Restore power at the circuit breaker.

This diagram illustrates the product dimensions (39.3 inches length, 1.57 inches height, 59.0 inches maximum adjustable cable length), the height adjustment screw, and clarifies that the light is compatible with a regular on/off switch and the included remote control, but not with external dimmable switches.
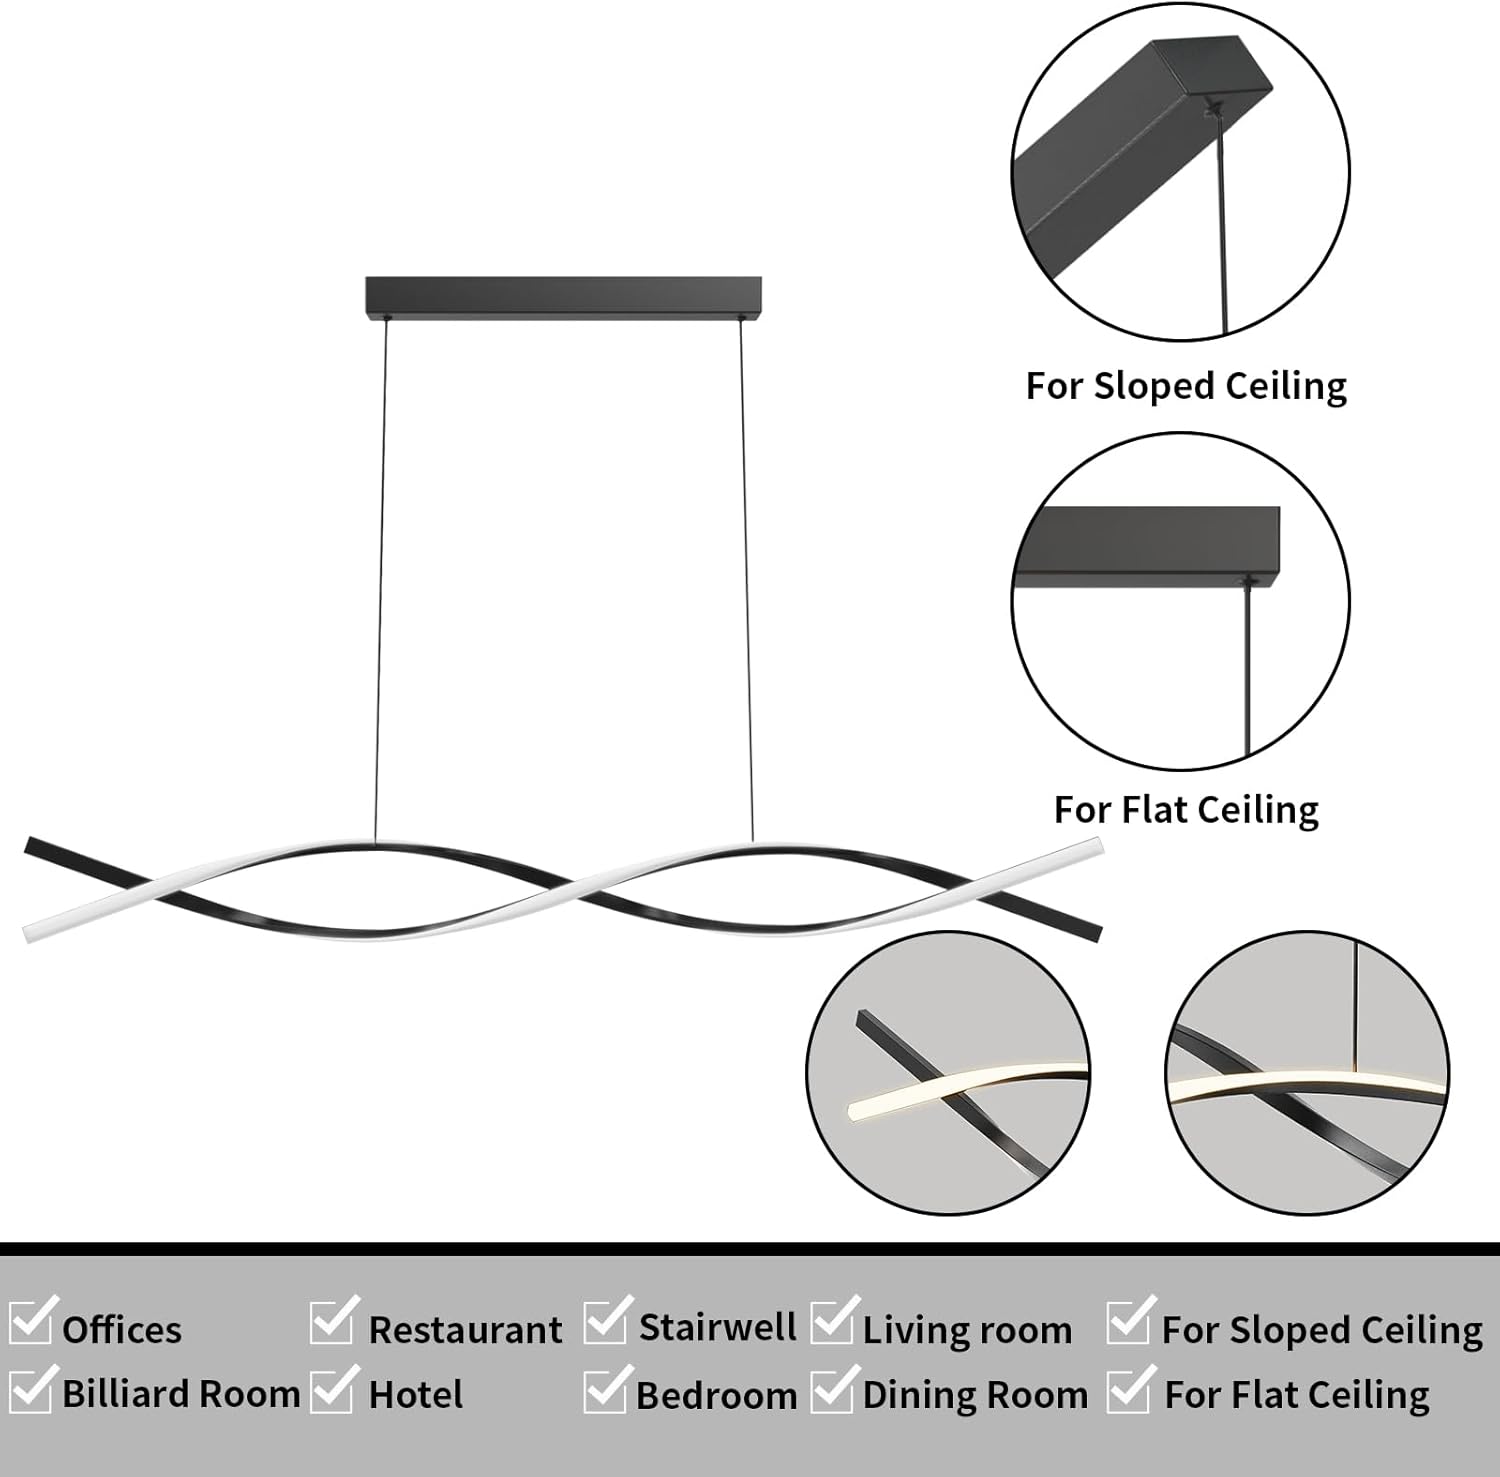
The light fixture is designed for versatile installation, compatible with both sloped and flat ceilings, and capable of providing various light angles.
Operating Instructions
Your LannlKer LED Pendant Light comes with a remote control for convenient operation. The remote allows you to adjust brightness, color temperature, and activate a night mode.
Remote Control Functions:
- ON/OFF: Press the 'ON' button to turn the light on, and 'OFF' to turn it off.
- Brightness Adjustment: Use the brightness '+' and '-' buttons to increase or decrease the light intensity from 10% to 100%.
- Color Temperature Adjustment: Use the 'K+' and 'K-' buttons to adjust the color temperature from warm white (3000K) to cool white (6000K).
- Night Mode: Press the moon icon button to activate a low-brightness, warm light setting suitable for nighttime.
- Memory Function: The light features a memory function, restoring the last used brightness and color temperature settings when turned on again via the remote.
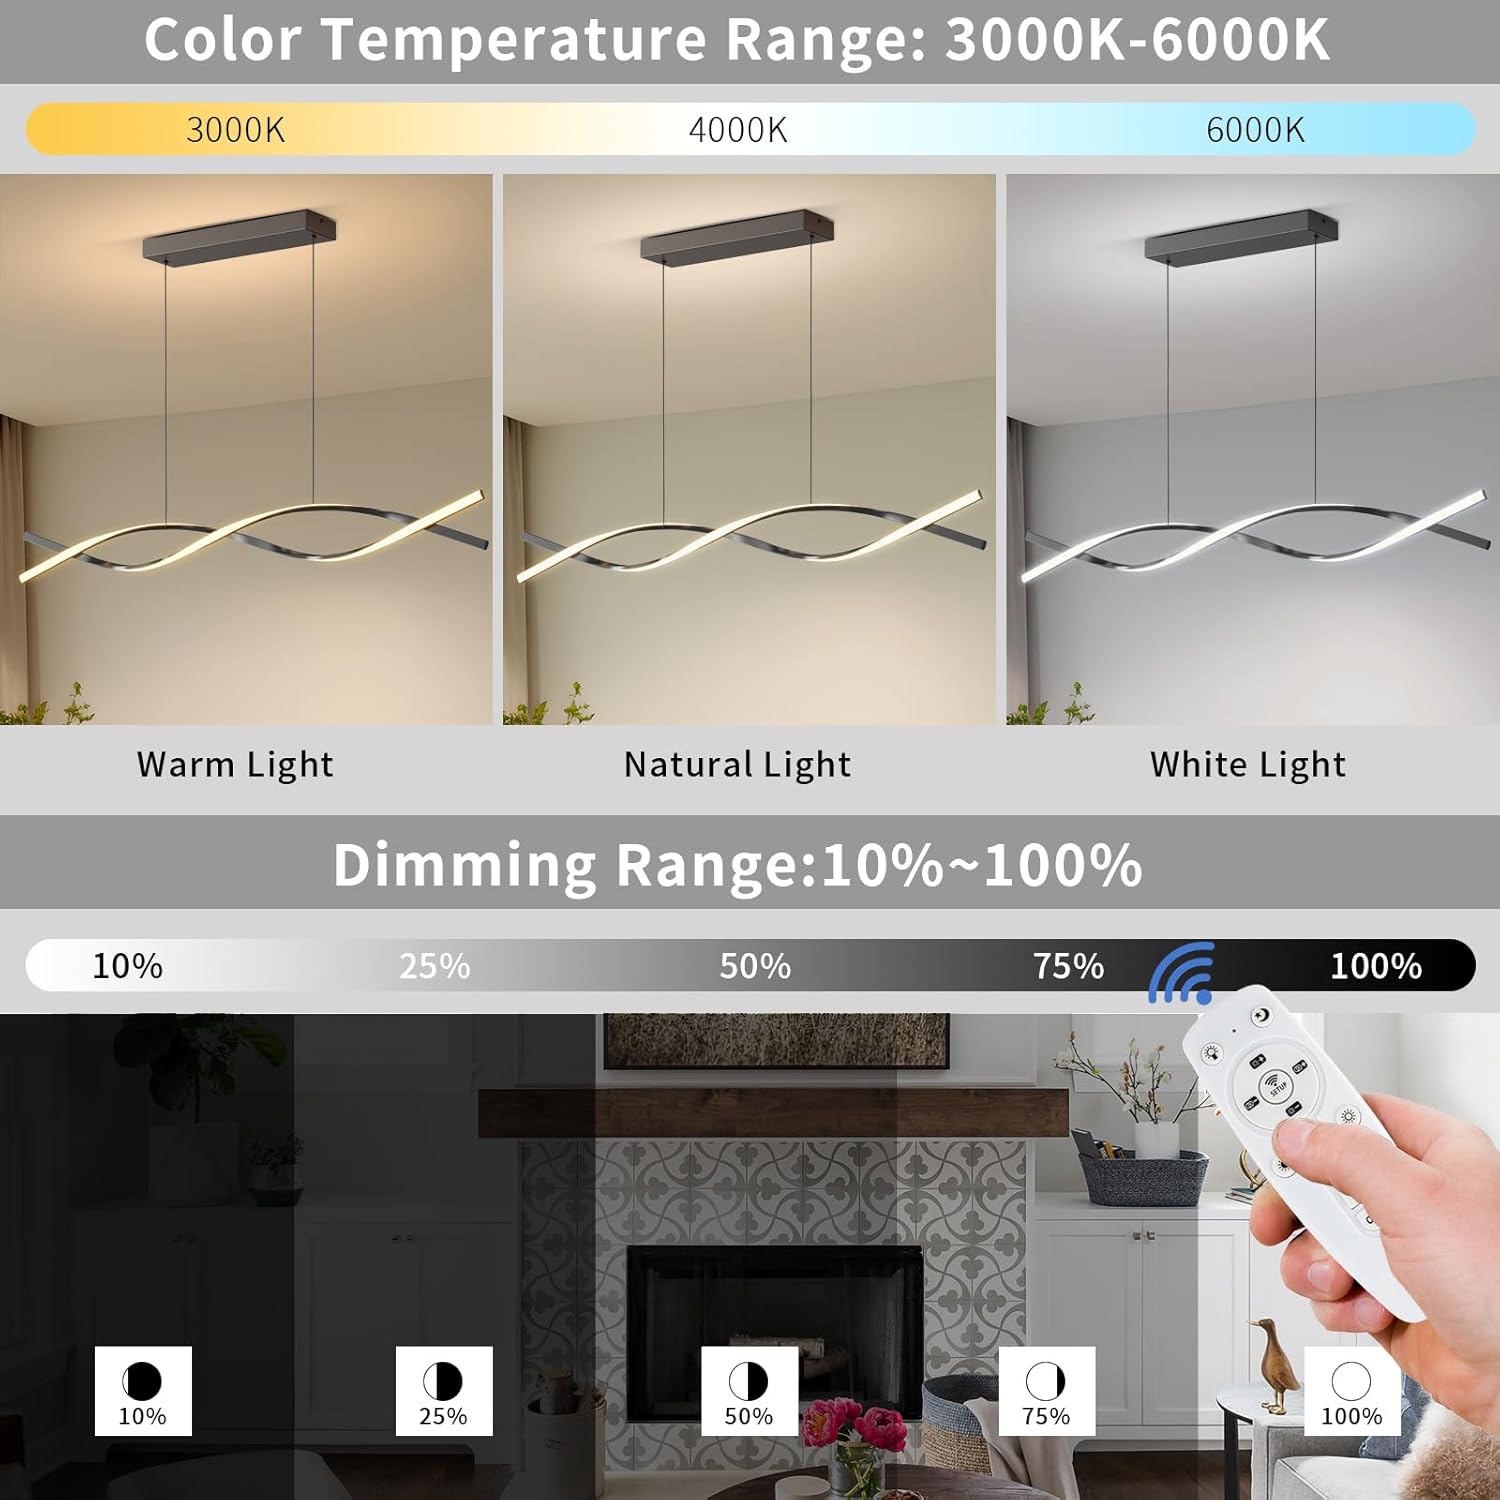
The remote control allows for seamless adjustment of color temperature from warm (3000K) to cool (6000K) and brightness from 10% to 100%, as demonstrated by the various light settings shown.
This video demonstrates the functionality of the remote control, showcasing how to adjust the light's color temperature and brightness to create various ambiances in a kitchen setting.
Maintenance
To ensure the longevity and optimal performance of your LED pendant light, follow these maintenance guidelines:
- Cleaning: Turn off the power before cleaning. Use a soft, dry cloth to wipe the fixture. Avoid abrasive cleaners, solvents, or polishes as they may damage the finish.
- Bulb Replacement: The LED light source is integrated and not user-replaceable. The fixture has a long lifespan of up to 50,000 hours.
- Regular Checks: Periodically check for any loose connections or signs of wear. If any issues are found, consult a qualified electrician.
Troubleshooting
If you encounter any issues with your pendant light, refer to the following common problems and solutions:
- Light does not turn on:
- Check if the power supply at the circuit breaker is on.
- Ensure all wiring connections are secure.
- Verify that the remote control batteries are correctly inserted and not depleted.
- Remote control not responding:
- Replace the remote control batteries.
- Ensure there are no obstructions between the remote and the light fixture.
- Light does not hold settings (brightness/color temperature):
- The memory function typically works when the light is turned off and on using the remote. If using a wall switch, it might reset to default settings.
- Light flickers or dims unexpectedly:
- Ensure the fixture is not connected to an incompatible dimmer switch.
- Check for loose wiring connections.
If the problem persists, contact LannlKer customer support for assistance.
Specifications
| Feature | Detail |
|---|---|
| Brand | LannlKer |
| Model Name | 01 |
| Color | B-Black |
| Material | Metal, Silicone (Shade) |
| Style | Modern |
| Light Fixture Form | Chandelier |
| Product Dimensions | 6.6"L x 6.6"W x 39"H (Fixture) |
| Power Source | Corded Electric |
| Special Feature | Dimmable |
| Control Method | Remote Control |
| Light Source Type | LED |
| Light Color Temperature | 3000K-6000K (Adjustable) |
| Wattage | 48 watts |
| Brightness | 4800 lumens |
| Lifespan | Up to 50,000 hours |
| Item Weight | 4.24 pounds |
| Installation Type | Semi Flush Mount |
| Indoor/Outdoor Usage | Indoor |
Warranty and Support
For warranty information or technical support, please contact LannlKer customer service. Keep your purchase receipt as proof of purchase. You can visit the LannlKer Store on Amazon for more product details and contact options.