1. Introduction
Thank you for choosing the bestarc BTC650DP 7th Pilot Arc Plasma Cutter. This manual provides essential information for the safe and effective operation, setup, and maintenance of your plasma cutting equipment. Please read this manual thoroughly before operating the unit to ensure proper usage and to prevent injury or damage.
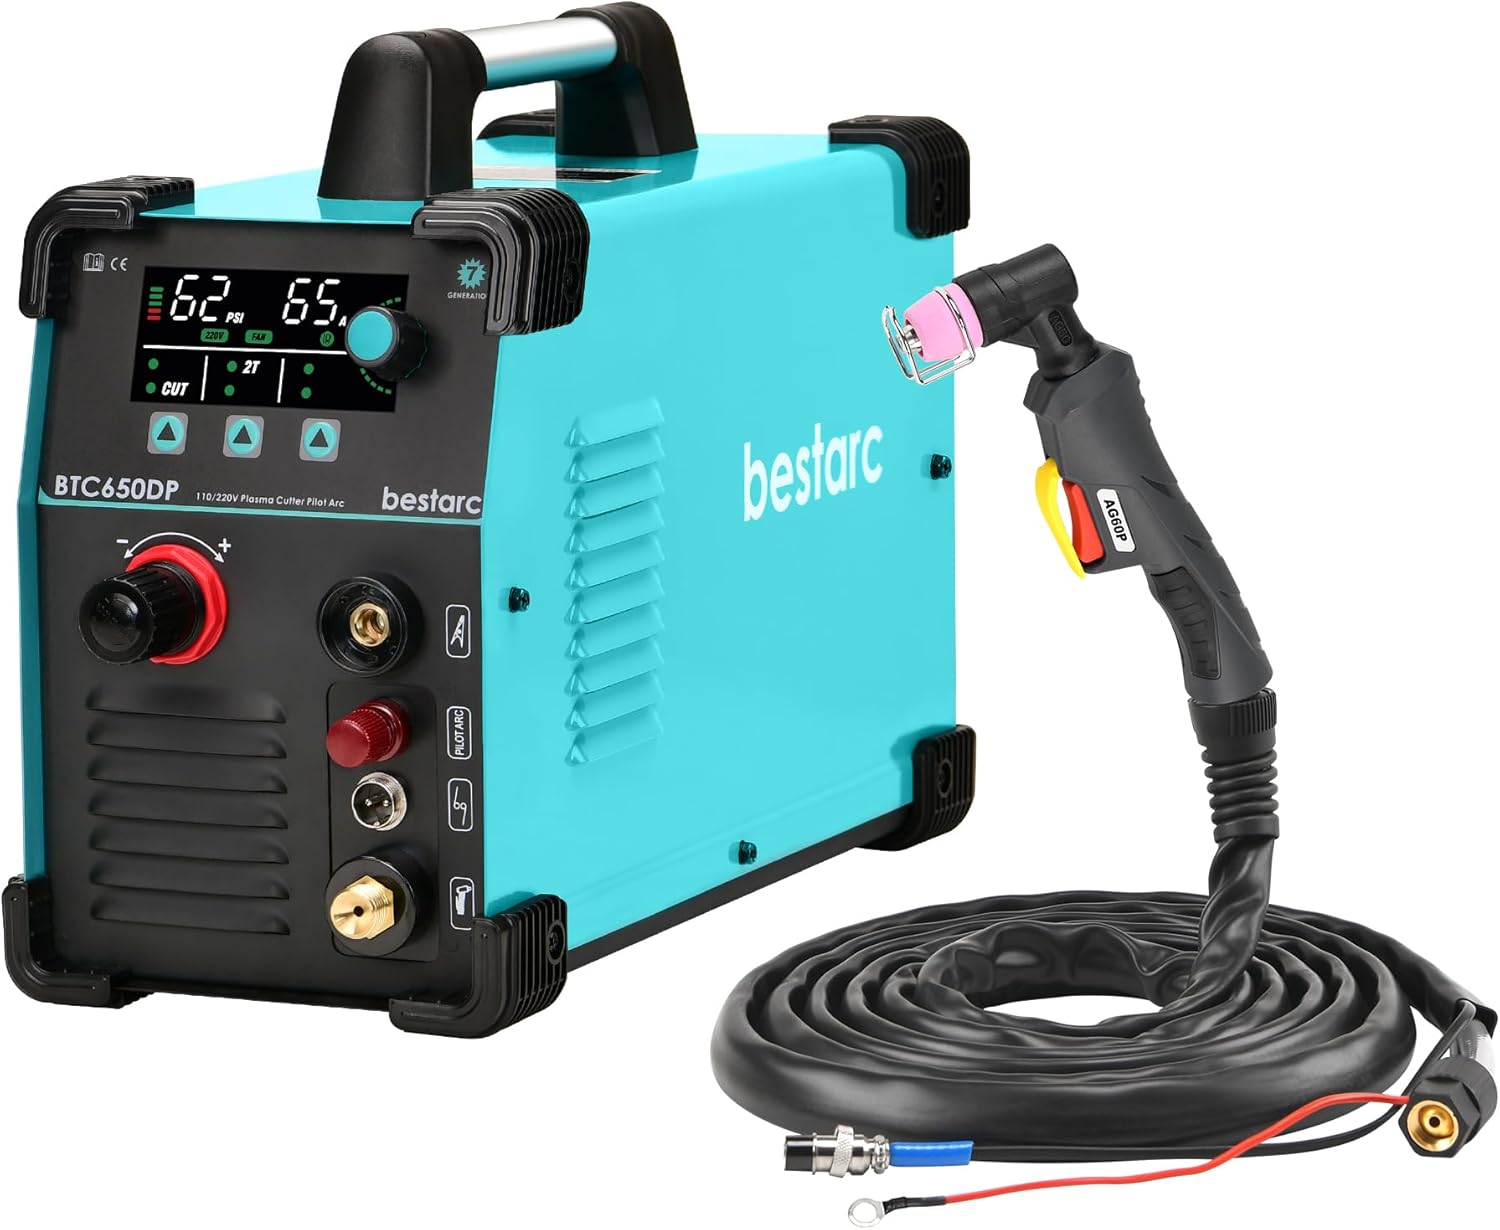
Image 1.1: The bestarc BTC650DP 7th Pilot Arc Plasma Cutter unit with the AG60P torch and associated cables.
2. Safety Information
Operating plasma cutting equipment can be dangerous if proper safety precautions are not followed. Always adhere to the following safety guidelines:
- Electric Shock: This equipment uses high voltage. Ensure proper grounding. Do not operate in wet conditions. Always wear dry welding gloves.
- Fumes and Gases: Plasma cutting produces fumes and gases that can be hazardous to your health. Work in a well-ventilated area or use a fume extractor.
- Arc Rays: The plasma arc produces intense visible and invisible (UV and IR) rays that can burn eyes and skin. Always wear a welding helmet with appropriate shade and protective clothing.
- Fire and Explosion: Sparks and hot metal can cause fires. Keep flammable materials away from the work area. Ensure a fire extinguisher is readily available.
- Hot Parts: The torch and work piece will become hot during operation. Allow them to cool before handling or wear appropriate heat-resistant gloves.
- Compressed Air: Ensure air lines are properly connected and rated for the required pressure. Never direct compressed air at yourself or others.
3. Package Contents
Upon unpacking, please verify that all components are present and undamaged:
- bestarc BTC650DP 7th Plasma Cutter Unit
- AG60P Pilot Arc Plasma Cutting Torch
- Ground Clamp with Cable
- Air Regulator (typically included, though not explicitly listed in bullets)
- Consumables (Nozzle, Electrode, Shield Cup, Wire Guider - some pre-installed, some spares)
4. Product Features
The bestarc BTC650DP 7th Plasma Cutter is equipped with advanced features for efficient and precise cutting:
- Pilot Arc Function: Features a high-frequency non-touch arc starting mode, eliminating the need for the torch head to contact the metal. Includes an adjustable PA function to extend pilot arc maintenance time, reduce energy consumption, and prolong electrode life.
- Digital Screen Display: A centralized screen displays critical parameters such as air pressure, voltage, and current, enabling real-time monitoring and timely adjustments. The screen also provides an error code system for easy troubleshooting.
- Advanced IGBT Inverter Technology: Utilizes modern IGBT inverter technology for stable and efficient power delivery.
- Dual Voltage Capability: Operates on both 110V and 220V power supplies.
- High-Frequency Ignition: Ensures easy arc starting.
- AG60P Plasma Cutting Torch: Comes with a high-quality AG60P torch featuring a flexible and durable neck, pure copper joints, and CNC integrated processing for optimal performance.

Image 4.1: The BTC650DP 7th Pilot Arc Plasma Cutter in operation, showcasing its digital display and advanced features.

Image 4.2: The plasma cutter demonstrating its cutting thickness capabilities on a metal workpiece.

Image 4.3: Visual representation of the core technologies: High Frequency, IGBT Technology, Dual Voltage, Pilot Arc, and 50/60Hz operation.
5. Setup
Follow these steps to set up your plasma cutter:
- Placement: Place the unit on a stable, level surface, ensuring adequate ventilation around the machine.
- Power Connection: Connect the power cord to a suitable 110V or 220V power outlet. Ensure the circuit can handle the required amperage.
- Air Compressor Connection: Connect your air compressor to the air inlet on the back of the plasma cutter. Ensure the air pressure is set according to the cutting requirements (e.g., 45 PSI for 110V/40A, 70 PSI for 220V/65A).
- Ground Clamp Connection: Attach the ground clamp cable to the designated terminal on the front panel of the plasma cutter. Securely attach the ground clamp to the workpiece or work table, ensuring good electrical contact.
- Torch Connection: Connect the AG60P plasma torch to the appropriate ports on the front panel. Ensure the main torch connection, trigger wire (2-pin connector), and air hose are all securely fastened.

Image 5.1: The AG60P plasma cutting torch, ready for connection.
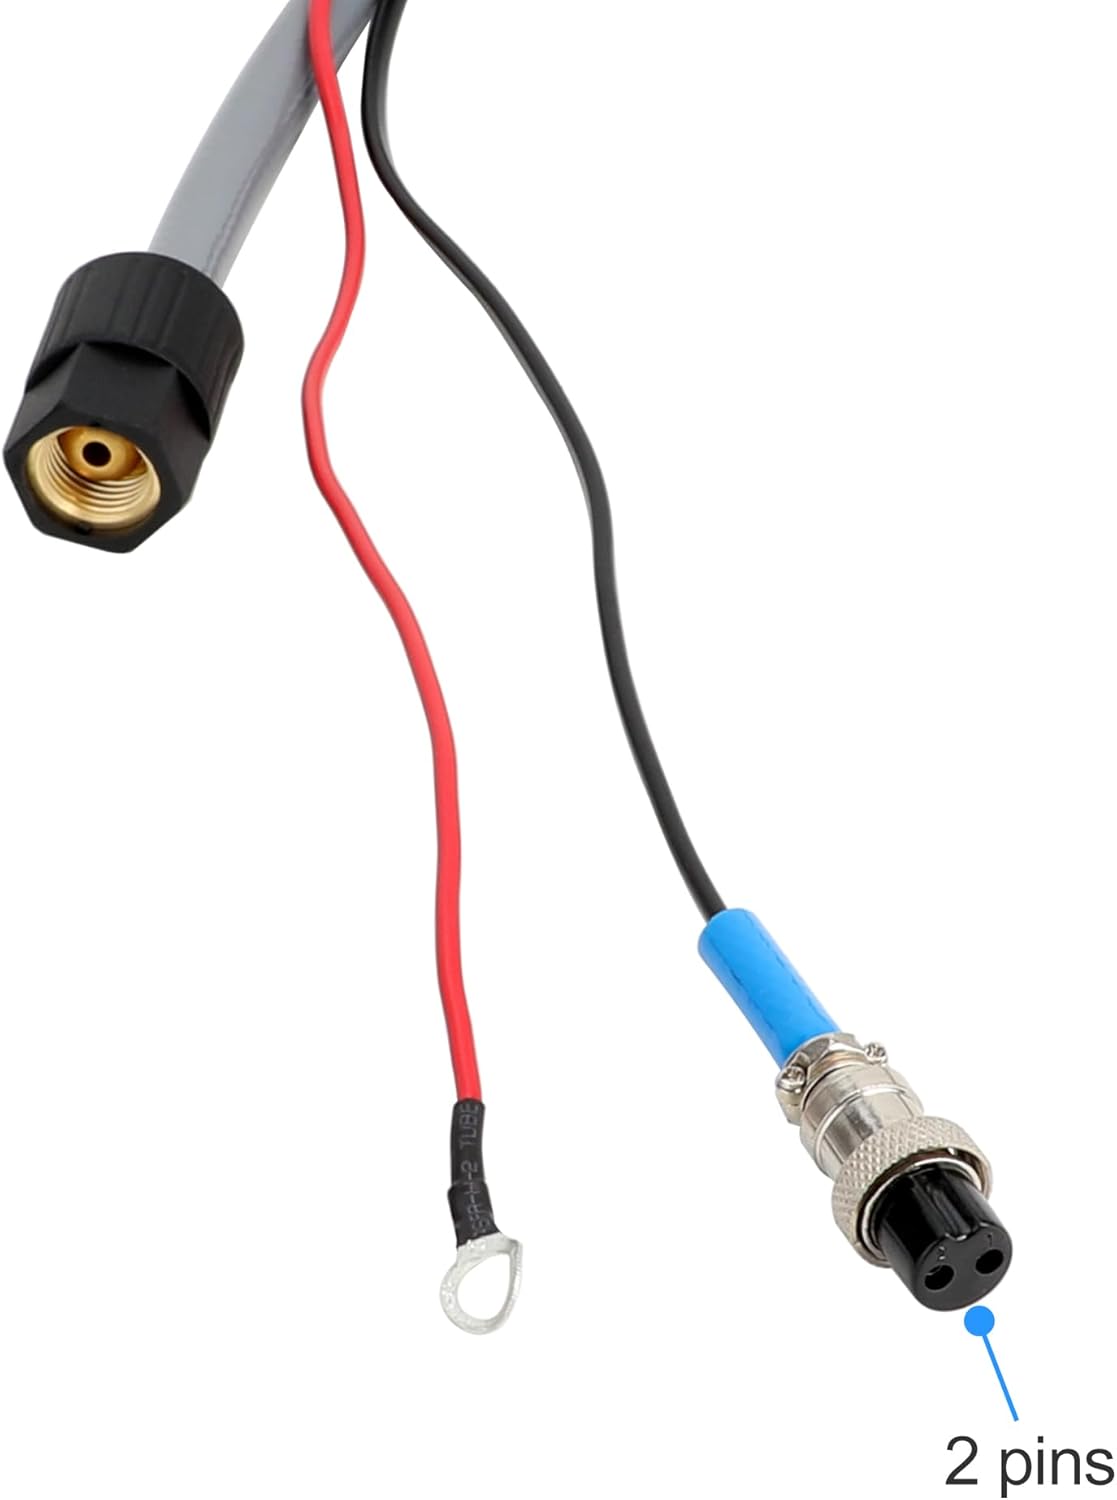
Image 5.2: Detail of the 2-pin connector for the torch trigger wire, ensuring proper electrical signal for arc initiation.
6. Operating Instructions
Before operating, ensure all safety precautions are in place.
- Power On: Turn on the main power switch on the plasma cutter. The digital display will illuminate.
- Adjust Settings: Use the control knobs and buttons to set the desired cutting current (Amps) and verify the air pressure on the digital display. Refer to the specifications for recommended settings based on material thickness.
- Pilot Arc Test: Point the torch away from any material and press the trigger briefly to confirm the pilot arc ignites.
- Cutting: Position the torch nozzle approximately 1/8 inch (3mm) above the workpiece. Press the torch trigger to initiate the pilot arc. Once the arc transfers to the workpiece, move the torch steadily along the cutting line. Maintain a consistent travel speed for a clean cut.
- Post-Cut: Release the trigger to extinguish the arc. Allow the workpiece and torch to cool.
7. Maintenance
Regular maintenance ensures optimal performance and extends the lifespan of your plasma cutter.
- Torch Consumables: Regularly inspect the nozzle, electrode, shield cup, and wire guider for wear. Replace them when they show signs of degradation to maintain cut quality and prevent damage to the torch.
- Cleaning: Keep the plasma cutter unit clean and free of dust and debris. Use compressed air to blow out internal components periodically, ensuring the unit is unplugged first.
- Air Filter/Regulator: Check and drain any moisture from the air filter/regulator bowl regularly. Replace the filter element if it becomes clogged.
- Cable Inspection: Inspect all cables (power, torch, ground) for cuts, abrasions, or loose connections. Repair or replace damaged cables immediately.

Image 7.1: Exploded view of the AG60P torch, showing its replaceable consumables including the shield cup, wire guider, nozzle, and electrode.
8. Troubleshooting
The BTC650DP features an error code system on its digital display to assist with troubleshooting. Consult the display for specific codes and refer to the manufacturer's support for detailed solutions. Common issues and general remedies include:
- No Arc: Check power supply, air pressure, ground clamp connection, and torch consumable wear. Ensure the torch trigger is fully depressed.
- Poor Cut Quality: Verify correct amperage and air pressure settings for the material. Inspect and replace worn torch consumables. Adjust travel speed.
- Unit Overheating: The machine may have an internal thermal overload protection. Allow the unit to cool down. Ensure proper ventilation and duty cycle adherence.
- Air Flow Issues: Check air compressor operation, air line connections, and ensure the air regulator is set correctly. Drain moisture from the air filter.
9. Specifications
| Parameter | Value |
|---|---|
| Model | BTC650DP 7th |
| Torch Type | AG60P |
| Input Voltage | 110V/220V Dual Voltage |
| Output Current (110V) | 15-40A |
| Output Current (220V) | 15-65A |
| Max Cutting Thickness (110V) | 14mm @ 40A, 45 PSI |
| Max Cutting Thickness (220V) | 20mm @ 65A, 70 PSI |
| Duty Cycle | 60% |
| Technology | IGBT Inverter, 50/60Hz High-Frequency Pilot Arc |
| ASIN | B0CLCFL12R |
| Date First Available | October 19, 2023 |
10. Warranty and Support
For warranty information, technical support, or service inquiries, please refer to the warranty card included with your product or visit the official bestarc website. You may also contact bestarc customer service directly for assistance with your BTC650DP 7th Plasma Cutter.


