1. Product Overview
The RadioShack N409 rechargeable battery charger is designed to power your devices efficiently, whether at home, in the office, or during travel. This versatile charger supports both AA and AAA rechargeable batteries, including high-capacity 2500mAh batteries. Its compact and portable design makes it convenient for on-the-go use. The charger features LED indicators to display charging progress and incorporates intelligent charging technology to optimize charging speed and protect batteries from overcharging, extending their lifespan. It includes a Micro USB cable and a USB adapter for flexible charging options.
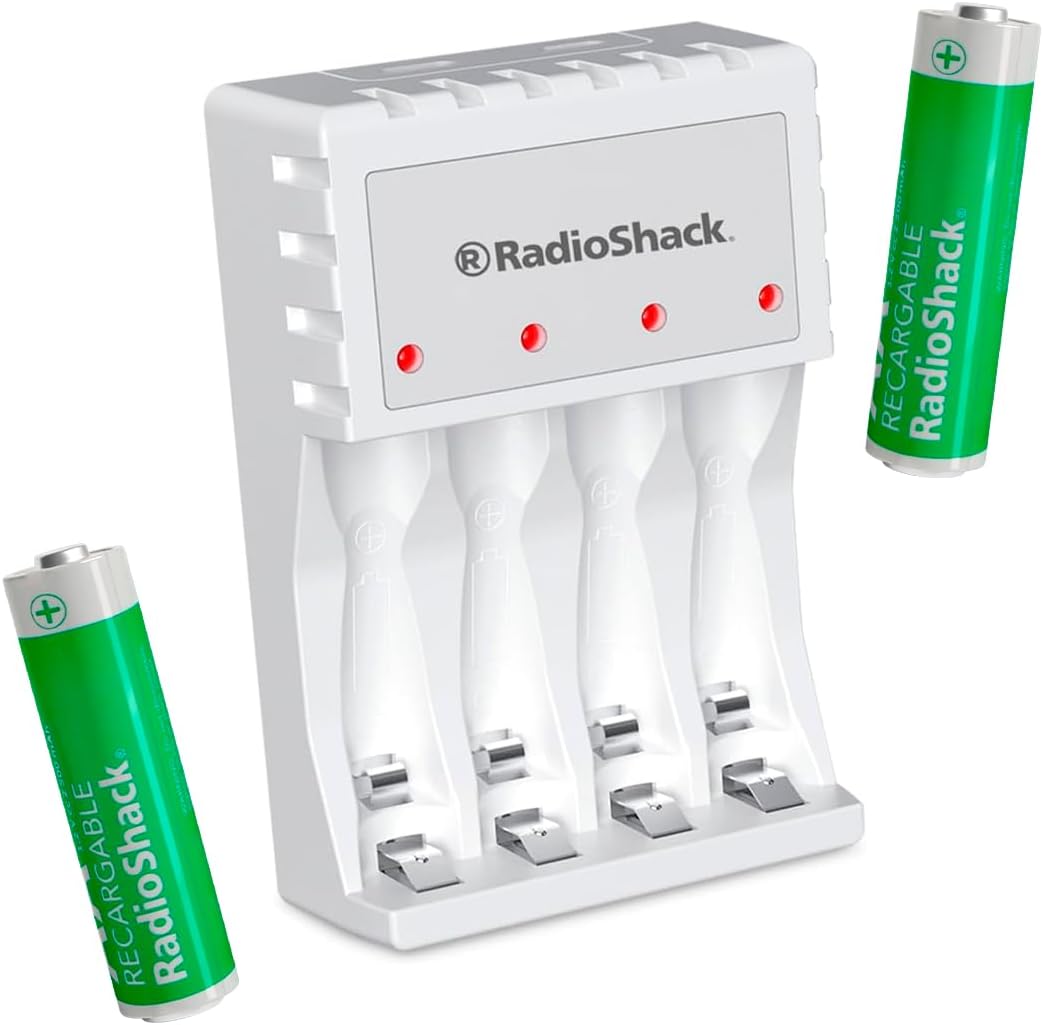
Figure 1: RadioShack N409 Charger with included AA batteries.
2. Package Contents
Verify that all items are present in the package:
- 1 x RadioShack N409 AA/AAA Rechargeable Battery Charger
- 2 x AA 2500 mAh Rechargeable Batteries
- 1 x Micro USB Charging Cable
- 1 x USB Wall Adapter

Figure 2: All components included in the package.
3. Setup
- Connect the Charger: Insert the Micro USB end of the charging cable into the charger's Micro USB port. Connect the standard USB end of the cable to the included USB wall adapter, a computer's USB port, or another compatible USB power source.
- Power On: Plug the USB wall adapter into a standard electrical outlet. The charger's LED indicators may briefly illuminate.
- Insert Batteries: Carefully insert AA or AAA rechargeable batteries into the charging slots, ensuring correct polarity (+ and - ends match the markings on the charger). The charger can accommodate up to four batteries simultaneously.

Figure 3: Charger connected to a power source.
4. Operating Instructions
- Charging Process: Once batteries are correctly inserted and the charger is powered, the corresponding LED indicators will illuminate to show that charging is in progress.
- LED Indicators: The LED indicators provide information on the charging status. When a battery is fully charged, the charger's intelligent technology will automatically reduce the charging current or shut off the charging process for that slot to prevent overcharge and conserve energy.
- Battery Removal: Once charging is complete, carefully remove the batteries from the charger.
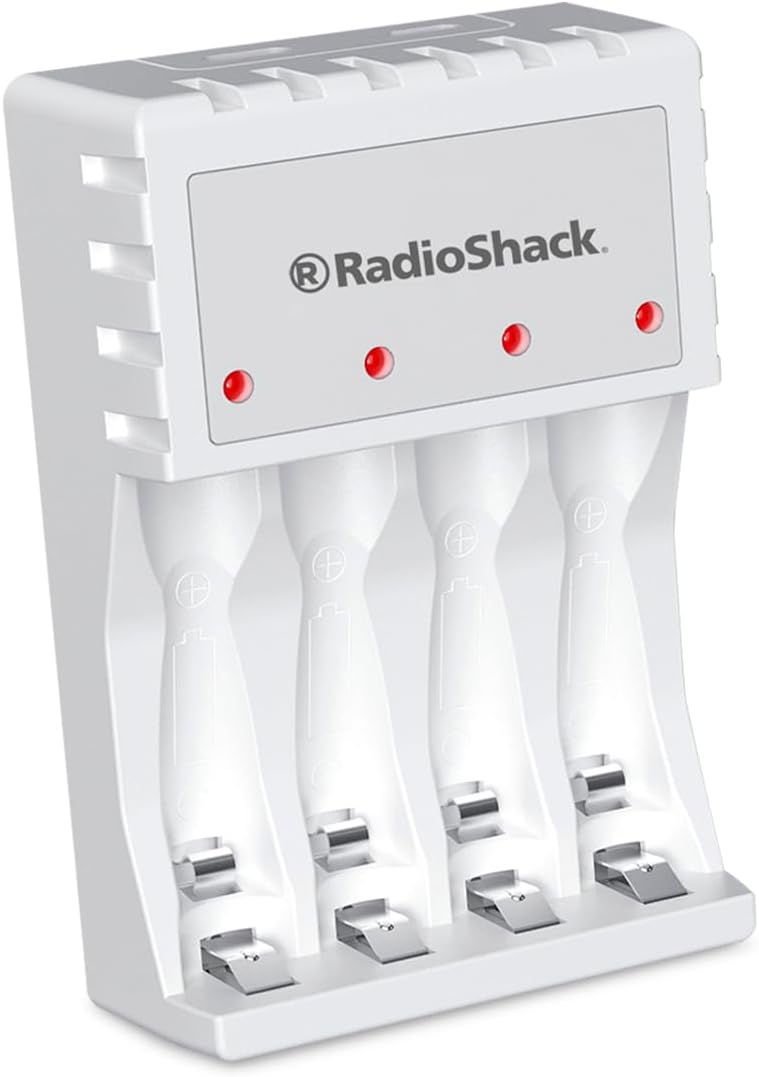
Figure 4: LED indicators on the charger.
5. Maintenance
- Cleaning: Disconnect the charger from the power source before cleaning. Use a soft, dry cloth to wipe the surface of the charger. Do not use liquid cleaners or abrasive materials.
- Storage: Store the charger in a cool, dry place away from direct sunlight and extreme temperatures when not in use.
- Battery Care: For optimal battery life, avoid completely draining rechargeable batteries before recharging them.
6. Troubleshooting
| Problem | Possible Cause | Solution |
|---|---|---|
| LED indicator does not light up. | Charger not connected to power, or battery inserted incorrectly. | Ensure the charger is securely plugged into a working power outlet. Re-insert batteries, verifying correct polarity. |
| Batteries not charging. | Batteries are non-rechargeable, damaged, or fully charged. | Confirm batteries are rechargeable (NiMH or NiCd). Try charging different batteries. If batteries are already full, the charger will stop charging. |
| Slow charging. | Low power USB source or high-capacity batteries. | Use the included USB wall adapter for optimal charging speed. Charging high-capacity batteries naturally takes longer. |
7. Specifications
| Feature | Detail |
|---|---|
| Model | N409 |
| Compatible Battery Types | AA, AAA (Rechargeable) |
| Input Voltage | 5 Volts |
| Output Voltage | 1.5 Volts |
| Dimensions (L x W x H) | 6.3 x 2.4 x 9.3 cm |
| Weight | 200 g |
| Included Batteries | 2 x AA 2500 mAh |
| Charging Interface | Micro USB |
| Features | LED Indicators, Intelligent Charging Protection (Overcharge protection) |
8. Safety Information
- Use only with rechargeable AA and AAA batteries. Do not attempt to charge non-rechargeable batteries.
- Do not expose the charger to water or excessive moisture.
- Do not disassemble or modify the charger.
- Keep out of reach of children.
- Unplug the charger from the power source when not in use or during electrical storms.
- Ensure proper ventilation during charging. Do not cover the charger.
9. Warranty and Support
For product support, technical assistance, or warranty inquiries, please contact RadioShack customer service. Refer to your purchase documentation for specific warranty terms and contact information.
Note: This manual provides general guidelines. Specific warranty terms may vary by region and retailer.


