Introduction
This manual provides essential information for the safe and efficient use of your vidaXL LED Mirror Bathroom Cabinet. Please read these instructions carefully before assembly and operation, and retain them for future reference.
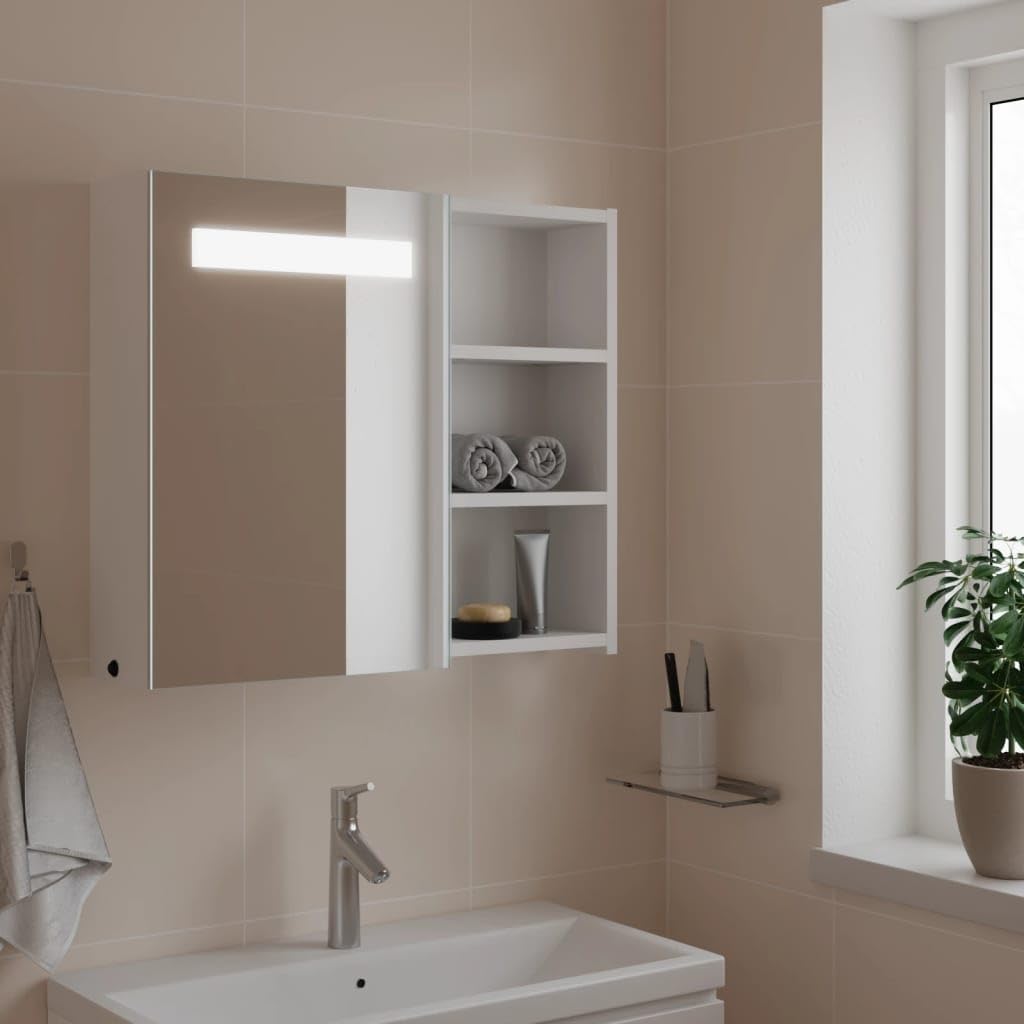
Image: The vidaXL LED Mirror Bathroom Cabinet, showcasing its design and functionality in a bathroom setting.
Safety Information
WARNING: Failure to follow these safety instructions may result in injury or damage to the product.
- Use screws and wall plugs appropriate for your specific wall type. Consult a professional if you are unsure about suitable fasteners.
- Follow each step of the assembly and installation instructions precisely.
- For the USB port, use a certified 5V USB power source (not included).
- Ensure the cabinet is securely mounted to prevent falling.
Product Specifications
| Feature | Detail |
|---|---|
| Brand | vidaXL |
| Model Number | 357969 |
| Color | White |
| Material | Engineered Wood with Melamine Finish, Glass |
| Overall Dimensions (W x D x H) | 60 x 13 x 52 cm (23.6" x 5.1" x 20.5") |
| Mirror Dimensions (W x H) | 38.5 x 52 cm (15.1" x 20.5") |
| Cable Length | 1 m |
| Output Voltage | DC 5V |
| Power | Max. 10 W |
| Interface | USB |
| Features | Fixed shelves, Integrated LED light, On/Off switch, Wall-mountable |
| Weight | 9.35 kg |
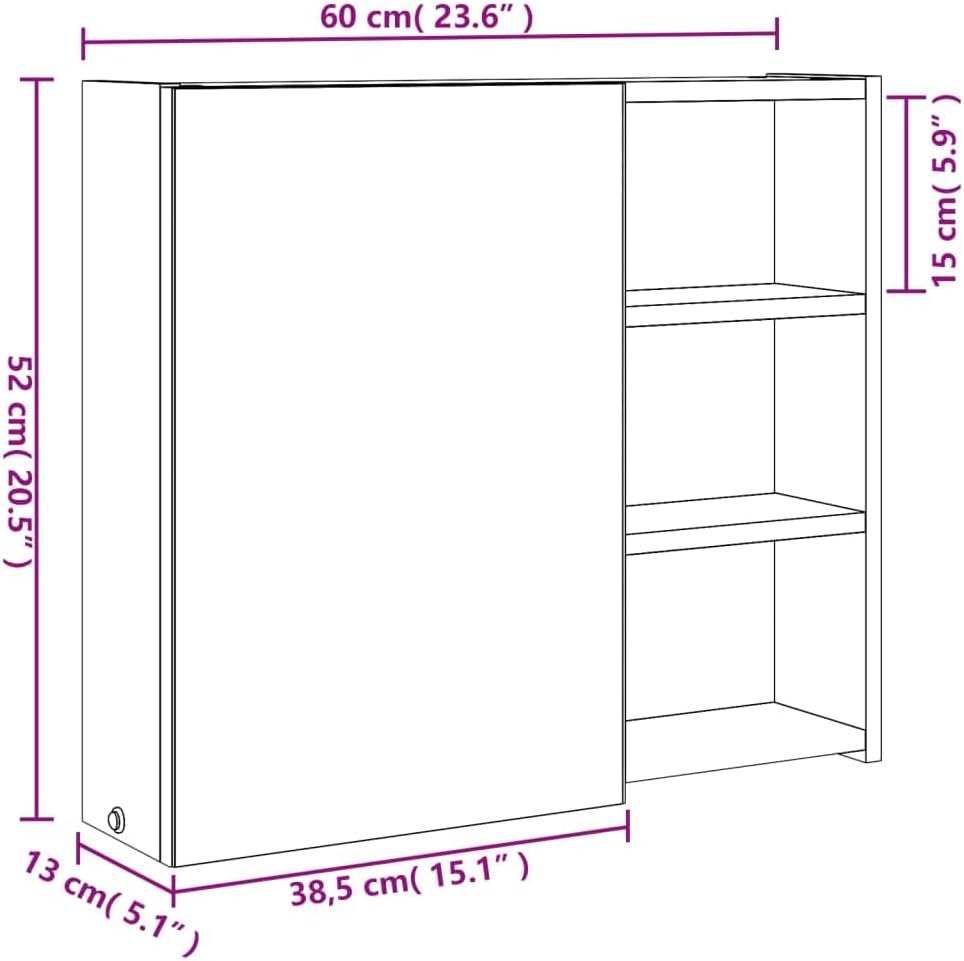
Image: Detailed dimensions of the cabinet for planning installation space.
Setup and Installation
The cabinet requires assembly and wall mounting. Follow these steps carefully.
1. Unpacking and Component Check
- Carefully unpack all components from the packaging.
- Verify that all parts listed in the assembly instructions (usually provided in the box) are present and undamaged.
- Keep packaging materials until assembly is complete to avoid misplacing small parts.
2. Assembly of the Cabinet Structure
Assemble the cabinet body according to the manufacturer's detailed assembly guide included in the package. This typically involves:
- Attaching side panels to the top and bottom panels.
- Inserting fixed shelves into designated slots.
- Securing the back panel.
- Attaching the mirror door and its hinges.
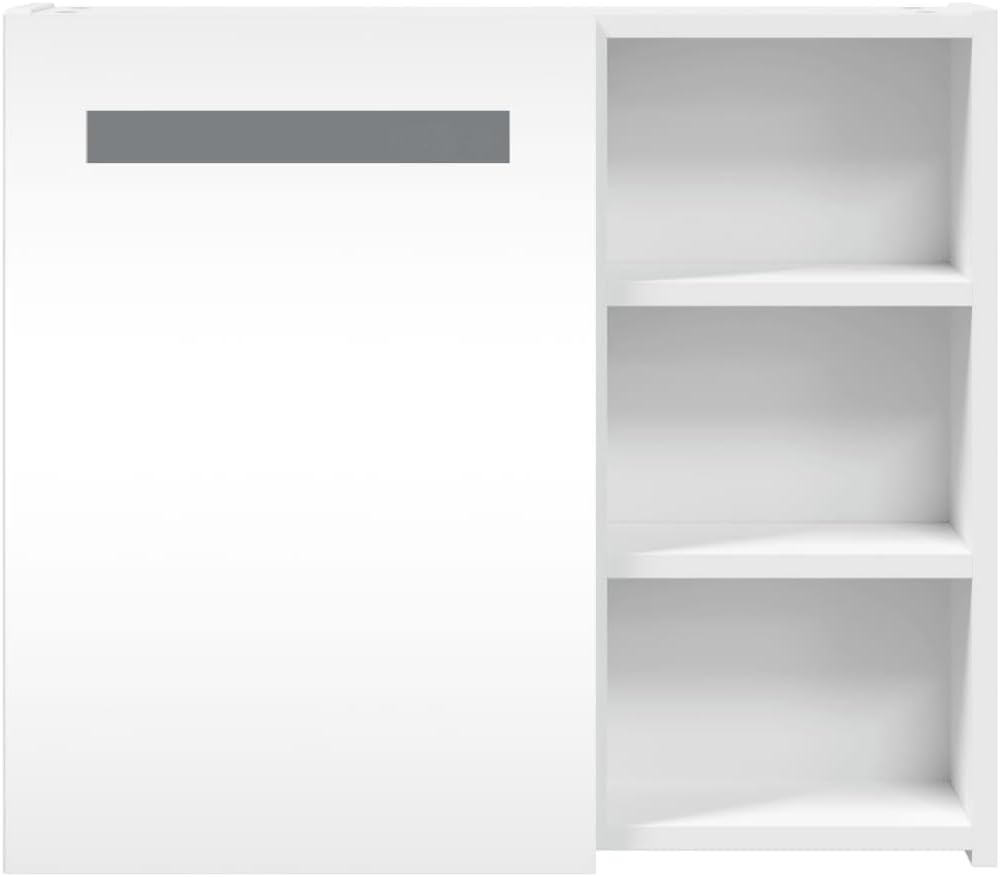
Image: Front view of the assembled cabinet, highlighting the mirror and shelves.
3. Wall Mounting
The cabinet is designed for wall mounting. Proper installation is crucial for safety.
- Choose Location: Select a suitable wall location in your bathroom, ensuring it is free from electrical wires or plumbing.
- Measure and Mark: Use the cabinet's dimensions and the pre-drilled mounting points on the back of the cabinet (refer to the image below) to mark the drilling locations on the wall. Ensure marks are level.
- Drill Holes: Drill holes at the marked locations using a drill bit appropriate for your wall type (e.g., masonry, drywall).
- Insert Wall Plugs: Insert appropriate wall plugs into the drilled holes. Note: Screws and wall plugs are not included. Use fasteners suitable for your wall material.
- Attach Cabinet: Carefully lift the cabinet and align the mounting brackets on the back with the wall plugs. Secure the cabinet to the wall using appropriate screws. Ensure it is firmly attached and stable.

Image: Rear view of the cabinet, showing mounting brackets for wall installation.
4. Connecting the LED Light
The LED light is powered via a USB connection.
- Locate the USB cable extending from the cabinet.
- Connect the USB cable to a certified 5V USB power source (e.g., a USB wall adapter, not included).
- Ensure the connection is secure.
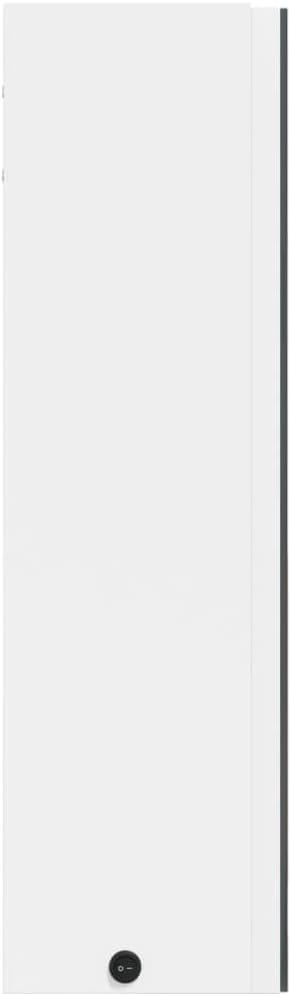
Image: USB port for LED light power connection.
Operating Instructions
The LED light is controlled by an integrated switch.
- Once the USB power source is connected, locate the circular on/off switch on the side of the cabinet.
- Press the switch to turn the LED light ON.
- Press the switch again to turn the LED light OFF.
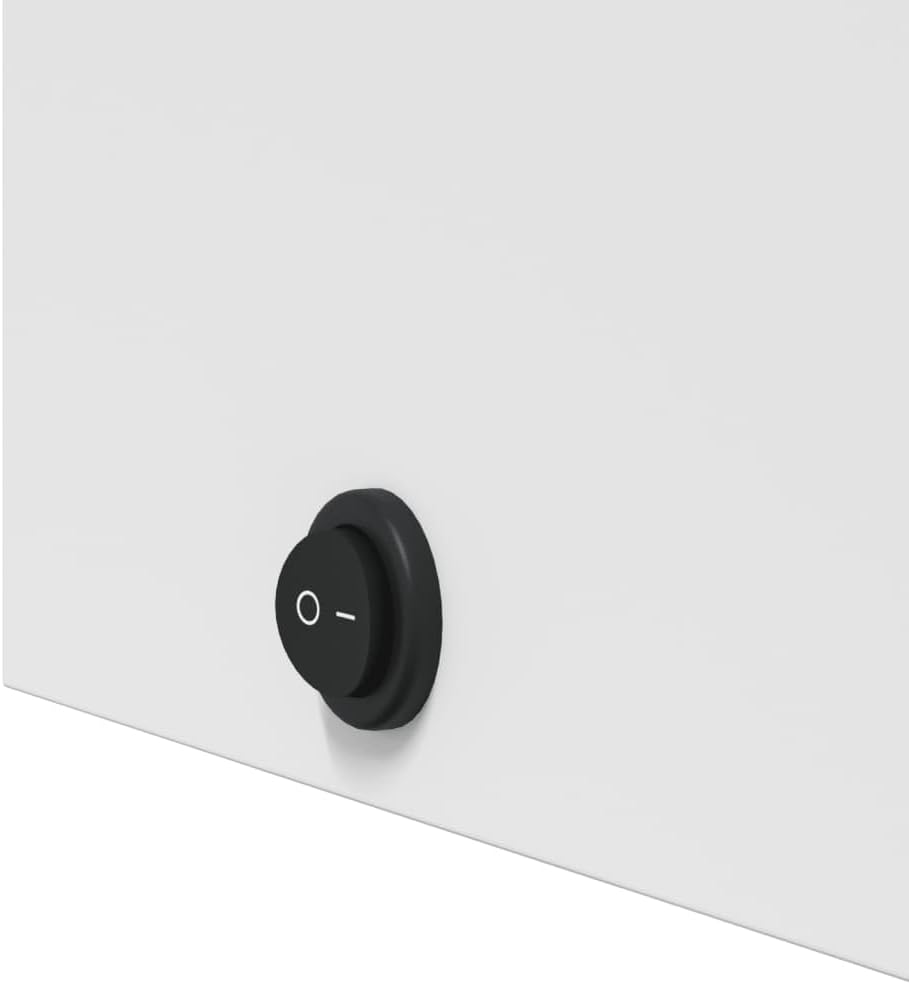
Image: On/Off switch for the integrated LED light.
Maintenance
Regular cleaning and care will help maintain the appearance and longevity of your cabinet.
- Cleaning the Cabinet: Wipe surfaces with a soft, damp cloth. Avoid abrasive cleaners or harsh chemicals, as these can damage the melamine finish.
- Cleaning the Mirror: Use a standard glass cleaner and a lint-free cloth to clean the mirror surface.
- LED Light Care: The LED light strip is integrated. Do not attempt to replace individual LEDs. If the light malfunctions, refer to the troubleshooting section.
- Moisture: While the engineered wood is resistant to humidity, avoid prolonged exposure to excessive moisture. Wipe up spills immediately.
Troubleshooting
If you encounter issues with your cabinet, refer to the following common problems and solutions.
| Problem | Possible Cause | Solution |
|---|---|---|
| LED light does not turn on. |
|
|
| Cabinet feels unstable after mounting. |
|
|
| Mirror door does not close properly. |
|
|
Warranty and Support
For information regarding warranty terms and conditions, please refer to the documentation provided with your purchase or visit the official vidaXL website. If you require further assistance or have questions not covered in this manual, please contact vidaXL customer support.
You can find more information and contact details on the vidaXL Brand Store on Amazon.


