1. Product Overview
The EVTSCAN 2 Gang Wall Switch is a modern touch-sensitive light switch designed for household indoor use. It features a durable tempered glass panel and offers manual touch operation with quick response. This switch is suitable for various lamp types including bulb lamps, incandescent lamps, LED lamps, halogen lamps, and energy-saving lamps.

Figure 1: Front view of the EVTSCAN 2 Gang Wall Switch.
2. Safety Information
WARNING: Please be careful when using electricity. Installation should only be performed by a qualified electrician or in accordance with local electrical codes.
- Always turn off power at the circuit breaker before installing, removing, or servicing the switch.
- Do not operate the switch with wet hands.
- Ensure all wiring connections are secure and properly insulated.
- This product is designed for indoor use only.
- The switch bottom box is made of flame retardant and fireproof PC and ABS materials, providing good insulation.
3. Package Contents
Verify that all components are present in the package:
- 1 x EVTSCAN 2 Gang Touch Switch
- 2 x Mounting Screws
- 1 x Capacitance (for specific lamp types)
4. Specifications
| Parameter | Value |
|---|---|
| Standard | EU |
| Control Mode | Single Fire Wire Control |
| Input Voltage | 110-240VAC 50/60Hz |
| Output Power | 5-300W |
| Working Mode | Manual Touch |
| Touch Life | 100,000 times |
| Working Environment Temperature | -20 to 55℃ |
| Relative Humidity | 95% |
| Standby Power | Less than 0.5W |
| Indicator Color | Red (On), Blue (Off) |
| Panel Material | Tempered Glass Panel |
| Bottom Box Material | PC, ABS Fireproof Plastic |
| Protection Function | Flame Retardant Insulation |
| Mounting Type | Wall Mount |
| Item Weight | 4.6 ounces |
5. Setup and Installation
Before beginning installation, ensure the main power supply to the circuit is turned off at the circuit breaker to prevent electrical shock.
5.1 Wiring Diagram
The switch uses a single fire wire control. Refer to the diagram below for proper wiring connections. Ensure all connections are tight and secure.
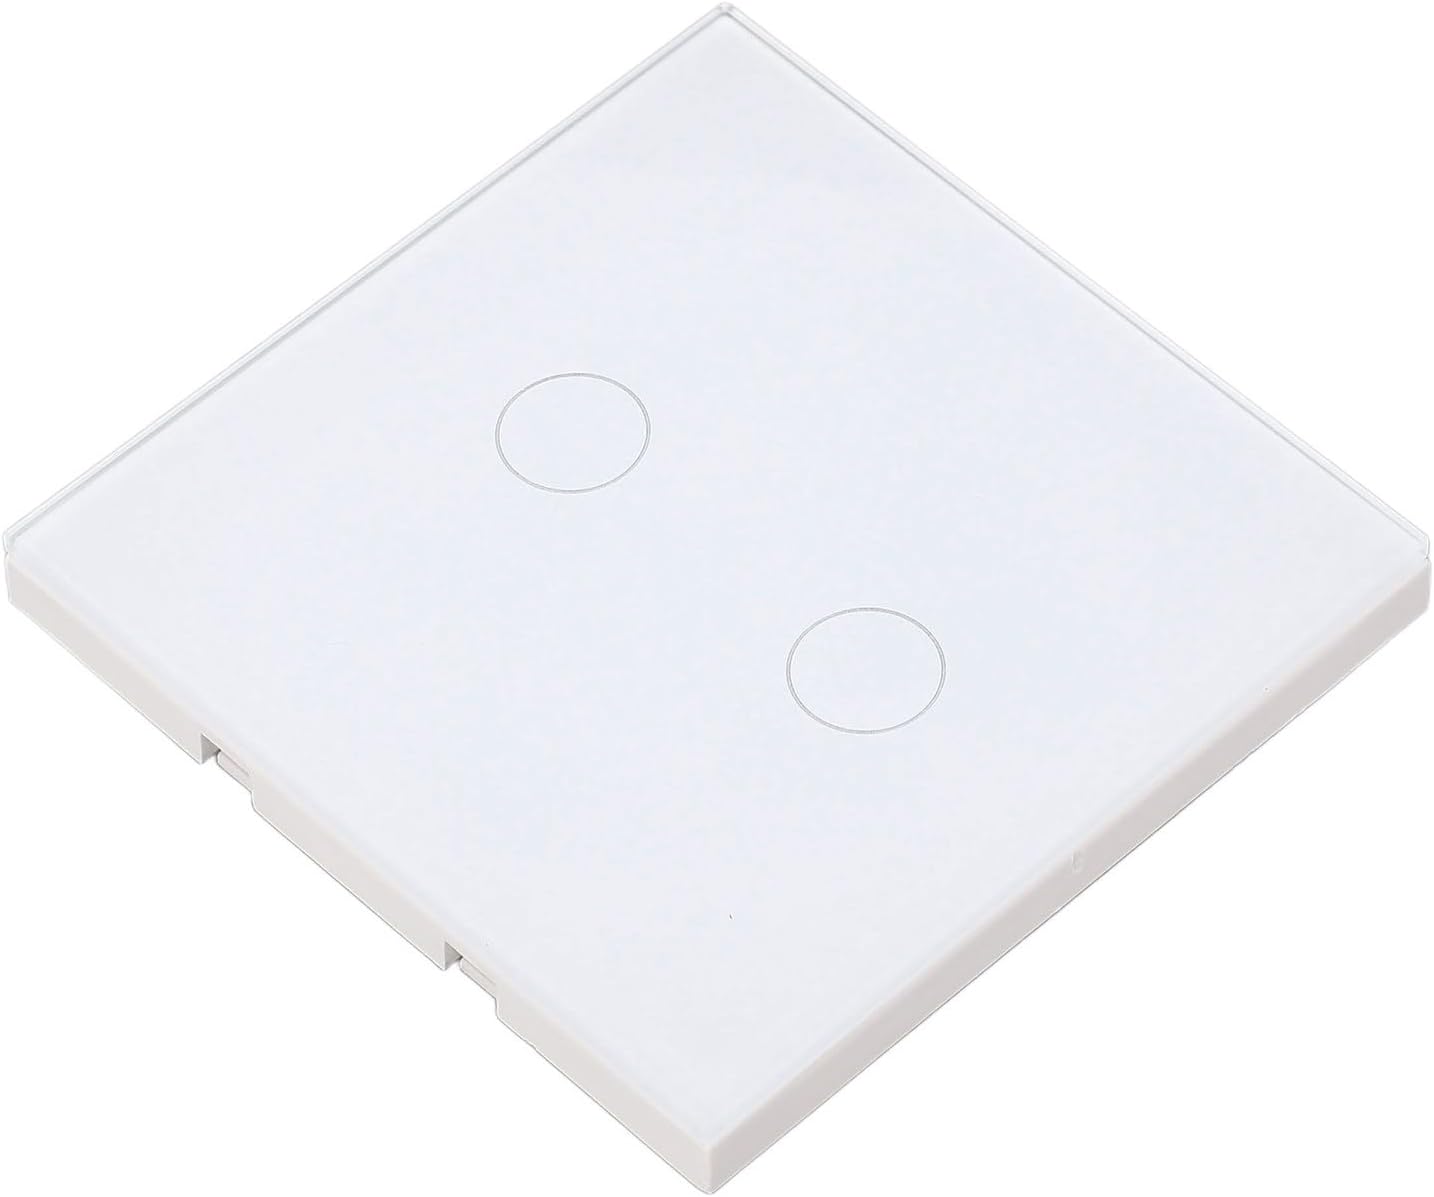
Figure 2: Back view with wiring terminals.
5.2 Installation Steps
- Turn Off Power: Locate the circuit breaker controlling the light switch you are replacing or installing and turn it off. Verify power is off using a voltage tester.
- Remove Old Switch (if applicable): Carefully remove the existing wall plate and switch from the wall box. Disconnect the wires.
- Connect Wires: Connect the live wire (usually black) to the 'L' terminal on the EVTSCAN switch. Connect the load wires (to the lights) to the 'L1' and 'L2' terminals for each gang. This switch requires a single live wire input and separate load outputs for each gang.
- Capacitor Installation (if needed): If your lamps have a power lower than 5W or are intelligent lamps, you must install the provided yellow capacitor across the live and neutral wires of the lamp fixture. This helps prevent flickering or instability.
- Mount the Switch: Gently push the wired switch into the wall box. Secure it with the provided mounting screws. The switch supports both horizontal and vertical installation.
- Attach Glass Panel: Carefully align and snap the tempered glass panel onto the switch mechanism.
- Restore Power: Turn the power back on at the circuit breaker.
6. Operating Instructions
The EVTSCAN 2 Gang Wall Switch operates via manual touch on its tempered glass panel.
- Turning On/Off: Lightly touch the circular indicator on the glass panel corresponding to the desired light circuit.
- Indicator Lights: The switch features an indicator light for each gang:
- Red: Indicates the light circuit is ON.
- Blue: Indicates the light circuit is OFF.
7. Maintenance
To ensure the longevity and proper functioning of your EVTSCAN 2 Gang Wall Switch, follow these simple maintenance guidelines:
- Cleaning: Use a soft, dry, or slightly damp cloth to clean the tempered glass panel. Avoid abrasive cleaners, solvents, or harsh chemicals, as these can damage the finish.
- Avoid Impact: While the tempered glass panel is durable, avoid strong impacts or dropping heavy objects on it to prevent cracks or damage.
- Environmental Conditions: Ensure the switch is used within the specified working environment temperature and humidity to prevent malfunction.
8. Troubleshooting
If you encounter issues with your EVTSCAN 2 Gang Wall Switch, refer to the following common problems and solutions:
- Light does not turn on/off:
- Check if the circuit breaker is tripped.
- Verify all wiring connections are secure and correct (refer to Section 5.1).
- Ensure the bulb is working and properly installed.
- Light flickers or remains dimly lit (especially with LED/low-wattage lamps):
- This often indicates the need for the included capacitor. Ensure the yellow capacitor is correctly installed across the live and neutral wires at the lamp fixture (refer to Section 5.2).
- Touch response is slow or inconsistent:
- Ensure the glass panel is clean and dry.
- Verify the switch is securely mounted and not loose in the wall box.
- Indicator light is not working:
- Check power supply to the switch.
- If the switch functions but the indicator does not, contact customer support.
If the problem persists after trying these solutions, please contact EVTSCAN customer support for further assistance.