1. Introduction
This manual provides essential information for the safe and efficient operation of your Midea MLTE41N1BWW 7.0 Cubic Feet Electric Dryer. Please read all instructions carefully before using the appliance to ensure proper installation, usage, and maintenance. Retain this manual for future reference.
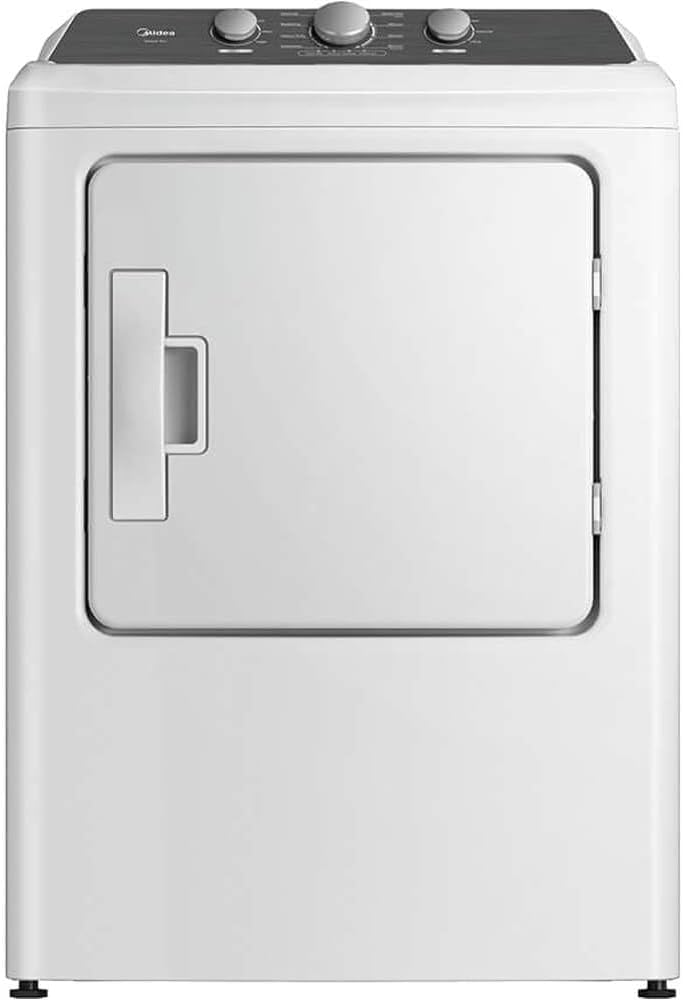
Figure 1: Front view of the Midea MLTE41N1BWW Electric Dryer. This image shows the white dryer unit with its front-loading door and control panel located at the top.
2. Important Safety Information
Always follow basic safety precautions when using this appliance to reduce the risk of fire, electric shock, or injury to persons. This dryer is designed for drying fabrics that have been washed in water. Do not dry items that have been soiled with cooking oils, flammable chemicals, or other combustible substances.
- Read all instructions before using the appliance.
- Do not install or store this appliance where it will be exposed to the weather.
- Do not tamper with controls.
- Do not repair or replace any part of the appliance or attempt any servicing unless specifically recommended in this manual.
- Keep area around the exhaust opening and adjacent surrounding areas free from the accumulation of lint, dust, and dirt.
- The interior of the machine and exhaust duct should be cleaned periodically by qualified service personnel.
- Do not place items exposed to cooking oils in your dryer.
- Do not allow children to play on or in the appliance.
- Always disconnect the dryer from the power supply before attempting any service or cleaning.
3. Setup and Installation
Proper installation is crucial for the safe and efficient operation of your dryer. It is recommended that installation be performed by a qualified technician.
3.1 Location Requirements
- Install the dryer on a level floor.
- Ensure adequate clearance for air circulation and servicing.
- Do not install in areas where temperatures may fall below freezing.
- The dryer requires a dedicated 240V electrical supply.
3.2 Venting Requirements
This dryer supports 3-way venting options. Ensure the exhaust duct is properly installed and free of obstructions to prevent lint buildup and fire hazards.
- Use rigid metal ducting for the exhaust.
- Keep duct runs as short and straight as possible.
- Do not use plastic or foil ducting.
- Regularly inspect and clean the exhaust vent.
3.3 Electrical Connection
Connect the dryer to a properly grounded electrical outlet. Refer to local codes and the electrical diagram provided with the dryer for specific wiring instructions.
4. Operating Instructions
Familiarize yourself with the control panel and available drying cycles for optimal performance.

Figure 2: Top view of the Midea MLTE41N1BWW dryer control panel. This image highlights the three rotary knobs for Wrinkle Shield, Timed Dry/AccuDry, Temperature, and Cycle Signal settings.
4.1 Control Panel Overview
- Wrinkle Shield: Helps prevent wrinkles by tumbling clothes intermittently without heat after the cycle ends.
- Timed Dry / AccuDry (Sensor Dry): Select a specific drying time or allow the dryer's sensor to detect moisture levels and stop the cycle automatically.
- Temperature: Adjust the drying temperature (No Heat, Ex Low, Low, Med, High).
- Cycle Signal: Turn the end-of-cycle signal On or Off.
4.2 Loading the Dryer
- Load items loosely to allow for proper tumbling and air circulation.
- Do not overload the dryer.
- Separate heavy items from lightweight items for more even drying.
4.3 Selecting a Drying Cycle
Your dryer features 8 pre-set cycles and Sensor Dry technology to optimize drying performance and prevent over-drying.
- Load the dryer with items.
- Close the dryer door firmly.
- Select the desired drying cycle using the Timed Dry / AccuDry knob. Options may include:
- Very Dry (Sensor Dry)
- Less Dry (Sensor Dry)
- Delicate (Sensor Dry)
- Jeans (Sensor Dry)
- Timed Dry (e.g., 30, 40, 50, 60, 70 minutes)
- Select the appropriate temperature setting.
- Choose Wrinkle Shield option if desired.
- Press the Start button (usually integrated with the Cycle Signal knob, push to start).
5. Maintenance and Care
Regular maintenance ensures the longevity and efficient operation of your dryer.
5.1 Cleaning the Lint Filter
Clean the lint filter before or after every load. A clogged lint filter can increase drying time and pose a fire hazard.
- Open the dryer door.
- Pull the lint filter straight up and out.
- Remove lint from the filter by hand.
- Reinsert the lint filter firmly into its housing.
5.2 Cleaning the Dryer Interior
Periodically wipe the dryer drum with a damp cloth. For stubborn stains, use a mild household cleaner and then wipe thoroughly with a damp cloth.
5.3 Cleaning the Exhaust Vent
Inspect and clean the exhaust vent system at least once a year, or more frequently if drying times increase. This should be done by a qualified service technician.
6. Troubleshooting
Before contacting service, review this section for common issues and their solutions.
| Problem | Possible Cause | Solution |
|---|---|---|
| Dryer does not start. | Power cord unplugged; circuit breaker tripped; door not closed; start button not pressed. | Ensure power cord is securely plugged in; check circuit breaker; close door firmly; press start button. |
| Clothes not drying completely. | Lint filter clogged; exhaust vent obstructed; overloaded dryer; incorrect cycle/temperature. | Clean lint filter; check and clear exhaust vent; reduce load size; select appropriate cycle and temperature. |
| Dryer is noisy. | Loose items in drum; dryer not level; foreign objects in blower wheel. | Remove any loose items; ensure dryer is level; contact service if noise persists. |
7. Specifications
Technical specifications for the Midea MLTE41N1BWW Electric Dryer.
- Model: MLTE41N1BWW
- Brand: Midea
- Capacity: 7.0 Cubic Feet
- Type: Electric Dryer
- Form Factor: Front Load
- Dimensions (W x D x H): Approximately 33 x 32 x 44.5 inches
- Item Weight: Approximately 127.9 pounds
- Venting: 3-Way Venting
- Door Hinges: Reversible
- Features: Sensor Dry, 8 Pre-Set Cycles, Wrinkle Care Option
8. Warranty and Support
For warranty information and customer support, please refer to the warranty card included with your purchase or visit the official Midea website. Keep your proof of purchase for warranty claims.
If you require technical assistance or service, please contact Midea customer support.


