1. Important Safety Instructions
Please read these instructions carefully before using the Goldair Remote Wall Fan. Failure to follow these safety guidelines may result in electric shock, fire, or injury.
- Power Supply: Ensure the fan is connected to a power supply that matches the voltage specified on the rating label.
- Placement: Do not place the fan near curtains, drapes, or any objects that may be drawn into the fan blades.
- Children: This appliance is not intended for use by persons (including children) with reduced physical, sensory or mental capabilities, or lack of experience and knowledge, unless they have been given supervision or instruction concerning use of the appliance by a person responsible for their safety. Children should be supervised to ensure that they do not play with the appliance.
- Cleaning: Always unplug the fan from the power outlet before cleaning or performing any maintenance.
- Damage: Do not operate the fan with a damaged cord or plug. If the supply cord is damaged, it must be replaced by the manufacturer, its service agent, or similarly qualified persons to avoid a hazard.
- Water: Do not immerse the fan in water or other liquids. Do not use the fan in wet or damp environments.
- Ventilation: Ensure adequate ventilation around the fan during operation.
- Disassembly: Do not attempt to repair or disassemble the fan yourself. Contact qualified service personnel for repairs.
2. Product Overview
The Goldair Remote Wall Fan (GWFR-160) is designed to provide efficient cooling with convenient remote control operation. It features a modern design and 90-degree oscillation.
2.1 Components
- Fan Head (with blades and grille)
- Wall Mounting Bracket
- Remote Control
- Power Cord
- Mounting Hardware (screws, wall plugs)
2.2 Features
- 40 cm fan size
- Remote controlled operation
- Full 90-degree oscillation
- Multiple speed settings
- Timer function
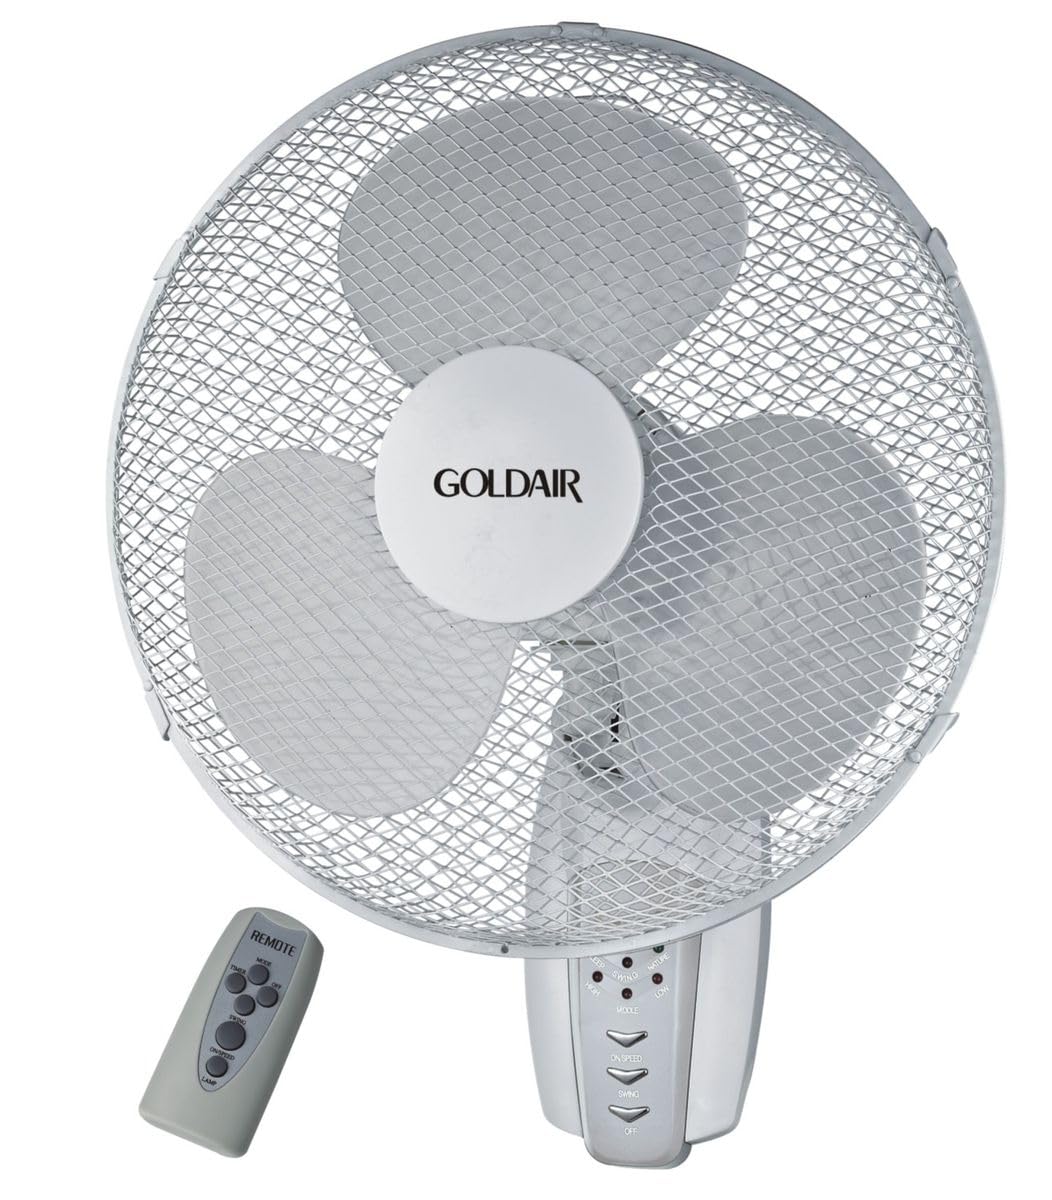
Figure 1: Front view of the Goldair Remote Wall Fan GWFR-160. This image shows the fan head, grille, and the central control panel.
3. Setup and Installation
Before installation, ensure you have the necessary tools: drill, screwdriver, and a pencil.
3.1 Choosing a Location
- Select a sturdy wall surface capable of supporting the fan's weight (approximately 5 kg).
- Ensure the location is within reach of a power outlet and allows for optimal airflow distribution.
- Avoid areas with excessive moisture or direct sunlight.
3.2 Wall Mounting
- Hold the wall mounting bracket against the desired wall location and mark the drill holes with a pencil.
- Drill pilot holes into the marked positions. Use an appropriate drill bit size for the provided wall plugs.
- Insert the wall plugs into the drilled holes.
- Align the mounting bracket with the holes and secure it to the wall using the provided screws. Ensure the bracket is firmly attached.
- Carefully lift the fan unit and align the mounting slots on the back of the fan with the hooks or slots on the wall bracket.
- Slide the fan down onto the bracket until it locks securely into place.
3.3 Power Connection
Once the fan is securely mounted, plug the power cord into a standard electrical outlet. Ensure the outlet is easily accessible.
4. Operating Instructions
The Goldair Remote Wall Fan can be operated using either the control panel on the fan unit or the supplied remote control.
4.1 Remote Control Operation
Before first use, insert 2x AAA batteries (not included) into the remote control, observing polarity.
- ON/OFF Button: Press to turn the fan on or off.
- SPEED Button: Press repeatedly to cycle through fan speeds (e.g., Low, Medium, High).
- MODE Button: Select different fan modes (e.g., Normal, Natural, Sleep).
- OSC Button: Press to activate or deactivate the oscillation function (90-degree swing).
- TIMER Button: Set the fan to operate for a specific duration (e.g., 1 hour, 2 hours, up to 7.5 hours).
4.2 Manual Control Panel
The control panel on the fan unit typically mirrors the functions of the remote control. Refer to the icons on the panel for specific button functions.
5. Maintenance and Cleaning
Regular cleaning will help maintain the fan's performance and extend its lifespan. Always unplug the fan before cleaning.
5.1 Cleaning the Fan
- Unplug: Disconnect the fan from the power supply.
- Exterior: Wipe the exterior surfaces of the fan with a soft, damp cloth. Do not use abrasive cleaners or solvents.
- Grille and Blades: To clean the fan blades, you may need to carefully remove the front grille. Consult the diagram in the packaging for grille removal instructions. Use a soft brush or vacuum cleaner to remove dust from the blades and grilles.
- Reassemble: Reattach the front grille securely before plugging the fan back in.
5.2 Storage
When not in use for extended periods, store the fan in its original packaging or cover it to protect it from dust. Store in a cool, dry place.
6. Troubleshooting
If you encounter issues with your Goldair Remote Wall Fan, refer to the following common problems and solutions:
| Problem | Possible Cause | Solution |
|---|---|---|
| Fan does not turn on. | No power supply. Remote control batteries are dead. | Check if the power cord is securely plugged into a working outlet. Replace remote control batteries. |
| Weak airflow. | Fan speed is too low. Grille or blades are dusty. | Increase fan speed setting. Clean the fan grille and blades as per maintenance instructions. |
| Fan is noisy. | Loose parts. Fan not mounted securely. | Check for any loose components. Ensure the fan is securely mounted to the wall bracket. |
| Remote control not working. | Batteries are dead or incorrectly inserted. Obstruction between remote and fan. | Replace batteries, ensuring correct polarity. Remove any obstacles blocking the signal. Ensure you are within range. |
If the problem persists after trying these solutions, please contact Goldair customer support.
7. Specifications
| Brand | Goldair |
| Model Number | GWFR-160 |
| Colour | White |
| Fan Size | 40 cm |
| Material | Metal |
| Special Features | Remote Controlled, 90-degree Oscillation |
| Item Weight | 5 kg |
| Product Dimensions | 42D x 15W x 43H centimetres |
| Power Source | Corded Electric |
| Mounting Type | Wall Mount |
8. Warranty and Support
For warranty information and customer support, please refer to the warranty card included with your product or visit the official Goldair website. Keep your purchase receipt as proof of purchase.
Goldair Official Website: www.goldair.co.za (Note: This is a placeholder URL, please refer to your product documentation for the correct regional website.)
Contact Support: For technical assistance or service inquiries, please contact Goldair customer service through their official channels.


