
1. Important Safety Instructions
Please read all instructions carefully before operating this appliance. Failure to follow these instructions may result in electric shock, fire, or serious injury.
- Ensure the power supply voltage matches the rating label on the appliance.
- Do not immerse the appliance, cord, or plug in water or other liquids.
- Unplug from the outlet when not in use, before assembling or disassembling parts, and before cleaning.
- Keep hands and utensils out of the mixing bowl during operation to prevent injury and damage to the unit.
- Do not operate any appliance with a damaged cord or plug, or after the appliance malfunctions or has been damaged in any manner.
- This appliance is for household use only. Do not use outdoors.
- Do not place on or near a hot gas or electric burner, or in a heated oven.
- Always operate the appliance on a flat, stable surface.
- Children should be supervised to ensure they do not play with the appliance.
2. Product Overview
The VEVOR Automatic Ice Cream Maker ICE2032-UL is designed for convenient preparation of homemade ice cream, sorbet, and frozen yogurt. It features a built-in compressor, eliminating the need for pre-freezing the bowl.
Components:
- Main Unit (with built-in compressor)
- Mixing Bowl
- Mixing Blade
- Transparent Lid with Ingredient Opening
- Measuring Cup
- Spoon
- Recipe Book

Image: The VEVOR Automatic Ice Cream Maker ICE2032-UL, showcasing its sleek design and the various accessories included, such as the mixing blade, measuring cup, and spoon.
3. Setup and First Use
3.1 Unpacking
- Carefully remove all components from the packaging.
- Retain packaging materials for future storage or transport.
- Inspect the appliance for any damage. Do not operate if damaged.
3.2 Initial Cleaning
- Before first use, wash the mixing bowl, mixing blade, and lid in warm, soapy water. Rinse thoroughly and dry completely.
- Wipe the main unit with a damp cloth. Do not immerse the main unit in water.
3.3 Assembly
- Place the mixing bowl into the main unit.
- Insert the mixing blade onto the spindle at the bottom of the mixing bowl.
- Ensure the lid is ready to be placed on top after adding ingredients.

Image: A visual guide demonstrating the five simple steps for preparing and operating the ice cream maker, from mixing ingredients to serving the finished product.
4. Operation
The VEVOR Automatic Ice Cream Maker features a built-in compressor, eliminating the need for pre-freezing. It offers three operating modes for versatile dessert creation.
4.1 Preparing Ingredients
- Prepare your desired ice cream, sorbet, or frozen yogurt mixture according to a recipe. Ensure ingredients are chilled for best results.
- Do not exceed the maximum fill line of the mixing bowl to prevent overflow during expansion. The capacity is 2 quarts.
4.2 Using the Control Panel

Image: A close-up of the ice cream maker's control panel, highlighting the LCD display, 'Start/Pause', 'Menu', and 'Power' buttons, and the rotary knob for adjustments.
- Power Button: Press to turn the machine on or off.
- Menu Button: Press to cycle through the three operating modes:
- Ice Cream Mode (60 minutes): Churns and cools for standard ice cream consistency.
- Cooling Mode (30 minutes): Maintains temperature without churning.
- Mixed Mode (10 minutes): Churns without cooling, useful for mixing in ingredients or light blending.
- Start/Pause Button: Press to start or pause the selected operation.
- Rotary Knob (+/-): Use to adjust the operation time for the selected mode.
4.3 Making Ice Cream
- Pour the prepared mixture into the mixing bowl.
- Place the transparent lid securely on the mixing bowl.
- Press the Power button to turn on the machine.
- Press the Menu button to select 'Ice Cream Mode'. The default time is 60 minutes. Adjust if necessary using the rotary knob.
- Press the Start/Pause button to begin churning and cooling.
- The LCD display will show the remaining time.
- If adding solid ingredients like nuts or fruit pieces, wait until the last 5-10 minutes of the cycle. Press Start/Pause to pause, add ingredients through the lid opening, then press Start/Pause again to resume.
- Once the cycle is complete, the machine will stop automatically.

Image: A user pouring liquid mixture into the ice cream maker, with an overlay indicating the three available operating modes: Ice Cream (60min), Single Cooling (30min), and Mixed (10min).
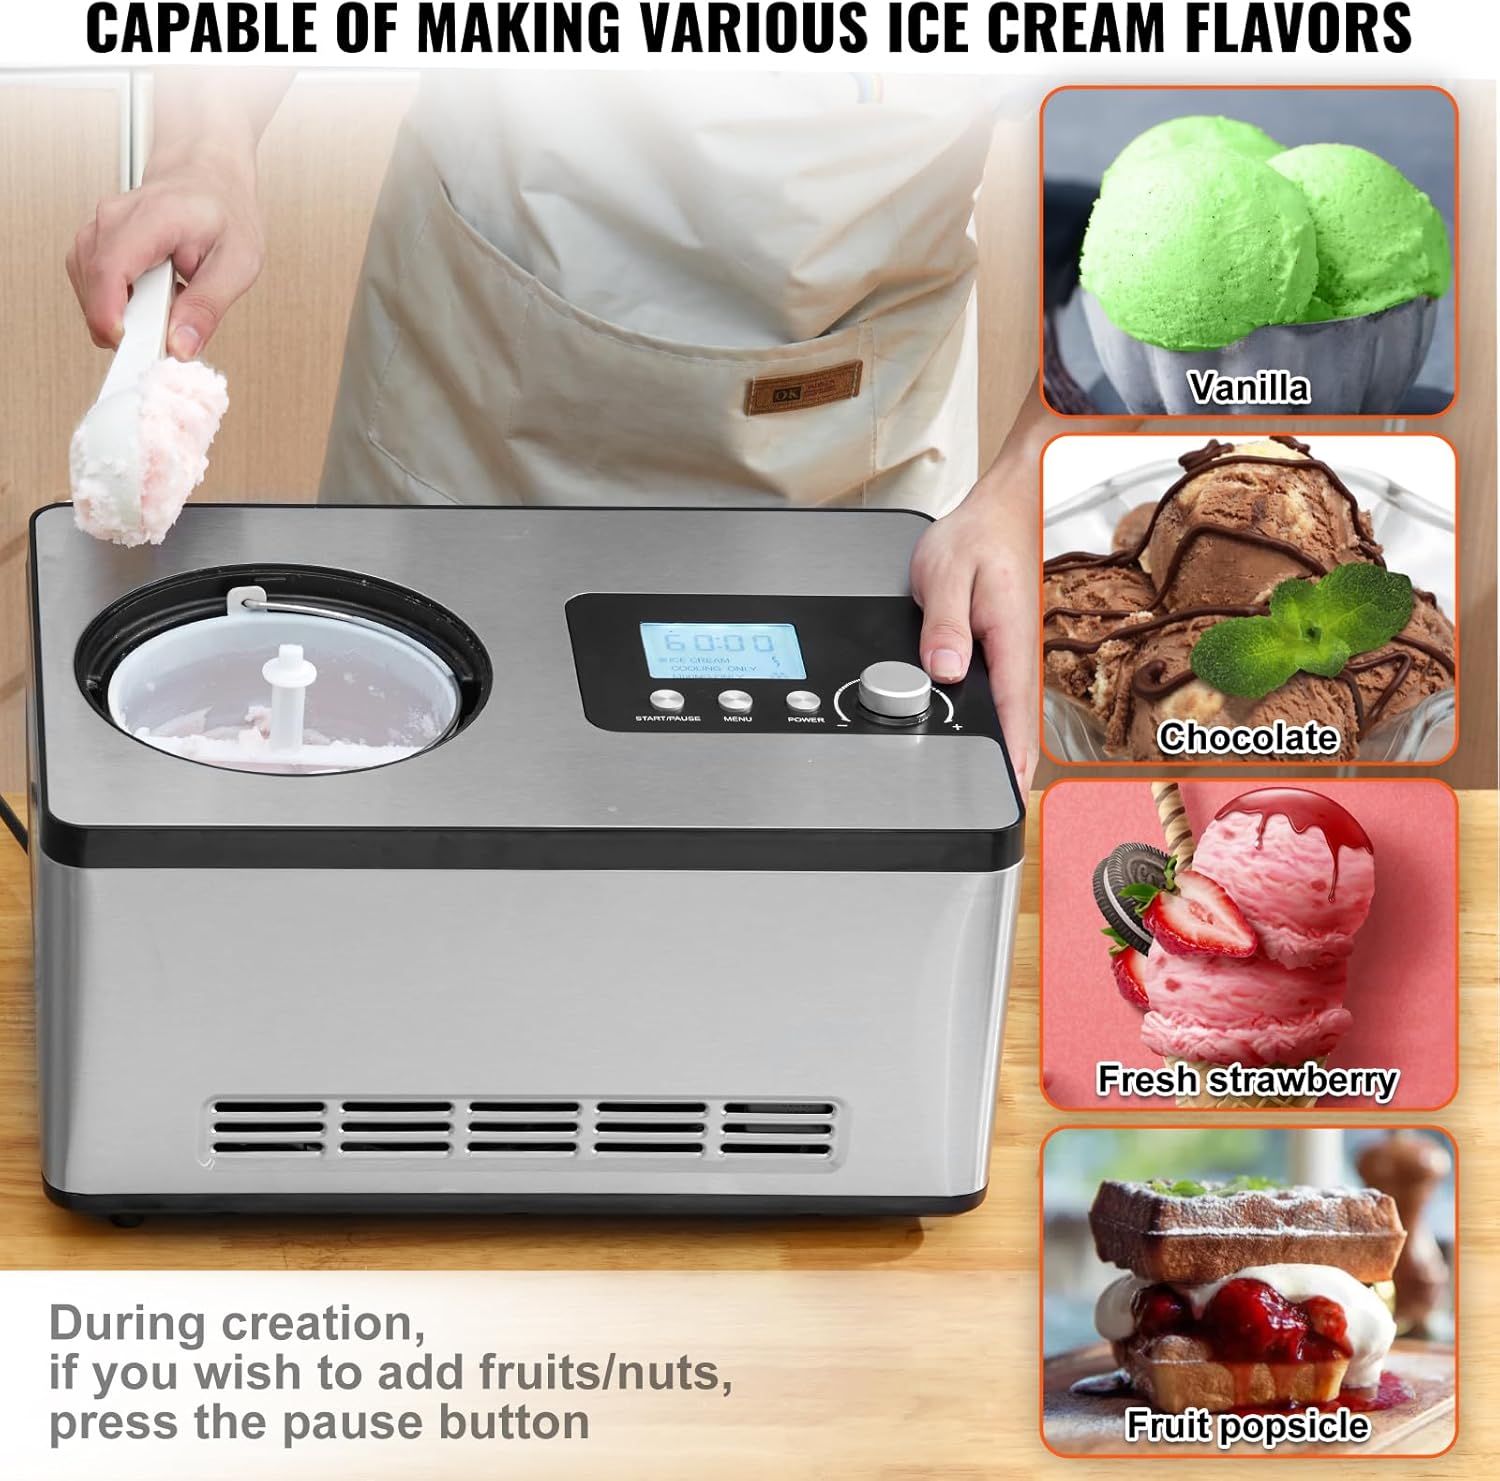
Image: A display of various ice cream flavors and desserts, such as vanilla, chocolate, strawberry, and fruit popsicles, illustrating the versatility of the ice cream maker.
5. Maintenance and Cleaning
Regular cleaning ensures optimal performance and longevity of your ice cream maker.
5.1 After Each Use
- Turn off the machine and unplug it from the power outlet.
- Remove the lid, mixing blade, and mixing bowl.
- Wash the mixing bowl, mixing blade, and lid in warm, soapy water. Rinse thoroughly and dry completely. These components are detachable for easy cleaning.
- Wipe the exterior of the main unit, made of matte SUS430 stainless steel, with a soft, damp cloth. Dry immediately.
- Do not use abrasive cleaners or scouring pads, as they may scratch the surfaces.

Image: A hand washing the detachable mixing blade under running water in a sink, demonstrating the ease of cleaning the components.
5.2 Storage
- Ensure all parts are clean and dry before storing.
- Store the appliance in a cool, dry place, away from direct sunlight and moisture.
6. Troubleshooting
If you encounter issues with your ice cream maker, refer to the following common problems and solutions:
| Problem | Possible Cause | Solution |
|---|---|---|
| Machine does not turn on. | Not plugged in; power switch off; power outage. | Ensure the machine is securely plugged into a working outlet. Press the Power button. Check household circuit breaker. |
| Ice cream is not freezing or is too soft. | Ingredients not chilled; too much mixture; lid not sealed; insufficient operation time; ambient temperature too high. | Ensure ingredients are pre-chilled. Do not exceed the maximum fill line. Ensure lid is properly sealed. Increase operation time using the rotary knob. Operate in a cooler environment. |
| Mixing blade is not turning. | Blade not properly installed; mixture too thick; motor overload. | Check if the mixing blade is correctly seated on the spindle. Ensure mixture consistency is appropriate. If the mixture is too thick, remove some and restart. |
| Machine stops after a short period (e.g., 16 seconds). | Safety mechanism triggered; internal sensor issue; incorrect mode selection. | Unplug the unit, wait a few minutes, then plug back in and restart. Ensure 'Ice Cream Mode' is selected for freezing. If the problem persists, contact customer support. |
| Unusual noise during operation. | Mixing blade obstruction; machine not on a level surface. | Pause the machine and check for any obstructions around the mixing blade. Ensure the machine is placed on a stable, level surface. |
If the problem persists after attempting these solutions, please contact VEVOR customer support for assistance.
7. Specifications
Technical details for the VEVOR Automatic Ice Cream Maker ICE2032-UL:
| Feature | Detail |
|---|---|
| Model Name | Automatic Ice Cream Maker with Built-in Compressor |
| Model Number | ICE2032-UL |
| Brand | VEVOR |
| Capacity | 2 Quarts (2 Liters) |
| Power | 180W |
| Material | Aluminum, Stainless Steel (SUS430 Matte Exterior) |
| Refrigerant | CFC-free R134A |
| Noise Level | ≤60 dB(A) |
| Product Dimensions | 16.73 x 11.22 x 10.31 inches (425 x 285 x 262 mm) |
| Item Weight | 24.9 pounds (11.3 kg) |
| Operation Mode | Automatic |
| Included Components | Ice Cream Maker, Manual, Measuring Cup, Recipe Book, Spoon |
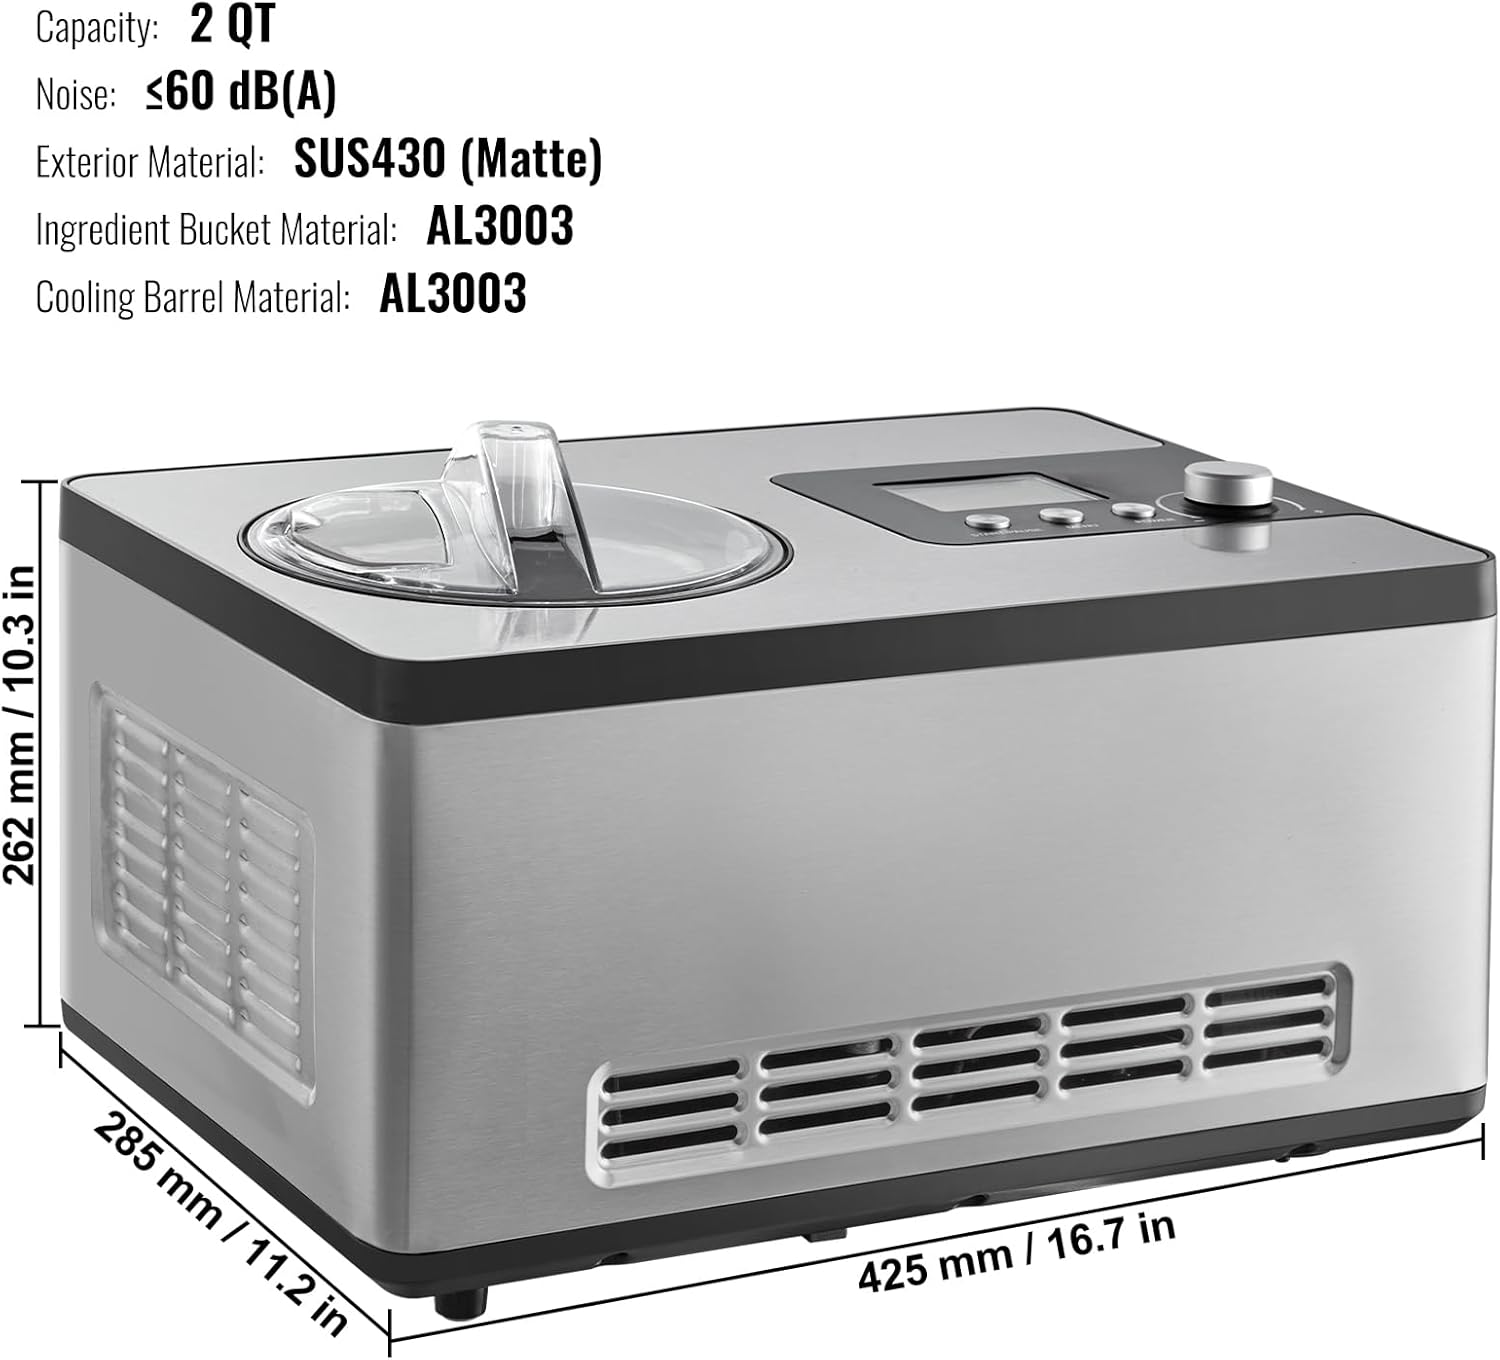
Image: A diagram illustrating the dimensions (length, width, height) and material specifications (exterior, ingredient bucket, cooling barrel) of the VEVOR Ice Cream Maker.
8. Warranty and Support
VEVOR products are designed for durability and performance. For warranty information, product registration, or technical support, please refer to the official VEVOR website or contact their customer service directly.
- Online Support: Visit the VEVOR Store on Amazon or the official VEVOR website for FAQs and contact options.
- Included Manual: A detailed manual is included with your purchase, providing additional information.