
Wildgame Innovations WGI-SWTC2LOW
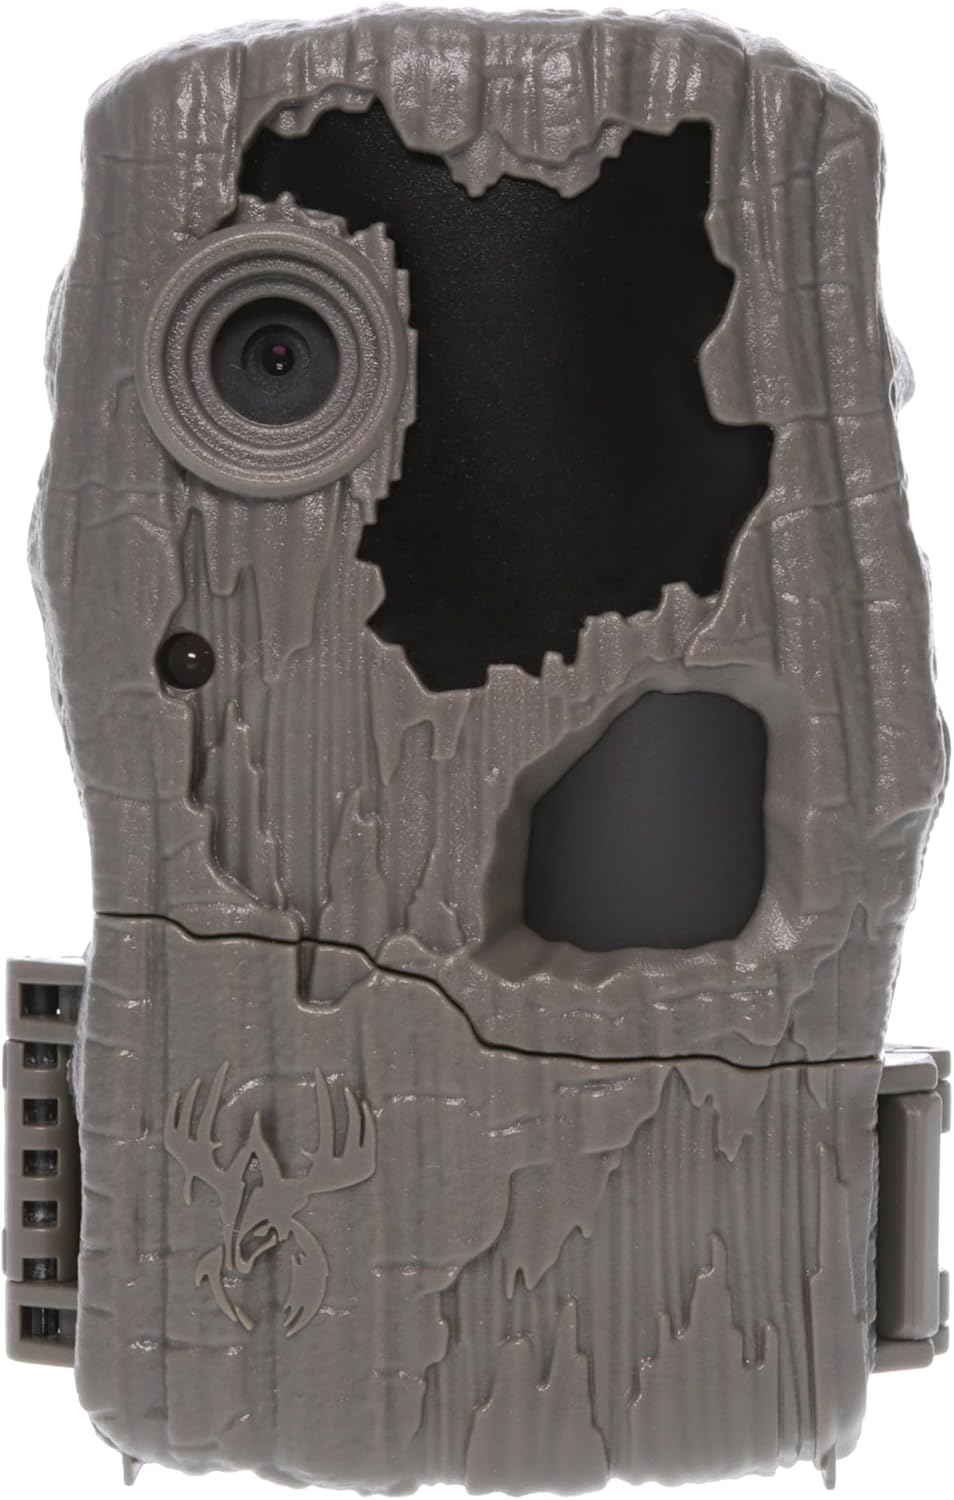
Wildgame Innovations Switch Camera User Manual
Model: WGI-SWTC2LOW
Introduction
The Wildgame Innovations Switch Camera (Model: WGI-SWTC2LOW) is designed for ease of use, allowing quick setup and operation. It captures high-quality images and videos, making it suitable for various outdoor monitoring needs. This manual provides detailed instructions for setting up, operating, and maintaining your camera.
Key Features:
- Resolution: 20 MP still images, 720p HD video.
- Illumination: Up to 70 ft. range with 36 high-intensity invisible IR LEDs for discreet night vision.
- Image Format: JPEG for stills, AVI for video.
- Aspect Ratio: Wide Angle 16:9.
- Ease of Use: Simple three-button operation for quick setup.
- Automatic Updates: Date and time automatically update, including for Daylight Savings.
- Lightsout Technology: Invisible flash for hidden operation.
Package Contents
Upon opening your Wildgame Innovations Switch Camera package, please ensure all components are present:
- Wildgame Innovations Switch Camera (WGI-SWTC2LOW)
- Mounting Strap (typically included, though not explicitly listed in "whats_in_the_box", it's implied by "Tree Mount")
- User Manual (this document)
Setup
1. Battery Installation
The Switch Camera is powered by batteries. Refer to the camera's battery compartment for the correct battery type and orientation (typically AA batteries). Ensure the batteries are inserted with the correct polarity.
- Open the battery compartment latch on the side or bottom of the camera.
- Insert the required number of batteries, matching the positive (+) and negative (-) terminals as indicated.
- Securely close the battery compartment latch to ensure a watertight seal.

2. Memory Card Insertion
A compatible SD card (not included) is required to store images and videos. The camera supports standard SD cards. Ensure the card is inserted correctly before powering on.
- Locate the SD card slot, typically near the battery compartment or on the side.
- Insert the SD card with the metal contacts facing down (or as indicated by a diagram on the camera) until it clicks into place.
- To remove, gently push the card in until it springs out.
3. Mounting the Camera
The Switch Camera is designed for tree mounting. Choose a sturdy tree or post that provides a clear view of the desired monitoring area.
- Thread the provided mounting strap through the slots on the back of the camera.
- Wrap the strap around the tree or post at the desired height.
- Securely fasten the strap, ensuring the camera is stable and pointed correctly.
- Alternatively, the camera features a standard 1/4"-20 tripod mount on the bottom for use with compatible accessories.

Operating Instructions
The Switch Camera features a simplified three-button interface for quick and intuitive operation.
1. Powering On/Off
- Locate the power button (often labeled "ON/OFF" or indicated by a power symbol).
- Press and hold the power button for a few seconds to turn the camera on.
- Repeat the process to turn the camera off.
2. Setting Capture Mode
The camera typically offers different capture modes such as Photo, Video, or Photo+Video. Use the mode selection button to cycle through available options.
- Press the "Mode" button (or similar) to select your desired capture type.
- The selected mode will usually be indicated by an LED or a simple display.
3. Adjusting Delay Settings
The delay setting determines the interval between consecutive captures when motion is detected.
- Use the "Delay" button (or similar) to cycle through preset delay options (e.g., 5s, 10s, 30s, 1min).
- Select a delay appropriate for your monitoring needs.
4. Setting Time Zone
The camera automatically updates date and time, but you may need to set your local time zone for accurate timestamps.
- Consult the camera's internal menu or dedicated button for time zone adjustment.
- Select your correct time zone. The camera will automatically adjust for Daylight Savings.
5. Retrieving Data
To view captured images and videos, remove the SD card from the camera and insert it into a compatible device (e.g., computer, card reader, or smartphone with adapter).
- Ensure the camera is powered off before removing the SD card.
- Insert the SD card into your device.
- Access the files on the card. Images are typically JPEG, and videos are AVI.
Maintenance
Proper maintenance ensures the longevity and optimal performance of your Wildgame Innovations Switch Camera.
1. Cleaning
- Exterior: Wipe the camera's exterior with a soft, damp cloth. Avoid abrasive cleaners or solvents.
- Lens: Use a lens cleaning cloth or a soft, lint-free cloth specifically designed for optics. Do not touch the lens with your fingers.
- IR LEDs: Gently wipe the IR LED panel to ensure clear night vision.
2. Battery Care
- Replace batteries when the low battery indicator appears or when performance degrades.
- Always use fresh, high-quality batteries of the recommended type.
- Remove batteries if the camera will not be used for an extended period to prevent leakage.
3. Storage
- Store the camera in a cool, dry place away from direct sunlight and extreme temperatures.
- Ensure the battery compartment is securely closed, even without batteries, to prevent dust or moisture ingress.
Troubleshooting
This section addresses common issues you might encounter with your Switch Camera.
| Problem | Possible Cause | Solution |
|---|---|---|
| Camera not powering on. | Dead or incorrectly inserted batteries. | Replace with fresh batteries, ensuring correct polarity. |
| Poor image/video quality. | Dirty lens, low light, or incorrect settings. | Clean the lens. Ensure adequate lighting or check IR settings for night captures. Verify resolution settings. |
| Camera not capturing. | Full or corrupted SD card, incorrect mode, or sensor obstruction. | Format or replace SD card. Check capture mode settings. Ensure nothing is blocking the motion sensor. |
| Date/Time incorrect. | Time zone not set or internal battery issue. | Verify and set the correct time zone. If issue persists, contact support. |
Specifications
| Feature | Detail |
|---|---|
| Model Name | WGI-SWTC2LOW |
| Effective Still Resolution | 20 MP |
| Video Capture Resolution | 720p HD |
| Illumination | 36 high-intensity invisible IR LEDs, up to 70 ft. |
| Image Format | JPEG |
| Video Capture Format | AVI |
| Aspect Ratio | Wide Angle 16:9 |
| Power Source | Battery Powered (Batteries Required: Yes) |
| Mounting Type | Tree Mount |
| Indoor/Outdoor Usage | Outdoor |
| Connectivity Protocol | Wi-Fi |
| Wireless Communication Technology | Wi-Fi |
| Compatible Devices | Smartphone |
| Item Dimensions (L x W x H) | 8 x 4 x 6 inches |
| Item Weight | 1.2 pounds |
| International Protection Rating | IP54 |
| UPC | 813628008248 |
| Manufacturer | GSM Outdoors |
| Date First Available | October 12, 2023 |
Warranty and Support
Wildgame Innovations stands behind its products. For specific warranty information, please refer to the warranty card included with your purchase or visit the official Wildgame Innovations website. For technical support or assistance with your Switch Camera, please contact Wildgame Innovations customer service.
Manufacturer: GSM Outdoors
Website: www.wildgameinnovations.com (Note: This is a general placeholder for the brand's website, as a specific support link was not provided.)
Related documentsWGI-SWTC2LOW


Ask a question about this manual
Ask about setup, troubleshooting, compatibility, parts, safety, or missing instructions. Manuals+ will review the question and use this page’s manual context to help answer it.