1. Introduction
Thank you for choosing the Cecotec ReadyWarm 1500 Max Ceramic Rotate Tabletop Heater. This manual provides essential information for the safe and efficient operation, maintenance, and troubleshooting of your new heater. Please read these instructions carefully before use and retain them for future reference.
This ceramic heater features 1500 W of power, 45° oscillation, an adjustable thermostat, and three operating modes, designed to provide warmth in areas up to 15 m².
2. Safety Instructions
- Always place the heater on a stable, flat surface.
- Do not cover the heater or block its air inlets/outlets.
- Keep flammable materials at least 1 meter away from the heater.
- Do not use the heater in bathrooms, laundry areas, or similar wet locations.
- Unplug the heater when not in use or before cleaning.
- Ensure the power cord is not damaged and is kept away from heated surfaces.
- This appliance is equipped with a triple safety system: automatic shutdown in case of overturning, overheating protection, and a protective grille to prevent finger access.
3. Product Overview and Components
Familiarize yourself with the main parts of your Cecotec ReadyWarm 1500 Max Ceramic Rotate Tabletop Heater.

Figure 1: Front view of the Cecotec ReadyWarm 1500 Max Ceramic Rotate Tabletop Heater. This image shows the compact, black heater with its perforated front grille, indicating its modern design and heat output area.

Figure 2: Top control panel with two rotary knobs. The left knob controls the operating mode, and the right knob adjusts the thermostat. The Cecotec logo is visible at the top center.
Key Components:
- Heat Outlet Grille: Front grille for heat emission.
- Control Knobs: Two rotary knobs on the top for mode selection and temperature adjustment.
- Power Cord: For electrical connection.
- Base: Stable base for tabletop placement, enabling oscillation.
4. Setup
- Unpack: Carefully remove the heater from its packaging. Retain packaging for storage if needed.
- Placement: Place the heater on a firm, level, and heat-resistant surface. Ensure there is adequate clearance (at least 1 meter) from walls, furniture, curtains, and other objects to allow for proper airflow and prevent fire hazards.
- Power Connection: Plug the power cord into a suitable electrical outlet (220-240V, 50/60Hz). Ensure the outlet is easily accessible.
5. Operating Instructions
The heater features two control knobs for intuitive operation.

Figure 3: Close-up of the left control knob, illustrating the three operating modes: Fan, Low Heat, and High Heat.
5.1. Power and Mode Selection
Use the left rotary knob to select the desired operating mode:
- Off (O): Turns the heater off.
- Fan Only (Fan icon): Operates as a fan without heat, circulating air.
- Low Heat (One bar icon): Provides heat at a lower power setting (e.g., 750W).
- High Heat (Two bars icon): Provides heat at the maximum power setting (1500W).
5.2. Thermostat Control
Use the right rotary knob to adjust the desired temperature.

Figure 4: Close-up of the right control knob, showing the adjustable thermostat settings from Min to Max.
- Rotate the knob clockwise to increase the desired temperature setting.
- Rotate the knob counter-clockwise to decrease the desired temperature setting.
- The heater will cycle on and off to maintain the set temperature.
5.3. Oscillation Function
The heater can oscillate 45 degrees to distribute heat more evenly across the room.
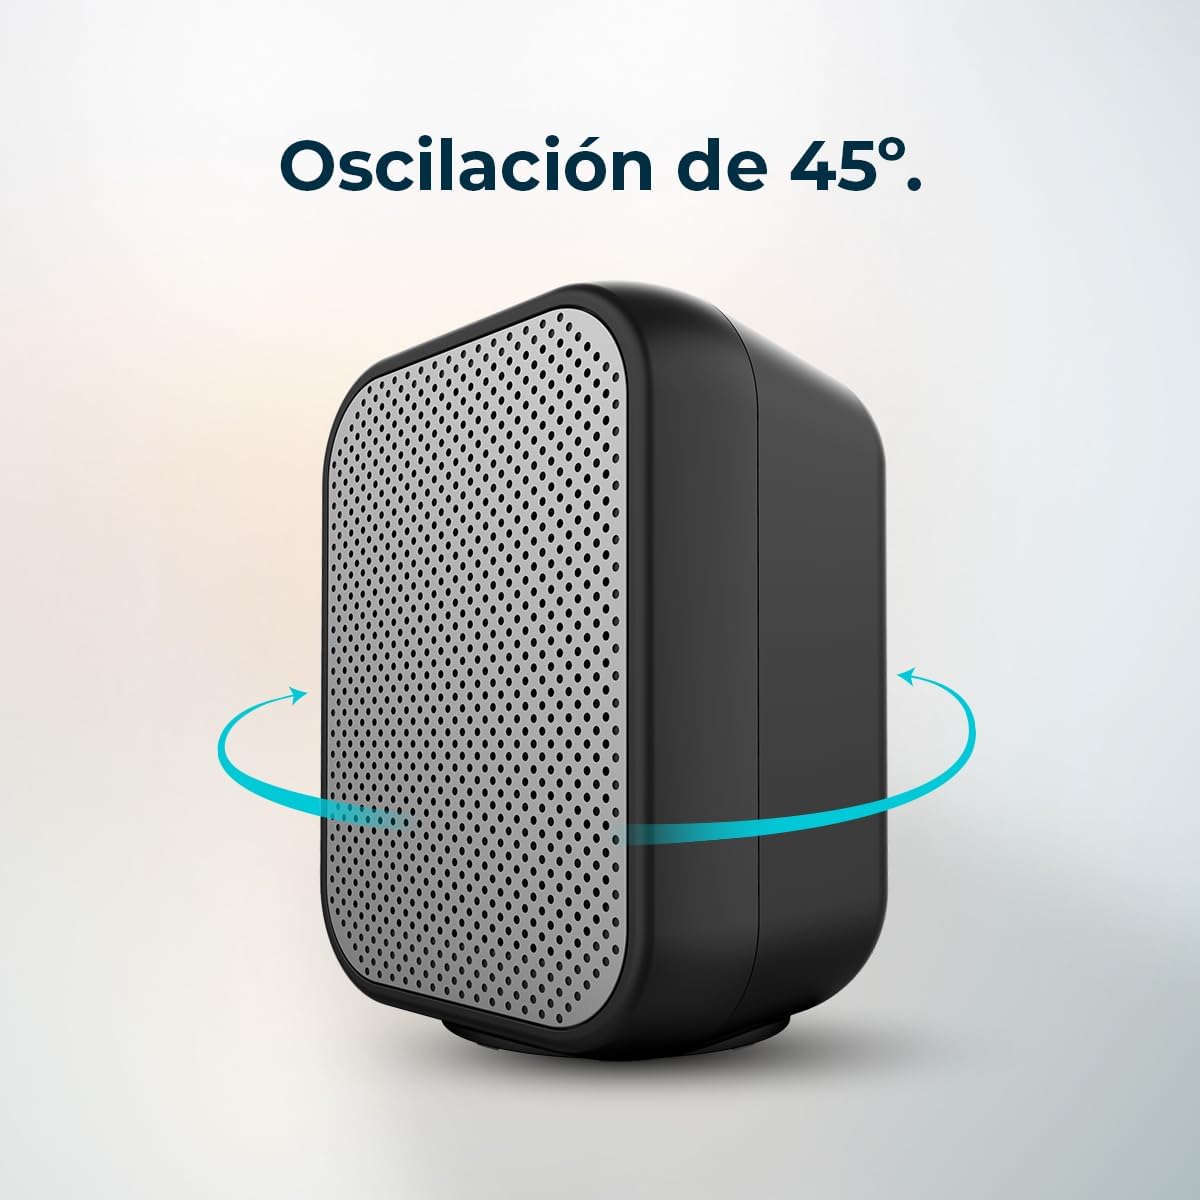
Figure 5: The heater rotating 45 degrees, indicated by blue arrows, to distribute warmth.
- To activate oscillation, turn the left mode knob to any heat setting (Low or High Heat) and ensure the oscillation icon is selected.
- To stop oscillation, turn the mode knob to a non-oscillation setting or turn the unit off.
6. Maintenance
Regular maintenance ensures optimal performance and longevity of your heater.
6.1. Cleaning
- Disconnect Power: Always unplug the heater from the power outlet and allow it to cool completely before cleaning.
- Exterior Cleaning: Wipe the exterior surfaces with a soft, damp cloth. Do not use abrasive cleaners, solvents, or harsh chemicals, as these can damage the finish.
- Air Inlets/Outlets: Use a vacuum cleaner with a brush attachment to gently remove dust and debris from the air inlets and outlets. Ensure these areas remain clear for efficient operation.
- Do Not Immerse: Never immerse the heater in water or any other liquid.
6.2. Storage
When not in use, store the heater in a cool, dry place, preferably in its original packaging, away from direct sunlight and moisture.
7. Troubleshooting
If you encounter issues with your heater, refer to the following common problems and solutions:
| Problem | Possible Cause | Solution |
|---|---|---|
| Heater does not turn on. | No power supply. Overheat protection activated. Tip-over switch activated. | Check if the power cord is securely plugged in and the outlet is functional. Unplug, let cool for 30 minutes, then restart. Ensure the heater is on a flat, stable surface. |
| Heater produces no heat. | Mode knob set to 'Fan Only'. Thermostat set too low. | Turn the mode knob to 'Low Heat' or 'High Heat'. Increase the thermostat setting. |
| Oscillation is not working. | Mode knob not set to an oscillation-enabled heat setting. | Ensure the mode knob is set to a heat setting that includes the oscillation function. |
| Heater emits a burning smell. | Dust accumulation. New unit smell. | Unplug and clean the air inlets/outlets. This is normal for new heaters and should dissipate after initial use. Ensure good ventilation. |
8. Specifications
| Feature | Detail |
|---|---|
| Brand | Cecotec |
| Model Number | 08287 |
| Color | Black |
| Power | 1500 W |
| Voltage | 220-240 Volts |
| Number of Speeds/Modes | 3 (Fan, Low Heat, High Heat) |
| Heating Method | Convection, Ceramic |
| Special Features | Adjustable Thermostat, Rapid Heating, Safety Shut-off (low oxygen), Overheat Protection, Tip-over Switch |
| Oscillation | 45° |
| Coverage Area | Up to 15 m² |
| Product Dimensions (L x W x H) | 21 x 17 x 24.5 cm |
| Item Weight | 1.08 Kilograms |
| Power Source | Corded Electric |
| Indoor/Outdoor Use | Indoor |
9. Warranty and Support
Cecotec products are manufactured to high-quality standards. For information regarding warranty coverage, terms, and conditions, please refer to the warranty card included with your purchase or visit the official Cecotec website. For technical support, spare parts, or service inquiries, please contact Cecotec customer service through their official channels.
Availability of spare parts: 10 Years.


