Introduction
The Fockety Precision Table Saw Miter Gauge System is designed for accurate angle cuts on table saws. Constructed from durable aluminum alloy, it provides precise control for various woodworking applications. This manual outlines the components, assembly, and operation of the system.

Figure 1: Fockety Precision Table Saw Miter Gauge System.
Package Contents
Verify that all components are present before assembly:
- Miter Gauge Assembly (with angle scale and handle)
- Aluminum Miter Fence
- Push Table Handle
- Limit Stop
- Backer
- 2 x Wrenches
- 2 x Screws (M6)
- 2 x Set Screws
- 2 x Nuts
- 7 x Rubber Rings
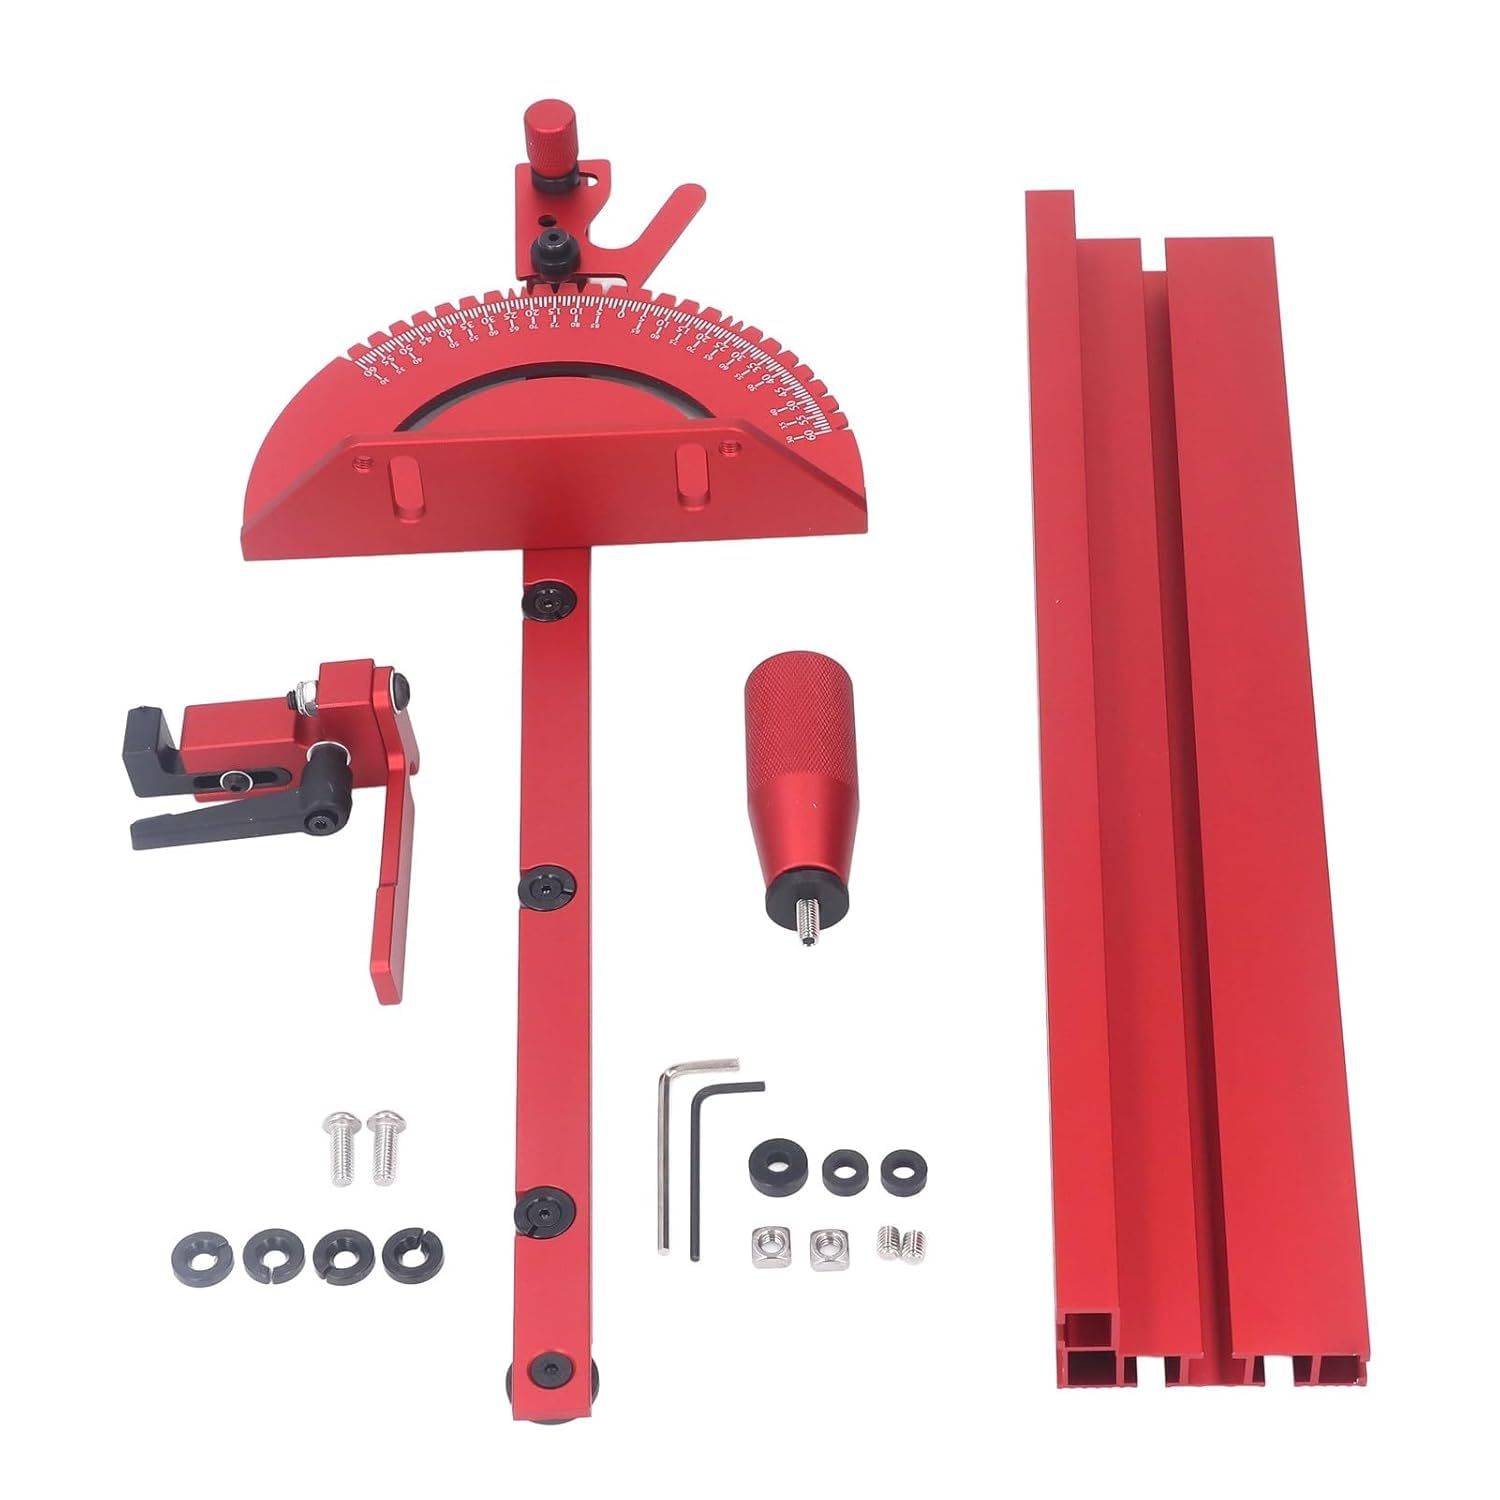
Figure 2: All components included in the package.
Setup and Assembly
The miter gauge system requires assembly before use. Follow these general steps:
- Attach the aluminum miter fence to the miter gauge assembly using the provided screws and nuts. Ensure it is securely fastened.
- Install the push table handle onto the main miter gauge body.
- Attach the limit stop and backer to the fence as needed for your specific cutting operations.
- Insert the miter rod into your table saw's standard 3/4 inch by 3/8 inch miter slot. The system is also applicable to 30mm or 45mm T tracks.
- Adjust the rubber rings on the miter rod to ensure a snug fit within the table saw's miter slot, minimizing play for accurate cuts.
Video 1: Demonstration of the miter gauge system assembly and initial setup on a table saw.
Video 2: Visual guide for assembling and adjusting a miter gauge for table saw use.
Operating Instructions
Setting Angles
The miter gauge features an angle scale for precise adjustments. The locking mechanism allows the rotating part to be secured at any desired angle. For common angles, the system may include positive stops for quick and repeatable settings.
- To set an angle, loosen the locking mechanism.
- Rotate the miter gauge head to the desired angle indicated on the scale.
- Tighten the locking mechanism to secure the angle.

Figure 3: Detail of the angle adjustment and locking mechanism.
Making Cuts
Once the desired angle is set, position your workpiece against the miter fence. Use the push table handle to guide the miter gauge and workpiece smoothly through the saw blade. The limit stop can be used for repetitive cuts of the same length.

Figure 4: Close-up of the flexible locking mechanism.

Figure 5: Miter gauge in operation on a table saw.
Specifications
- Material: Aluminum alloy
- Screw Size: Approx. 6mm (M6)
- Standard Position Dimension (Miter Bar): Width: 3/4 inch (approx. 19mm), Thickness: 3/8 inch (approx. 9.5mm)
- Applicable Track: Approx. 30mm or 45mm T track
- Manufacturer: Fockety
- Item Model Number: Focketyep2u4ax1vt
- Country of Origin: China
- Parcel Dimensions: 47.62 x 24.03 x 8.25 cm; 1.45 kg

Figure 6: Product dimensions and specifications.