1. Product Overview
The Whirlpool WPW10359271 OEM Dryer Drum Roller Axle is a genuine Original Equipment Manufacturer (OEM) replacement part designed to ensure the quiet and consistent spinning of your dryer's drum roller during the drying cycle. This component is crucial for the smooth operation of your appliance.
This part is the front shaft with right-hand threads. It replaces part numbers 8575324, 3399508, 3387460, and W10359271.
Compatible Appliances: This axle is compatible with multiple Whirlpool dryer models, including but not limited to:
- MEDB835DW
- WED5620HW
- MEDB765FW
- WED75HEFW
- MED7230HW
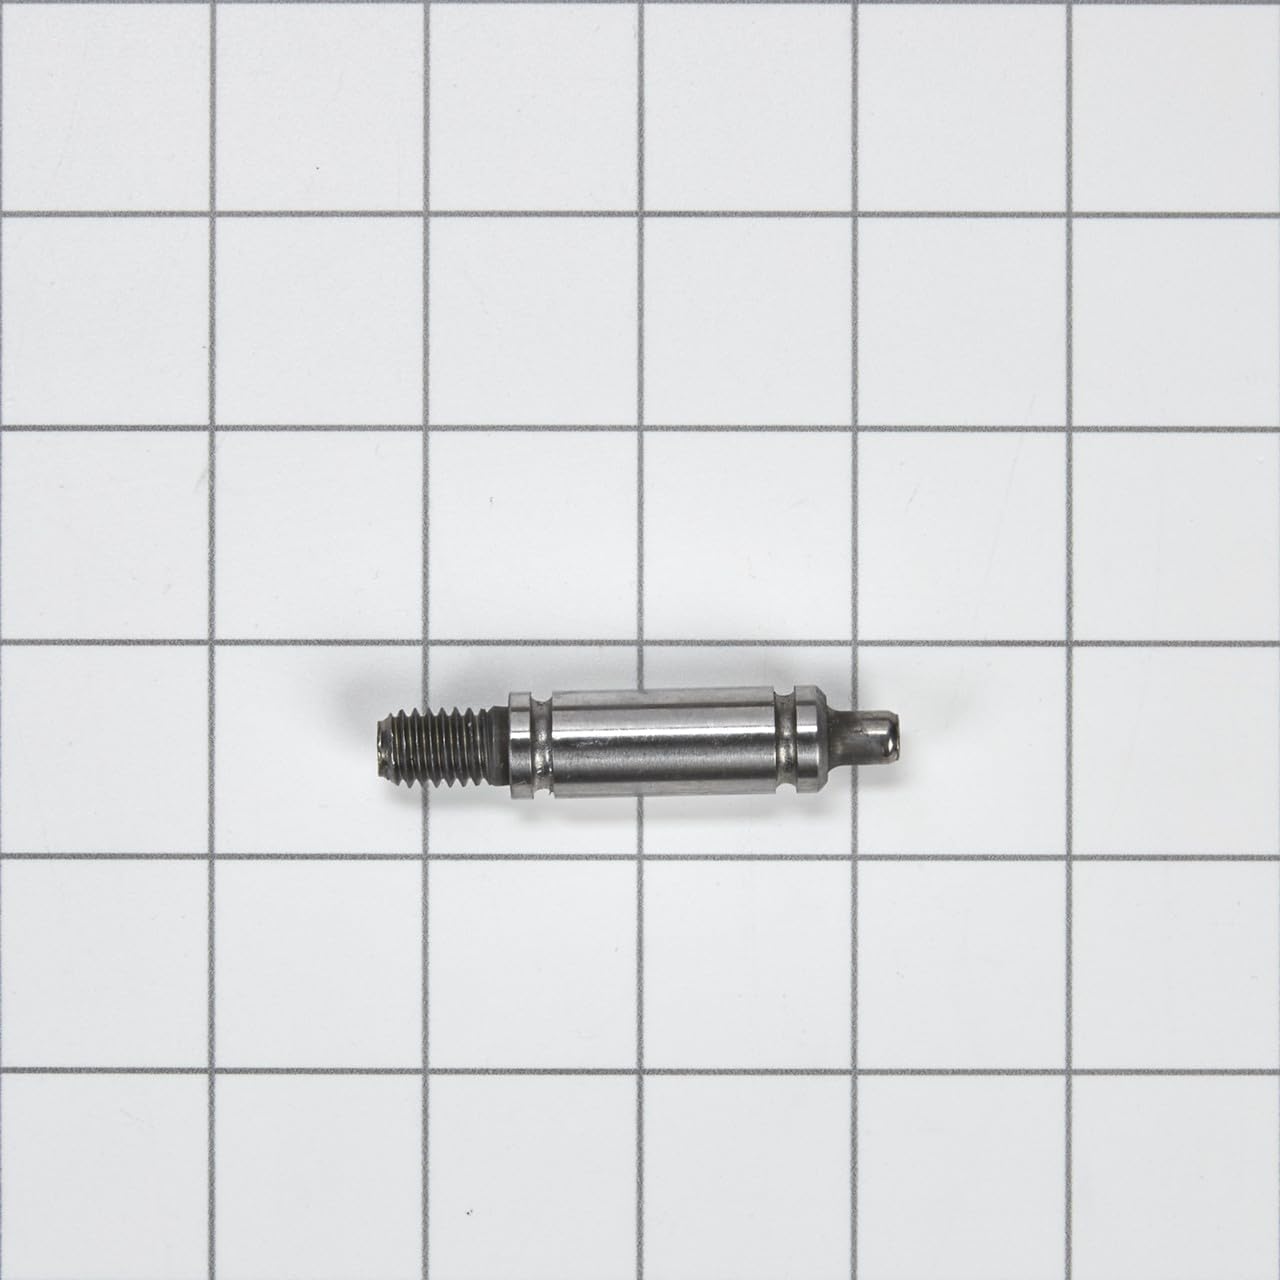
Image 1.1: The Whirlpool WPW10359271 Dryer Drum Roller Axle. This image shows the metallic axle, a critical component for dryer drum rotation.
2. Safety Information
WARNING: Before attempting any installation, repair, or maintenance on your appliance, always ensure the power supply is disconnected. Unplug the appliance from the electrical outlet or shut off the house circuit breaker to prevent electric shock or injury.
Wear appropriate personal protective equipment, such as gloves and safety glasses, during the repair process.
3. What's Included
Your package contains the following genuine OEM part:
- 1x Whirlpool WPW10359271 Genuine OEM Dryer Drum Roller Axle Replacement Part
4. Installation Instructions
Replacing the dryer drum roller axle requires basic hand tools and some disassembly of the dryer. This task is suitable for individuals with novice repair experience.
Required Tools:
- Multi-screwdriver
- Other basic hand tools as needed for dryer disassembly
Procedure:
- Disconnect Power: As stated in the safety information, unplug the dryer or shut off its circuit breaker before beginning.
- Access Drum Assembly: Carefully disassemble the dryer to gain access to the drum roller assembly. This typically involves removing the top panel, front panel, and possibly the drum itself. Refer to your specific dryer model's service manual for detailed disassembly steps.
- Locate and Remove Old Axle: Identify the worn or damaged drum roller axle. Remove any retaining clips, screws, or nuts securing the old axle.
- Install New Axle: Position the new Whirlpool WPW10359271 Dryer Drum Roller Axle in place. Ensure it is correctly aligned with the roller and mounting points. Secure it using the original fasteners or new ones if provided.
- Reassemble Dryer: Carefully reassemble the dryer, ensuring all connections are secure and panels are properly fitted.
- Restore Power: Once fully reassembled, restore power to the dryer.
- Test Operation: Run a short cycle to ensure the drum spins quietly and consistently.
Helpful Tip: The nuts that secure this updated part may also need to be replaced in older models. The recommended replacement item for these nuts is WPW10080210.
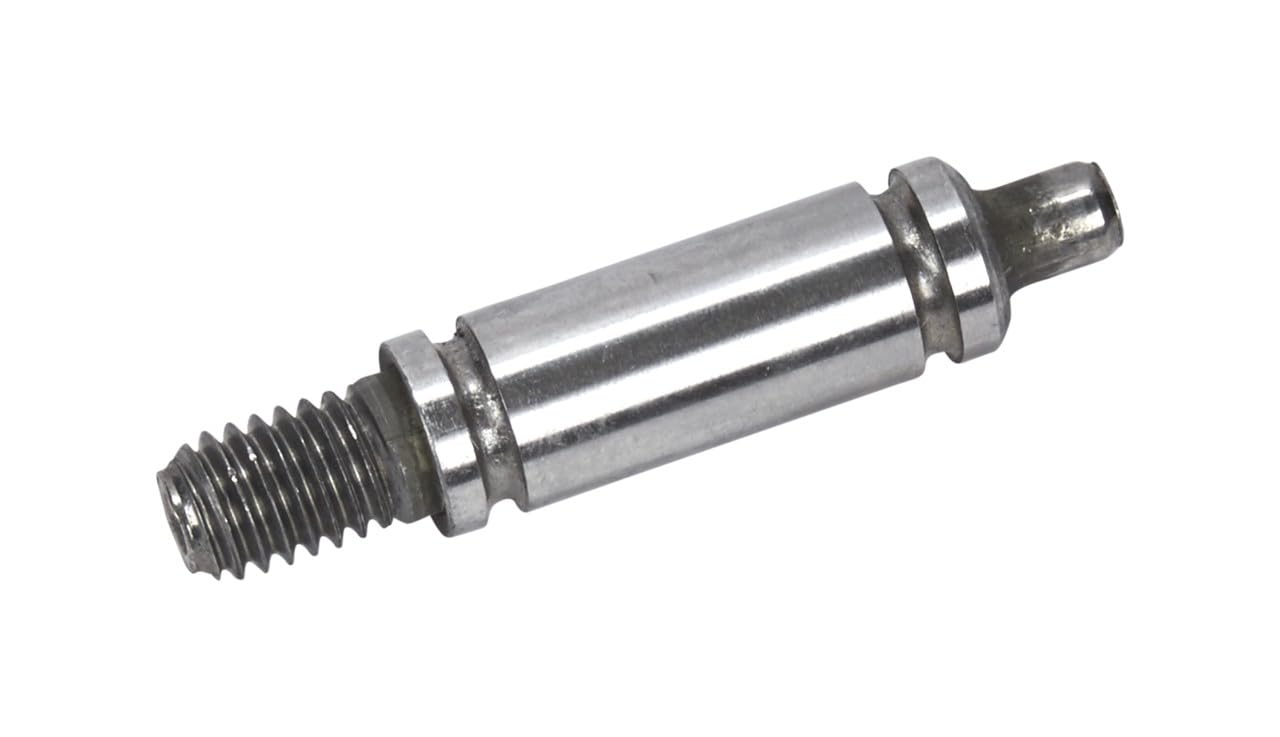
Image 4.1: A detailed view of the WPW10359271 axle, showing its threaded end and smooth shaft for roller attachment.
5. Troubleshooting
Symptom: Noisy Dryer Operation
If your dryer is producing unusual noises during operation, the shaft for the drum support roller may be worn out or damaged. Replacing the drum roller axle (WPW10359271) can often alleviate this issue, restoring quiet and consistent performance.
6. Specifications
- Brand: Whirlpool
- Model Number: WPW10359271
- Item Weight: 1.44 ounces
- Product Dimensions: 2.5 x 0.5 x 0.5 inches
- Part Type: Dryer Drum Roller Axle (OEM)
- ASIN: B0CKTPCLRJ
- Date First Available: October 10, 2023
7. Warranty and Support
Warranty Information:
Whirlpool offers a one-year warranty on this genuine OEM part. This warranty covers defects in materials and workmanship under normal use and service.
Genuine OEM Parts:
Whirlpool Genuine OEM (Original Equipment Manufacturer) Parts are specifically designed for your appliance, meet Whirlpool engineering standards, and are crafted to ensure the quality and longevity of your appliance. Using genuine parts helps maintain the performance and warranty of your Whirlpool dryer.

Image 7.1: An illustration explaining the concept of Original Equipment Manufacturer (OEM) parts and showcasing various Whirlpool Corporation brands.
Official Product Video:
Video 7.1: An official video from Whirlpool Service Parts explaining the importance and benefits of using genuine OEM parts for Whirlpool appliances. This video highlights the quality, durability, and precise fit of factory-certified replacement parts.


