Introduction
This manual provides detailed instructions for the FIFINE Ampli1+L9 Audio Mixer and accompanying XLR Cable. Designed for streaming, podcasting, and music recording, this USB audio interface offers high-quality sound reproduction for microphones and instruments. It features 48V phantom power for condenser microphones, intuitive gain controls, and versatile input/output options to enhance your audio experience.
Product Features
- Improved Sound Quality: Elevate your recording or instrument creation to studio-level performance. The audio interface delivers original sound reproduction that captures every nuance for your podcasting.
- XLR Microphone Interface: Equipped with an XLR microphone interface, the recording audio interface grants you the freedom to connect your XLR microphone to capture studio-grade vocals. Enjoy the convenience of 48V phantom power for directly using with condenser microphones and an intuitive mic gain knob to fine-tune input levels.
- Instrument Input and Audio Output: Whether you're a guitarist or bassist, the podcast mixer has you covered. Connect a dedicated instrument input and experience rich and authentic tones. Audio output with a separate volume knob ensures precise control over playback levels.
- Upgraded-Quality Audio Cable: The included XLR microphone audio cable ensures pristine audio quality, delivering clear and balanced sound reproduction for professional-grade recordings.
- Reliable and Durable: Crafted with top-quality materials, the XLR audio cable is built to withstand the rigors of frequent use, providing long-lasting performance and durability.

Figure 1: FIFINE Ampli1+L9 Audio Mixer and XLR Cable.

Figure 2: The audio mixer features a dedicated instrument input for recording guitars or other instruments.

Figure 3: XLR and 6.35mm microphone inputs with 48V phantom power for condenser microphones and a 50dB gain input.

Figure 4: Direct monitoring feature with a dedicated volume knob for real-time audio feedback.

Figure 5: Diagram illustrating the various input options (microphone, instrument) and output options (headphones, speakers) for flexible connectivity.

Figure 6: Input gain knobs for MIC/LINE and INST with audio status indicators (Moderate Level, Close to Distortion, Distortion) to prevent clipping.
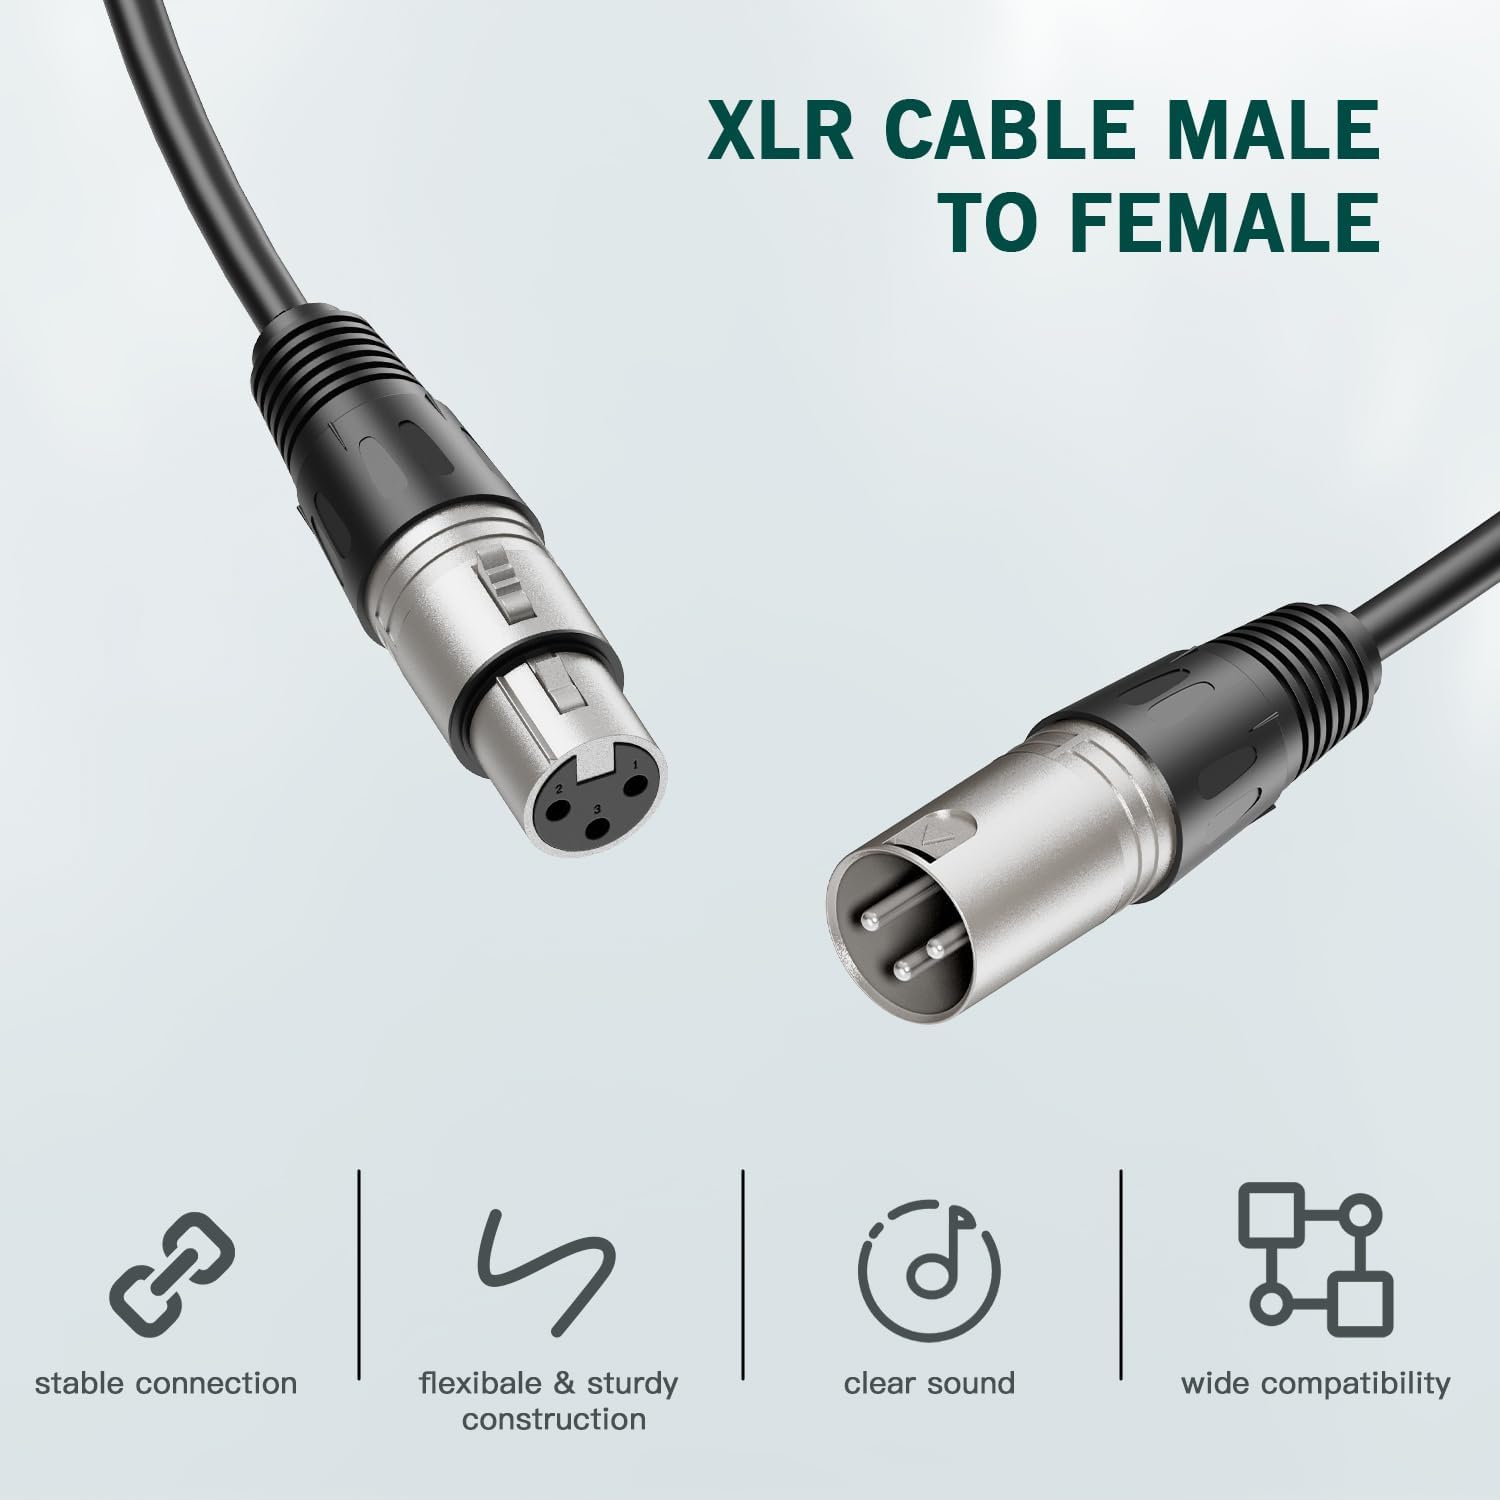
Figure 7: The included XLR Male to Female audio cable, designed for stable connection, flexible and sturdy construction, clear sound, and wide compatibility.

Figure 8: The XLR audio cable is constructed from top-quality PVC materials for enhanced durability and reliability.

Figure 9: The audio mixer integrated into a studio setup with a keyboard and monitor, highlighting its 50dB gain input.

Figure 10: A guitarist connected to the FIFINE Ampli1+L9 Audio Mixer, demonstrating its use for instrument recording.

Figure 11: The audio mixer connected to both headphones and speakers, illustrating its versatile output capabilities.

Figure 12: The audio mixer connected to a laptop via a USB-C cable, showing its digital connectivity.

Figure 13: A user monitoring their audio in real-time with headphones connected to the FIFINE Ampli1+L9 Audio Mixer.

Figure 14: A condenser microphone connected to the audio mixer, utilizing the 48V phantom power feature.

Figure 15: Visual representation of the audio status indicators on the mixer, showing levels from moderate to distorted.

Figure 16: Dedicated volume knobs for both output and headphones, allowing precise control over playback levels.

Figure 17: Detailed views of the mixer's front, back, and top panels, labeling all interfaces and control knobs for easy identification.
Setup
- Connect to Computer: Use the provided USB-C cable to connect the Ampli1+L9 mixer to your computer. The mixer is compatible with Linux, Windows, and macOS operating systems.
- Connect Microphone: Plug your XLR microphone into the MIC/LINE 1 input. If using a condenser microphone, ensure the 48V Phantom Power is activated (refer to the Operating section).
- Connect Instrument: If recording an instrument, plug it into the INST 2 input.
- Connect Headphones: For direct monitoring, plug your headphones into the dedicated headphone jack on the front panel.
- Connect Speakers (Optional): Connect your studio monitors or speakers to the LEFT and RIGHT OUTPUTS on the rear panel.
Operating Instructions
Gain Adjustment
- MIC/LINE Gain: Use the 'MIC/LINE GAIN 1' knob to adjust the input level for your microphone.
- INST Gain: Use the 'INST GAIN 2' knob to adjust the input level for your instrument.
- Audio Status Indicators: Monitor the LED indicators next to the gain knobs. Green indicates a moderate level, orange indicates close to distortion, and red indicates distortion. Adjust gain to keep the indicator in the green range for optimal sound quality.
48V Phantom Power
- Press the '48V' button located near the MIC/LINE 1 input to activate phantom power for condenser microphones. The indicator light will illuminate when active.
- Ensure phantom power is OFF when using dynamic microphones or instruments that do not require it.
Direct Monitoring
- Activate the 'DIRECT MONITOR' button to hear your input signal directly through your headphones without latency.
- Adjust the 'HEADPHONES' volume knob to control the monitoring level.
Output Volume
- Use the 'OUTPUTS' volume knob to control the overall output level to your connected speakers or studio monitors.
Maintenance
- Cleaning: Use a soft, dry cloth to clean the exterior of the mixer. Avoid using liquid cleaners or solvents.
- Storage: Store the mixer and cable in a cool, dry place away from direct sunlight and extreme temperatures.
- Cable Care: Avoid sharp bends or kinks in the XLR cable to prevent damage to the internal wiring. Use the included Velcro strap for tidy storage.
Troubleshooting
- No Sound Output:
- Ensure the mixer is properly connected to your computer via USB and powered on.
- Check all cable connections (microphone, instrument, headphones, speakers).
- Verify that the gain knobs for inputs and outputs are set to an audible level.
- Confirm that your computer's sound settings recognize the FIFINE Ampli1+L9 as the input/output device.
- Distorted Audio:
- Reduce the input gain (MIC/LINE or INST) if the audio status indicators are showing orange or red.
- Check for damaged cables or faulty connections.
- Microphone Not Detected/Working:
- Ensure the microphone is securely plugged into the XLR input.
- If using a condenser microphone, activate the 48V Phantom Power.
- Test with a different microphone or cable if possible.
- No Direct Monitoring:
- Ensure headphones are properly connected and the 'DIRECT MONITOR' button is active.
- Adjust the 'HEADPHONES' volume knob.
Specifications
| Feature | Detail |
|---|---|
| Brand | FIFINE |
| Connectivity Technology | XLR |
| Number of Channels | 2 |
| Compatible Devices | Microphone, Personal Computer, Electric Guitar |
| Supported Software | DAW software that supports XLR devices |
| Operating System | Linux, Windows, macOS |
Warranty & Support
For warranty information and technical support, please refer to the official FIFINE website or contact their customer service directly. Keep your purchase receipt for warranty claims.
Product Videos
FIFINE Ampli1 Audio Mixer Overview
This video provides an overview of the FIFINE Ampli1 audio mixer, demonstrating its features and basic functionality. It highlights the mixer's design and ease of use for audio recording.
Amazon Basics Male-Female XLR Cable Unboxing
This video showcases the unboxing and features of an Amazon Basics Male-Female XLR cable, similar to the one included with your FIFINE Ampli1+L9. It demonstrates the cable's construction and connectors.


