Introduction
This manual provides comprehensive instructions for the Keychron K5 Pro QMK/VIA Wireless Mechanical Keyboard. It covers initial setup, operational procedures, maintenance guidelines, troubleshooting tips, and detailed product specifications. Please read this manual thoroughly to ensure optimal use and longevity of your keyboard.
The Keychron K5 Pro is an ultra-slim, full-size (108 keys) wireless mechanical keyboard featuring QMK/VIA programmability, hot-swappable low-profile Gateron mechanical switches, and RGB backlighting. It supports both wireless Bluetooth 5.1 and wired USB-C connectivity, and is compatible with macOS, Windows, and Linux operating systems.
Setup
1. Package Contents
Before proceeding, ensure all components are present:
- Keychron K5 Pro Keyboard
- USB Type-C Cable
- Keycap Puller
- Switch Puller
- Extra Keycaps for Mac and Windows
2. Initial Charging
It is recommended to fully charge the keyboard before first use. Connect the provided USB Type-C cable to the keyboard's USB-C port and to a power source (e.g., computer USB port or USB wall adapter). The charging indicator will show the charging status.
3. Connectivity Modes
The K5 Pro supports both wireless Bluetooth and wired USB-C connections.

Image: The Keychron K5 Pro keyboard highlighting its dual connectivity modes: Wireless (Bluetooth) and Wired (USB-C).
Wired Mode:
- Locate the toggle switch on the side of the keyboard labeled "Bluetooth OFF Cable". Slide it to the "Cable" position.
- Connect the USB Type-C cable from the keyboard to your computer.
- The keyboard will be recognized automatically by your operating system.
Wireless Bluetooth Mode:
- Locate the toggle switch on the side of the keyboard labeled "Bluetooth OFF Cable". Slide it to the "Bluetooth" position.
- To enter pairing mode, press and hold the 'Fn' + '1' (or '2', '3') keys for 4 seconds until the '1' key (or '2', '3') backlight flashes rapidly. This indicates the keyboard is ready to pair.
- On your device (computer, phone, tablet), enable Bluetooth and search for "Keychron K5 Pro".
- Select the keyboard to connect. The '1' key (or '2', '3') backlight will stop flashing and remain solid when successfully paired.
- The K5 Pro can connect to up to 3 devices simultaneously. Use 'Fn' + '1', 'Fn' + '2', or 'Fn' + '3' to switch between paired devices.
4. Operating System Switch
The keyboard has a dedicated switch for macOS/iOS and Windows/Android compatibility. Locate the toggle switch on the side of the keyboard labeled "Win/Android Mac/iOS".

Image: The Keychron K5 Pro keyboard displaying its compatibility with both Mac and Windows operating systems.
- Slide the switch to "Mac/iOS" for Apple devices.
- Slide the switch to "Win/Android" for Windows or Android devices.
Ensure the correct operating system mode is selected for proper key functionality.
Operating
1. QMK and VIA Support
The Keychron K5 Pro is fully programmable with QMK and VIA firmware, allowing for extensive customization of key assignments, macros, and lighting effects.
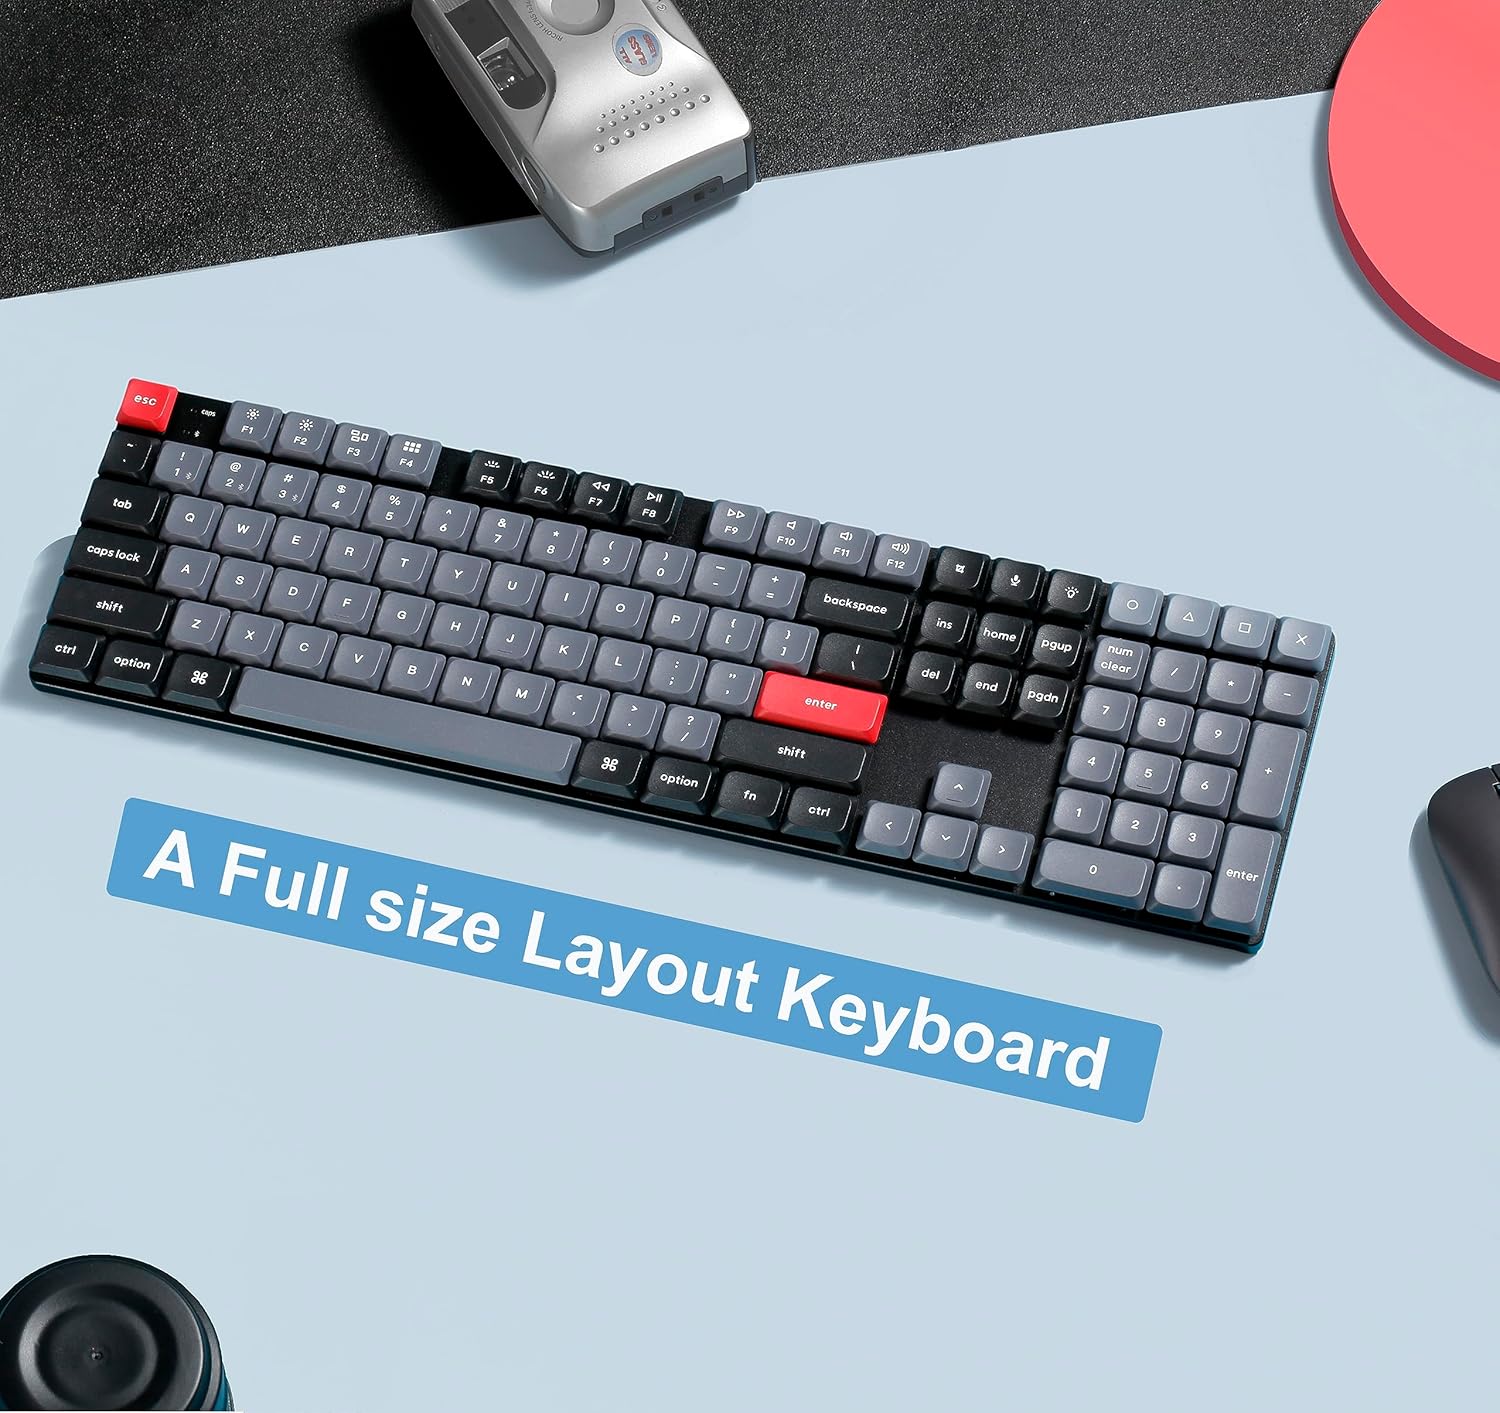
Image: A screenshot of the VIA software interface, demonstrating how to remap keys and create macros for the Keychron K5 Pro keyboard.
- Download the VIA software from the official Keychron website.
- Connect the K5 Pro to your device using the USB-C cable. VIA software requires a wired connection for programming.
- Open the VIA application. The software should automatically detect your K5 Pro.
- Use the graphical interface to remap any key, create custom macro commands, or set up shortcuts. Changes are applied in real-time.
2. Hot-Swappable Switches
The K5 Pro features hot-swappable sockets, allowing you to change mechanical switches without soldering. This enables customization of the typing experience.

Image: A close-up view demonstrating the hot-swappable feature, with a switch being removed from the keyboard using a switch puller.
- Power off the keyboard or switch to wired mode to prevent accidental inputs.
- Use the keycap puller to gently remove the desired keycap.
- Use the switch puller to carefully grip the top and bottom clips of the switch. Pull the switch straight up to remove it from the PCB.
- Align the pins of the new low-profile Gateron mechanical switch with the holes on the PCB.
- Gently press the new switch into place until it clicks. Ensure the switch is seated firmly and the pins are not bent.
- Replace the keycap.
3. RGB Lighting Effects
The K5 Pro offers 22 different RGB lighting effects. These can be cycled through and customized directly on the keyboard.

Image: The Keychron K5 Pro keyboard illuminated with colorful RGB backlighting, showcasing its various lighting effects.
- Use the dedicated lighting key (often marked with a lightbulb icon or similar) to cycle through different RGB effects.
- Specific key combinations (e.g., Fn + arrow keys) may adjust brightness, speed, or color of the effects. Refer to the quick start guide for exact combinations.
Maintenance
1. Cleaning
Regular cleaning helps maintain the keyboard's appearance and functionality.
- Dust Removal: Use compressed air to remove dust and debris from between keycaps.
- Surface Cleaning: Wipe the keycaps and keyboard frame with a soft, slightly damp, lint-free cloth. Avoid harsh chemicals or abrasive materials.
- Deep Cleaning: For thorough cleaning, remove keycaps using the provided keycap puller. Clean the keycaps with mild soap and water, ensuring they are completely dry before reattaching. Clean the exposed switch stems and plate with a soft brush or compressed air.
2. Battery Care
The K5 Pro uses a Lithium Ion battery. Follow these guidelines for optimal battery life:
- Avoid fully discharging the battery frequently.
- Store the keyboard in a cool, dry place if not used for extended periods.
- Use the provided USB-C cable for charging.
Troubleshooting
This section addresses common issues you might encounter with your Keychron K5 Pro keyboard.
1. Bluetooth Connectivity Issues
- Keyboard not connecting: Ensure the keyboard is in Bluetooth mode and pairing mode is activated (Fn + 1/2/3 for 4 seconds). Check your device's Bluetooth settings to ensure it's discoverable and try re-pairing.
- Intermittent connection/lag: Ensure the keyboard is fully charged. Move the keyboard closer to your device to reduce interference. Try disconnecting and re-pairing the keyboard. If possible, test with another Bluetooth-enabled device.
- Keyboard not appearing in device list: Try restarting both the keyboard and your device. Ensure no other devices are actively connected to the keyboard's Bluetooth channels.
2. Key Registration Problems
- Keys not responding or double-typing: This can sometimes indicate a faulty switch. Due to the hot-swappable design, you can try removing the keycap and switch (refer to the "Hot-Swappable Switches" section) and reseating it firmly. If the issue persists, consider replacing the switch.
- Incorrect key output: Ensure the operating system switch (Mac/Windows) is set correctly for your device. If using VIA, verify that no accidental key remappings have occurred.
3. Backlighting Issues
- Lights not working: Check if the backlight is turned off or set to minimum brightness. Ensure the keyboard is sufficiently charged, as low battery can affect lighting performance.
- Inconsistent lighting: This might be a software or firmware issue. Try cycling through lighting effects or performing a factory reset if available (consult Keychron support for specific reset procedures).
Specifications

Image: A visual comparison illustrating the ultra-slim profile of the Keychron K5 Pro and the difference between conventional and Gateron low-profile mechanical switches.
| Feature | Detail |
|---|---|
| Model Number | HS-K5P-H3 |
| Layout | Full Size (108 Keys) |
| Switches | Low-profile Gateron Mechanical (Brown Switch variant) |
| Hot-Swappable | Yes |
| Connectivity | Bluetooth 5.1 (Wireless), USB Type-C (Wired) |
| Compatibility | Mac, Windows, Linux, Android, iOS |
| Backlighting | RGB (22 Light Effects) |
| Keycaps | LSA (Low Profile Spherical-Angled) Profile |
| Frame Material | Aluminum |
| Battery | 1 Lithium Ion battery (included) |
| Item Weight | 2.35 pounds |
| Package Dimensions | 17.76 x 6.61 x 1.65 inches |
| Manufacturer | Keychron |
Warranty and Support
1. Warranty Information
Keychron products typically come with a limited warranty covering manufacturing defects. For specific warranty terms and duration, please refer to the warranty card included with your product or visit the official Keychron website. Keep your proof of purchase for warranty claims.
2. Customer Support
For technical assistance, troubleshooting beyond this manual, or warranty inquiries, please contact Keychron customer support. You can usually find contact information, FAQs, and driver/firmware downloads on the official Keychron website (www.keychron.com).


