1. Product Overview
The JORAIR D09 Replacement Filter is designed for use with the Tailulu D09 Air Purifier. This filter features a 3-in-1 filtration system to improve indoor air quality.

Image: Two JORAIR D09 replacement filters, cylindrical in shape with white pleated filter material and black top/bottom rings.
Key Features:
- 3-Stage Filtration System: Includes an Ultra-fine Pre-Filter, HEPA Filter, and Activated Carbon Filter.
- High Efficiency: Filters up to 99.97% of airborne particles as small as 0.3 microns.
- Odor Absorption: Effectively absorbs unwanted odors, fumes, smoke, cooking smells, and pet odors.
- Compatibility: Specifically designed for the Tailulu D09 Air Purifier.
2. Compatibility
This JORAIR D09 Replacement Filter is exclusively compatible with the Tailulu D09 Air Purifier. It is not compatible with Tailulu HQZZ-160, Tailulu D10, or Tailulu HQZZ-60 air purifiers.

Image: A visual guide illustrating the compatibility of the D09 filter with the Tailulu D09 air purifier and its incompatibility with other Tailulu models.
Please verify your air purifier model number before purchasing to ensure correct fit and function.
3. Setup and Installation
Follow these steps to install the JORAIR D09 Replacement Filter into your Tailulu D09 Air Purifier:
- Prepare the Air Purifier: Unplug the air purifier from the power outlet.
- Access the Filter Compartment: Gently flip the air purifier upside down. Locate the bottom cover.
- Remove the Cover: Rotate the bottom cover counter-clockwise to unlock it, then lift it off.
- Remove Old Filter: Carefully remove the used filter from the compartment. Dispose of the old filter responsibly.
- Insert New Filter: Place the new JORAIR D09 Replacement Filter into the air purifier, ensuring it is seated correctly.
- Replace the Cover: Place the bottom cover back onto the machine and twist it clockwise until you hear a click, indicating it is securely locked.
- Reset Filter Indicator: Plug the air purifier back in. Press and hold the filter reset button (refer to your air purifier's manual for exact location) for 3 seconds to reset the filter indicator light.

Image: A visual representation of the filter replacement process, including flipping the unit, removing the base, and inserting the new filter.
4. Operating Principles (Filter Function)
The JORAIR D09 Replacement Filter utilizes a multi-stage filtration process to purify the air:

Image: An exploded view diagram illustrating the 360-degree air intake and the three distinct layers of the filter: Pre-Filter, HEPA Filter, and Activated Carbon Filter.
- Ultra-fine Pre-Filter: This initial layer captures larger airborne particles such as dust, lint, fibers, and pet fur, extending the lifespan of the subsequent filters.
- HEPA Filter: The High-Efficiency Particulate Air (HEPA) layer is designed to capture up to 99.97% of airborne particles as small as 0.3 microns. This includes pollen, pet dander, and other fine allergens and pollutants.
- Activated Carbon Filter: This layer contains high-grade activated carbon granules that chemically absorb various unwanted odors, including cooking smells, smoke, volatile organic compounds (VOCs), and pet odors.

Image: A comparison showing the JORAIR Activated Carbon Filter with 12 times more carbon compared to other filters, indicating enhanced filtration.
5. Maintenance
Regular filter replacement is crucial for maintaining optimal air purification performance.
Filter Replacement Schedule:
It is recommended to replace the JORAIR D09 Replacement Filter every 3 to 6 months. The actual lifespan may vary depending on the existing air quality conditions and frequency of air purifier use.
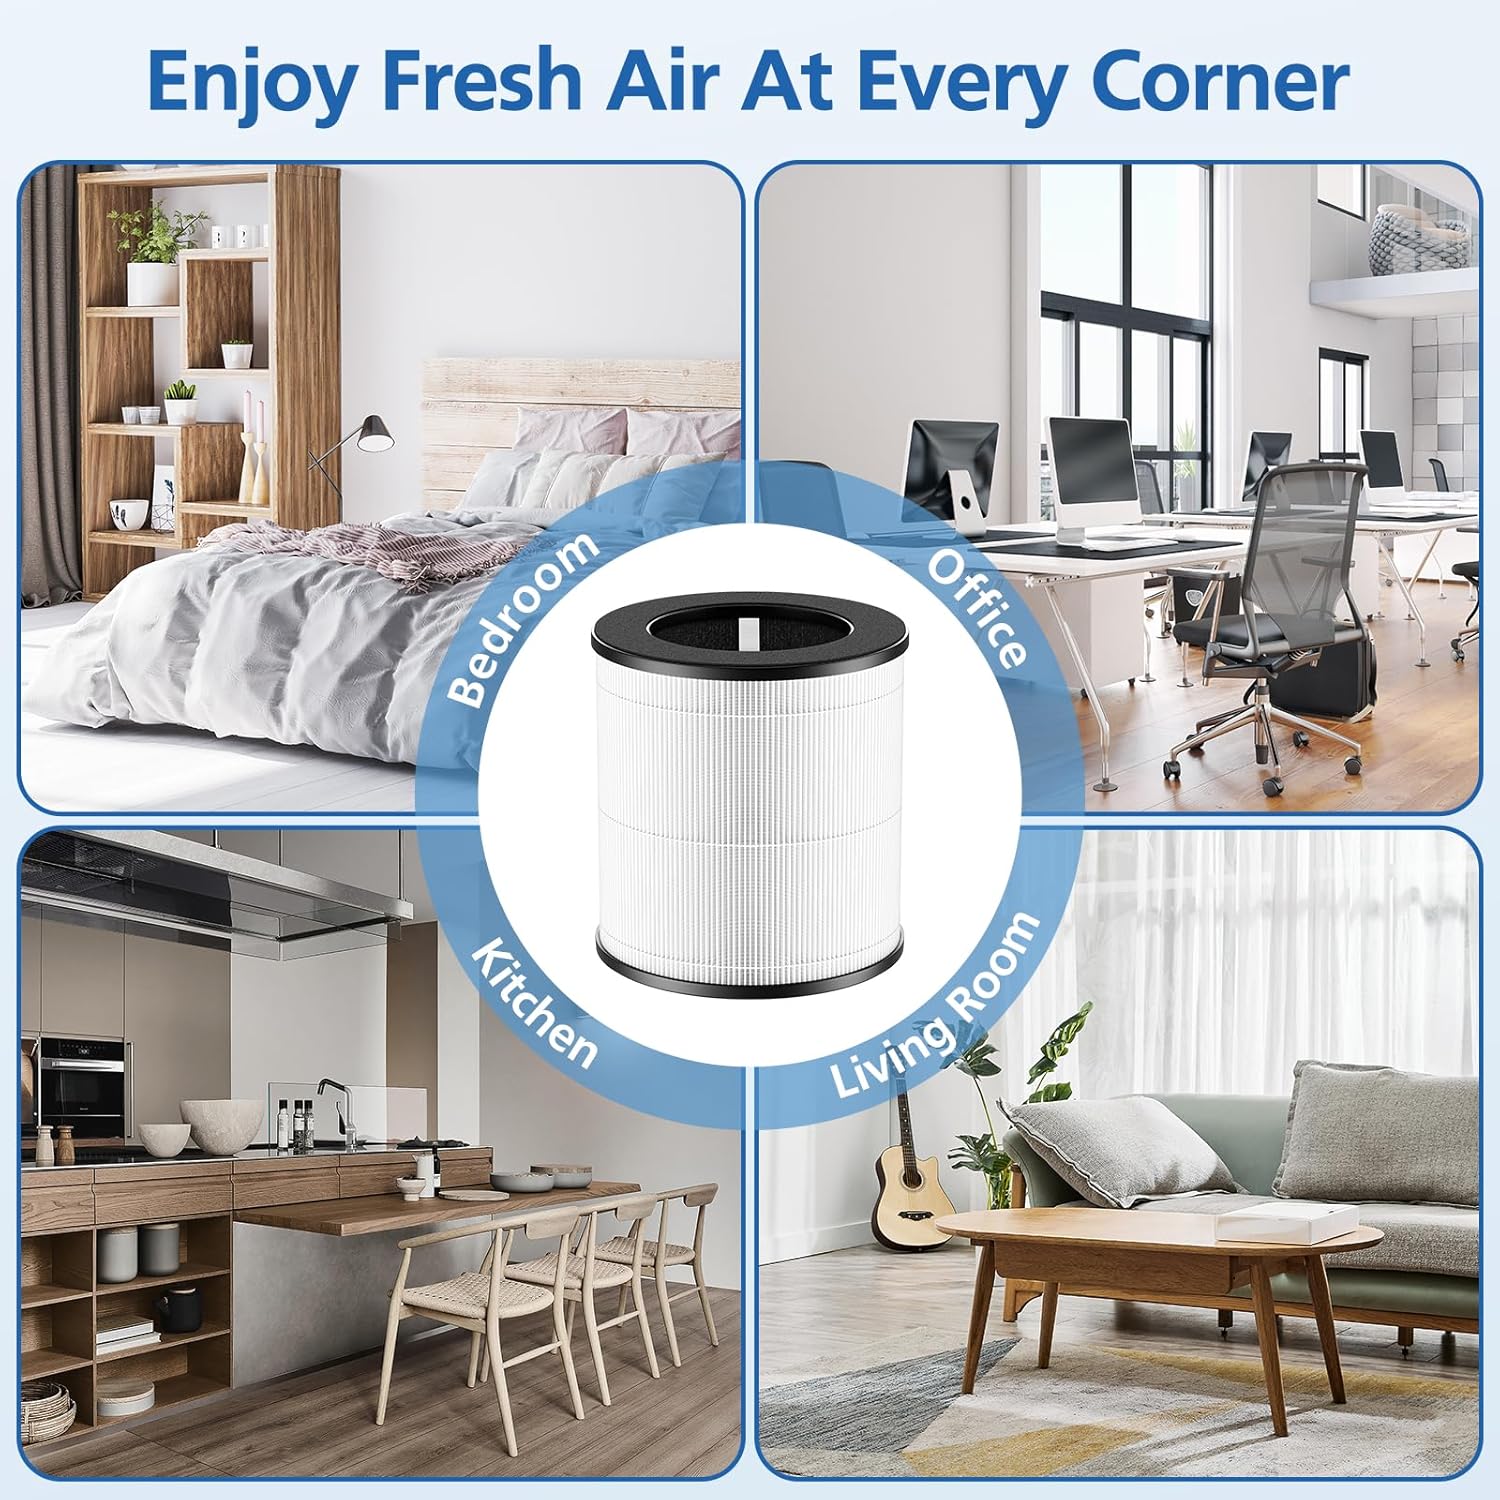
Image: A visual comparison demonstrating the appearance of a new filter versus a filter after 6 months of use, highlighting the accumulation of captured particles.
Resetting the Filter Indicator:
After replacing the filter, ensure you reset the filter indicator on your Tailulu D09 Air Purifier. This is typically done by pressing and holding the reset button for 3 seconds. Refer to your air purifier's user manual for specific instructions on resetting the filter indicator.
6. Troubleshooting
If you encounter issues with your JORAIR D09 Replacement Filter, consider the following:
- Incorrect Fit: Double-check that you have purchased the correct model (D09) for your Tailulu D09 Air Purifier. Filters for other models may appear similar but will not fit or function correctly.
- Air Purifier Not Functioning: Ensure the filter is installed correctly and the bottom cover is securely locked. Verify the air purifier is plugged in and powered on.
- Filter Indicator Still On: Confirm that you have reset the filter indicator by pressing and holding the designated button on your air purifier for 3 seconds after installation.
- Reduced Airflow/Purification: If the filter is old, it may be saturated with pollutants. Replace the filter according to the recommended schedule.
7. Specifications
| Attribute | Detail |
|---|---|
| Brand | JORAIR |
| Model | D09 |
| Compatible Device | Tailulu D09 Air Purifier |
| Filtration System | 3-in-1 (Pre-Filter, HEPA, Activated Carbon) |
| HEPA Filtration Efficiency | Up to 99.97% of particles 0.3 microns |
| MERV Rating | 13 |
| Product Dimensions | 5.5"L x 5.5"W x 5.7"Th (14 x 14 x 14.5 cm) |
| Item Weight | 14.3 ounces (approx. 405 grams) |
| Material Type | HEPA |
| Included Components | 2 Pack D09 Replacement Filters |
8. Warranty and Support
JORAIR prioritizes customer satisfaction. We offer a 90-day warranty and refund policy for every customer. If you encounter any issues with the D09 filter or its compatibility with your Tailulu air purifier, please contact our dedicated after-sales support team.
For assistance, please refer to the contact information provided with your purchase or visit the official JORAIR store on Amazon.


