
SURAIELEC KW11D
Suraielec 3 Way Wireless Light Switch Instruction Manual
Model: KW11D
Brand: SURAIELEC
Introduction
This manual provides detailed instructions for the installation, operation, and maintenance of your Suraielec 3 Way Wireless Light Switch. This innovative product allows for the effortless creation of 3-way light switch functionality without the need for complex in-wall wiring, offering convenience and flexibility for controlling your lighting.
Safety Information
Always turn off power at the circuit breaker before installing or servicing any electrical device. Ensure all connections are secure and comply with local electrical codes. This device requires a neutral wire for proper operation. If you are unsure about any part of the installation, consult a qualified electrician.
Package Contents
- 1 x Wireless Receiver Switch
- 1 x Wireless Remote Switch
- Mounting Bracket for Remote Switch
- Wire Nuts (x4)
- Mounting Screws and Anchors
- Instruction Manual

Image: The Suraielec 3 Way Wireless Light Switch kit, showing the receiver switch and the remote switch.
Specifications
| Feature | Detail |
|---|---|
| Model Number | KW11D |
| Operation Mode | Manual |
| Current Rating | 15 Amps |
| Operating Voltage | 120 Volts |
| Contact Type | Normally Open |
| Connector Type | Wireless |
| Circuit Type | 3-way |
| Actuator Type | Rocker |
| Material | Metal (Contact Material) |
| Wireless Range | Up to 100 ft (open area) |
| Max Load (Resistive) | 15A / 1875W |
| Max Load (LED) | 200W |
| Max Load (Fluorescent) | 8A / 1000W |
| Max Load (Tungsten) | 10A / 1250W |

Image: Compatibility with various bulb types and their respective maximum wattage ratings.
Setup and Installation
1. Receiver Switch Installation (Neutral Wire Required)
The receiver switch replaces your existing wall switch. Ensure power is OFF at the circuit breaker before proceeding.
- Turn off the power to the light fixture at the circuit breaker.
- Remove the existing wall plate and switch.
- Identify the Line (hot), Load, Neutral, and Ground wires. This device requires a neutral wire.
- Connect the wires from the receiver switch to the corresponding wires in your electrical box using the provided wire nuts:
- Black wire (Receiver) to Line (hot) wire (Electrical Box)
- Red wire (Receiver) to Load wire (Electrical Box)
- White wire (Receiver) to Neutral wire (Electrical Box)
- Green wire (Receiver) to Ground wire (Electrical Box)
- Carefully push the wired receiver switch into the electrical box.
- Secure the receiver switch with screws and attach your standard wall plate.
- Restore power at the circuit breaker.

Image: Detailed wiring diagram for the receiver switch, highlighting the neutral wire requirement.
2. Remote Switch Mounting
The remote switch can be mounted anywhere or used as a portable remote. It does not require wiring or WiFi.
- Choose a desired location for the remote switch. It can be mounted directly to a wall or placed on a surface.
- If mounting, use the included mounting bracket. Secure the bracket to the wall using the provided screws and anchors.
- Snap the remote switch onto the mounting bracket.
- The remote switch comes pre-programmed with the receiver for immediate use.

Image: Instructions for wall mounting the portable remote switch, including dimensions and battery compartment details.
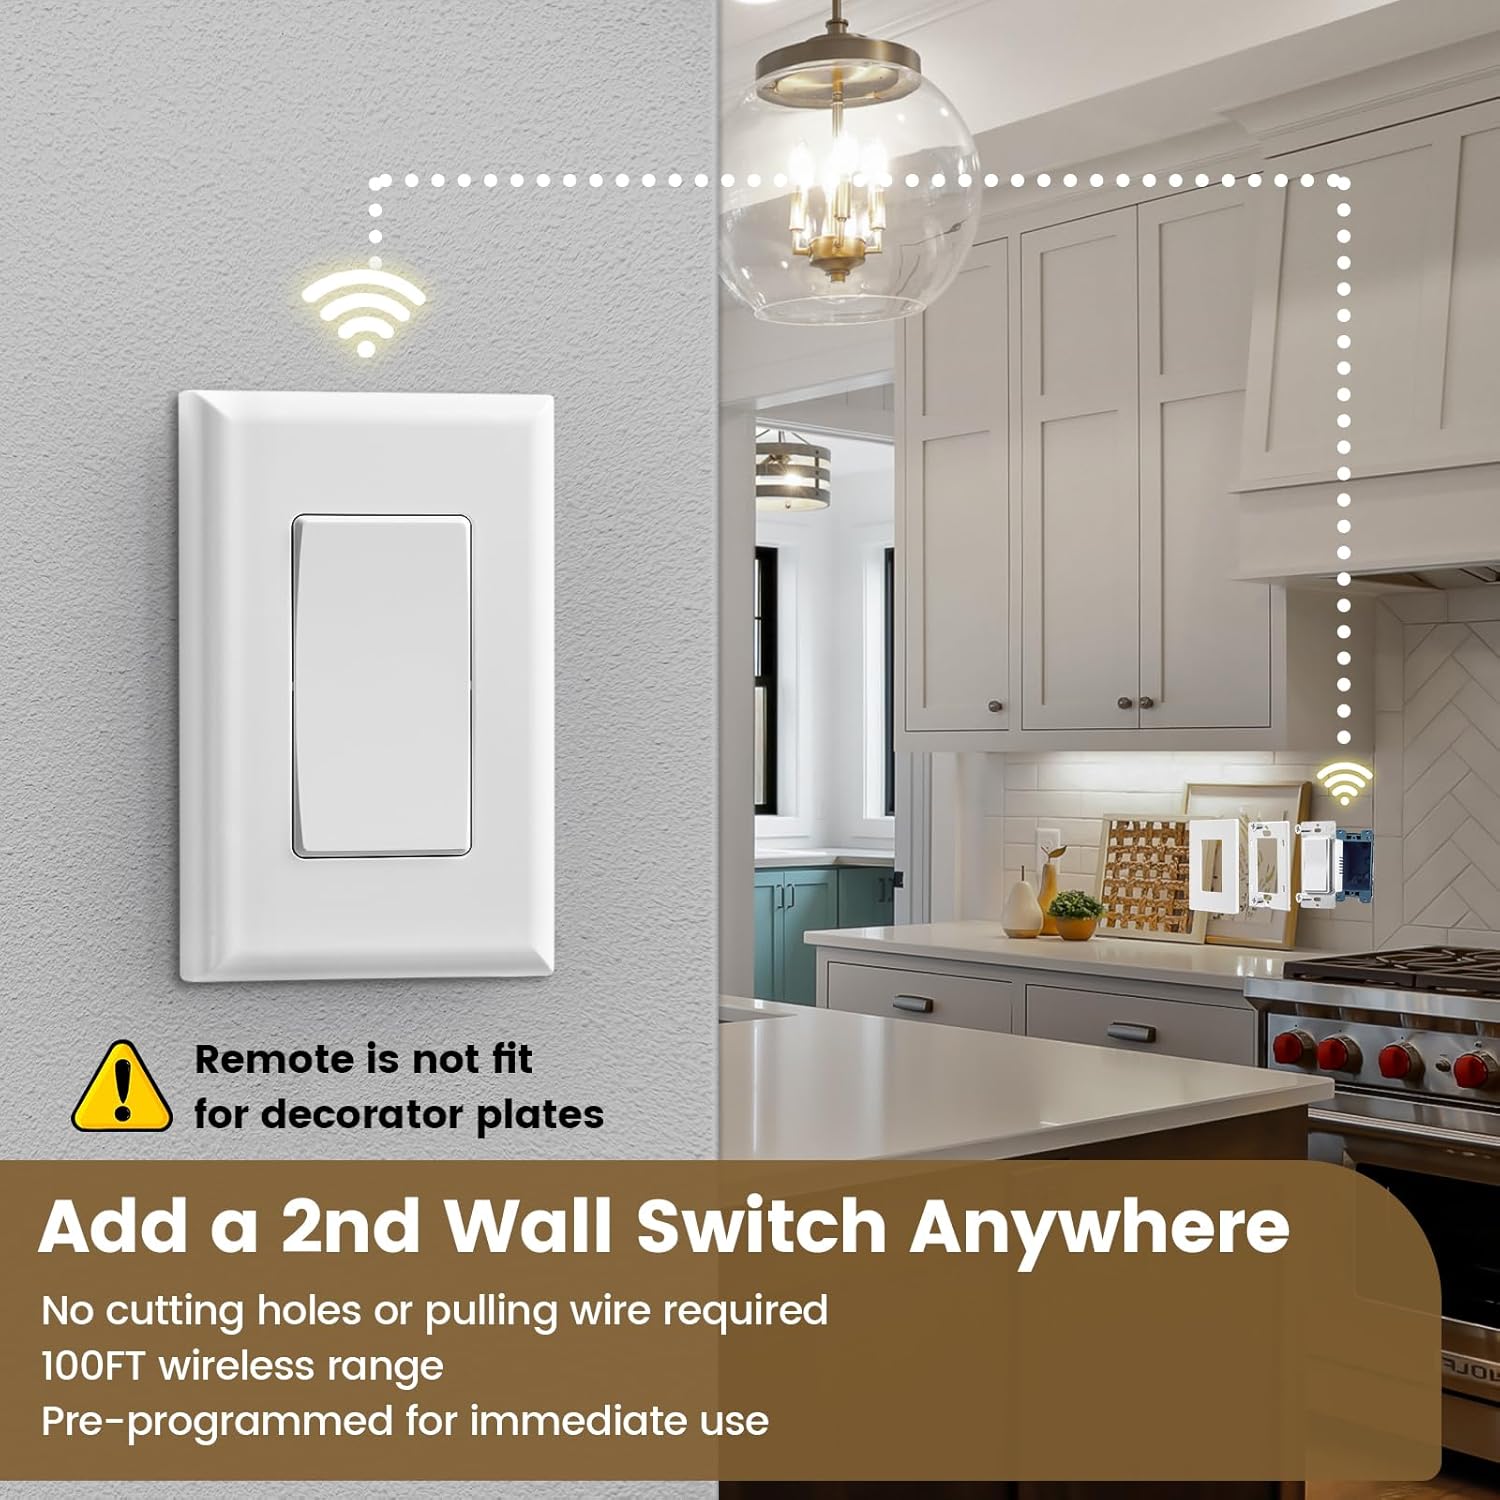
Image: Visual representation of adding a second wall switch wirelessly, showing no cutting holes or pulling wires required.
Operating Instructions
Basic Operation
Once installed, both the receiver switch and the remote switch function identically to control your light fixture. Press the top part of the rocker switch to turn the light ON, and the bottom part to turn the light OFF.
Wireless Range and Interference
The Suraielec wireless light switch system utilizes a strong RF signal, providing a range of up to 100 feet in open areas. The signal can effectively pass through walls and doors, eliminating the need for a direct line of sight between the remote and the receiver. The system uses advanced dynamic (rolling) codes to prevent interference, allowing multiple Suraielec kits to be used in the same house without affecting each other.

Image: Depiction of the 100-foot RF wireless range, illustrating control through walls and floors.

Image: Multiple wireless switches in a room, demonstrating no interference due to dynamic coding.
Expandable System
The Suraielec system is designed to be programmable and expandable. You can add additional transmitters (remote switches) to control a single receiver, or add multiple receivers to be controlled by a single remote. This allows for the creation of 4-way, 5-way, or even more complex lighting control setups to suit your needs.
For pairing additional devices, refer to the specific pairing instructions provided with your additional Suraielec components.
Maintenance
The Suraielec Wireless Light Switch is designed for low maintenance. To ensure optimal performance:
- Cleaning: Wipe the switch and remote surfaces with a soft, dry cloth. Do not use abrasive cleaners or solvents.
- Battery Replacement (Remote Switch): The remote switch is powered by a standard coin cell battery (e.g., CR2032). If the remote's indicator light does not illuminate or its range decreases significantly, replace the battery. Refer to the diagram in the "Remote Switch Mounting" section for battery access.
- Environmental Conditions: Ensure the receiver switch is installed in a dry, indoor location. While the remote has some durability, avoid exposing it to extreme temperatures or moisture.
Troubleshooting
| Problem | Possible Cause | Solution |
|---|---|---|
| Light does not turn ON/OFF from either switch. | No power to the receiver switch; Incorrect wiring; Receiver or remote malfunction. | Check circuit breaker. Verify all wiring connections are correct (Line, Load, Neutral, Ground). Ensure neutral wire is connected. Test with a known working light fixture. |
| Light only turns ON/OFF from the receiver switch, not the remote. | Remote battery is dead; Remote is out of range; Remote not paired with receiver. | Replace the remote battery. Move the remote closer to the receiver. Re-pair the remote and receiver according to pairing instructions (if applicable, usually pre-paired). |
| Reduced wireless range or intermittent control. | Interference from other devices; Obstructions; Low remote battery. | Ensure the remote battery is fresh. Minimize large metal objects or thick concrete walls between the remote and receiver. |
| Multiple kits interfering with each other. | Unlikely due to rolling codes, but possible if units are very close or faulty. | Ensure each kit is properly installed and not sharing components. If issues persist, contact customer support. |
Warranty and Support
SURAIELEC products are designed for reliability and performance. For warranty information, technical support, or to purchase additional components, please visit the official SURAIELEC website or contact their customer service department. Keep your purchase receipt for warranty claims.
Official SURAIELEC Store: SURAIELEC Amazon Store
Related Documents - KW11D
 |
SURAIELEC Wireless Wall Switch Outlet User Manual, Specifications & Warranty Comprehensive user manual and specifications for the SURAIELEC Wireless Wall Switch Outlet and Remote Control products (Models URSW11A, URSW21A, URKW11A, URKW21A, URSW11B, URSW21B). Features include operating instructions, installation, programming, safety warnings, product details, and warranty information. |
 |
Suraielec 7-Day Digital Box Timer Switch Installation and Operation Manual This document provides installation, wiring, and programming instructions for the Suraielec 7-Day Digital Box Timer Switch (SKU: UBTD01A). It covers safety precautions, specifications, product illustration, wiring diagrams for various applications, programming steps including setting current time, ON/OFF programs, and manual override, as well as a one-year limited warranty. |
 |
Suraielec Wireless Light Switch and Receiver Kit User Manual Comprehensive guide for the Suraielec Wireless Light Switch and Receiver Kit, covering installation, programming, troubleshooting, and specifications. Includes model numbers URKW11C and URKW21C. |
 |
Suraielec URKW11A/URKW21A Wireless Light Switch and Receiver Kit User Manual User manual for the Suraielec URKW11A/URKW21A Wireless Light Switch and Receiver Kit, covering safety, installation, operation, reset, programming, specifications, and warranty. |
 |
Suraielec UBTD01A 7-Day Digital Box Timer Switch User Manual Comprehensive user manual for the Suraielec UBTD01A 7-Day Digital Box Timer Switch, including safety warnings, specifications, installation instructions, wiring diagrams, programming steps, and warranty information. |
 |
Suraielec 7-Day Pool Timer Owner's Manual & Programming Guide This owner's manual provides detailed instructions for setting up and programming the Suraielec 7-Day Pool Timer, also known as the Autopetfeeder. Learn how to set the current time, day, manage daylight saving time, understand timer modes (ON, AUTO, OFF), select days of the week for feeding, and program multiple ON/OFF schedules for automated pet feeding. |
Ask a question about this manual
Ask about setup, troubleshooting, compatibility, parts, safety, or missing instructions. Manuals+ will review the question and use this page’s manual context to help answer it.