1. Introduction
This manual provides detailed instructions for the installation, operation, and maintenance of your Ernitec WOLF-PX-515IR Turret Camera. This camera is designed for surveillance applications, offering high-resolution video recording, motion detection, night vision, and remote viewing capabilities via a smartphone application.
Please read this manual thoroughly before operating the device to ensure proper use and to prevent damage.
1.1 Safety Information
- Power Supply: Use only the specified power adapter. Incorrect voltage may damage the camera and void the warranty.
- Installation Environment: Avoid installing the camera in extreme temperatures, high humidity, or dusty environments. Ensure the mounting surface is strong enough to support the camera's weight.
- Cleaning: Disconnect power before cleaning. Use a soft, dry cloth. Do not use strong detergents or abrasive cleaners.
- Servicing: Do not attempt to disassemble or repair the camera yourself. Refer all servicing to qualified personnel.
- Cables: Ensure all cables are properly secured and protected from damage.
2. Package Contents
Verify that all items are present in the package. If any items are missing or damaged, contact your supplier.
- Ernitec WOLF-PX-515IR Turret Camera
- Mounting Template
- Mounting Screws and Wall Plugs
- Quick Start Guide
- Waterproof Connector Kit (for outdoor installations)
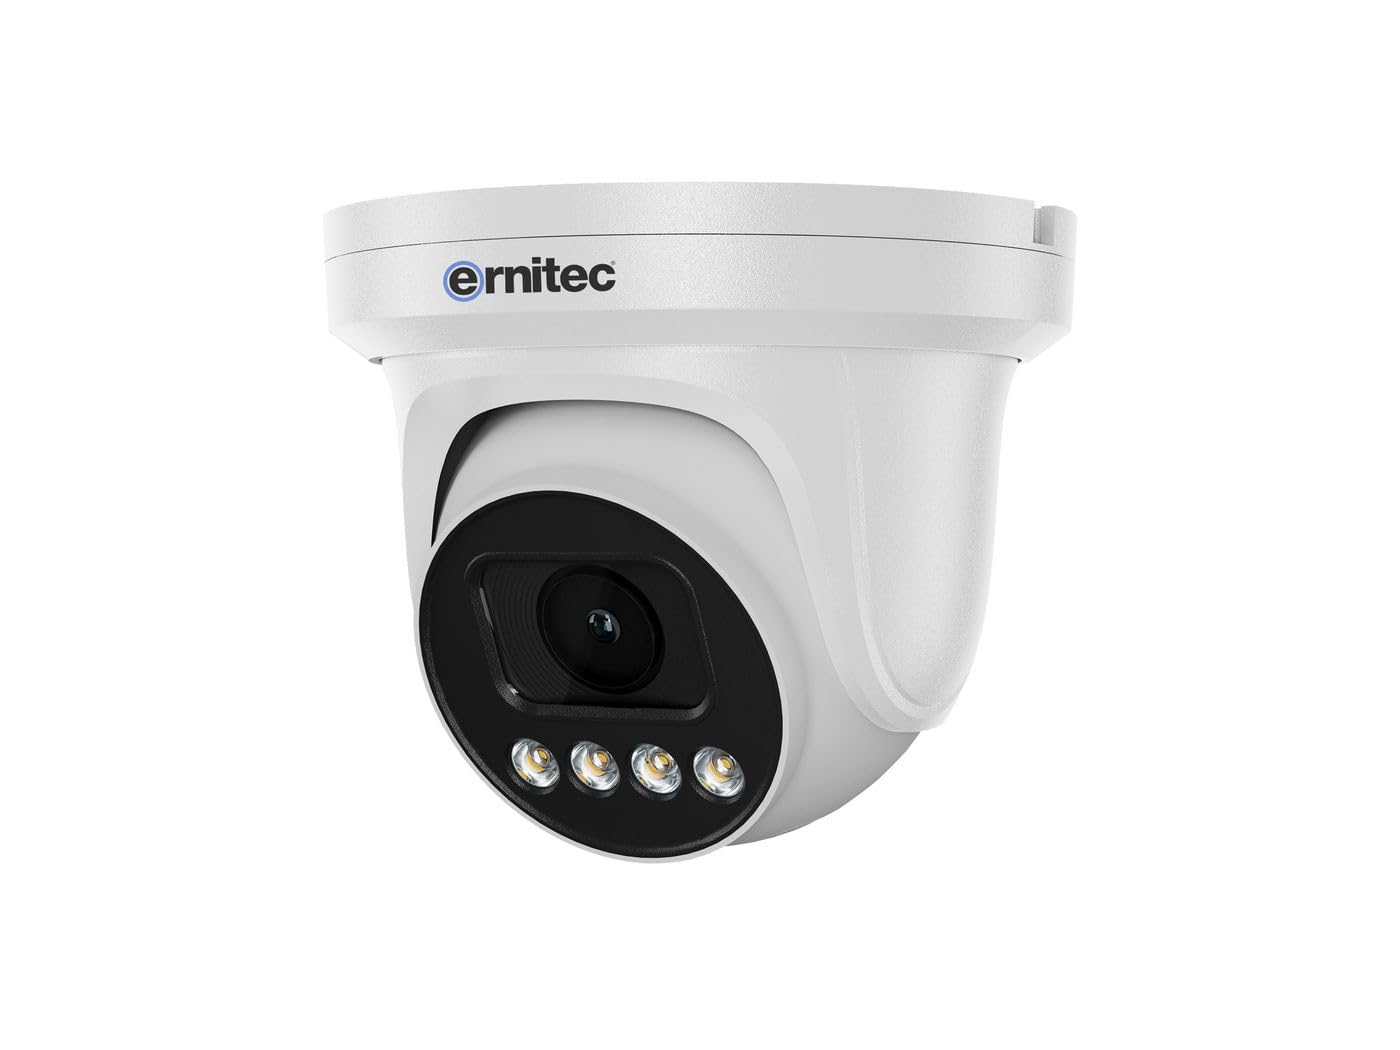
Image 2.1: Ernitec WOLF-PX-515IR Turret Camera with typical accessories.
3. Setup
3.1 Physical Installation
- Select Location: Choose a suitable location for the camera, ensuring it provides the desired field of view and is within reach of power and network connections.
- Mounting:
- Use the provided mounting template to mark drill holes on the wall or ceiling.
- Drill holes and insert wall plugs if necessary.
- Secure the camera base to the mounting surface using the provided screws.
- Adjust Angle: Loosen the adjustment screws on the camera body to set the desired viewing angle. Tighten the screws once the position is finalized.
3.2 Wiring
Connect the necessary cables to the camera's ports:
- Power Cable: Connect the power adapter to the camera's power input port. Ensure the power source matches the camera's requirements (e.g., 12V DC).
- Network Cable (Ethernet): Connect an Ethernet cable from the camera's RJ45 port to your network router or PoE switch. If using Power over Ethernet (PoE), a separate power adapter is not required.
3.3 Network Configuration
After physical installation and wiring, configure the camera for network access:
- Initial Connection: Connect your computer to the same network as the camera.
- IP Address: The camera typically obtains an IP address automatically via DHCP. Use the Ernitec IP Search Tool (available on the Ernitec website) to discover the camera's IP address on your network.
- Access Web Interface: Open a web browser and enter the camera's IP address. Log in using the default username and password (refer to the Quick Start Guide for default credentials).
- Change Password: For security, immediately change the default password upon first login.
- Network Settings: Configure network settings as needed, such as assigning a static IP address or adjusting port forwarding for remote access.
4. Operating the Camera
4.1 Basic Functions
- Live View: Access the camera's web interface or dedicated software to view the live video feed.
- Recording:
- Continuous Recording: Configure the camera to record continuously to a Network Video Recorder (NVR) or local storage (if supported).
- Motion Detection Recording: Set up motion detection zones and sensitivity. The camera will record when motion is detected.
- Scheduled Recording: Define specific time periods for recording.
- Night Vision: The camera automatically switches to infrared (IR) night vision in low-light conditions. Ensure the IR illuminators are not obstructed.
4.2 Remote Viewing via Smartphone Application
- Download App: Download the official Ernitec surveillance application from your smartphone's app store.
- Register Account: Create an account and log in.
- Add Device: Follow the in-app instructions to add your WOLF-PX-515IR camera. This typically involves scanning a QR code on the camera or manually entering its serial number/IP address.
- Live View and Playback: Once added, you can view live footage, access recorded videos, and receive motion detection alerts directly on your smartphone.
5. Maintenance
5.1 Cleaning
- Regularly clean the camera lens and housing to ensure clear image quality.
- Use a soft, lint-free cloth. For stubborn dirt, slightly dampen the cloth with water.
- Do not use harsh chemicals, solvents, or abrasive materials, as these can damage the lens coating or camera finish.
5.2 Firmware Updates
Periodically check the Ernitec official website for firmware updates. Firmware updates can improve performance, add new features, and enhance security. Follow the instructions provided with the firmware update package carefully.
6. Troubleshooting
| Problem | Possible Cause | Solution |
|---|---|---|
| No power | Power adapter disconnected or faulty; no PoE. | Check power connections. Ensure PoE switch is active if using PoE. Test power adapter. |
| No video feed | Network connection issue; incorrect IP address; camera offline. | Verify network cable connection. Check camera's IP address. Ensure camera is powered on and connected to the network. Restart camera and router. |
| Poor image quality | Dirty lens; low light; incorrect settings. | Clean the camera lens. Adjust camera settings (e.g., exposure, brightness). Ensure adequate lighting or proper night vision activation. |
| Cannot access remotely | Network configuration issues (e.g., port forwarding); app not configured correctly. | Check router settings for port forwarding. Ensure the camera is connected to the internet. Reconfigure the smartphone application. |
7. Specifications
| Feature | Detail |
|---|---|
| Model Number | 0070-08113 |
| Brand | Ernitec |
| Power Consumption | 10 Watts |
| Channels | 1 |
| Key Features | High-resolution video, motion detection, night vision, remote viewing via smartphone app. |
| ASIN | B0CKJ4KDNX |
| Manufacturer | Ernitec |
8. Warranty and Support
For warranty information, please refer to the warranty card included with your product or visit the official Ernitec website. Technical support is available through the Ernitec customer service channels, which can typically be found on their website.
Note: Information regarding spare parts availability and software updates is not available at the time of this manual's publication. Please check the manufacturer's website for the most current information.


