
AUCERAMIC HD-0024-TK
Contents
AUCERAMIC Timing Chain Kit User Manual
Model: HD-0024-TK
Introduction
This manual provides essential information for the installation, operation, and maintenance of your AUCERAMIC Timing Chain Kit. Please read this manual thoroughly before beginning any work to ensure proper installation and safe operation. This kit is designed to meet or exceed OEM specifications for quality and fitment, ensuring reliable performance for your vehicle's engine.
Product Overview
The AUCERAMIC Timing Chain Kit (Model HD-0024-TK) is a comprehensive set of components crucial for the precise synchronization of your engine's camshaft and crankshaft. This kit includes all necessary parts for a complete timing system overhaul.
Kit Contents:
- 1 Timing Chain (180 Link)
- 1 Exhaust Camshaft Sprocket (46 teeth)
- 1 Crankshaft Sprocket
- 1 Timing Chain Tensioner with gasket
- 1 Timing Chain Guide Tensioner
- 3 Timing Guide Rails
- 1 Oil Pump Drive Sprocket (17 teeth)
- 1 Oil Pump Chain (64 Link)
- 1 Oil Pump Tensioner

Image: All components of the AUCERAMIC Timing Chain Kit, including chains, sprockets, tensioners, and guide rails, displayed on a white background.
Vehicle Compatibility:
This timing chain kit is compatible with specific 2.4L L4 GAS DOHC Naturally Aspirated engines. Please verify your vehicle's make, model, and engine code before installation.
- 2016-2020 ACURA ILX 2.4L 144Cu.In.L4 GAS DOHC N/A
- 2015-2020 ACURA TLX 2.4L 144Cu.In.L4 GAS DOHC N/A
- 2013-2017 HONDA ACCORD 2.4L 144Cu.In.L4 GAS DOHC N/A
- 2015-2019 HONDA CR-V 2.4L 144Cu.In.L4 GAS DOHC N/A
Engine Codes: K24W1, K24W7, K24V7, K24W9

Image: Visual representation of compatible vehicle models (Acura ILX, Acura TLX, Honda Accord, Honda CR-V) for which this timing chain kit is designed.
Replacement Part Numbers:
This kit replaces the following OEM part numbers:
- 14401-5A2-A02
- 14310-5A2-A01
- 14210-5A2-A00
- 14540-5LA-A01
- 14530-5LA-A01
- 14520-5LA-A01
- 14550-5A2-A00
- 14510-5A2-A02
- 14560-5A2-A00
- 13620-5A2-A01
- 13441-5A2-A02
- 13432-5A2-A00
- 13450-5A2-A01
- TS7171
- 90930S
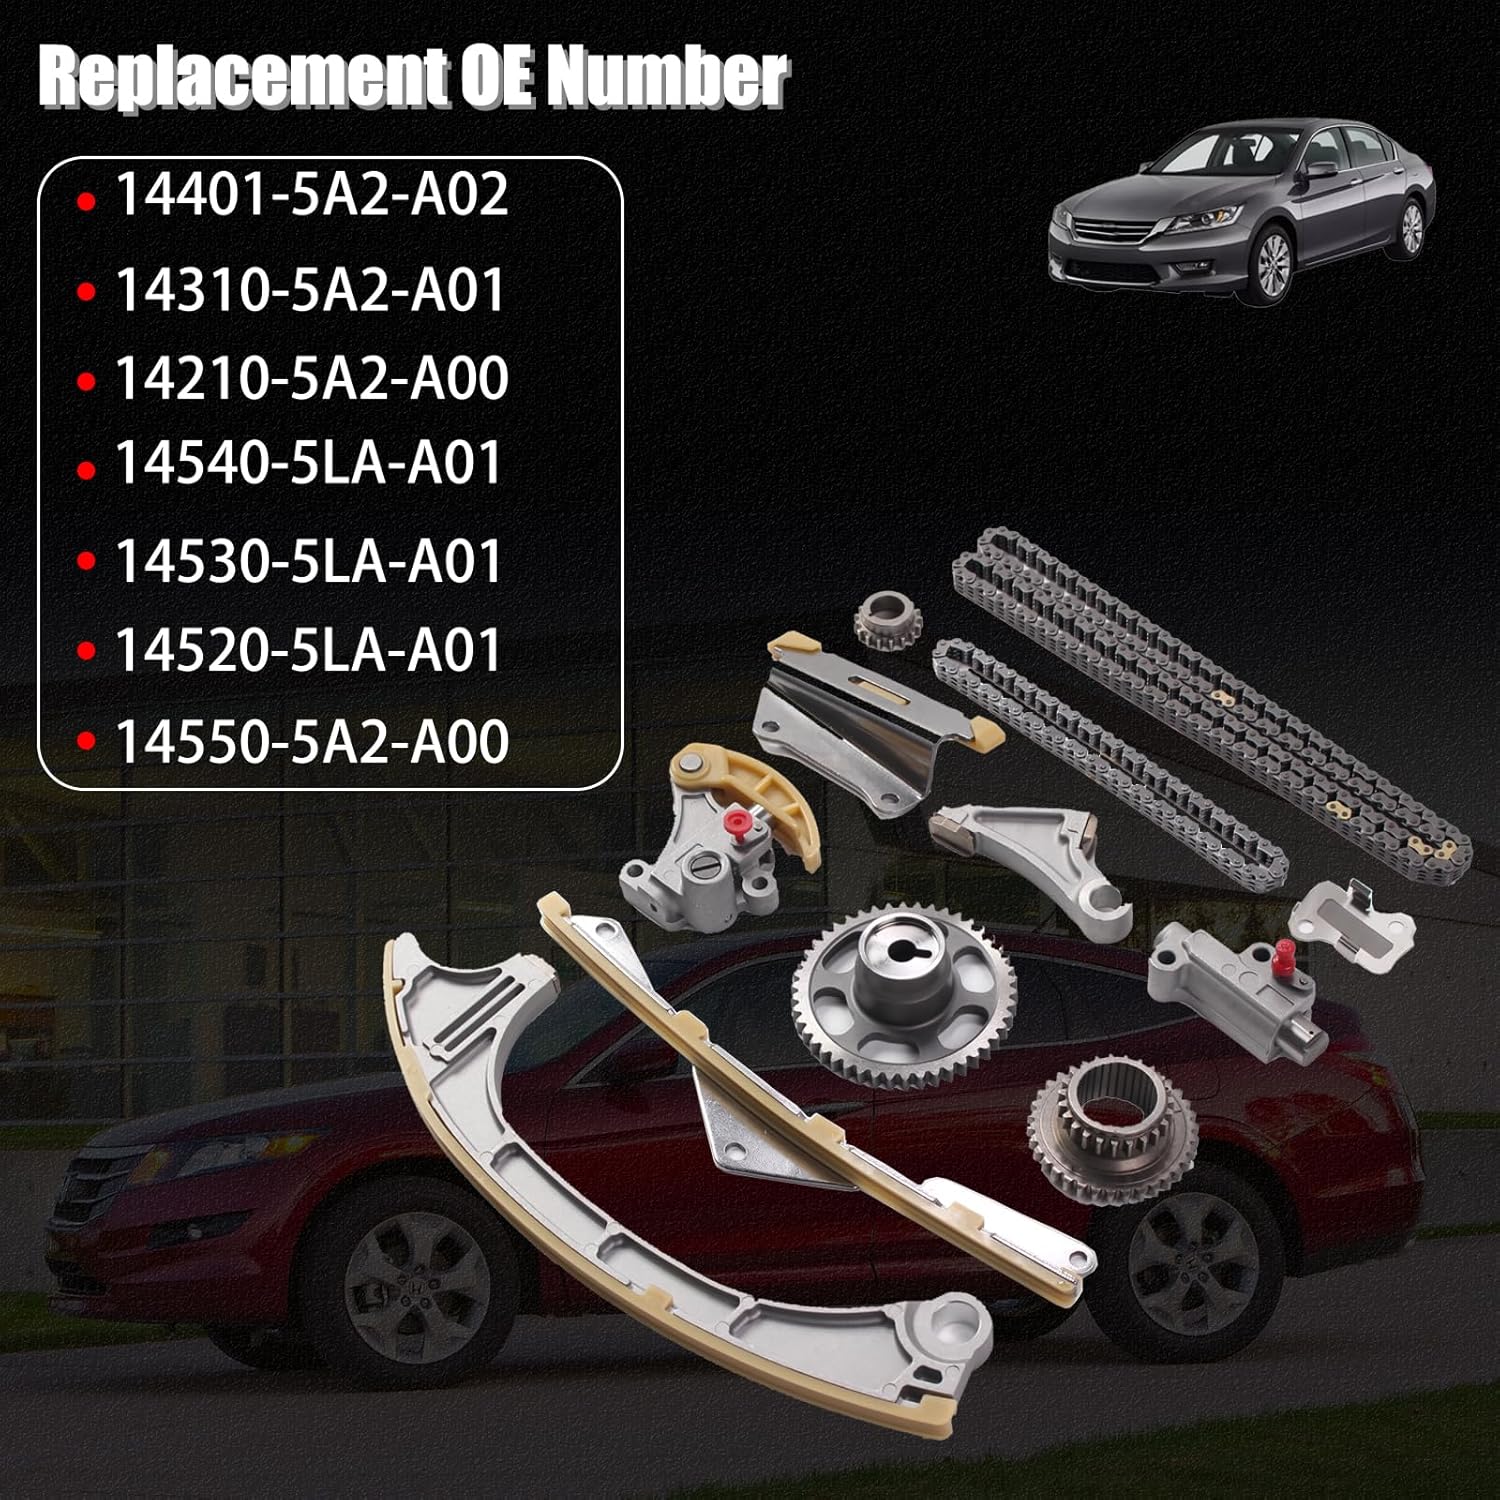
Image: The timing chain kit components displayed alongside a list of original equipment manufacturer (OEM) part numbers that this kit is designed to replace.
Safety Information
Working on vehicle engines requires specialized knowledge and tools. Improper installation can lead to severe engine damage or personal injury. It is highly recommended that installation be performed by a qualified automotive technician.
General Safety Precautions:
- Always disconnect the vehicle's battery before starting any work.
- Ensure the vehicle is securely supported on jack stands or a lift.
- Wear appropriate personal protective equipment (PPE), including safety glasses and gloves.
- Keep the work area clean and well-lit.
- Refer to your vehicle's specific service manual for detailed procedures and torque specifications.
Setup and Installation
The installation of a timing chain kit is a complex procedure that requires precision and adherence to manufacturer specifications. This section provides a general overview; always consult your vehicle's specific repair manual for detailed, step-by-step instructions.
Pre-Installation Steps:
- Gather Tools: Ensure you have all necessary automotive tools, including torque wrenches, specialized timing tools (if required for your engine), and a clean workspace.
- Vehicle Preparation: Disconnect the battery. Drain engine oil and coolant if necessary. Remove components obstructing access to the timing cover (e.g., accessory belts, pulleys, engine mounts, valve cover, oil pan).
- Engine Positioning: Rotate the crankshaft to Top Dead Center (TDC) on the compression stroke for cylinder 1. Verify timing marks on the crankshaft and camshafts align according to your vehicle's service manual.
Installation Procedure (General):
- Remove Old Components: Carefully remove the old timing chain, sprockets, tensioners, and guide rails. Note their orientation and position.
- Inspect Components: Before installing new parts, inspect all components for any manufacturing defects or shipping damage.
- Install New Components:
- Install the new timing guide rails and tensioners. Ensure all mounting bolts are torqued to the manufacturer's specifications.
- Place the new crankshaft sprocket and camshaft sprockets.
- Carefully route the new timing chain over the sprockets, ensuring all timing marks align perfectly. This is a critical step for engine timing.
- Install the oil pump chain and its associated components, ensuring proper tension.
- Engage the timing chain tensioner.
- Verify Timing: Double-check all timing marks after installation to confirm correct alignment. Rotate the engine manually (using the crankshaft bolt, not the camshafts) two full revolutions and re-verify timing marks.
- Reassembly: Reinstall the timing cover with a new gasket, ensuring proper sealant application if required. Reattach all removed components in reverse order of removal.
- Fluid Refill: Refill engine oil and coolant to appropriate levels.

Image: An exploded view diagram showing the various components of the timing chain kit and their relative positions during installation within an engine.
Operating Considerations
Once the timing chain kit is installed, proper initial startup and monitoring are essential.
Initial Startup:
- Battery Reconnection: Reconnect the vehicle's battery.
- First Start: Start the engine and listen for any unusual noises (e.g., rattling, knocking). The engine may run rough initially as the oil pressure builds and hydraulic tensioners fill.
- Check for Leaks: Visually inspect for any oil or coolant leaks around the timing cover and other disturbed areas.
- Monitor Engine: Allow the engine to reach operating temperature. Monitor the dashboard for any warning lights (e.g., Check Engine Light). If a Check Engine Light appears, scan for diagnostic trouble codes (DTCs).
Post-Installation Driving:
Drive the vehicle gently for the first few hundred kilometers. Avoid aggressive acceleration or high RPMs immediately after installation to allow components to settle.
Maintenance
While timing chains are designed for long life, proper engine maintenance contributes to their longevity.
Key Maintenance Practices:
- Regular Oil Changes: Adhere to your vehicle manufacturer's recommended oil change intervals using the specified oil type and viscosity. Clean engine oil is vital for the proper function and lubrication of timing chain components, especially hydraulic tensioners.
- Use Quality Oil: Always use high-quality engine oil that meets or exceeds OEM specifications.
- Monitor Oil Level: Regularly check your engine oil level and top up as needed. Low oil levels can starve timing components of lubrication.
- Listen for Noises: Pay attention to any new or unusual noises from the engine, particularly rattling or ticking sounds from the timing cover area, which could indicate timing chain wear or tensioner issues.
Troubleshooting
This section addresses common issues that may arise after timing chain kit installation. For complex issues, professional diagnosis is recommended.
| Symptom | Possible Cause | Solution |
|---|---|---|
| Engine rattling noise from timing cover area | Low oil pressure, faulty tensioner, worn chain/guides, incorrect installation. | Check oil level and pressure. Inspect tensioner and guides. Re-verify timing and installation. |
| Check Engine Light (CEL) with timing-related codes (e.g., P0016, P0017) | Incorrect timing, faulty camshaft/crankshaft position sensor, VVT system issue. | Verify timing marks. Check sensor connections. Professional diagnosis recommended. |
| Engine misfires or rough idle | Incorrect timing, vacuum leak, spark/fuel issue. | Confirm timing. Check for vacuum leaks. Diagnose misfire source. |
| Oil leak from timing cover | Improperly sealed timing cover, damaged gasket, loose bolts. | Inspect gasket and sealant application. Ensure bolts are torqued correctly. |
If you encounter persistent issues, it is advisable to consult a certified mechanic or contact AUCERAMIC customer support.
Specifications
| Attribute | Detail |
|---|---|
| Brand | AUCERAMIC |
| Model Number | HD-0024-TK |
| Compatible Engine Codes | K24W1, K24W7, K24V7, K24W9 (2.4L L4 GAS DOHC Naturally Aspirated) |
| Package Dimensions | 34.7 x 27.3 x 7.1 cm |
| Item Weight | 2.2 kg |
| Material | High quality alloy steel (chains, sprockets), durable plastics/metals (guides, tensioners) |

Image: A detailed view of the timing chain and sprockets, emphasizing the high-quality alloy steel construction and precision machining for durability and performance.
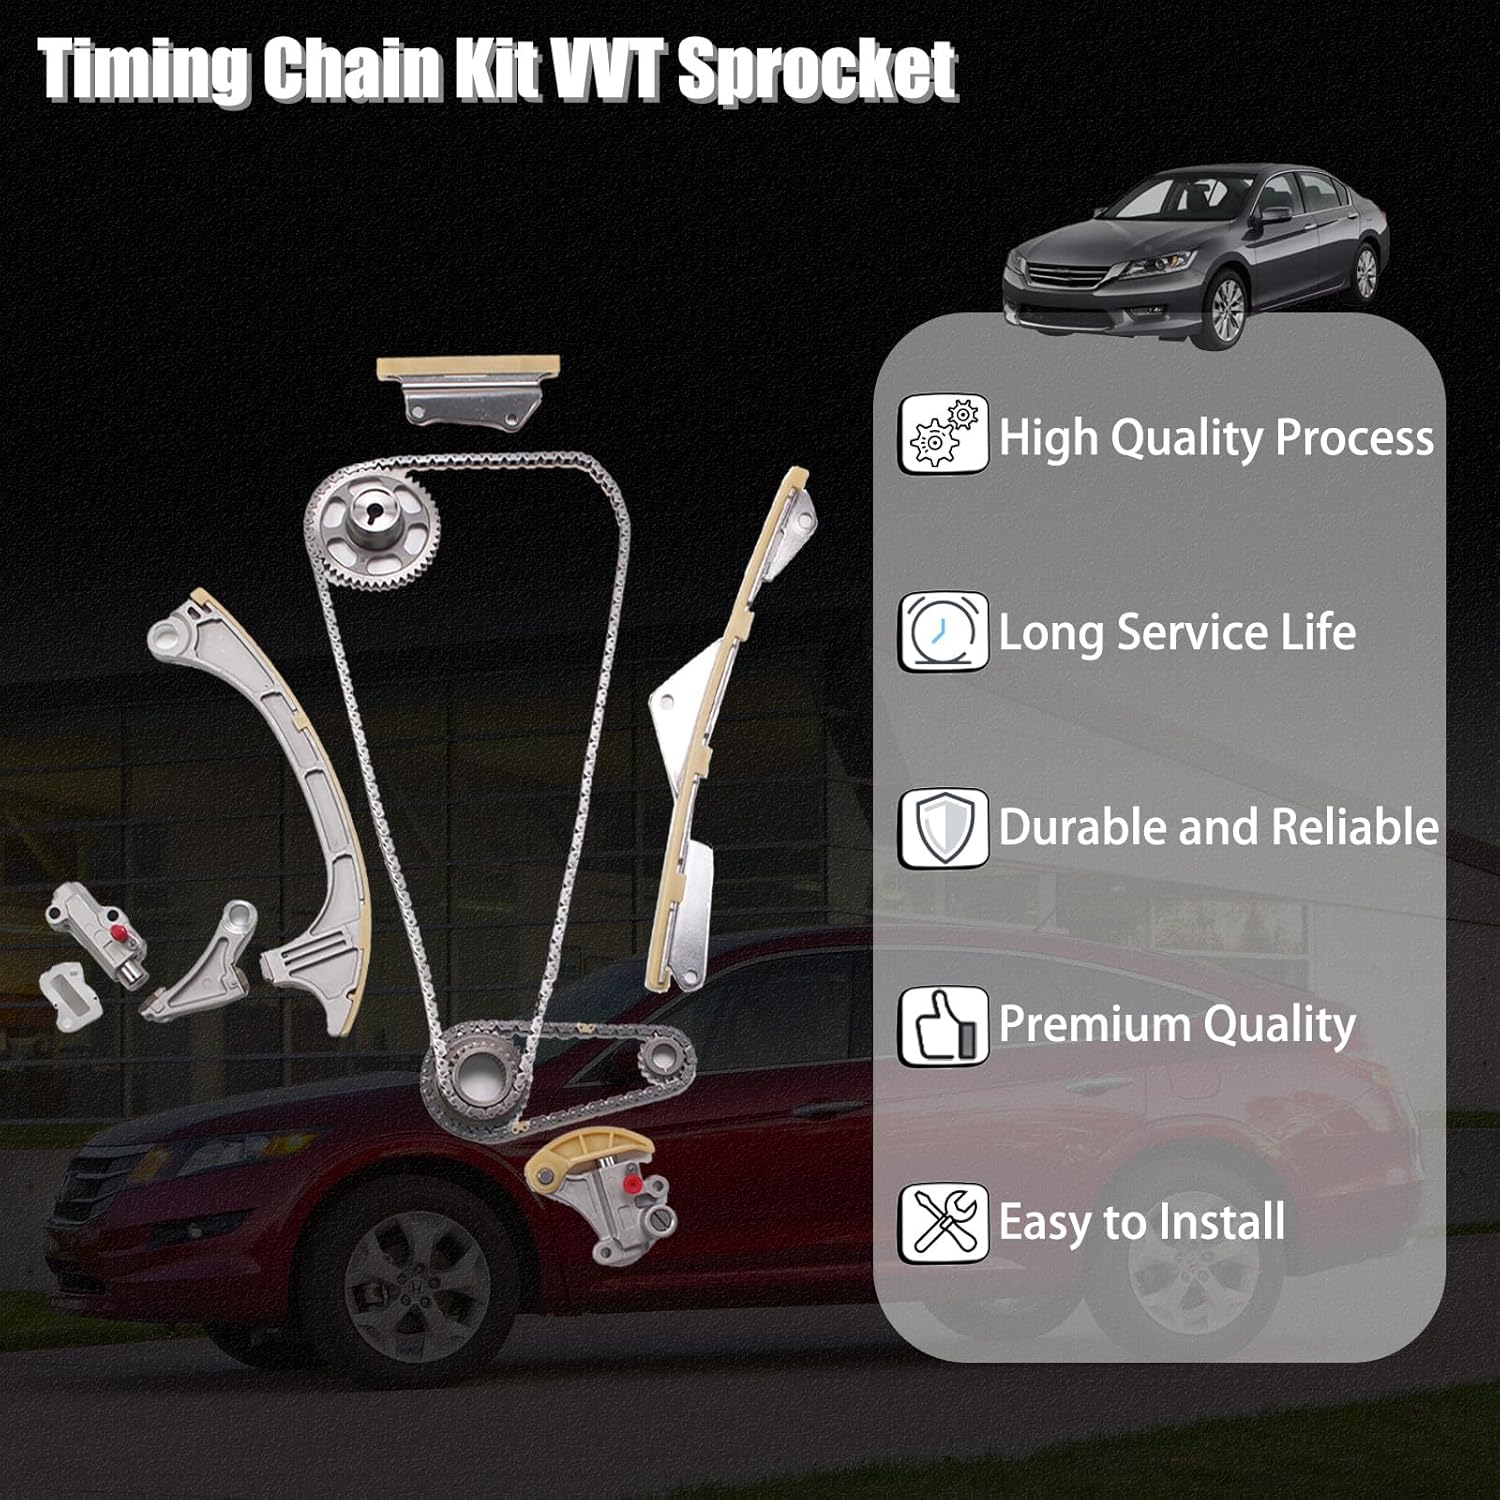
Image: An infographic highlighting key features of the timing chain kit, including its high-quality manufacturing process, expected long service life, durability, premium quality, and ease of installation.
Warranty and Support
AUCERAMIC is committed to providing high-quality products and excellent customer service. If you have any questions or concerns regarding your timing chain kit, please contact our support team.
Customer Service:
For assistance, please refer to the contact information provided with your purchase or visit the official AUCERAMIC store on Amazon:
Please have your product model number (HD-0024-TK) and purchase details ready when contacting support.
Ask a question about this manual
Ask about setup, troubleshooting, compatibility, parts, safety, or missing instructions. Manuals+ will review the question and use this page’s manual context to help answer it.