
Yes4All AWC0
Yes4All Adjustable Wall Mount Punching Bag Hanger Instruction Manual
Brand: Yes4All | Model: AWC0
Introduction
This manual provides comprehensive instructions for the safe and effective installation, operation, and maintenance of your Yes4All Adjustable Wall Mount Punching Bag Hanger. Please read all instructions carefully before use and retain this manual for future reference.
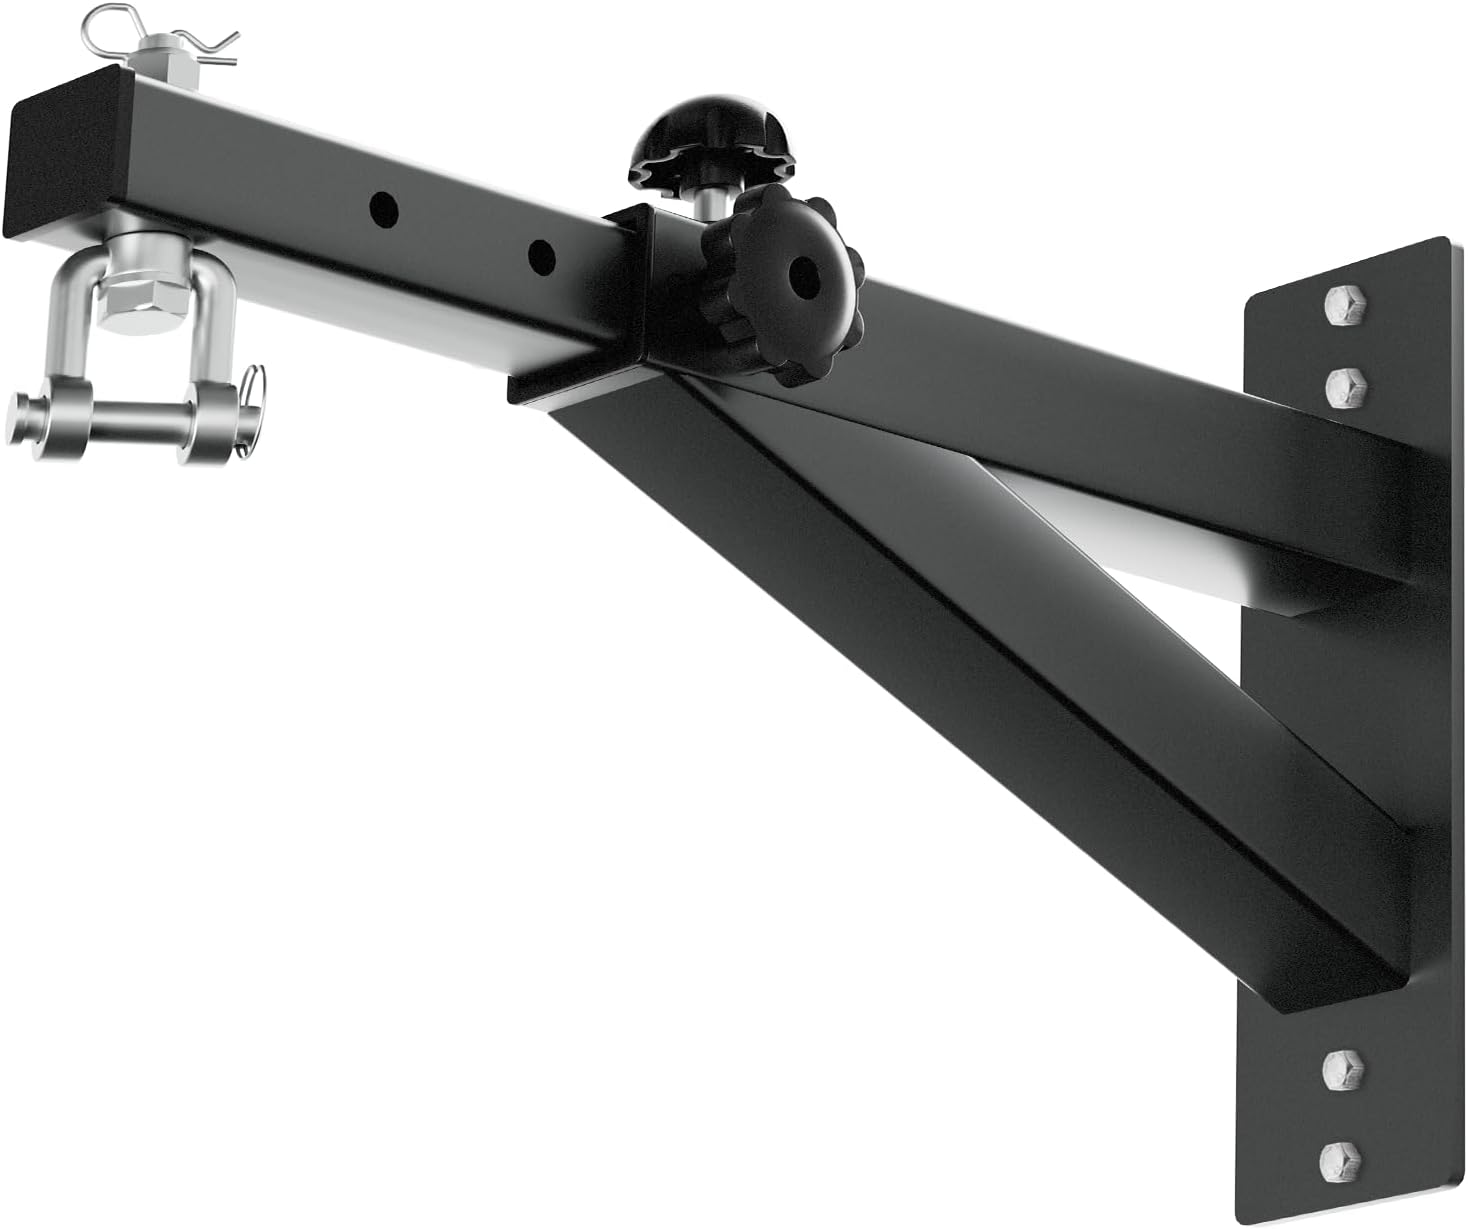
Figure 1: Yes4All Adjustable Wall Mount Punching Bag Hanger
Safety Information
- Ensure the mounting surface (wall) is structurally sound and capable of supporting the hanger and the maximum weight of the punching bag (up to 150 lbs).
- Use appropriate tools and hardware for installation. If unsure, consult a qualified professional.
- Regularly inspect all components for wear, damage, or loose connections. Do not use if any part is compromised.
- Keep children and pets away from the punching bag area during use.
- Do not exceed the maximum weight capacity of 150 lbs.
Setup and Installation
The Yes4All Adjustable Wall Mount Punching Bag Hanger is designed for easy installation on concrete, wood, or stud walls. Follow these steps for secure mounting.
Components Included:
- Adjustable Wall Mount Hanger
- 4x Wood Screws (+1 spare)
- 4x Anchor Bolts (+1 spare)
- 4x Washers (+1 spare)
Installation Steps:
- Step 1: Select Mounting Location
Choose a wall location that is structurally sound and provides adequate clearance for the punching bag. Ensure there are no electrical wires or plumbing pipes behind the drilling area.
- Step 2: Mark and Drill Holes
Position the wall mount hanger against the desired location and mark the four drilling points. Use an appropriate drill bit for your wall type (concrete, wood, or stud) and drill the pilot holes.
- Step 3: Secure the Hanger
Attach the hanger to the wall using the provided wood screws (for wood/stud) or anchor bolts (for concrete). Ensure all fasteners are tightened securely to prevent movement.
- Step 4: Attach Punching Bag
Once the hanger is securely mounted, attach your punching bag to the 360-degree swivel hook. Ensure the bag's chains or straps are properly connected.

Figure 2: Visual guide for installation steps.
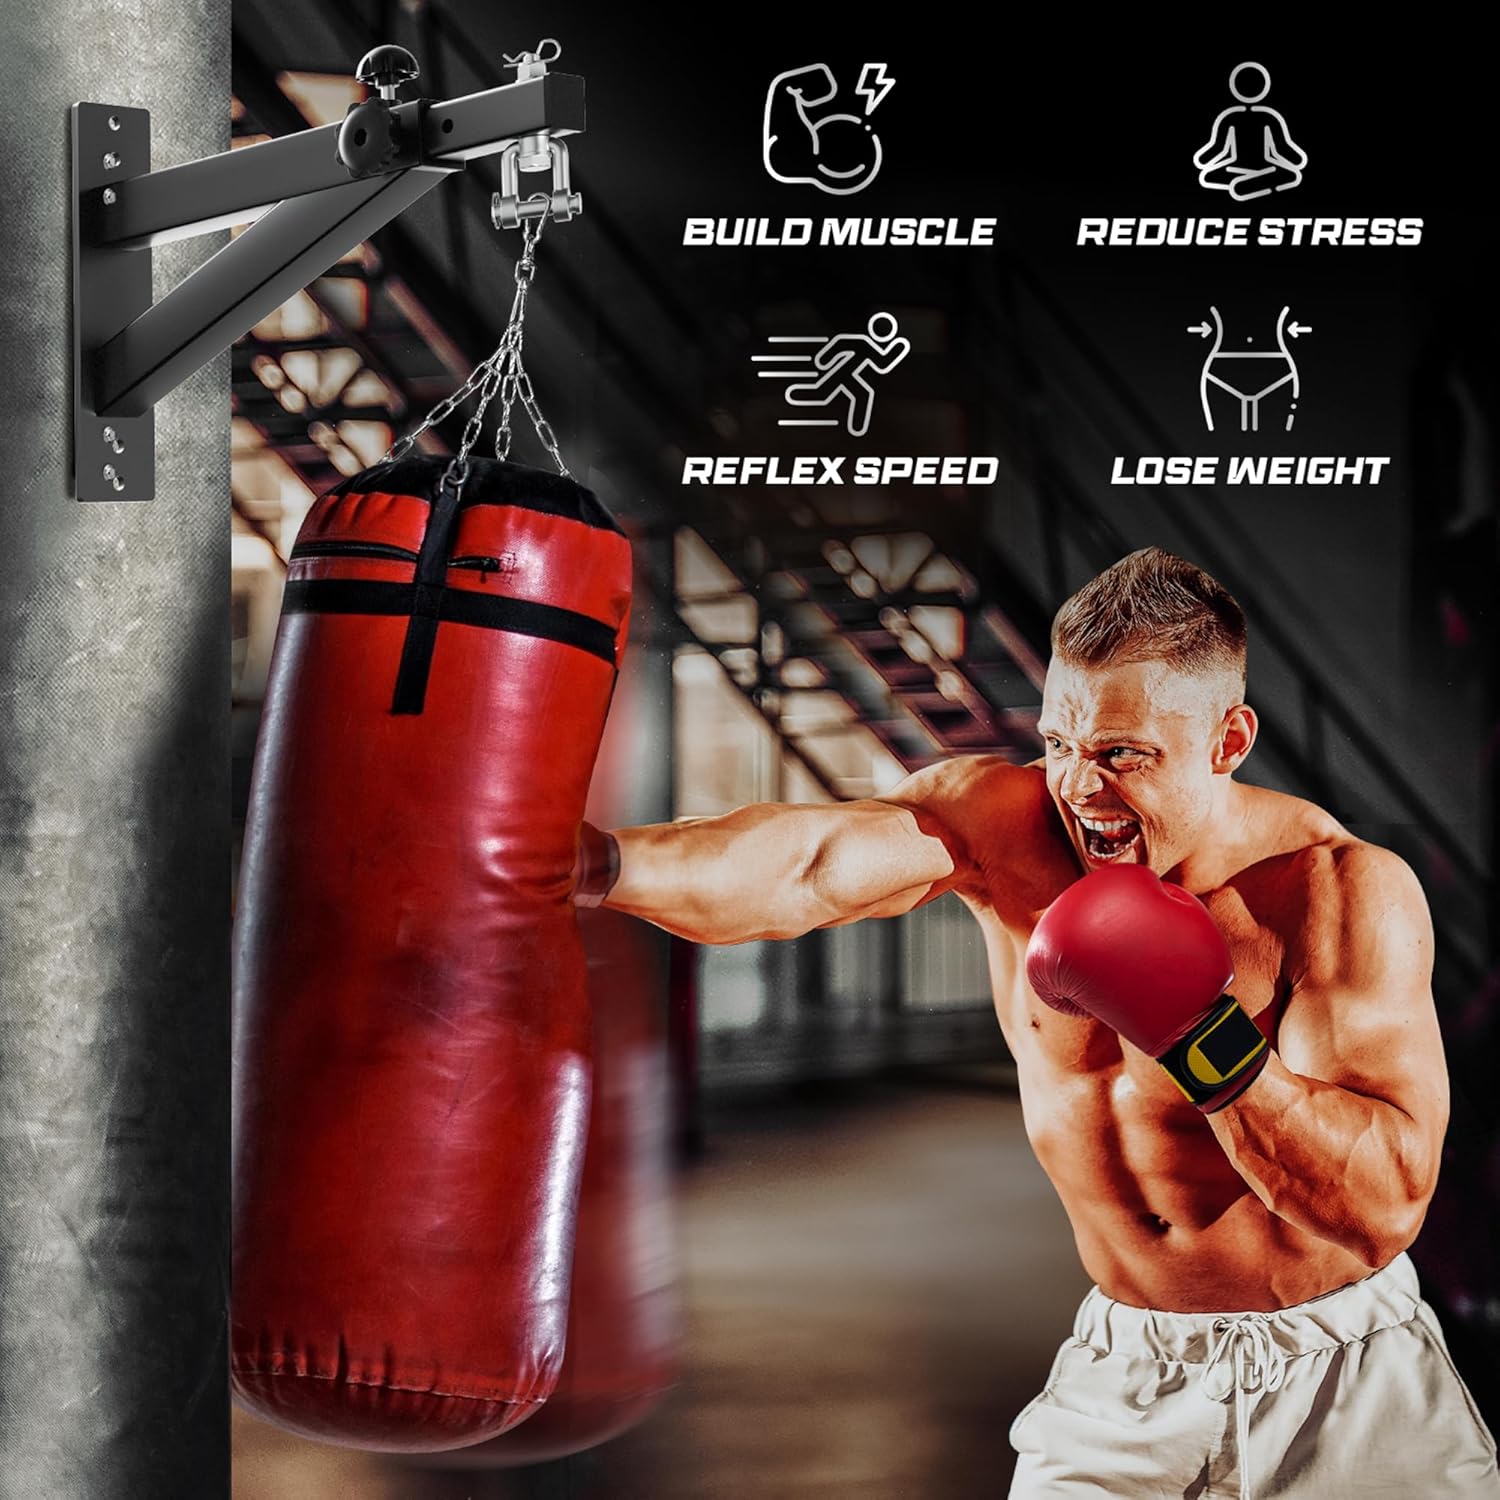
Figure 3: Hanger compatibility with various wall types.
Installation Video Reference:
Video 1: Demonstration of heavy bag hanger attachment and swivel functionality.
Video 2: Detailed view of the punching bag hanger components and wood installation.
Video 3: Overview of the heavy-duty boxing punching hanger, including measurements and swivel action.
Operating Instructions
Adjusting Hanger Length:
The hanger features an adjustable length mechanism to accommodate various bag sizes and user preferences. It can be adjusted from 16 3/8 inches (415mm) to 25 3/4 inches (655mm) across 5 different levels.
- Locate the side knob and index plunger on the hanger arm.
- Loosen the side knob and pull out the index plunger.
- Slide the inner arm to the desired length, aligning the holes.
- Re-insert the index plunger and tighten the side knob securely to lock the arm in place.
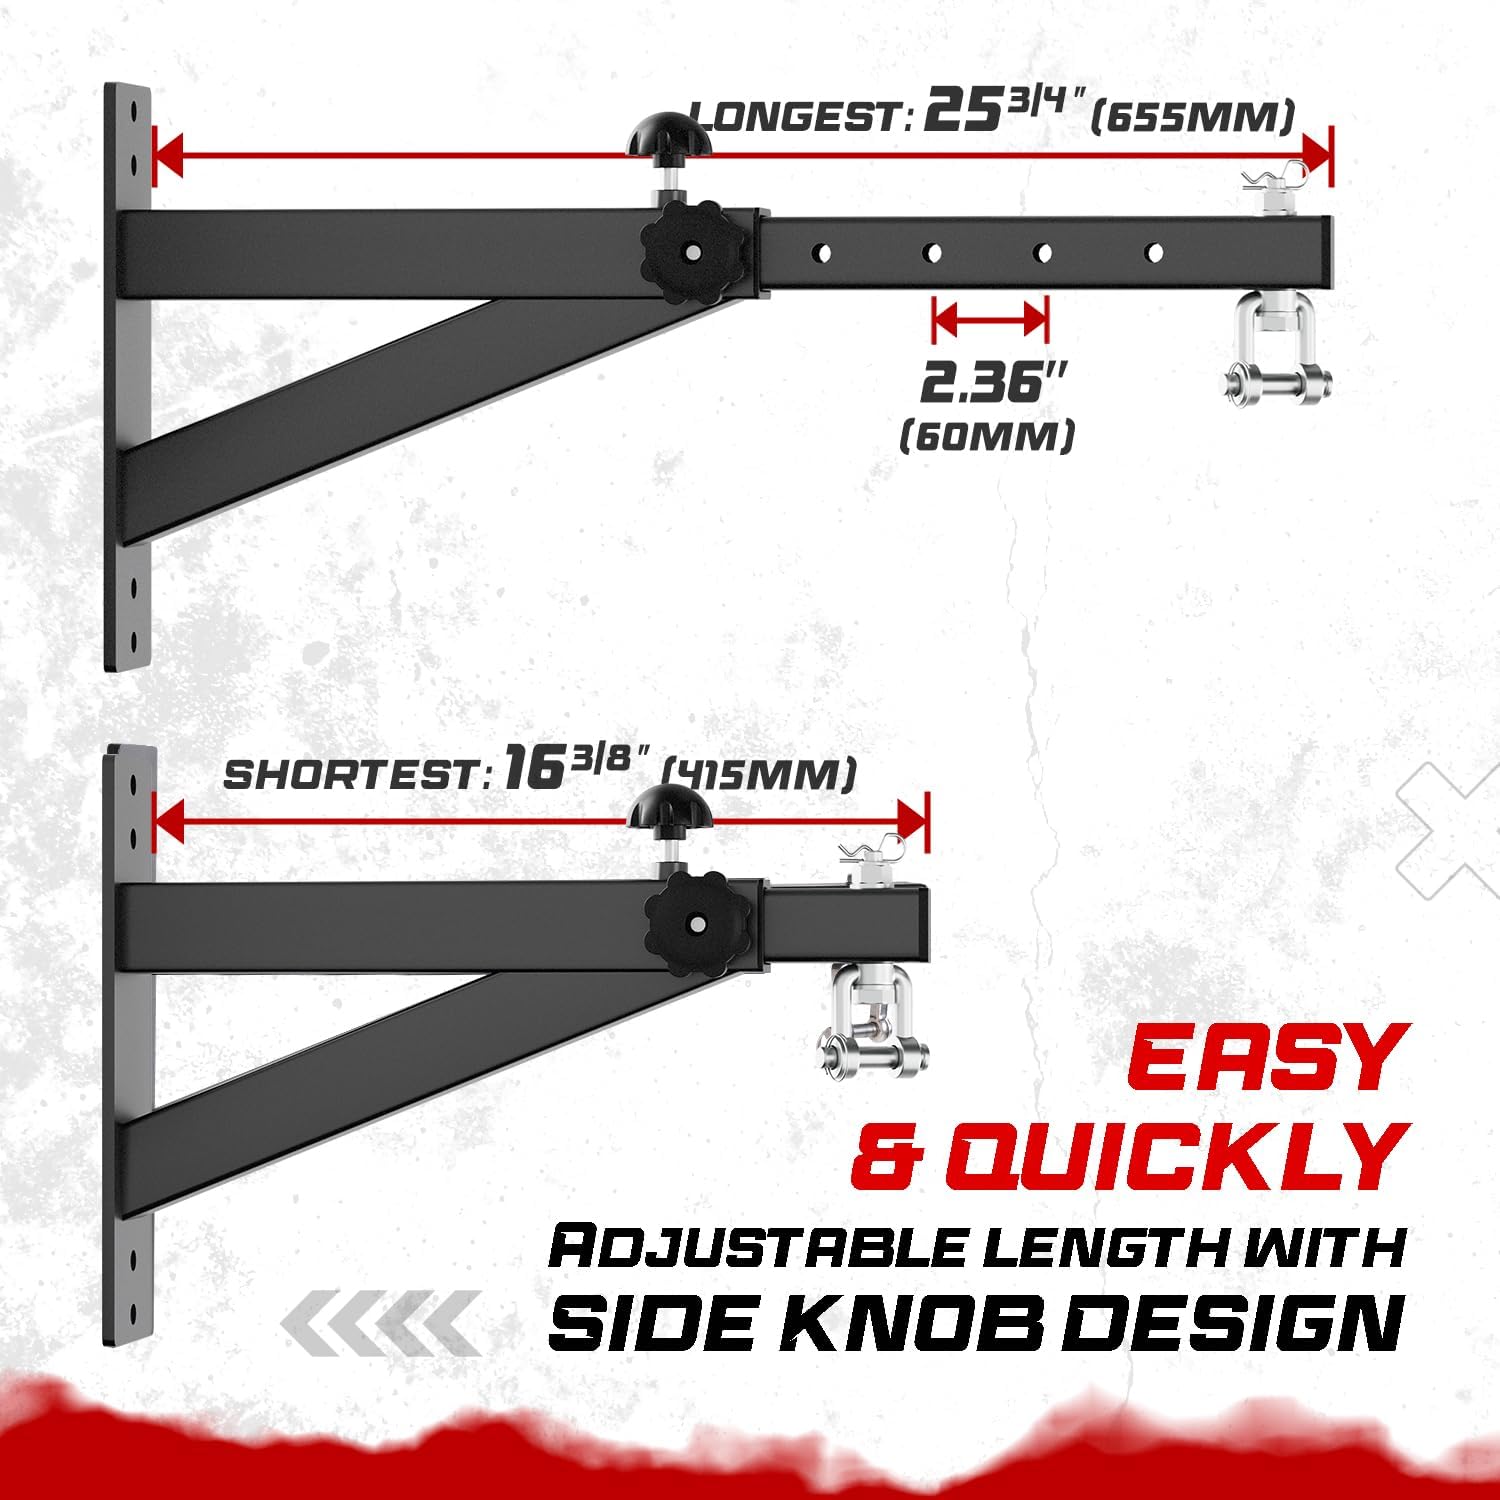
Figure 4: Adjustable length feature with side knob design.

Figure 5: Five distinct adjustment levels for optimal positioning.
Using the 360-Degree Swivel:
The integrated 360-degree swivel allows the punching bag to rotate freely, providing a dynamic workout experience and reducing stress on the hanger and mounting point.
- Ensure the punching bag is securely attached to the swivel hook.
- The swivel mechanism will automatically adjust to the bag's movement during training.
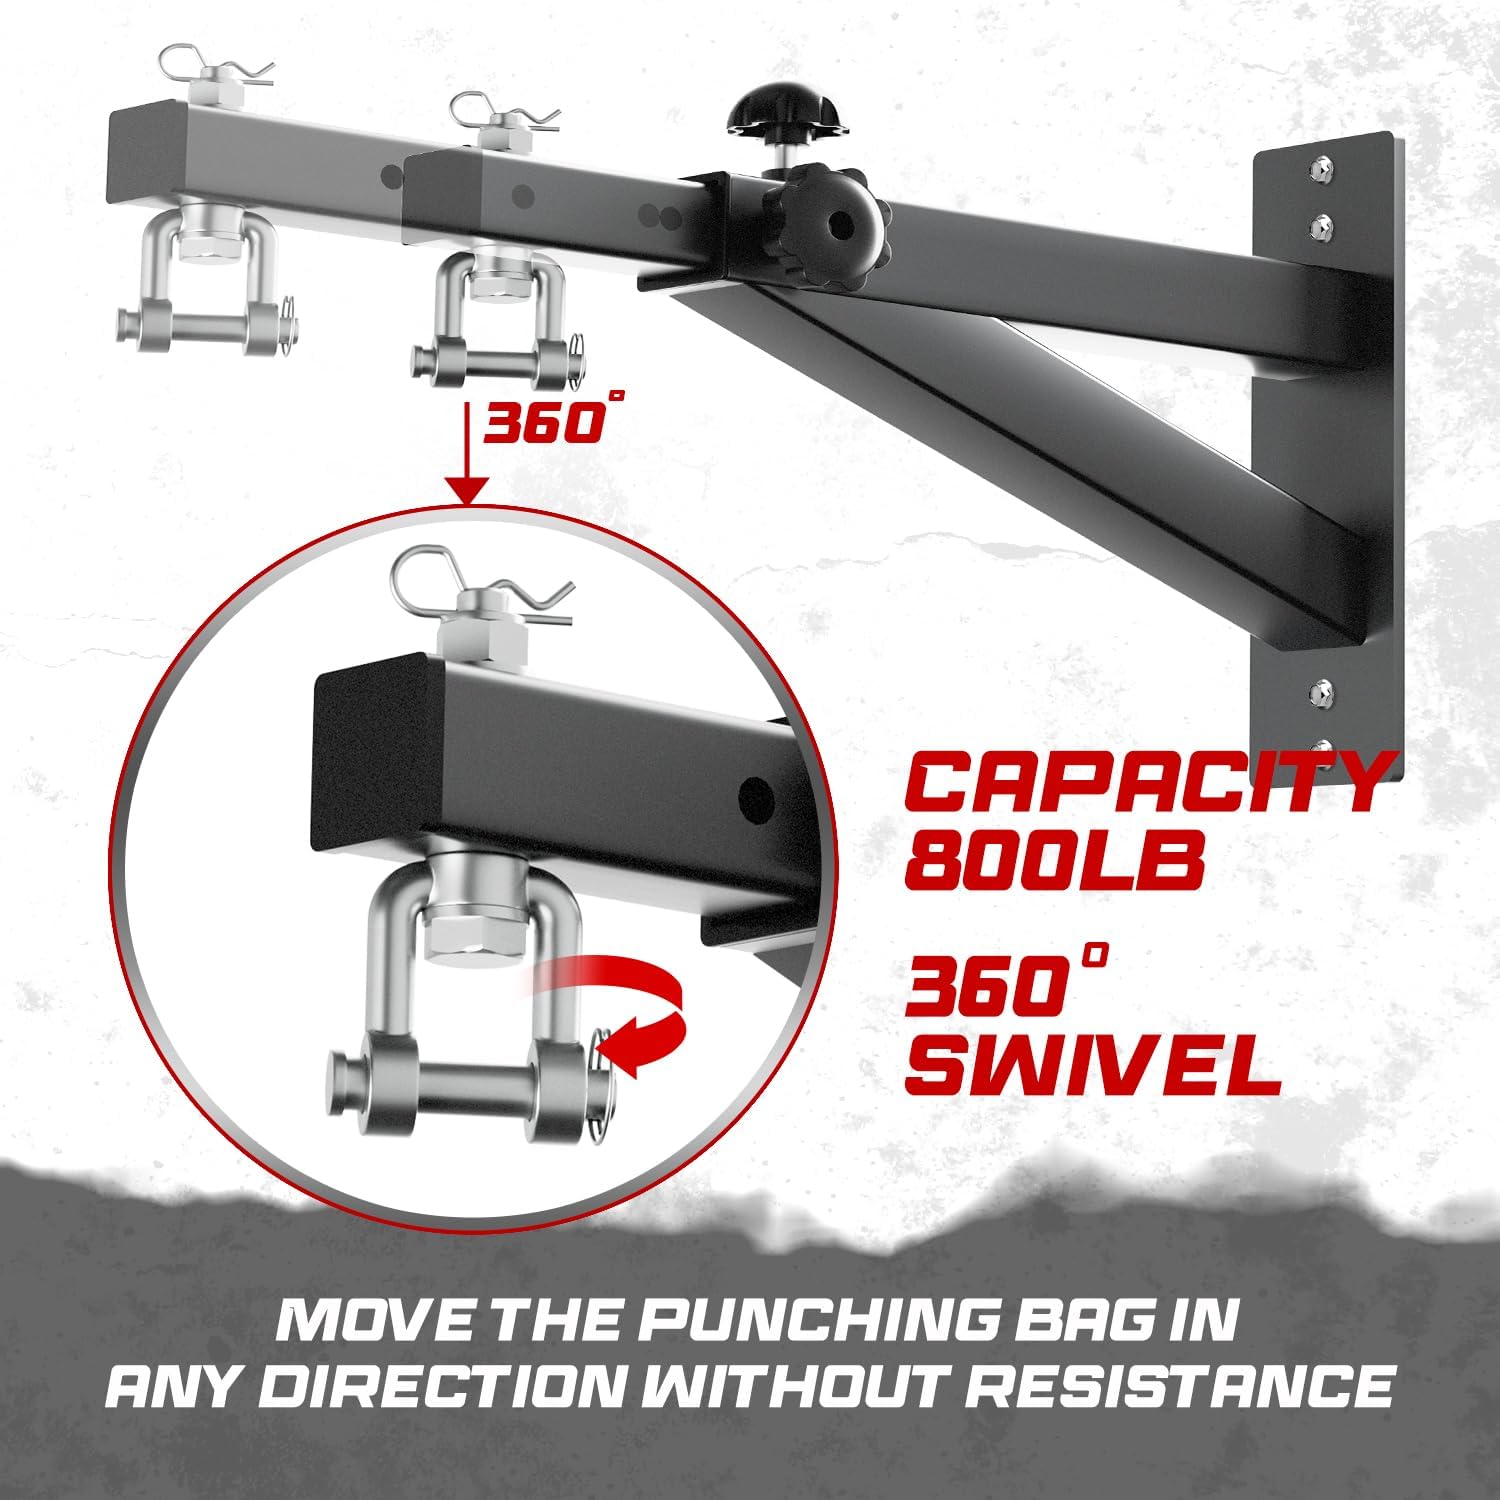
Figure 6: 360-degree swivel for unrestricted bag movement.
Maintenance
- Regular Inspection: Periodically check all bolts, screws, and connections to ensure they remain tight. Re-tighten if necessary.
- Component Check: Inspect the hanger arm, swivel, and mounting plate for any signs of wear, cracks, or deformation. Replace any damaged parts immediately.
- Cleaning: Wipe down the hanger with a damp cloth to remove dust and grime. Avoid abrasive cleaners that could damage the finish.
- Lubrication: The swivel mechanism is designed for smooth operation. If any stiffness occurs, a small amount of silicone-based lubricant can be applied to the moving parts.
Troubleshooting
| Problem | Possible Cause | Solution |
|---|---|---|
| Hanger feels unstable or wobbly. | Loose mounting bolts/screws; unsuitable mounting surface; overloaded. | Ensure all fasteners are securely tightened. Verify the wall is structurally sound. Do not exceed the 150 lbs weight limit. |
| Difficulty adjusting hanger length. | Side knob not fully loosened; index plunger stuck. | Ensure the side knob is completely loosened and the index plunger is fully disengaged before attempting to slide the arm. |
| Swivel mechanism is stiff or noisy. | Lack of lubrication; debris in the mechanism. | Clean the swivel mechanism and apply a small amount of silicone-based lubricant. |
Specifications
- Brand: Yes4All
- Model Name: Adjustable Wall Mount Heavy Bag Hanger (AWC0)
- Material: Steel
- Adjustable Length: 16 3/8" (415mm) to 25 3/4" (655mm)
- Weight Capacity: Up to 150 lbs
- Item Weight: 10.91 Pounds
- Product Dimensions: 14.76"W x 3.74"H (when retracted)
- Sport Compatibility: Kickboxing, Muay Thai, Boxing
- Mounting Type: Wall Mount (suitable for concrete and stud walls)
Warranty and Support
This Yes4All product comes with a 30-day return policy and a 1-year warranty. For any questions, concerns, or support needs regarding your Adjustable Wall Mount Punching Bag Hanger, please contact Yes4All customer service through their official website or the retailer where the product was purchased.
Visit the official Yes4All Store for more information: Yes4All Store
Ask a question about this manual
Ask about setup, troubleshooting, compatibility, parts, safety, or missing instructions. Manuals+ will review the question and use this page’s manual context to help answer it.