
Miniature Motors Toyota Tundra 12V 7Ah Electric Ride-On Truck
12V 7Ah Kids Electric Ride on Car Instruction Manual
Brand: Miniature Motors | Model: Toyota Tundra 12V 7Ah Electric Ride-On Truck
Introduction
This manual provides comprehensive instructions for the assembly, operation, maintenance, and troubleshooting of your new Miniature Motors 12V 7Ah Kids Electric Ride on Car. Please read this manual thoroughly before use to ensure safe and proper operation.

Image: The Miniature Motors 12V 7Ah Kids Electric Ride on Car in grey, featuring a remote control.
Safety Information
Important Safety Precautions:
- Always supervise children during operation.
- Ensure the vehicle is used on appropriate surfaces such as sidewalks, driveways, or safe paved roads. Avoid uneven terrain, public roads, or areas with traffic.
- Always use the seat belt provided to secure the child.
- Adhere strictly to charging instructions: charge for 8-12 hours after each use, but never exceed 20 hours. Overcharging can damage the battery and void the warranty.
- This product has passed CPSIA and ASTM testing to ensure safety and durability.
- The remote control allows parental override for enhanced safety, especially for younger children.
Package Contents
- MINIATURE MOTORS Electric Ride on Car
- 1 x Charger
- 1 x Parent Remote Control
- 2 x Spanners
- User Manual
Assembly Instructions
The product requires assembly. Follow these steps carefully:
Step 1: Install Rear Wheels and Motors
Place the car upside down. Attach the rear motors to the chassis, ensuring they align with the axle. Slide the rear wheels onto the axle, securing them with the provided nuts. Fasten both nuts simultaneously for proper alignment.

Image: Detail of a wheel being secured to the vehicle's axle during assembly.
Step 2: Install Front Wheels
Attach the front wheels to the front axle, securing them with the provided nuts. Ensure they are firmly in place.
Step 3: Connect Electrical Wires
Connect the two white motor connectors and the red battery connector. Ensure all connections are secure to prevent power issues.

Image: View of the car's internal wiring, showing the battery and motor connectors.
Step 4: Install Steering Wheel and Seat
Connect the steering wheel wire to the dashboard connector. Place the steering wheel onto the steering column. Install the seat, ensuring it clicks securely into place and is fastened with screws.
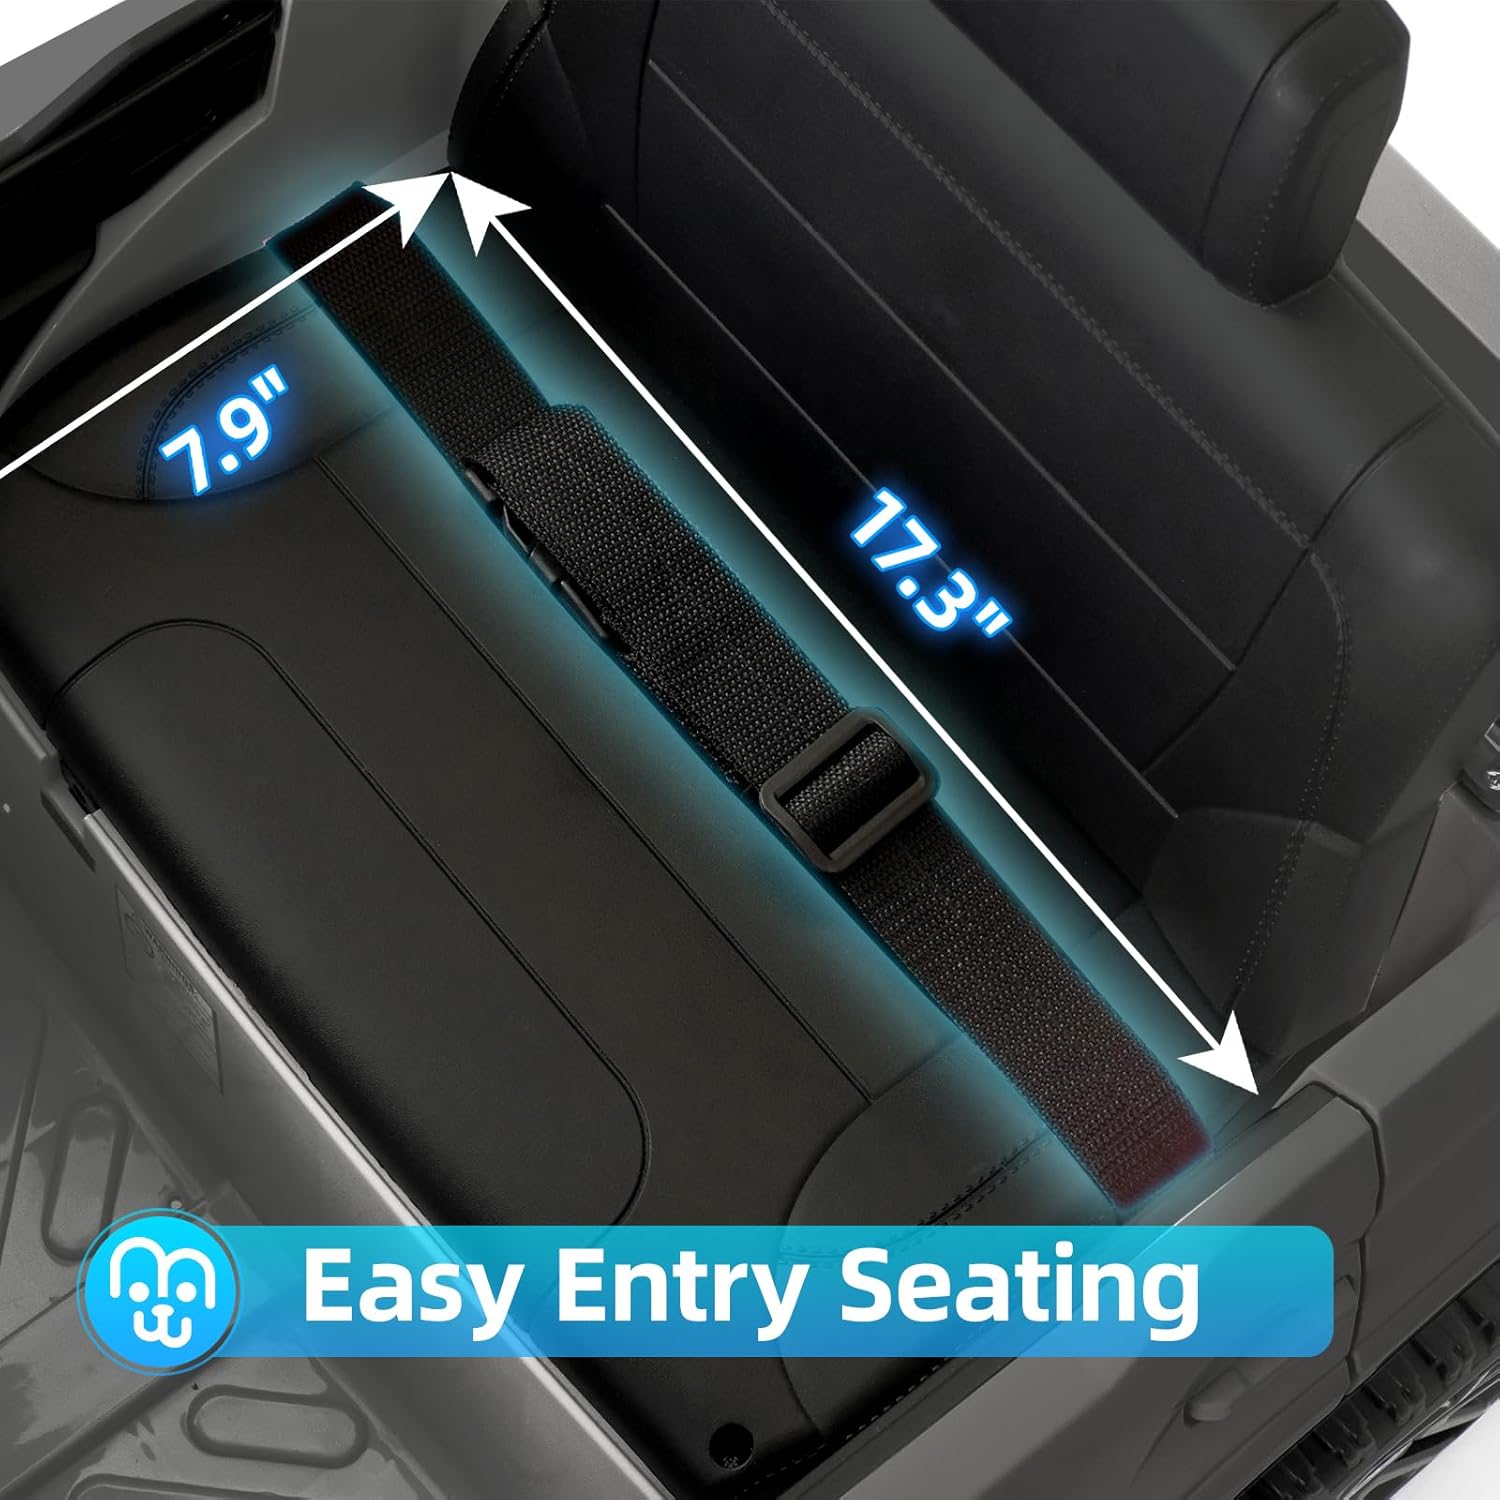
Image: The car's interior, highlighting the easy entry seating and steering wheel.
Step 5: Attach Windshield and Side Mirrors
Carefully attach the windshield and side mirrors to their designated slots on the car body.

Image: Front view of the assembled car, showcasing the headlights and grill.
Assembly Video Guide:
Video: Official assembly guide for the Miniature Motors Kids Electric Ride on Car. This video demonstrates the step-by-step process of putting the vehicle together, including wheel installation, wiring connections, and attaching accessories.
Operating Instructions
1. Power On/Off
Press the "Engine" button on the dashboard to turn the car on or off. The dashboard display will light up.

Image: Close-up of the dashboard showing the engine start button and speed selection switches.
2. Driving Modes
- Manual Driving: Older children can control the steering wheel and foot pedal. Use the speed switch (Fast/Slow) and forward/reverse switch to maneuver.
- Remote Control Driving: Parents can use the remote control to operate the car. The remote has controls for forward, backward, left, right, and an emergency stop button. Remote mode always overrides manual mode.

Image: A child in the electric ride-on car while a parent uses the remote control, illustrating the dual control system.
3. Multimedia Features
- Wireless Music (Bluetooth): Connect your device via Bluetooth to play your own music. The car's Bluetooth ID is YJ-XLHP-BT.
- USB Port: Insert a USB drive to play audio files.
- Preset Music: The car comes with built-in music and stories.
- Horn & Music Buttons: Located on the steering wheel for interactive play.
- Volume Adjustment: Control the volume using the buttons on the multimedia panel.

Image: A child in the car with a smartphone displaying music, indicating the wireless music and USB port features.

Image: Close-up of the steering wheel, highlighting the horn and music buttons.

Image: The car's multimedia panel, showing the USB port, wireless connection indicator, battery level, and volume controls.
4. Battery Indicator
The dashboard features a battery power indicator to show the remaining charge.

Image: The car's dashboard displaying the battery indicator and estimated runtime.
Operating Video Guide:
Video: This video demonstrates the operation of the Miniature Motors Kids Electric Ride on Truck, including remote control functions, music playback, and general driving.
Maintenance
1. Battery Charging
The vehicle is powered by a 12V 7Ah rechargeable battery. To charge, locate the charging socket (usually under the seat or near the dashboard) and connect the provided charger. Charge for 8-12 hours after each use. Do not charge for more than 20 hours to prevent battery damage and voiding the warranty.
Image: Location of the battery charging socket, typically found under the seat or on the dashboard.
2. General Care
- Keep the vehicle clean by wiping with a damp cloth. Avoid using harsh chemicals.
- Store the vehicle in a dry place away from direct sunlight and moisture.
- Regularly check all screws and fasteners to ensure they are tight.
- Inspect tires for wear and tear.
Troubleshooting
If you encounter issues, refer to the following common problems and solutions:
| Problem | Possible Cause | Solution |
|---|---|---|
| Car does not move | Battery low or disconnected; motor connectors loose. | Charge the battery; ensure all electrical connections are secure. |
| Remote control not working | Batteries in remote are dead; remote not paired. | Replace remote batteries; re-pair the remote control with the car (refer to remote pairing instructions in the assembly video). |
| Unusual noise during operation | Loose parts; debris in wheels/motors. | Check for and tighten any loose components; clear any obstructions from wheels and motor areas. |
Specifications
| Feature | Detail |
|---|---|
| Product Dimensions | 40.9 x 25.6 x 22.4 inches |
| Item Weight | 30.8 pounds |
| Battery | 12V 7Ah rechargeable battery |
| Motors | 12V twin motors |
| Max Speed | 3 mph |
| Recommended Age | 36 months - 5 years |
| Suspension | 4 wheels full suspension |
| Safety Features | Seat belt, slow start technology, CPSIA and ASTM tested |
| Multimedia | Wireless music (Bluetooth), USB port, built-in music/story |
Warranty and Support
Miniature Motors products come with a standard warranty. For specific warranty details, claims, or technical support, please contact Miniature Motors directly through their official channels or visit their brand store on Amazon.
Ask a question about this manual
Ask about setup, troubleshooting, compatibility, parts, safety, or missing instructions. Manuals+ will review the question and use this page’s manual context to help answer it.