1. Introduction
Thank you for choosing the Armocity 4-Tier AV Media Stand. This stand is designed to provide a functional and stylish solution for organizing your audio-visual equipment. It features four adjustable shelves, integrated power strips with USB ports, and LED lighting to enhance your entertainment area. This manual provides detailed instructions for safe assembly, proper operation, and general maintenance of your new media stand.
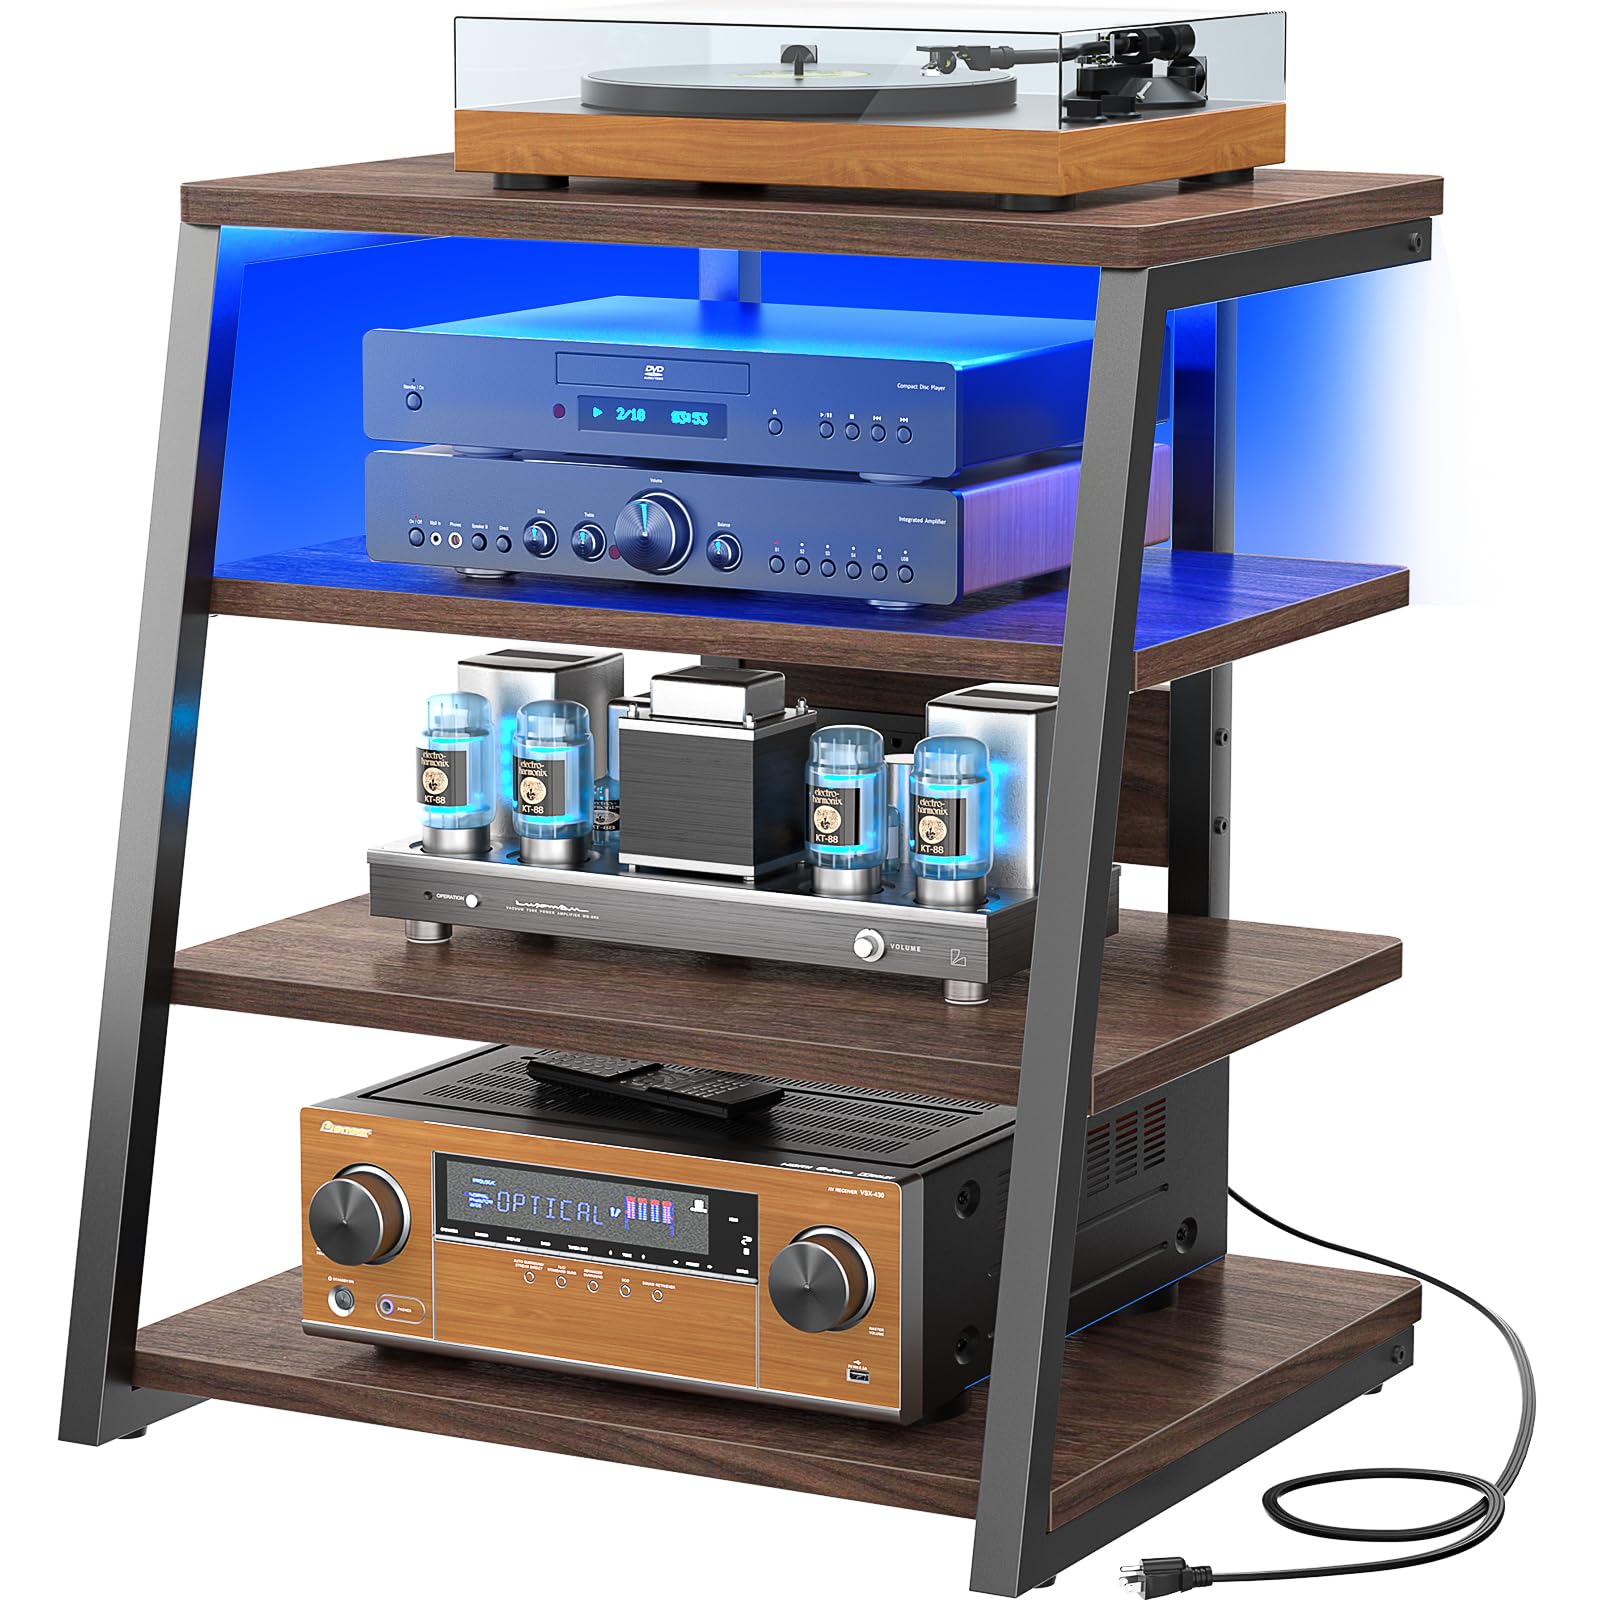
Image 1.1: The Armocity 4-Tier AV Media Stand (Model MS4T-BW) in a home environment, showcasing its use with various audio components.
2. Safety Information
Please read and understand all safety instructions before assembly and use. Failure to follow these instructions may result in injury or damage to the product.
- Do not overload shelves. Ensure proper assembly for stability.
- The maximum weight limit per shelf is 15 lbs (6.8 kg).
- Always place the stand on a flat, stable surface.
- Keep small parts and packaging materials away from children.
- Ensure all connections for the power strip and LED lights are secure before use.
- Do not expose the product to excessive moisture or direct sunlight.
3. Package Contents
Before beginning assembly, verify that all parts are present and undamaged. If any parts are missing or damaged, please contact Armocity customer support.
Included Components:
- All necessary hardware (screws, bolts, etc.)
- MDF board shelves (4 pieces)
- Metal frame components
- Integrated power strip with 4 receptacles and 2 USB ports
- LED light strip
- Assembly tools (screwdriver, hex wrench)
- Instruction manual
4. Setup and Assembly Instructions
Assembly is designed to be straightforward. It is recommended to assemble the stand on a soft, clean surface to prevent scratches. Two people may be helpful for certain steps.
Step 1: Unpack and Identify Parts
Carefully remove all components from the packaging. Lay them out and compare them against the parts list provided in your package to ensure everything is accounted for.
Step 2: Assemble the Frame
Begin by connecting the metal frame components. Use the provided screws and hex wrench to secure the vertical supports to the base and top sections. Do not overtighten screws until all components are loosely fitted.
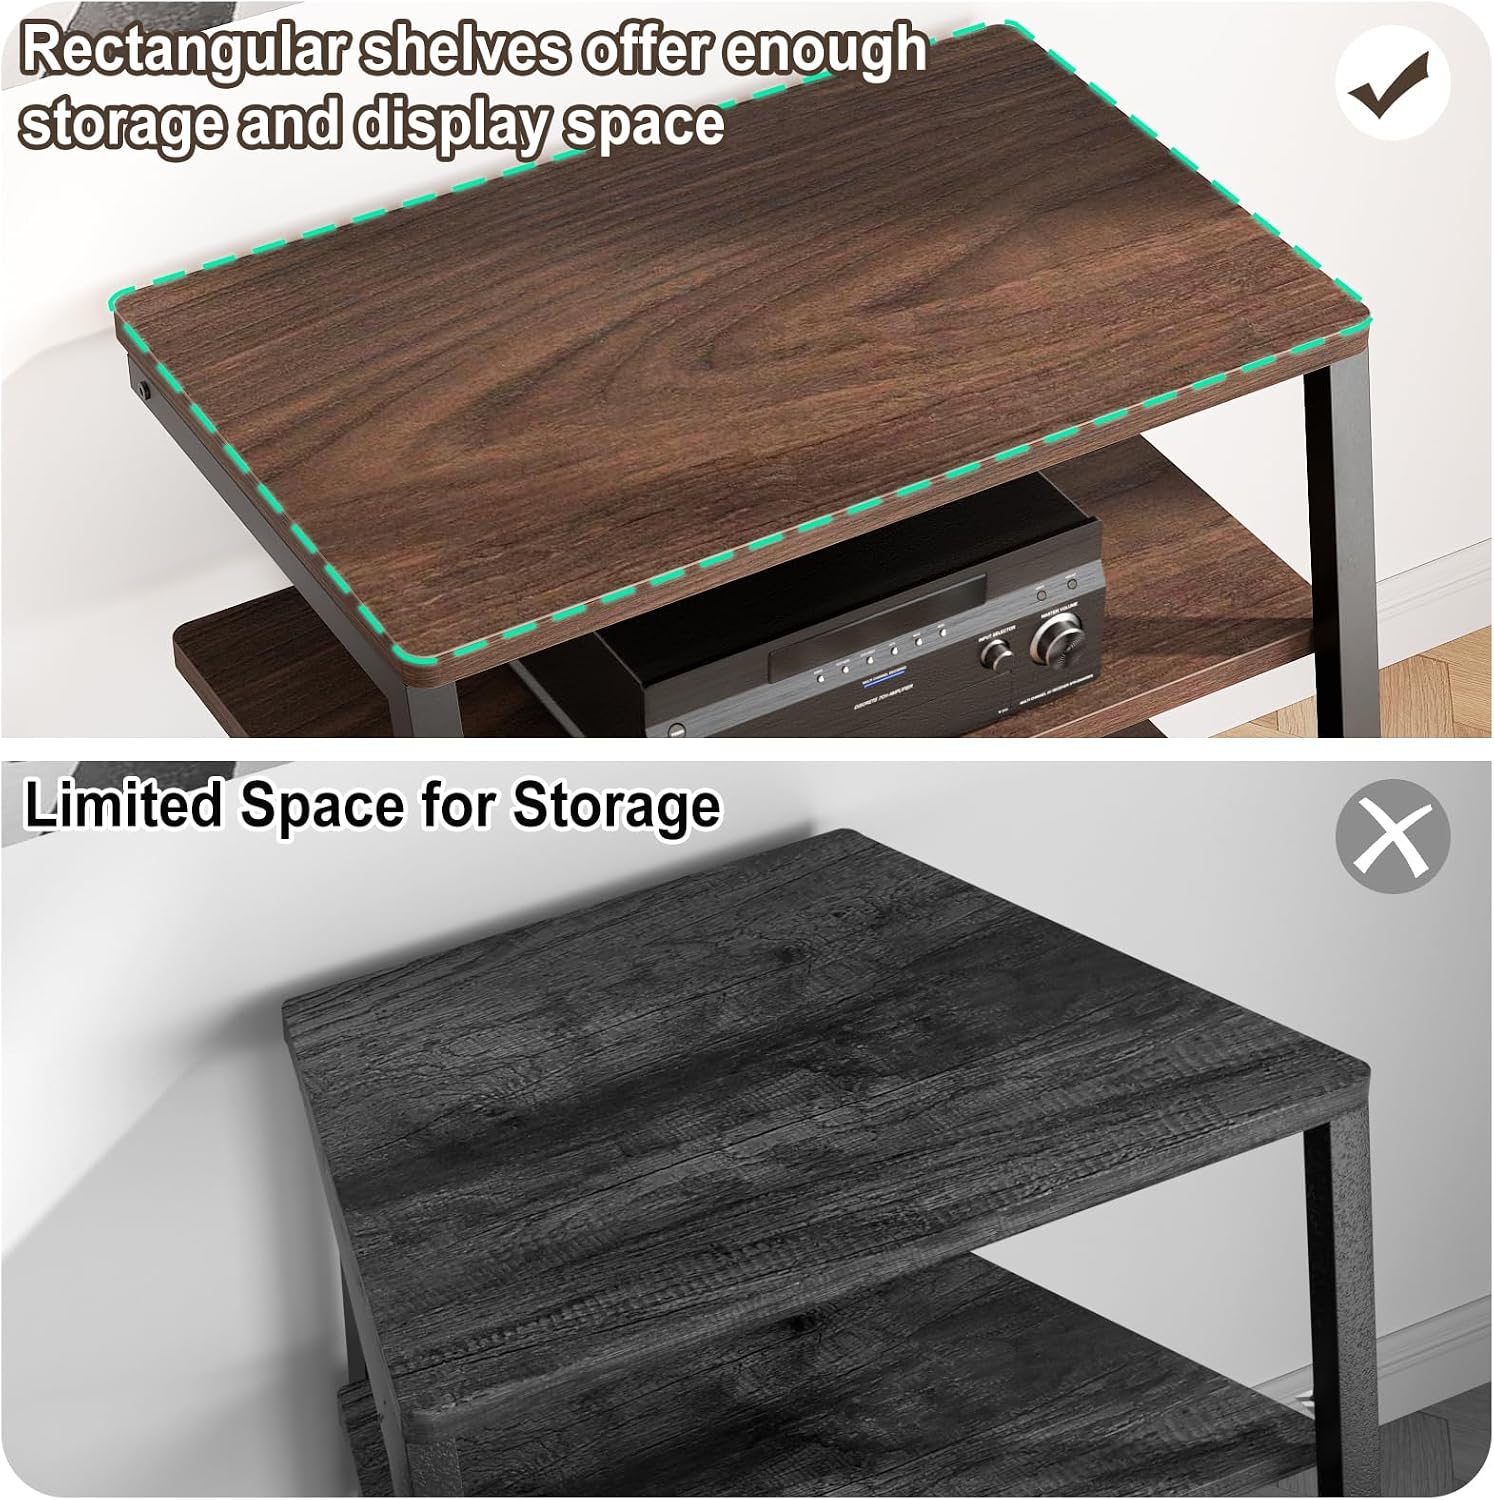
Image 4.1: Detail of the sturdy frame construction and 0.79-inch (20mm) shelf thickness.
Step 3: Install Shelves
Attach the MDF board shelves to the assembled frame. The shelves are adjustable, allowing you to customize the height to fit your equipment. Insert the shelf supports into the desired slots on the frame, then place the shelves securely on top. Ensure each shelf is level and firmly seated.

Image 4.2: Illustration of the adjustable shelves and the integrated power station with receptacles and USB ports.
Step 4: Install Power Strip and LED Lights
Mount the integrated power strip to the designated area on the stand, typically on the underside of one of the shelves. Secure it using the provided hardware. Attach the LED light strip along the edges of the shelves as desired. Connect the power strip and LED lights to their respective power sources, ensuring cables are neatly managed.

Image 4.3: The media stand with RGB LED lighting activated, showcasing its dynamic visual effect.
Step 5: Final Tightening
Once all components are in place, carefully tighten all screws and bolts. Do not overtighten, but ensure all connections are snug for stability.
5. Operating Instructions
5.1 Using the Integrated Power Strip
The media stand includes a built-in power station with 4 standard receptacles and 2 USB ports. To use, simply plug the stand's main power cord into a wall outlet. You can then plug your audio-visual devices, chargers, or other electronics into the available outlets and USB ports.
- Ensure the total power draw of connected devices does not exceed the power strip's maximum rating.
- The USB ports are suitable for charging smartphones, tablets, and other USB-powered devices.
5.2 Controlling the LED Lights
The integrated LED lights offer various modes to suit your preference. Refer to the separate LED light controller instructions (if provided) for specific details on changing colors, brightness, and dynamic modes. Typically, a remote control or a button on the LED strip itself will allow you to:
- Turn the lights On/Off.
- Select static colors.
- Choose from dynamic modes (e.g., flashing, fading).
- Adjust brightness levels.
The LED lights are designed to create a mood setting for your music, gaming, or movie experiences.
6. Maintenance
To ensure the longevity and appearance of your Armocity AV Media Stand, follow these simple maintenance guidelines:
- Cleaning: Wipe surfaces with a soft, damp cloth. Avoid harsh chemicals or abrasive cleaners, which can damage the finish.
- Dusting: Regularly dust the shelves and frame to prevent buildup.
- Inspections: Periodically check all screws and connections to ensure they remain tight. Retighten if necessary.
- Spills: Immediately wipe up any spills to prevent water damage or staining.
- Heat: Avoid placing extremely hot items directly on the shelves. Use coasters or protective pads if needed.
7. Troubleshooting
If you encounter any issues with your media stand, refer to the following common problems and solutions:
| Problem | Possible Cause | Solution |
|---|---|---|
| Stand is wobbly or unstable. | Loose screws; uneven floor. | Ensure all assembly screws are tightened. Move the stand to a level surface or use shims if necessary. |
| Power strip not working. | Not plugged into wall; wall outlet not functioning; power strip switch off; overloaded circuit. | Check if the stand's power cord is securely plugged into a working wall outlet. Verify the power strip's switch is on. Reduce the number of devices if overloaded. |
| LED lights not turning on. | Loose connection; remote control battery dead; LED strip damaged. | Check all LED light connections. Replace remote control batteries. If still not working, contact customer support. |
| Shelves do not fit properly. | Incorrect orientation; assembly error. | Review assembly instructions carefully. Ensure shelves are oriented correctly and supports are in the right positions. |
8. Specifications
| Feature | Detail |
|---|---|
| Model Name | MS4T-BW |
| Brand | Armocity |
| Dimensions (D x W x H) | 20.5"D x 23.5"W x 30.7"H |
| Number of Shelves | 4 (Adjustable) |
| Shelf Thickness | 15 Millimeters |
| Material | Engineered Wood (MDF) and Metal Frame |
| Color | Black Walnut |
| Special Features | Integrated Power Strip (4 AC outlets, 2 USB ports), LED Lights |
| Maximum Weight Capacity per Shelf | 15 lbs (6.8 kg) |
| Item Weight | 33.4 pounds |
| Assembly Required | Yes |

Image 8.1: Detailed product dimensions for the Armocity 4-Tier AV Media Stand.
9. Warranty and Customer Support
Armocity stands behind the quality of its products. For specific warranty information, please refer to the documentation included with your purchase or visit the official Armocity website. If you have any questions, require assistance with assembly, or need to report missing/damaged parts, please contact Armocity customer support directly.
Armocity Customer Support:
- Website: Visit the Armocity Store on Amazon
- Contact Information: Please check the Armocity website or your purchase receipt for the most current contact details.


