1. Introduction
This manual provides detailed instructions for the installation, operation, maintenance, and troubleshooting of the FOSA Car Rear Axle Bearing Kit. Please read this manual thoroughly before beginning any installation or maintenance procedures to ensure proper function and safety. Retain this manual for future reference.
2. Product Overview
The FOSA Rear Axle Bearing Kit is designed to replace essential components in your vehicle's rear axle assembly, ensuring smooth operation and reliability. The kit includes a bearing, a bushing, and oil seals, all manufactured from durable metal for long service life and resistance to abrasion.

Figure 2.1: Overview of the FOSA Rear Axle Bearing Kit components alongside a golf cart.

Figure 2.2: The bearing, bushing, and oil seals of the kit, with a golf cart on a course in the background.

Figure 2.3: Detailed view of the individual components: bearing, bushing, and two oil seals.
3. Compatibility
This Rear Axle Bearing Kit is a direct replacement for the following vehicle models:
- Car DS Electric Cart (1986-2014)
- Precedent Electric Cart (1986-2014)
Important Note: This kit is not a replacement for Car Carryall Turf models. Please verify your vehicle's make, model, and year before installation.
4. Package Contents
The FOSA Rear Axle Bearing Kit includes the following components:
- 1 x Rear Axle Bearing (OE Number: 1011291)
- 1 x Rear Axle Bushing (OE Number: 1014207)
- 2 x Rear Axle Oil Seals (OE Number: 1013794)
The kit is typically supplied as a 4-piece set within a single box.
5. Specifications
Refer to the table below for detailed product specifications and dimensions.
| Attribute | Value |
|---|---|
| Item Type | Rear Axle Bearing Kit |
| Material | Metal |
| OE Numbers | 1011291, 1014207, 1013794 |
| Model Number | fosa1mq048hkg7 |
| Package Dimensions | 2.36 x 2.36 x 1.97 inches |

Figure 5.1: Dimensional specifications for the bearing, bushing, and oil seal components.
6. Safety Information
Always prioritize safety when working on any vehicle. Failure to follow safety precautions can result in injury or damage to the vehicle.
- Personal Protective Equipment (PPE): Always wear appropriate PPE, including safety glasses, gloves, and closed-toe shoes.
- Vehicle Support: Ensure the vehicle is securely supported on jack stands on a level surface before working underneath it. Never rely solely on a jack.
- Tools: Use the correct tools for each task. Damaged or incorrect tools can cause injury or component damage.
- Cleanliness: Keep the work area clean and free of debris.
- Professional Assistance: If you are unsure about any step of the installation process, consult a qualified mechanic.
7. Installation Instructions
This section outlines the general procedure for replacing the rear axle bearing kit. Specific steps may vary slightly depending on your vehicle's exact configuration. Refer to your vehicle's service manual for detailed instructions.

Figure 7.1: Exploded view of the rear axle assembly, highlighting the locations of the bearing (OEM# 1011291), bushing (OEM# 1014207), and oil seals (OEM# 1013794).
Required Tools (Not Included):
- Jack and Jack Stands
- Wheel Chocks
- Socket Set and Wrenches
- Bearing Puller / Press Tool (if required)
- Seal Driver Tool
- Grease / Lubricant
- Brake Cleaner
Installation Steps:
- Prepare the Vehicle: Park the vehicle on a level surface, engage the parking brake, and place wheel chocks on the front wheels. Loosen the rear wheel lug nuts.
- Lift and Secure: Jack up the rear of the vehicle and place it securely on jack stands. Remove the rear wheels.
- Drain Axle Fluid (if applicable): If your axle requires it, drain the differential fluid.
- Remove Axle Shaft: Carefully remove the components securing the axle shaft. This typically involves removing brake components, then unbolting the axle retainer plate or C-clips inside the differential. Slide the axle shaft out of the axle housing.
- Remove Old Components: Once the axle shaft is removed, you will have access to the old bearing (OE# 1011291), bushing (OE# 1014207), and oil seals (OE# 1013794). Use appropriate tools (e.g., bearing puller, seal puller) to remove these components from the axle housing and/or axle shaft.
- Clean the Area: Thoroughly clean the axle housing and axle shaft where the new components will be installed. Remove any old grease, dirt, or rust. Use brake cleaner if necessary.
- Install New Oil Seals (OE# 1013794): Lightly lubricate the new oil seals with axle fluid or grease. Using a seal driver tool, carefully tap the new oil seals into their respective positions in the axle housing until they are seated flush. Ensure they are not bent or damaged during installation.
- Install New Bearing (OE# 1011291) and Bushing (OE# 1014207): Depending on your axle design, the bearing and bushing may be pressed onto the axle shaft or into the axle housing. Apply a thin layer of grease to the bearing and bushing. Use a bearing press or appropriate driver to install the new bearing and bushing. Ensure they are fully seated and aligned correctly.
- Reinstall Axle Shaft: Carefully slide the axle shaft back into the axle housing, ensuring it passes through the new oil seals, bushing, and bearing without damaging them.
- Secure Axle Shaft: Reinstall the axle retainer plate or C-clips and any other components that secure the axle shaft. Reattach brake components.
- Refill Axle Fluid (if applicable): If drained, refill the differential with the correct type and amount of axle fluid.
- Reinstall Wheels: Mount the rear wheels and hand-tighten the lug nuts.
- Lower Vehicle: Lower the vehicle to the ground and torque the lug nuts to the manufacturer's specifications.
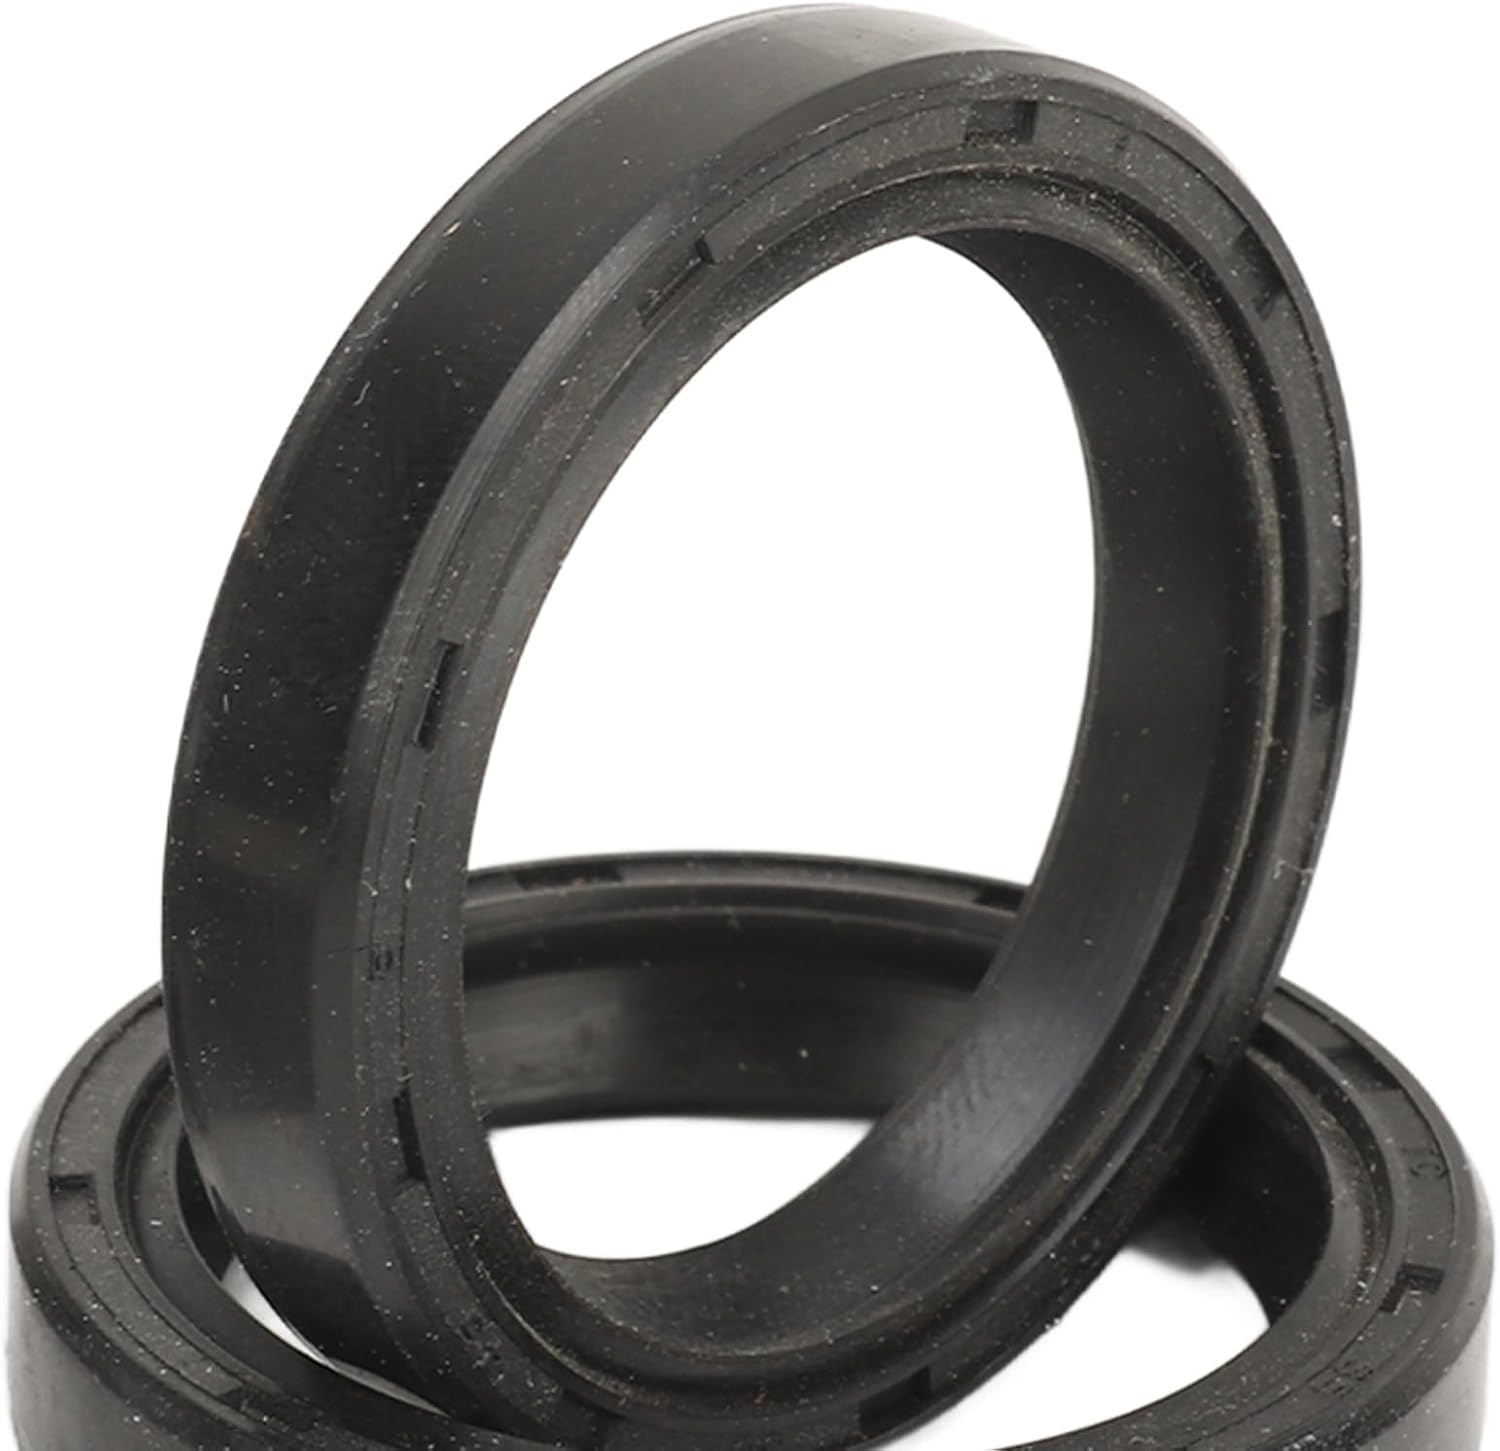
Figure 7.2: New oil seals (OE# 1013794) ready for installation.

Figure 7.3: New axle bushing (OE# 1014207).
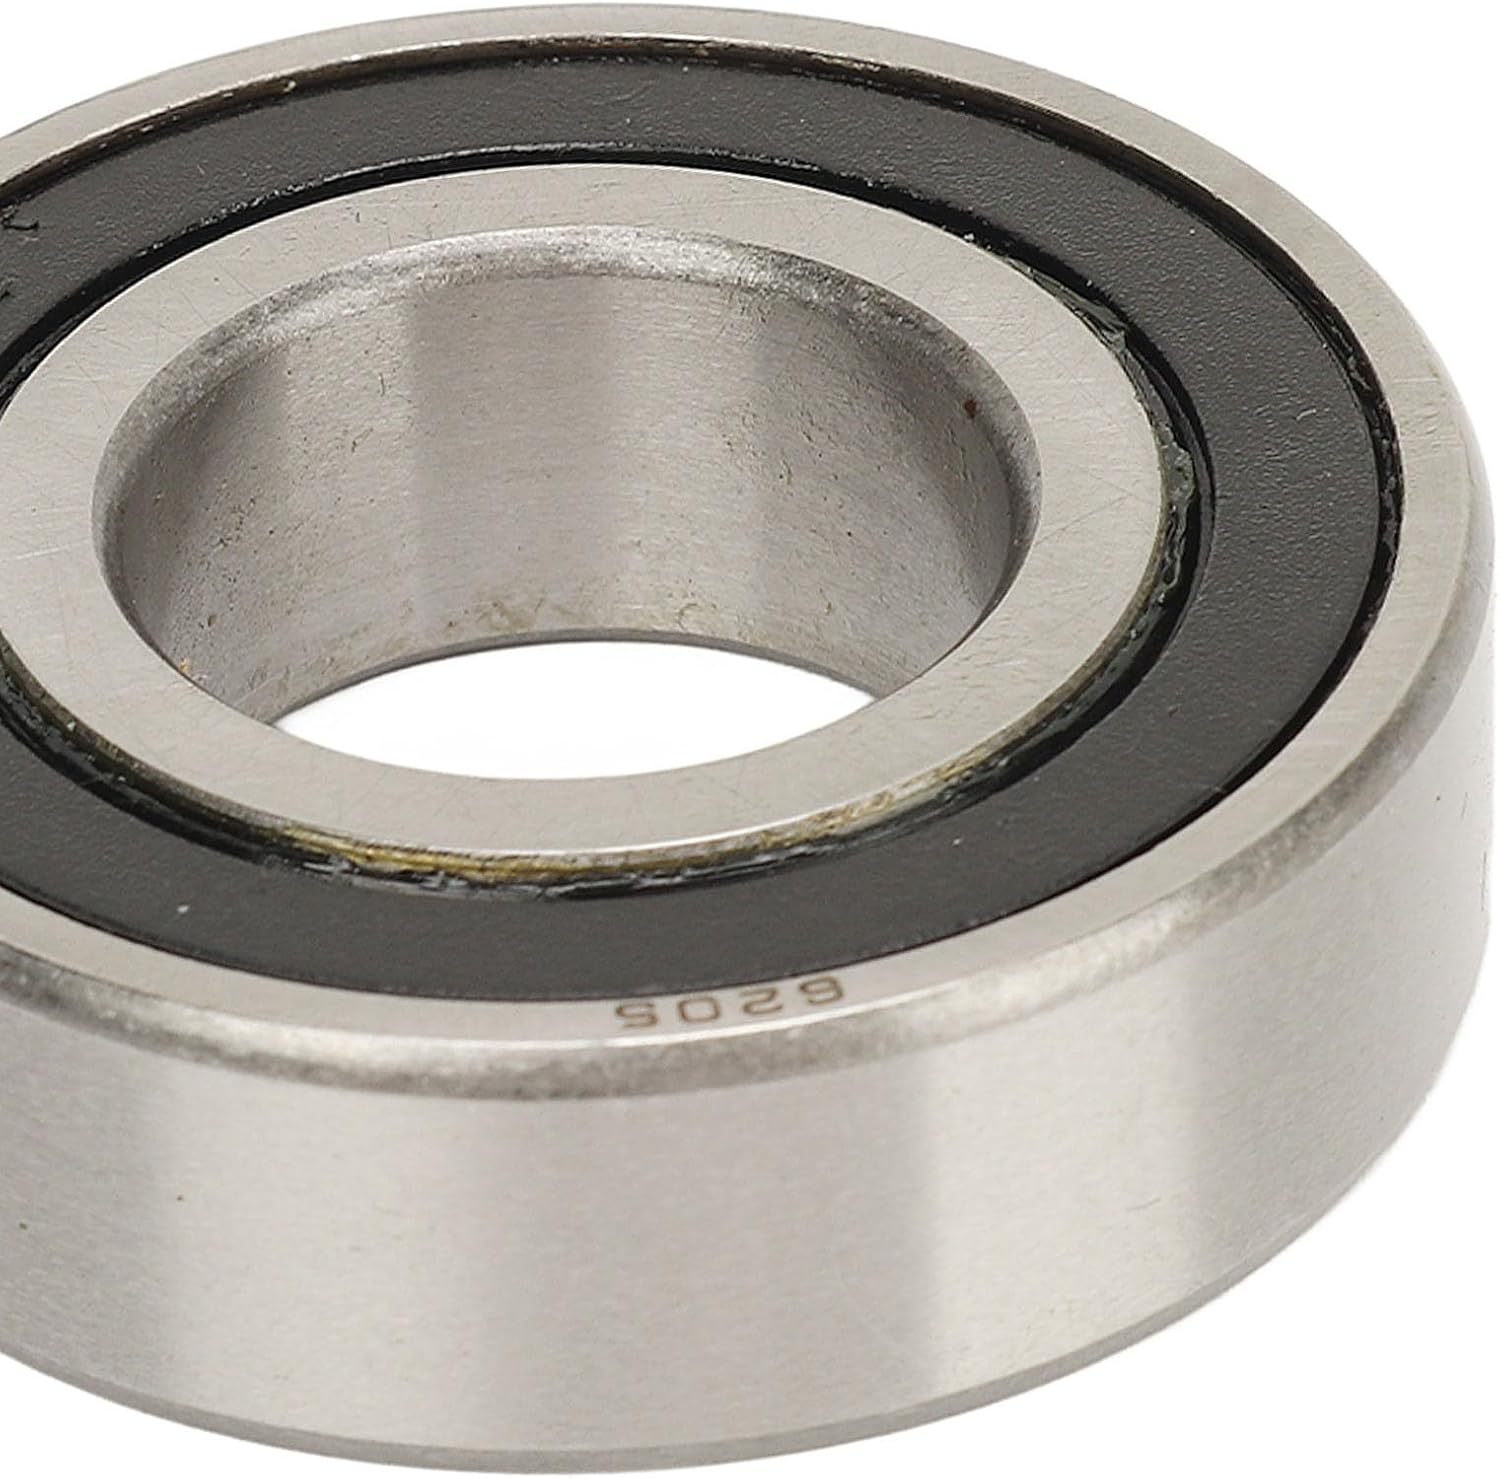
Figure 7.4: New axle bearing (OE# 1011291).
8. Operating Instructions (Post-Installation)
After completing the installation, perform the following checks before operating the vehicle:
- Fluid Levels: Verify that the differential fluid level is correct (if applicable).
- Brake Function: Test the brakes at a low speed in a safe area to ensure proper operation.
- Listen for Abnormal Noises: Drive the vehicle slowly and listen for any unusual noises, such as grinding, humming, or squealing, which could indicate an installation issue or a defective component.
- Check for Leaks: Visually inspect the axle area for any fluid leaks after a short drive.
9. Maintenance
Proper maintenance can extend the life of your rear axle components:
- Regular Inspection: Periodically inspect the rear axle area for signs of wear, damage, or fluid leaks from the seals.
- Fluid Changes: Follow your vehicle manufacturer's recommendations for differential fluid change intervals.
- Lubrication: Ensure proper lubrication of all moving parts as specified by your vehicle's service manual.
10. Troubleshooting
If you encounter issues after installing the FOSA Rear Axle Bearing Kit, consider the following:
- Abnormal Noise (e.g., Screaming, Grinding):
- Cause: Improper installation, insufficient lubrication, or a defective component.
- Solution: Immediately cease operation. Re-check installation steps, ensuring all components are correctly seated and torqued. Verify proper lubrication. If noise persists, the component may be faulty and require replacement.
- Fluid Leaks:
- Cause: Damaged or improperly seated oil seals.
- Solution: Inspect the oil seals for damage or incorrect seating. Reinstall or replace seals as necessary.
- Loose Wheel:
- Cause: Lug nuts not properly torqued, or axle shaft not fully secured.
- Solution: Re-torque lug nuts to manufacturer specifications. Verify axle shaft retention.
If troubleshooting steps do not resolve the issue, it is recommended to consult a professional mechanic.
11. Warranty and Support
For information regarding product warranty or technical support, please contact the FOSA customer service department or the retailer from whom the product was purchased. Keep your proof of purchase for warranty claims.
