
1. Introduction
This manual provides comprehensive instructions for the safe and efficient operation of your QIXZOCV MWE 43 Inch Digital Signage Touchscreen Kiosk. Please read this manual thoroughly before installation and use, and retain it for future reference. This device is designed for indoor use to display various forms of digital content.

Image 1.1: Front view of the QIXZOCV MWE 43 Inch Digital Signage Touchscreen Kiosk.
2. Safety Information
To ensure safe operation and prevent damage to the device, observe the following precautions:
- Do not splash liquid directly onto the digital signage screen or housing.
- Avoid placing the digital signage under direct sunlight for extended periods.
- Ensure proper ventilation around the unit to prevent overheating.
- Use only the provided power cord and accessories.
- Do not attempt to open or repair the device yourself. Refer to qualified service personnel.
3. Package Contents
Verify that all items listed below are included in your package:
- Floor Standing Digital Signage Unit
- Power Cord (x1)
- Base (x1)
- Remote Controller (x1)
- 16GB USB Flash Drive (x1)
- Instruction Manual (x1)
- Wheels (x4)
- Cross Screw Driver (x1)
- Allen Wrench (x1)
- M8 Screw (x6)
- M8 Screw / Key (x2)

Image 3.1: Included accessories and components.
4. Assembly and Setup
Follow these steps to assemble and set up your digital signage kiosk:
- Attach the Base: Carefully align the main display unit with the base. Secure it using the provided M8 screws and the cross screwdriver/Allen wrench.
- Install Wheels (Optional): If mobility is desired, attach the four wheels to the bottom of the base using the appropriate screws. Ensure they are securely fastened.
- Power Connection: Connect the power cord to the power input port on the back of the unit, then plug it into a standard electrical outlet.
- Initial Power On: Press the power button, usually located on the back or side of the unit, to turn on the display.

Image 4.1: Example of assembled digital signage kiosks in various sizes.
5. Operating Instructions
5.1. Content Playback via USB
The kiosk supports plug-and-play functionality for media content stored on a USB flash drive. It can automatically recognize and play content upon insertion.
- Save your images and videos to the provided 16GB USB flash drive.
- Insert the USB flash drive into one of the USB 3.0 ports on the unit.
- The system will automatically detect the USB drive and begin playing the content in a loop.
- Content can also be copied from the USB flash drive to the internal memory for continuous playback without the USB drive.

Image 5.1: Automatic content recognition and playback from USB.
5.2. Timer Settings for Power On/Off
Utilize the built-in timer app to schedule automatic power on and off times, optimizing energy consumption and operational efficiency.
- Access the timer settings through the system menu (refer to the on-screen interface for navigation).
- Set desired auto boot and auto shutdown times for each day.
- The system will power on and off according to the configured schedule.

Image 5.2: Timed power on/off settings for efficient operation.
5.3. Smart Split-Screen Playback
The device supports dynamic multi-screen layouts, allowing simultaneous display of various content formats.
- Access the split-screen function through the system's content management interface.
- Customize the size, position, and orientation of each content zone.
- Images, videos, and animations can be displayed concurrently in different sections of the screen.

Image 5.3: Example of smart split-screen playback.
5.4. CMS Publishing System
Manage and update content remotely using the Content Management System (CMS).
- Connect the kiosk to a network (Wi-Fi or Ethernet).
- Access the CMS platform from a computer or tablet.
- Upload, schedule, and adjust content in real-time across multiple devices.

Image 5.4: Content management via CMS publishing system.
5.5. Multiple Input Methods
The kiosk supports various input methods for content delivery and external device connectivity.
- Wi-Fi Input: Connect to wireless networks for internet access and content updates.
- Ethernet Cable Input: Use a wired connection for stable network access.
- HDMI Input: Connect external media player boxes, PCs, gaming consoles (PS3/PS4/PS5, Xbox One/Xbox 360), or TV boxes/sticks.
- USB Input: For direct media playback from USB flash drives.

Image 5.5: Available input methods for the digital signage kiosk.
5.6. Touchscreen Interaction
This model features a responsive touchscreen for interactive applications.
- Interact directly with displayed content by touching the screen.
- The touchscreen functionality supports navigation, selection, and other interactive elements within compatible applications.

Image 5.6: User interacting with the touchscreen display.
6. Maintenance
Regular maintenance helps ensure the longevity and optimal performance of your digital signage kiosk.
- Cleaning the Screen: Use a soft, lint-free cloth slightly dampened with a non-abrasive screen cleaner. Do not spray cleaner directly onto the screen.
- Cleaning the Housing: Wipe the exterior surfaces with a soft, dry cloth. Avoid harsh chemicals or abrasive materials.
- Ventilation: Ensure that the ventilation openings on the unit are not blocked to prevent overheating.
- Power Off When Not in Use: For extended periods of inactivity, power off the unit and unplug it from the power source.
7. Troubleshooting
If you encounter issues with your digital signage kiosk, refer to the following common problems and solutions:
| Problem | Possible Cause | Solution |
|---|---|---|
| No power/Display off | Power cord disconnected, power outlet issue, unit off. | Check power cord connection. Verify power outlet functionality. Press the power button. |
| No image/video displayed | Incorrect input source, no content on USB, corrupted media files. | Ensure correct input source is selected. Verify USB content. Reformat USB or use different media files. |
| Touchscreen unresponsive | Software glitch, physical obstruction, calibration issue. | Restart the unit. Clean the screen. If issue persists, contact support. |
| Network connectivity issues | Incorrect Wi-Fi password, router issue, Ethernet cable disconnected. | Verify Wi-Fi password. Restart router. Check Ethernet cable connection. |
If the problem persists after attempting these solutions, please contact customer support.
8. Specifications
| Feature | Detail |
|---|---|
| Brand | QIXZOCV |
| Model Number | MWE-CS43WCT201 |
| Screen Size | 43 Inches |
| Screen Resolution | 1920x1080 (FHD 1080p) |
| Max Screen Resolution | 1920 x 1080 Pixels |
| Aspect Ratio | 16:9 |
| Screen Surface Description | Glossy |
| Number of USB 3.0 Ports | 2 |
| Item Weight | 103.4 pounds |
| Product Dimensions (LxWxH) | 24.04 x 17.72 x 71.27 inches |
| Color | White |
| Number of Processors | 1 |
| Power Source | DC |
| Batteries | 1 C battery required (included) |
9. Warranty and Support
QIXZOCV provides responsive customer support for your product.
- Warranty: Enjoy peace of mind with a 3-year warranty for products with quality defects.
- Technical Support: A professional technical team offers online support to assist with any queries or issues.
- Contact Support: For assistance, please visit the seller's page: QIXZOCV Direct Seller Page.
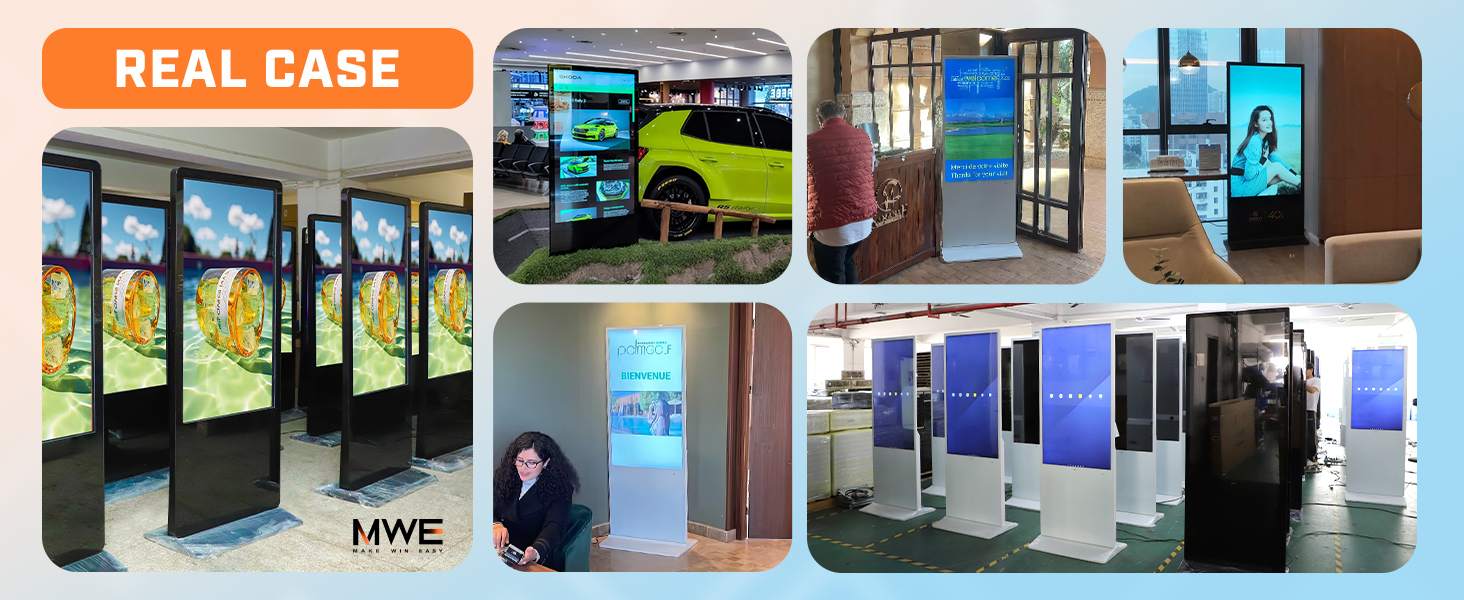
Image 9.1: QR code for quick access to customer support.
