
CZEview ZY-D4
CZEview ZY-D4 Indoor Surveillance Camera User Manual
Model: ZY-D4
1. Introduction
Thank you for choosing the CZEview ZY-D4 Indoor Surveillance Camera. This manual provides comprehensive instructions to help you set up, operate, and maintain your camera for optimal performance and security. Please read this manual carefully before use and retain it for future reference.
2. Product Overview
The CZEview ZY-D4 is a high-definition indoor surveillance camera designed to provide clear and reliable monitoring of your home or office. It features advanced capabilities such as dual-band Wi-Fi connectivity, motion tracking, two-way audio, and enhanced night vision.
2.1 Package Contents
- CZEview ZY-D4 Indoor Surveillance Camera
- Power Adapter
- USB Power Cable
- Mounting Bracket
- Mounting Screws
- User Manual (this document)
2.2 Camera Components

Figure 2.2.1: CZEview ZY-D4 Indoor Surveillance Camera. This image shows the camera unit alongside a smartphone screen, illustrating its connectivity and monitoring capabilities.

Figure 2.2.2: Internal Components of the Camera. This diagram illustrates the sophisticated internal design and lens system that contribute to the camera's high performance.
- Lens: Captures video footage.
- Microphone: For audio input and two-way communication.
- Speaker: For audio output and two-way communication.
- Status Indicator Light: Indicates camera status (e.g., connected, recording).
- Power Port: Connects to the power adapter.
- Reset Button: Used to reset the camera to factory settings. (Located by tilting the camera lens upwards)
- Micro SD Card Slot: For local storage of recordings (supports up to 128GB, not included). (Located by tilting the camera lens upwards)
3. Setup
3.1 Powering On
- Connect the USB power cable to the camera's power port.
- Plug the power adapter into a standard electrical outlet.
- The camera will power on, and the status indicator light will illuminate.
3.2 App Installation and Account Creation
- Download the official CZEview application from your mobile device's app store (iOS App Store or Google Play Store).
- Open the app and follow the on-screen instructions to create a new account or log in if you already have one.
3.3 Connecting to Wi-Fi
The CZEview ZY-D4 supports both 2.4 GHz and 5 GHz Wi-Fi networks for flexible connectivity.

Figure 3.3.1: Dual-Band Wi-Fi Connectivity. This image highlights the camera's compatibility with both 2.4 GHz and 5 GHz Wi-Fi networks, ensuring a stable and smooth connection.
- In the CZEview app, tap on "Add Device" or the "+" icon.
- Select your camera model from the list.
- Follow the app's instructions to connect the camera to your Wi-Fi network. This typically involves scanning a QR code displayed on your phone with the camera's lens or entering your Wi-Fi password.
- Ensure your Wi-Fi password is correct to avoid connection issues.
- Once connected, the status indicator light will change, and the app will confirm successful pairing.
3.4 Mounting the Camera
The camera can be placed on a flat surface or mounted to a ceiling using the provided bracket and screws.
- For Ceiling Mount:
- Choose a suitable location on the ceiling.
- Attach the mounting bracket to the ceiling using the provided screws.
- Secure the camera to the mounting bracket by twisting it into place until it clicks.
- For Flat Surface Placement:
- Place the camera on a stable, flat surface with a clear view of the area you wish to monitor.
4. Operating the Camera
4.1 Live View and Pan/Tilt Control
Access the live video feed and control the camera's movement through the CZEview app.

Figure 4.1.1: Ultra Clarity and Zoom. This image demonstrates the camera's 3K 5MP resolution and 4X zoom capability, providing clear and detailed visuals.
- Open the CZEview app and select your camera from the device list.
- The live video feed will appear.
- Use the on-screen controls to pan (355° horizontal) and tilt (100° vertical) the camera to adjust the viewing angle.
- You can switch between SD, HD, 5MP, and AUTO resolution modes in the live view settings.
4.2 Two-Way Audio
Communicate with individuals near the camera using the two-way audio feature.

Figure 4.2.1: Two-Way Talk Functionality. This image humorously depicts the camera's ability to enable two-way communication, allowing users to speak through the camera.
- While in live view, tap the microphone icon to speak through the camera's speaker.
- Tap the speaker icon to listen to audio from the camera's microphone.
4.3 Motion and Sound Detection
Receive instant alerts on your phone when motion or sound is detected.

Figure 4.3.1: AI-Driven Tracking and Alerts. This image illustrates the camera's intelligent motion and sound detection, providing real-time alerts for activity in monitored areas.
- Enable motion detection and sound detection in the camera settings within the app.
- Configure alert sensitivity and notification preferences.
- The camera will automatically track detected movements.
4.4 Night Vision
The camera automatically switches to night vision mode in low-light conditions, providing clear video footage.

Figure 4.4.1: Clear Night Vision. This image demonstrates the camera's ability to capture clear video in low-light environments, ensuring continuous monitoring day and night.
- Night vision is automatically activated when ambient light is insufficient.
4.5 Privacy Mode
Activate privacy mode to temporarily disable live streaming and recording for enhanced privacy.
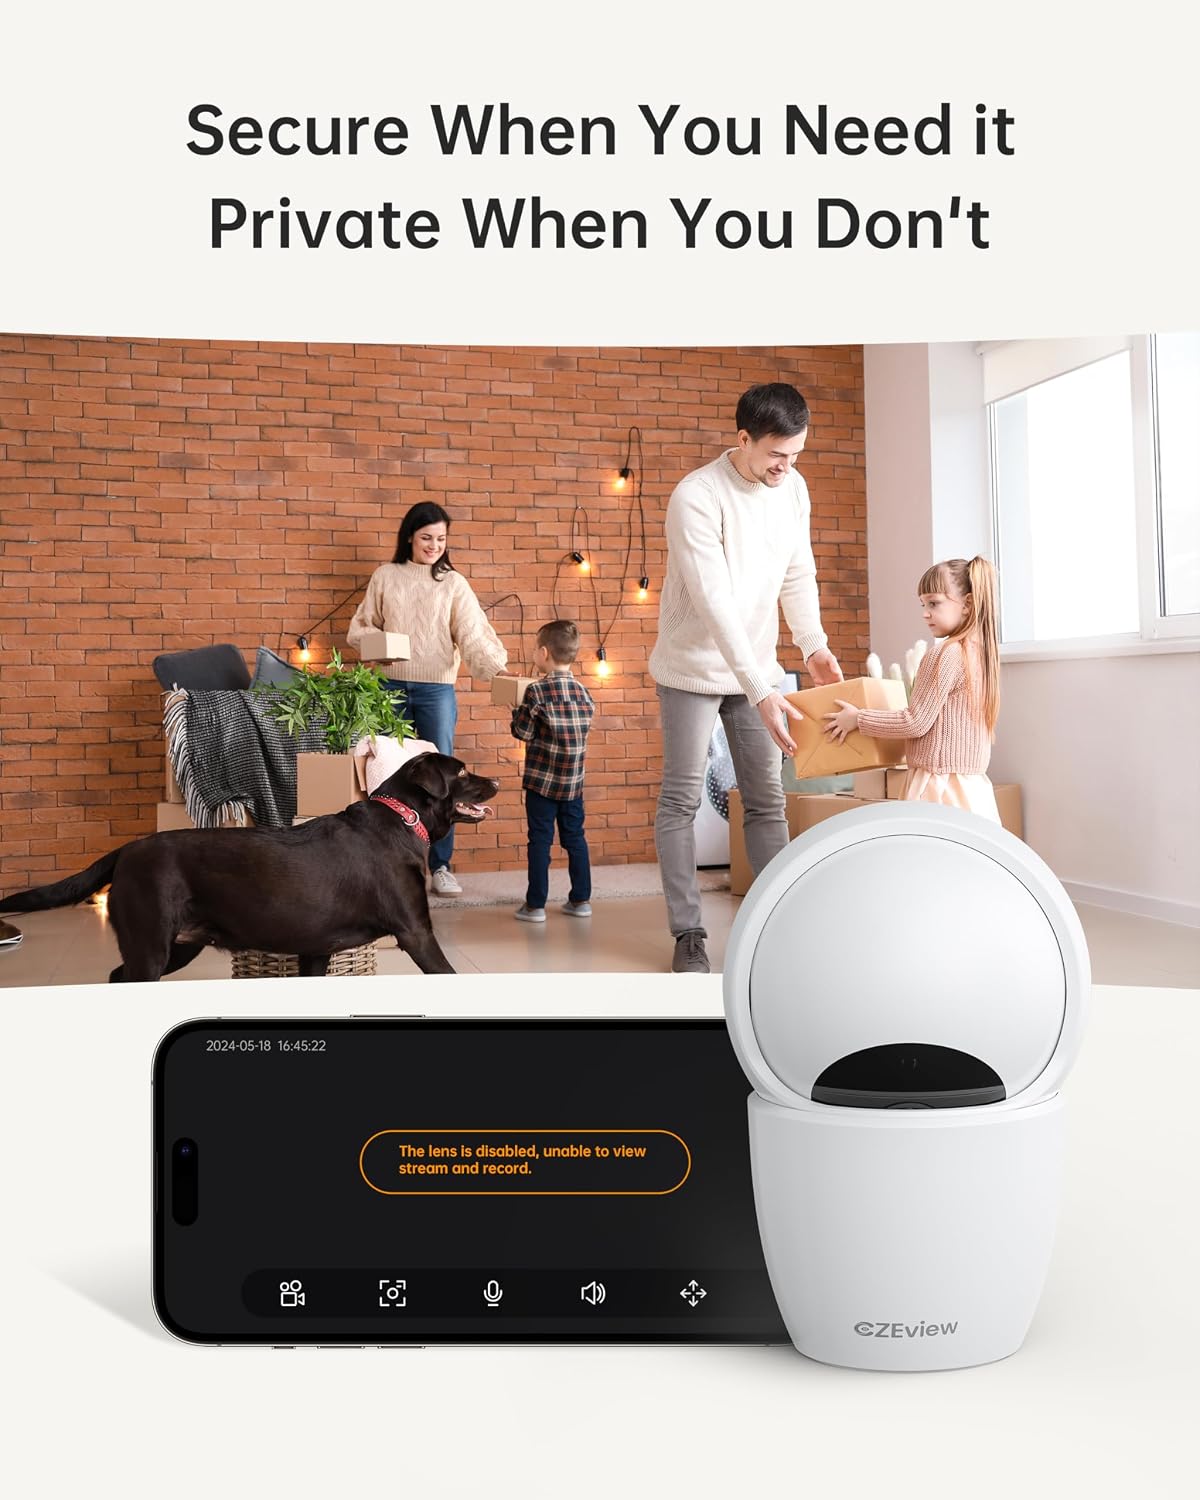
Figure 4.5.1: Privacy Mode Activation. This image illustrates the camera's privacy feature, allowing users to disable the lens for temporary suspension of streaming and recording.
- In the app, locate the privacy mode setting.
- Tap to activate or deactivate privacy mode. When active, the camera lens may physically retract or turn away.
4.6 Storage Options
The camera supports local storage via a Micro SD card and optional cloud storage.
- Micro SD Card: Insert a Micro SD card (up to 128GB, not included) into the designated slot. Ensure the camera is powered off before inserting or removing the card. The slot is located by tilting the camera lens upwards.
- Cloud Storage: Refer to the CZEview app for details on available cloud storage plans and subscription options.
5. Maintenance
5.1 Cleaning the Camera
- Ensure the camera is powered off before cleaning.
- Use a soft, dry cloth to wipe the camera body.
- For the lens, use a lens cleaning cloth specifically designed for optics to avoid scratches.
- Do not use liquid cleaners or abrasive materials.
5.2 Firmware Updates
- Periodically check the CZEview app for available firmware updates.
- Follow the app's instructions to update the camera's firmware to ensure optimal performance and access to new features.
6. Troubleshooting
| Problem | Possible Cause | Solution |
|---|---|---|
| Camera not connecting to Wi-Fi | Incorrect Wi-Fi password; Camera too far from router; Router issues; Incorrect Wi-Fi band (2.4GHz vs 5GHz) | Double-check Wi-Fi password. Move camera closer to router. Restart router. Ensure you are connecting to the correct Wi-Fi band (camera supports both). |
| No live video feed | Camera offline; Network issue; Privacy mode active | Check camera's power and Wi-Fi connection. Verify internet connectivity. Disable privacy mode in the app. |
| Poor video quality | Low bandwidth; App resolution setting; Dirty lens | Ensure stable Wi-Fi connection. Change video quality setting to HD or 5MP in the app. Clean the camera lens. |
| Motion detection not working | Detection sensitivity too low; Feature disabled in app; Obstruction in view | Adjust motion detection sensitivity in app settings. Ensure motion detection is enabled. Clear any obstructions from the camera's view. |
| Cannot insert Micro SD card | Incorrect orientation; Lens not tilted up | Ensure the card is oriented correctly. Tilt the camera lens upwards to reveal the SD card slot. |
If you encounter issues not listed here, please refer to the CZEview app's help section or contact customer support.
7. Specifications
| Feature | Detail |
|---|---|
| Model | ZY-D4 |
| Brand | CZEview |
| Resolution | 5 MP (3K) |
| Connectivity | Wi-Fi (2.4 GHz & 5 GHz) |
| Pan/Tilt Range | Horizontal 355°, Vertical 100° |
| Storage | Micro SD Card (up to 128GB, not included), Cloud Storage (optional) |
| Power | 3 Watts |
| Dimensions (L x W x H) | 7.62 x 7.62 x 12.7 cm |
| Weight | 322 grams |
| Material | Metal |
| Mounting Type | Ceiling mount |
| Color | Ecru |
8. Warranty and Support
For warranty information and technical support, please refer to the CZEview official website or contact their customer service directly. Details can typically be found within the CZEview application or on the product packaging.
Related documentsZY-D4


Ask a question about this manual
Ask about setup, troubleshooting, compatibility, parts, safety, or missing instructions. Manuals+ will review the question and use this page’s manual context to help answer it.