
ROADOM 4d387e15-402c-4cde-9fc4-e5fb9727d6e0
ROADOM 7-Inch Touch Screen Monitor
Model: 4d387e15-402c-4cde-9fc4-e5fb9727d6e0
1. Introduction
This manual provides detailed instructions for the setup, operation, and maintenance of your ROADOM 7-inch Touch Screen Monitor. Designed for versatility, this monitor features an IPS FHD 1024x600 resolution display, responsive 5-point capacitive touch, and dual built-in speakers, making it suitable for a wide range of applications including Raspberry Pi projects, PC extensions, gaming, and multimedia viewing.

Figure 1.1: ROADOM 7-inch Touch Screen Monitor
2. What's in the Box
Carefully unpack the contents and ensure all items listed below are present. If any items are missing or damaged, please contact customer support.
- ROADOM 7 Inch Touchscreen with Case × 1
- HDMI-HDMI Cable × 2
- Micro HDMI - HDMI Cable × 1
- Type-C - USB-A Cable × 2
- 3-Pin GPIO Cable × 1
- 4-Wire Touch Cable × 1
- Raspberry Pi Installation Kit × 1
- Power Adapter (5V/3A) × 1
- Stand × 1
- User Manual × 1
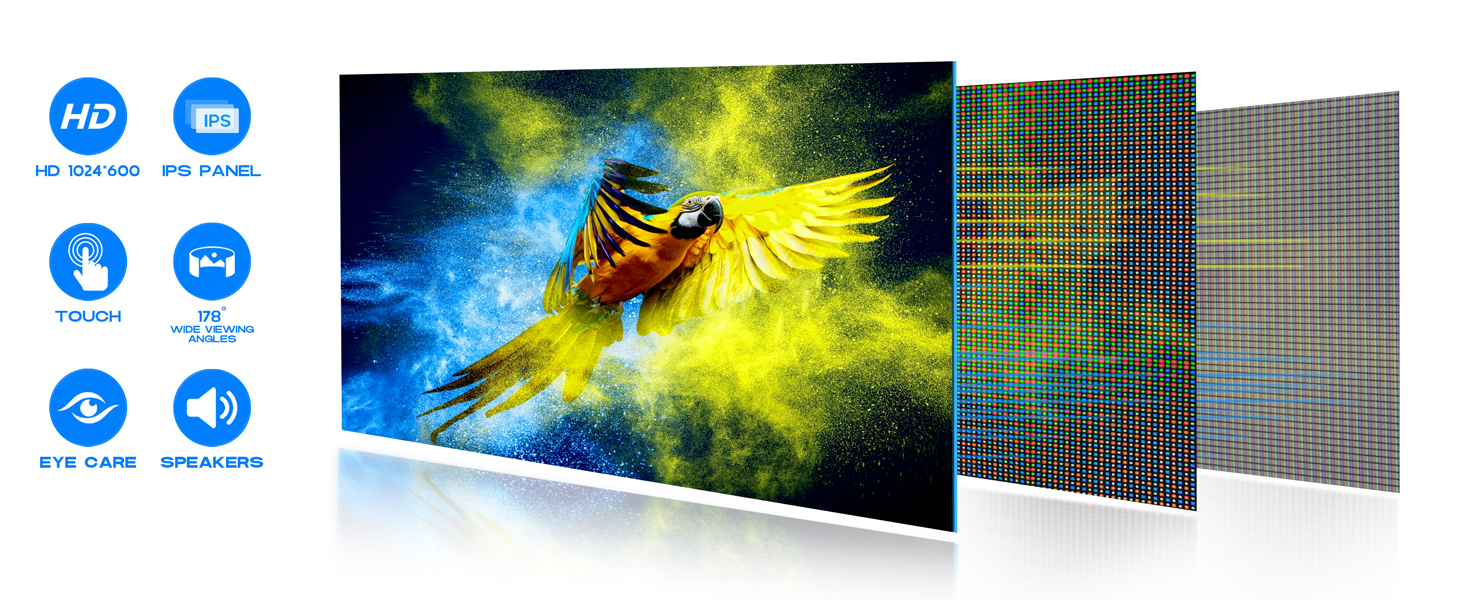
Figure 2.1: Package Contents
3. Setup and Connections
Follow these steps to set up your ROADOM monitor and connect it to your desired device.
3.1 Attaching the Stand
The monitor comes with a versatile stand. Attach the stand to the back of the monitor using the provided screws. The stand allows for adjustment of height and tilt angles for optimal viewing.
3.2 Connecting to Raspberry Pi
The monitor is specifically designed for Raspberry Pi. You can mount your Raspberry Pi directly on the back of the monitor for a clean and efficient setup.
- For Raspberry Pi 3: Use the provided HDMI to HDMI cable for video and the 4-wire touch cable or Type-C to USB-A cable for touch functionality and power.
- For Raspberry Pi 4/5/Zero: Use the provided Micro HDMI to HDMI cable for video and the Type-C to USB-A cable for touch functionality and power.
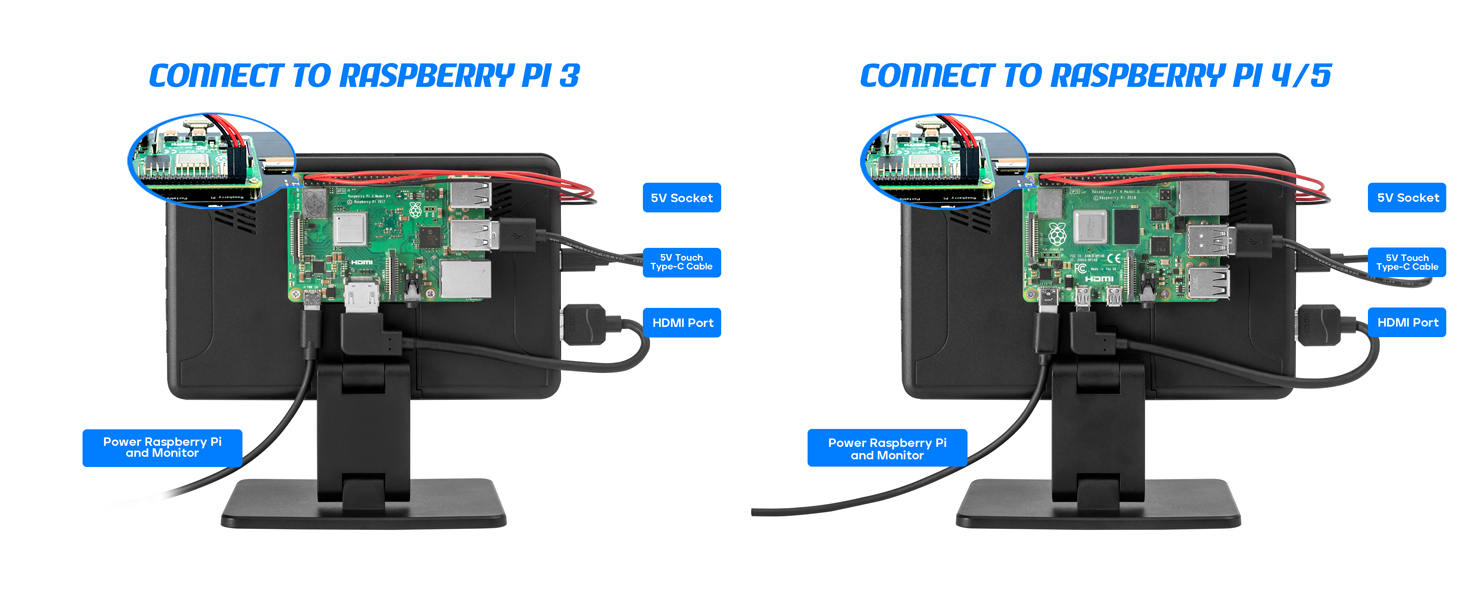
Figure 3.1: Raspberry Pi Connection Diagram
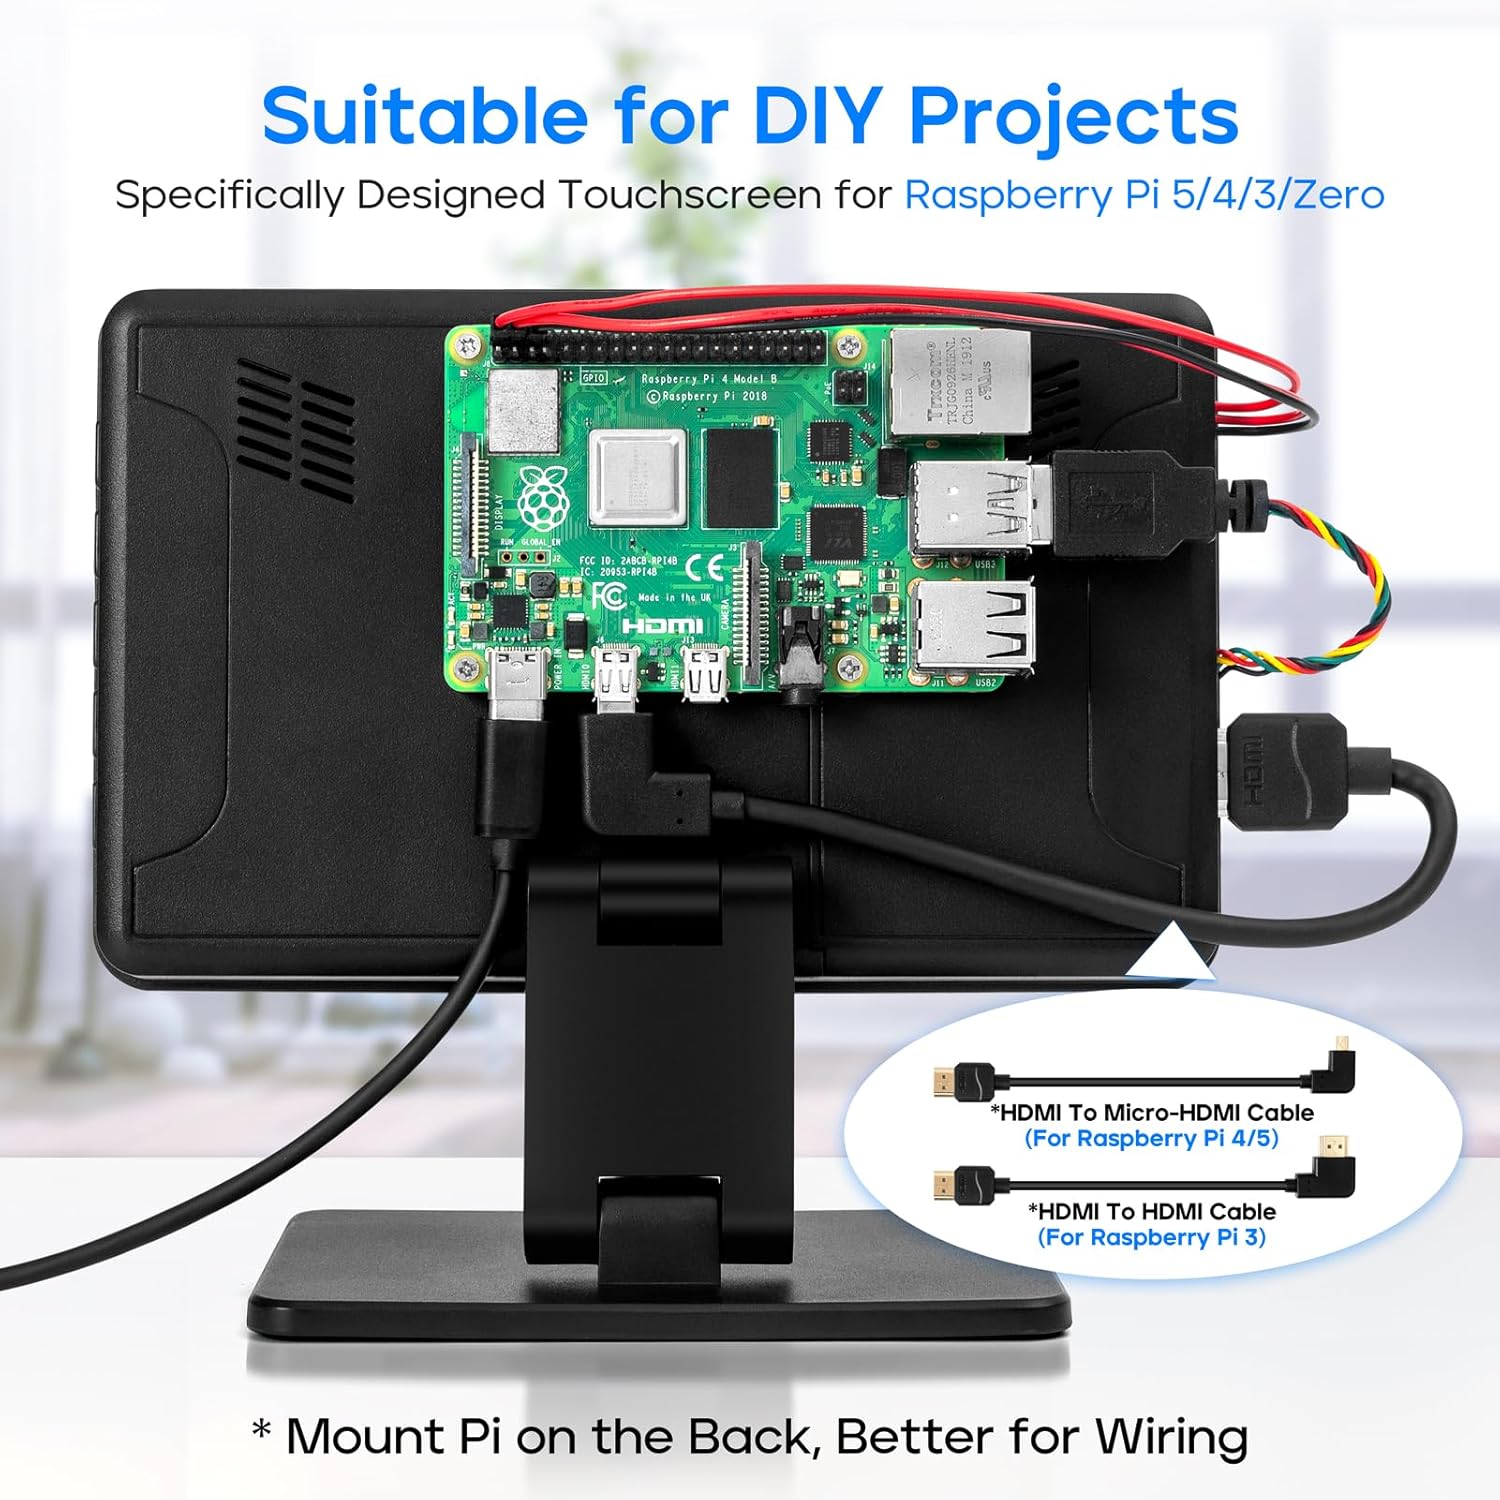
Figure 3.2: Raspberry Pi Mounted on Monitor Back
3.3 General Device Connections
The monitor can connect to various devices using its HDMI and USB ports.
- HDMI Port: Connects to devices for video input (e.g., PC, laptop, game console, TV box, camera).
- 5V Type-C Port: Provides power to the monitor.
- 5V Touch Type-C Port: Provides power and enables touch functionality when connected to a compatible device.
- 3.5MM Audio Out Port: For external audio output.
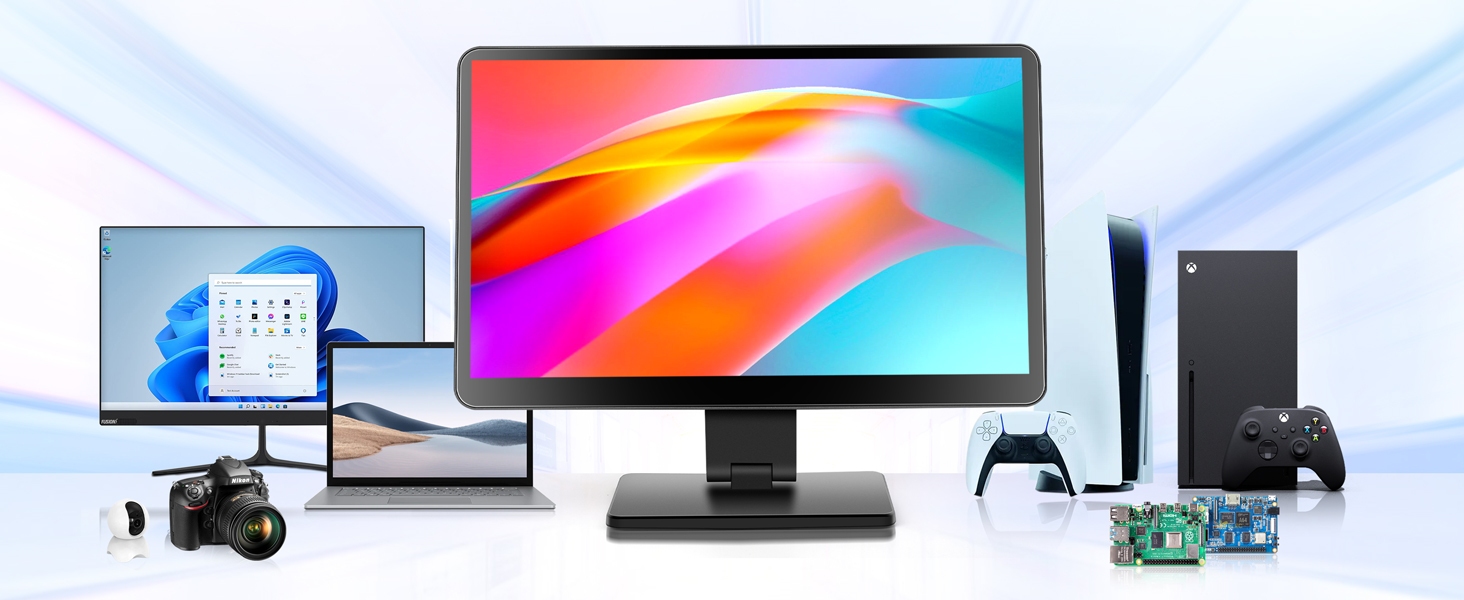
Figure 3.3: Monitor Ports and Compatible Devices
3.4 Powering On
Connect the provided 5V/3A power adapter to the monitor's 5V Type-C port. The monitor will power on automatically or can be turned on using the power button on the side.
4. Operating the Monitor
4.1 Display Features
The ROADOM monitor features an IPS panel with a 1024x600 FHD resolution, upgradable to 1920x1080. This provides vivid colors and a wide 178° viewing angle. For optimal image quality and touch responsiveness, consider removing the pre-installed screen protector.
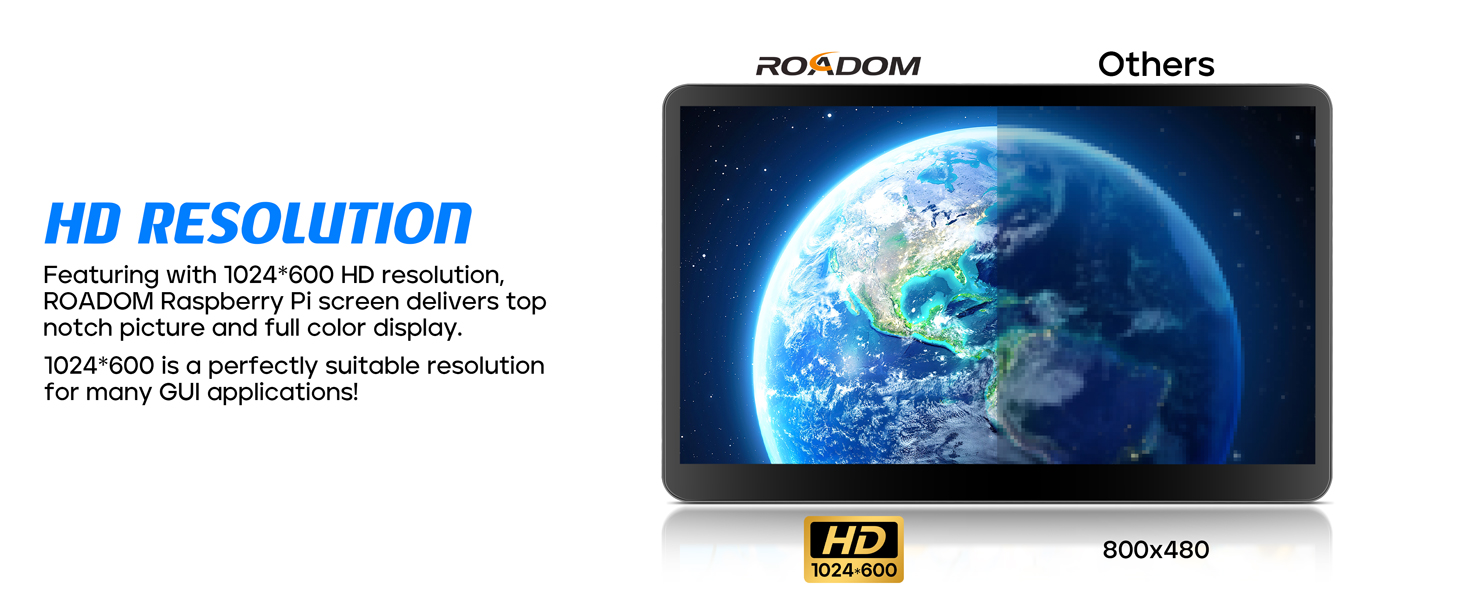
Figure 4.1: HD Resolution Comparison
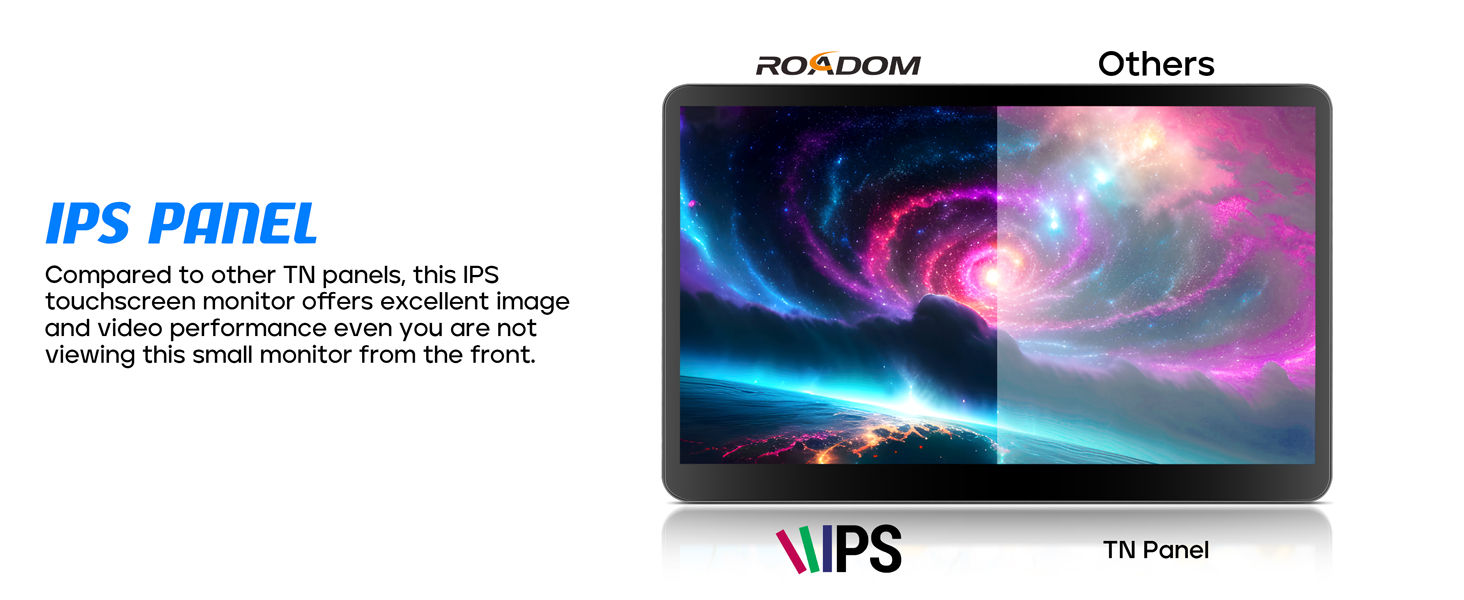
Figure 4.2: IPS Panel Advantage
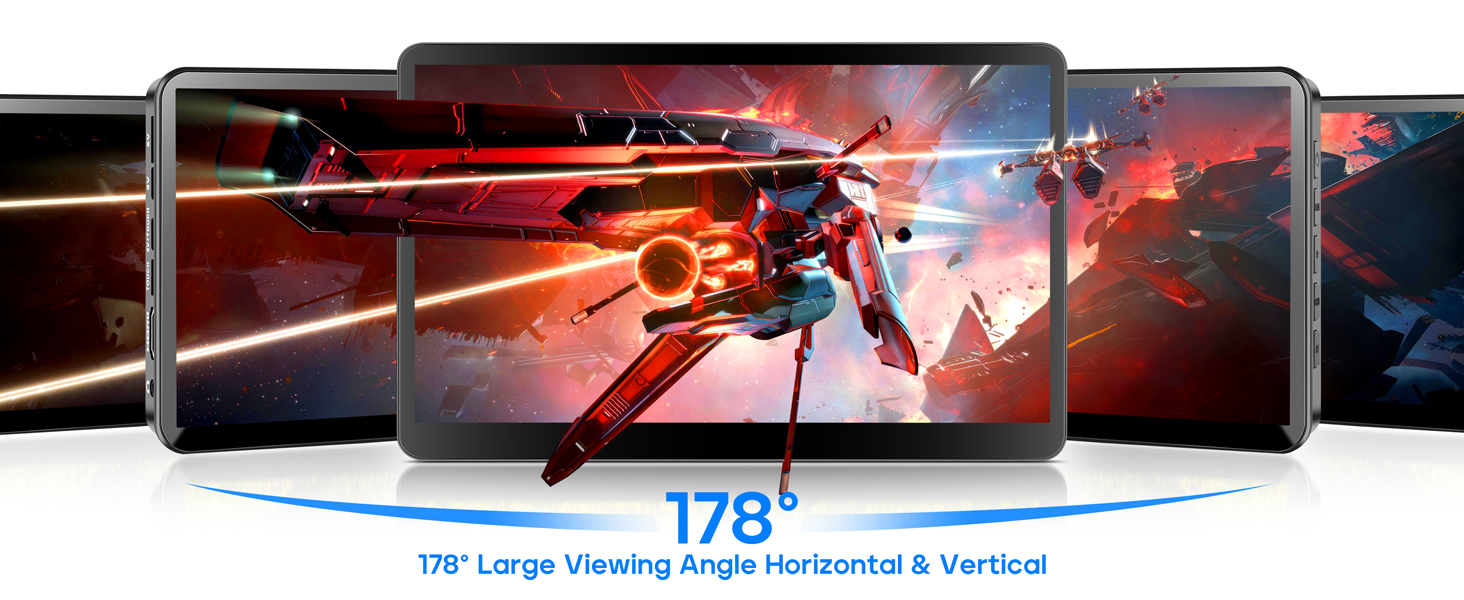
Figure 4.3: 178° Full Viewing Angle
4.2 Touch Functionality
The monitor supports 5-point capacitive touch with a rapid 3-5 ms response time. It recognizes intuitive gestures such as tapping, zooming, and mouse clicks. No additional drivers are required for most operating systems; simply plug and play. Note that touch functionality is disabled on iOS systems.
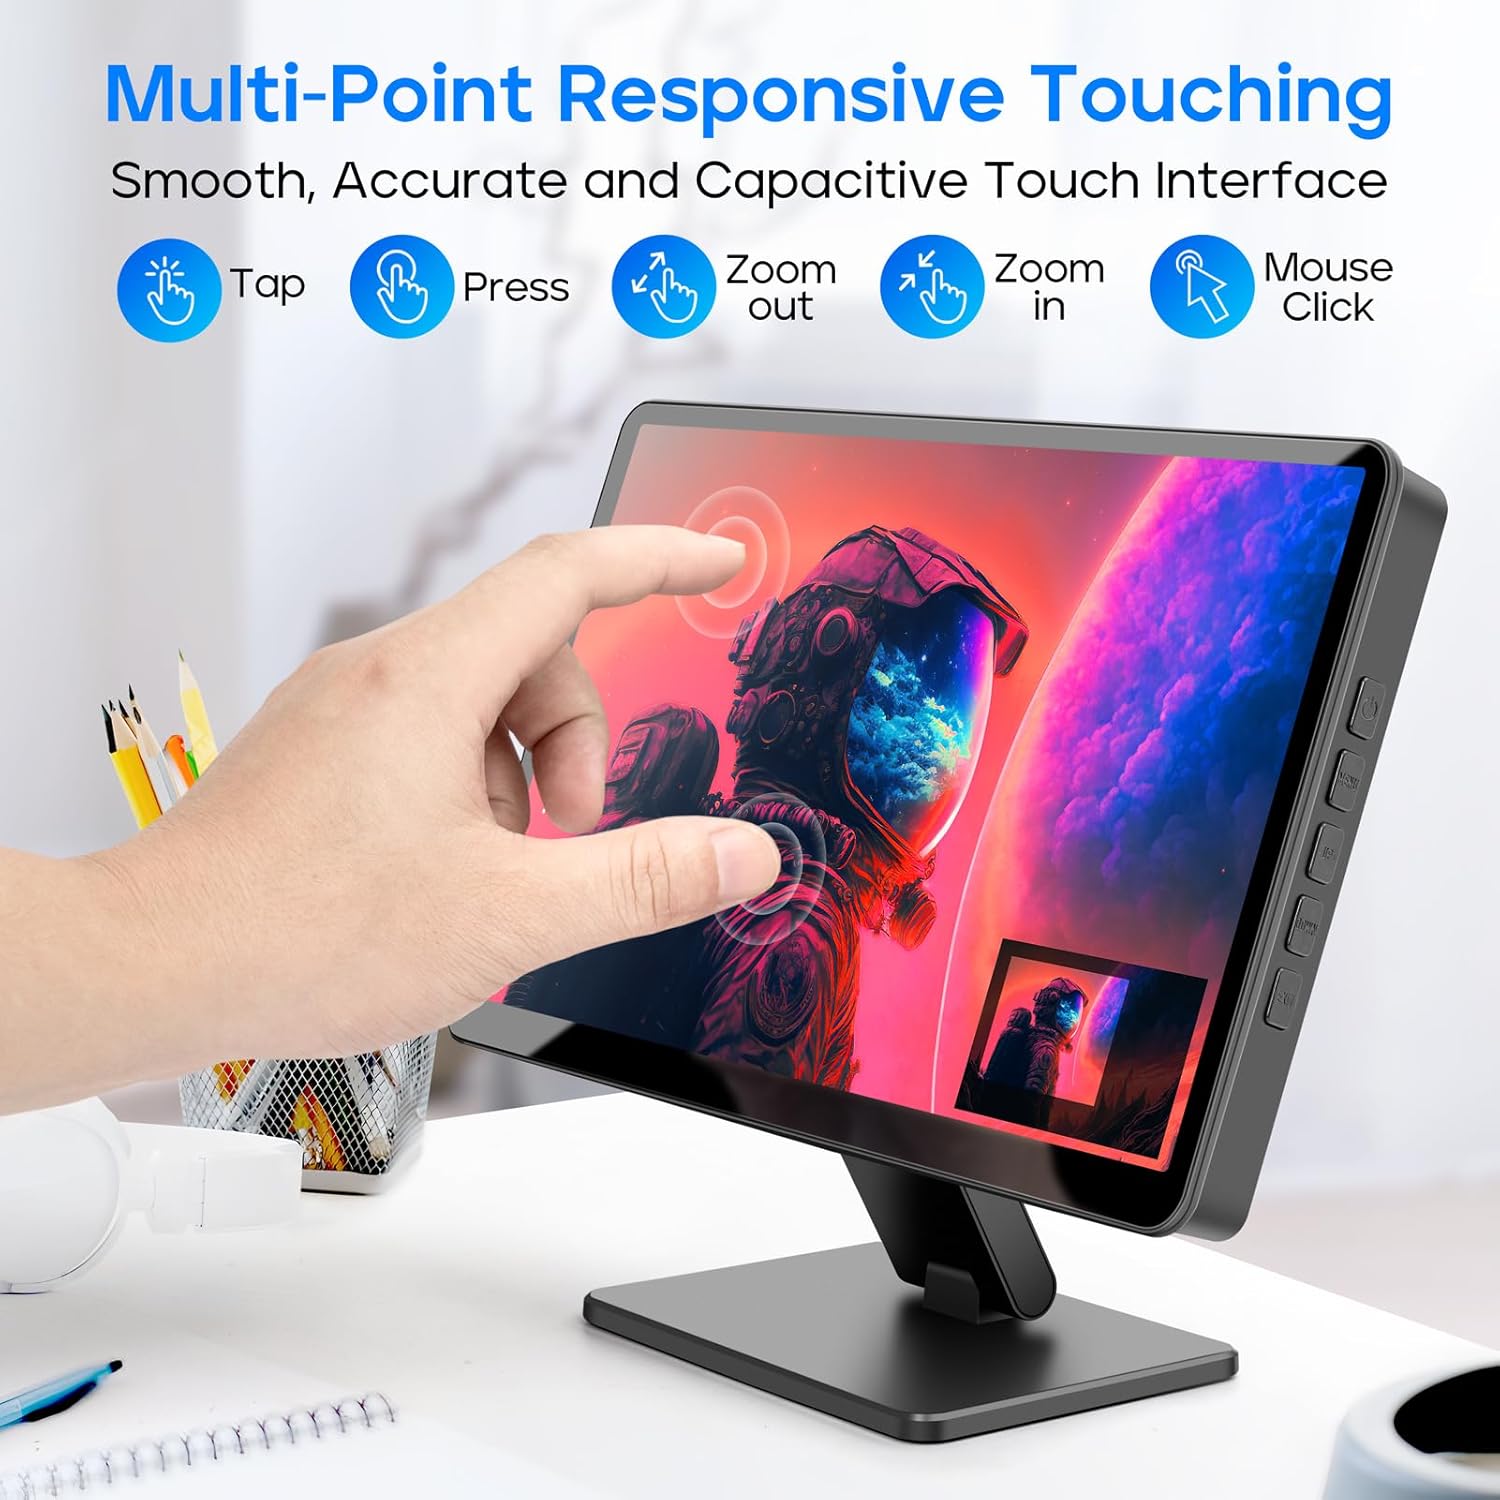
Figure 4.4: Multi-Point Responsive Touching
4.3 Built-in Speakers
The monitor includes dual built-in speakers, providing clear audio for your multimedia experience.

Figure 4.5: Dual Built-in Speakers
4.4 Compatibility and Usage Modes
This monitor is widely compatible with various devices and operating systems, including Raspberry Pi (all versions), Octo Pi, Banana Pi, Retro Pi, game consoles (XBOX/PS4/PS5), computers (Windows, Noobs, Debian, Ubuntu, Kodi), and TV boxes.
- Duplicate Mode: Displays the same content on both the primary device and the monitor.
- Extend Mode: Extends your desktop across both screens, providing more workspace.
- Second Screen Mode: Uses the monitor as a standalone secondary display.

Figure 4.6: Display Modes
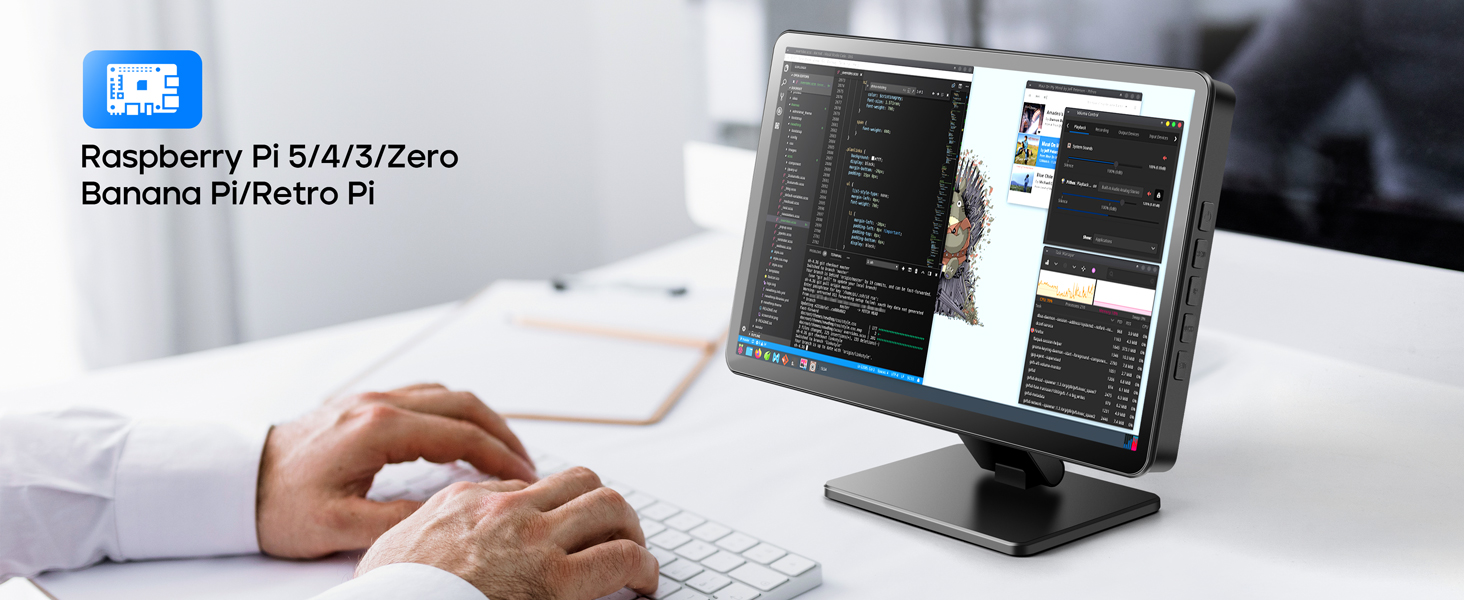
Figure 4.7: Raspberry Pi Application
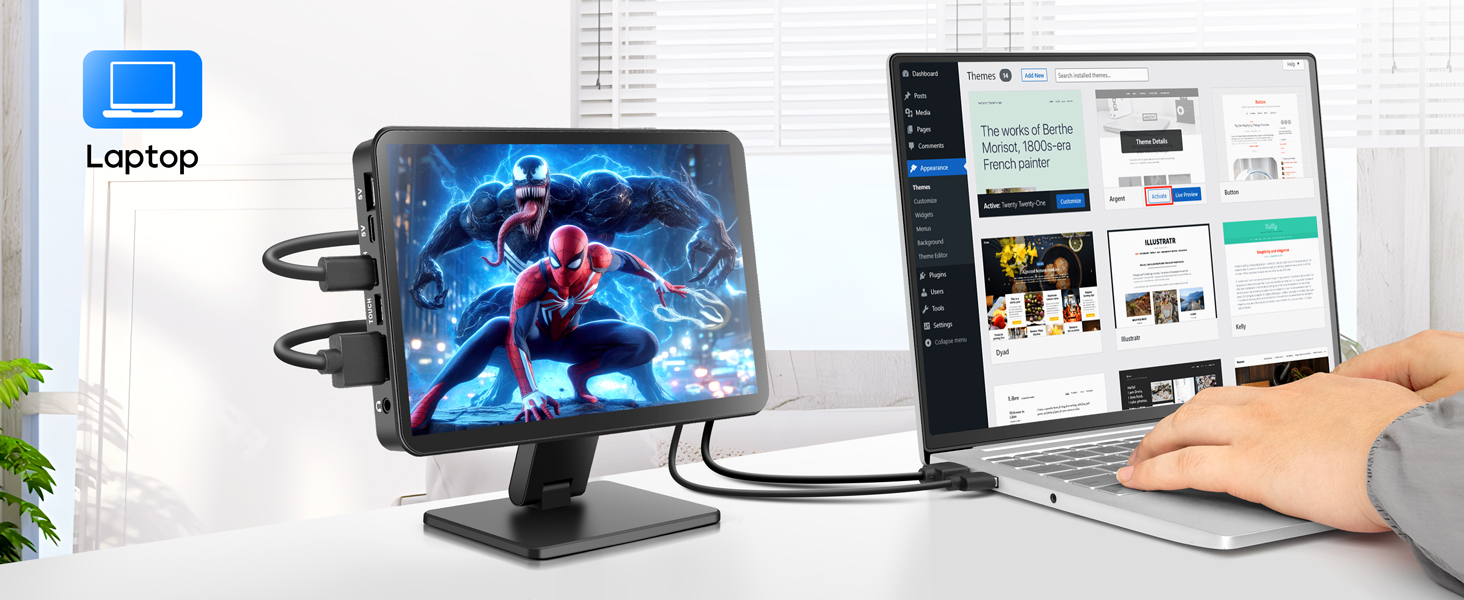
Figure 4.8: Laptop Extension
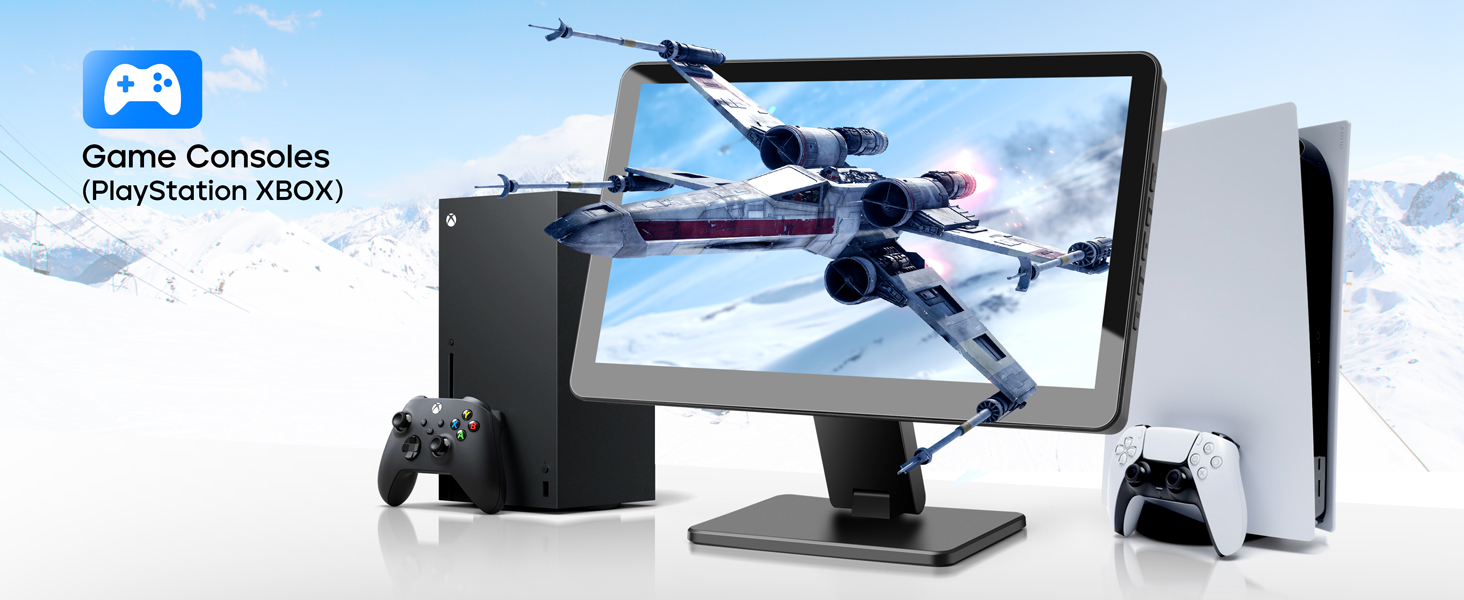
Figure 4.9: Game Console Compatibility
4.5 Control Buttons
The monitor features several buttons on its side for control and menu navigation:
- Power Button: Turns the monitor on/off.
- Menu Button: Accesses the On-Screen Display (OSD) menu.
- UP Button: Navigates up in menus, also a shortcut for Brightness adjustment.
- DOWN Button: Navigates down in menus, also a shortcut for Volume adjustment.
- Exit Button: Exits the current menu or setting.
5. Maintenance
To ensure the longevity and optimal performance of your ROADOM monitor, follow these maintenance guidelines:
- Cleaning: Use a soft, lint-free cloth to gently wipe the screen and casing. For stubborn marks, slightly dampen the cloth with water or a screen-safe cleaning solution. Avoid harsh chemicals or abrasive materials.
- Storage: When not in use for extended periods, store the monitor in a cool, dry place away from direct sunlight and extreme temperatures.
- Handling: Handle the monitor with care. Avoid dropping it or subjecting it to strong impacts.
- Ventilation: Ensure proper ventilation around the monitor to prevent overheating. Do not block the ventilation openings.
6. Troubleshooting
If you encounter issues with your monitor, refer to the following common problems and solutions:
| Problem | Possible Cause | Solution |
|---|---|---|
| No display/Power off | Power cable loose; No power from source; Monitor off | Check power cable connection; Ensure power adapter is plugged in; Press power button on monitor. |
| No signal | HDMI cable loose/damaged; Incorrect input source selected | Check HDMI cable connection; Try a different HDMI cable; Ensure device is powered on; Use the monitor's menu to select correct input. |
| Touch screen unresponsive/inaccurate | Touch cable not connected; Driver issue (rare); Screen protector interference; OS incompatibility | Ensure the 5V Touch Type-C cable or 4-wire touch cable is securely connected; Restart the monitor and connected device; Remove the pre-installed screen protector; Note that touch is disabled on iOS systems. |
| No sound from speakers | Volume too low; Audio settings on device; External speakers connected | Increase monitor volume using buttons; Check audio output settings on your connected device; Disconnect any external speakers or headphones. |
| Raspberry Pi 5 power issues | Insufficient power from display for Pi 5 | Raspberry Pi 5 may require its own dedicated power supply for stable operation, as the power from the display might not be sufficient. |
If the problem persists after trying these solutions, please contact ROADOM customer support.
7. Specifications
Key technical specifications for the ROADOM 7-inch Touch Screen Monitor:
| Feature | Detail |
|---|---|
| Product Dimensions | 0.5 x 6.5 x 4.8 inches |
| Item Weight | 1.68 pounds |
| Manufacturer | ROADOM |
| Model Number | 4d387e15-402c-4cde-9fc4-e5fb9727d6e0 |
| Standing Screen Display Size | 7 Inches |
| Aspect Ratio | 16:9 |
| Resolution | 1024 x 600 Pixels (FHD, upgradable to 1920x1080) |
| Image Brightness | 300 lm |
| Screen Surface Description | Glossy |
| Viewing Angle | 178° Full Viewing Angle (IPS Panel) |
| Touch Type | 5-point Capacitive Touch |
| Speakers | Dual Built-in Speakers |

Figure 7.1: Monitor Dimensions and Weight
8. Warranty and Support
ROADOM is committed to providing high-quality products and excellent customer service.
- Product Warranty: Your ROADOM monitor comes with a 12-month product warranty.
- Returns: Enjoy 30 days of free returns from the date of purchase.
- After-Sale Service: ROADOM offers 24-hour after-sale service for any inquiries or support needs.

Figure 8.1: Customer Support and Warranty Information
For further assistance, please visit the official ROADOM store or contact their customer service directly.
Ask a question about this manual
Ask about setup, troubleshooting, compatibility, parts, safety, or missing instructions. Manuals+ will review the question and use this page’s manual context to help answer it.