1. Important Safety Instructions
Please read these instructions carefully before using your Bennett Read 2000W Steam Iron and retain them for future reference. Incorrect use may lead to electric shock, fire, or injury.
- Always ensure the voltage indicated on the rating label matches your mains supply voltage.
- Do not immerse the iron, power cord, or plug in water or any other liquid.
- Unplug the iron from the power outlet when filling with water, emptying, or when not in use.
- Keep the iron and its cord out of reach of children when it is switched on or cooling down.
- Do not operate the iron with a damaged cord or plug, or if the iron has been dropped or damaged.
- Use the iron only for its intended household purpose.
- Never leave the iron unattended while it is connected to the power supply.
- Always place the iron on a stable, heat-resistant surface when resting.
- Exercise caution when turning the iron upside down, as there may be hot water in the reservoir.
2. Product Overview
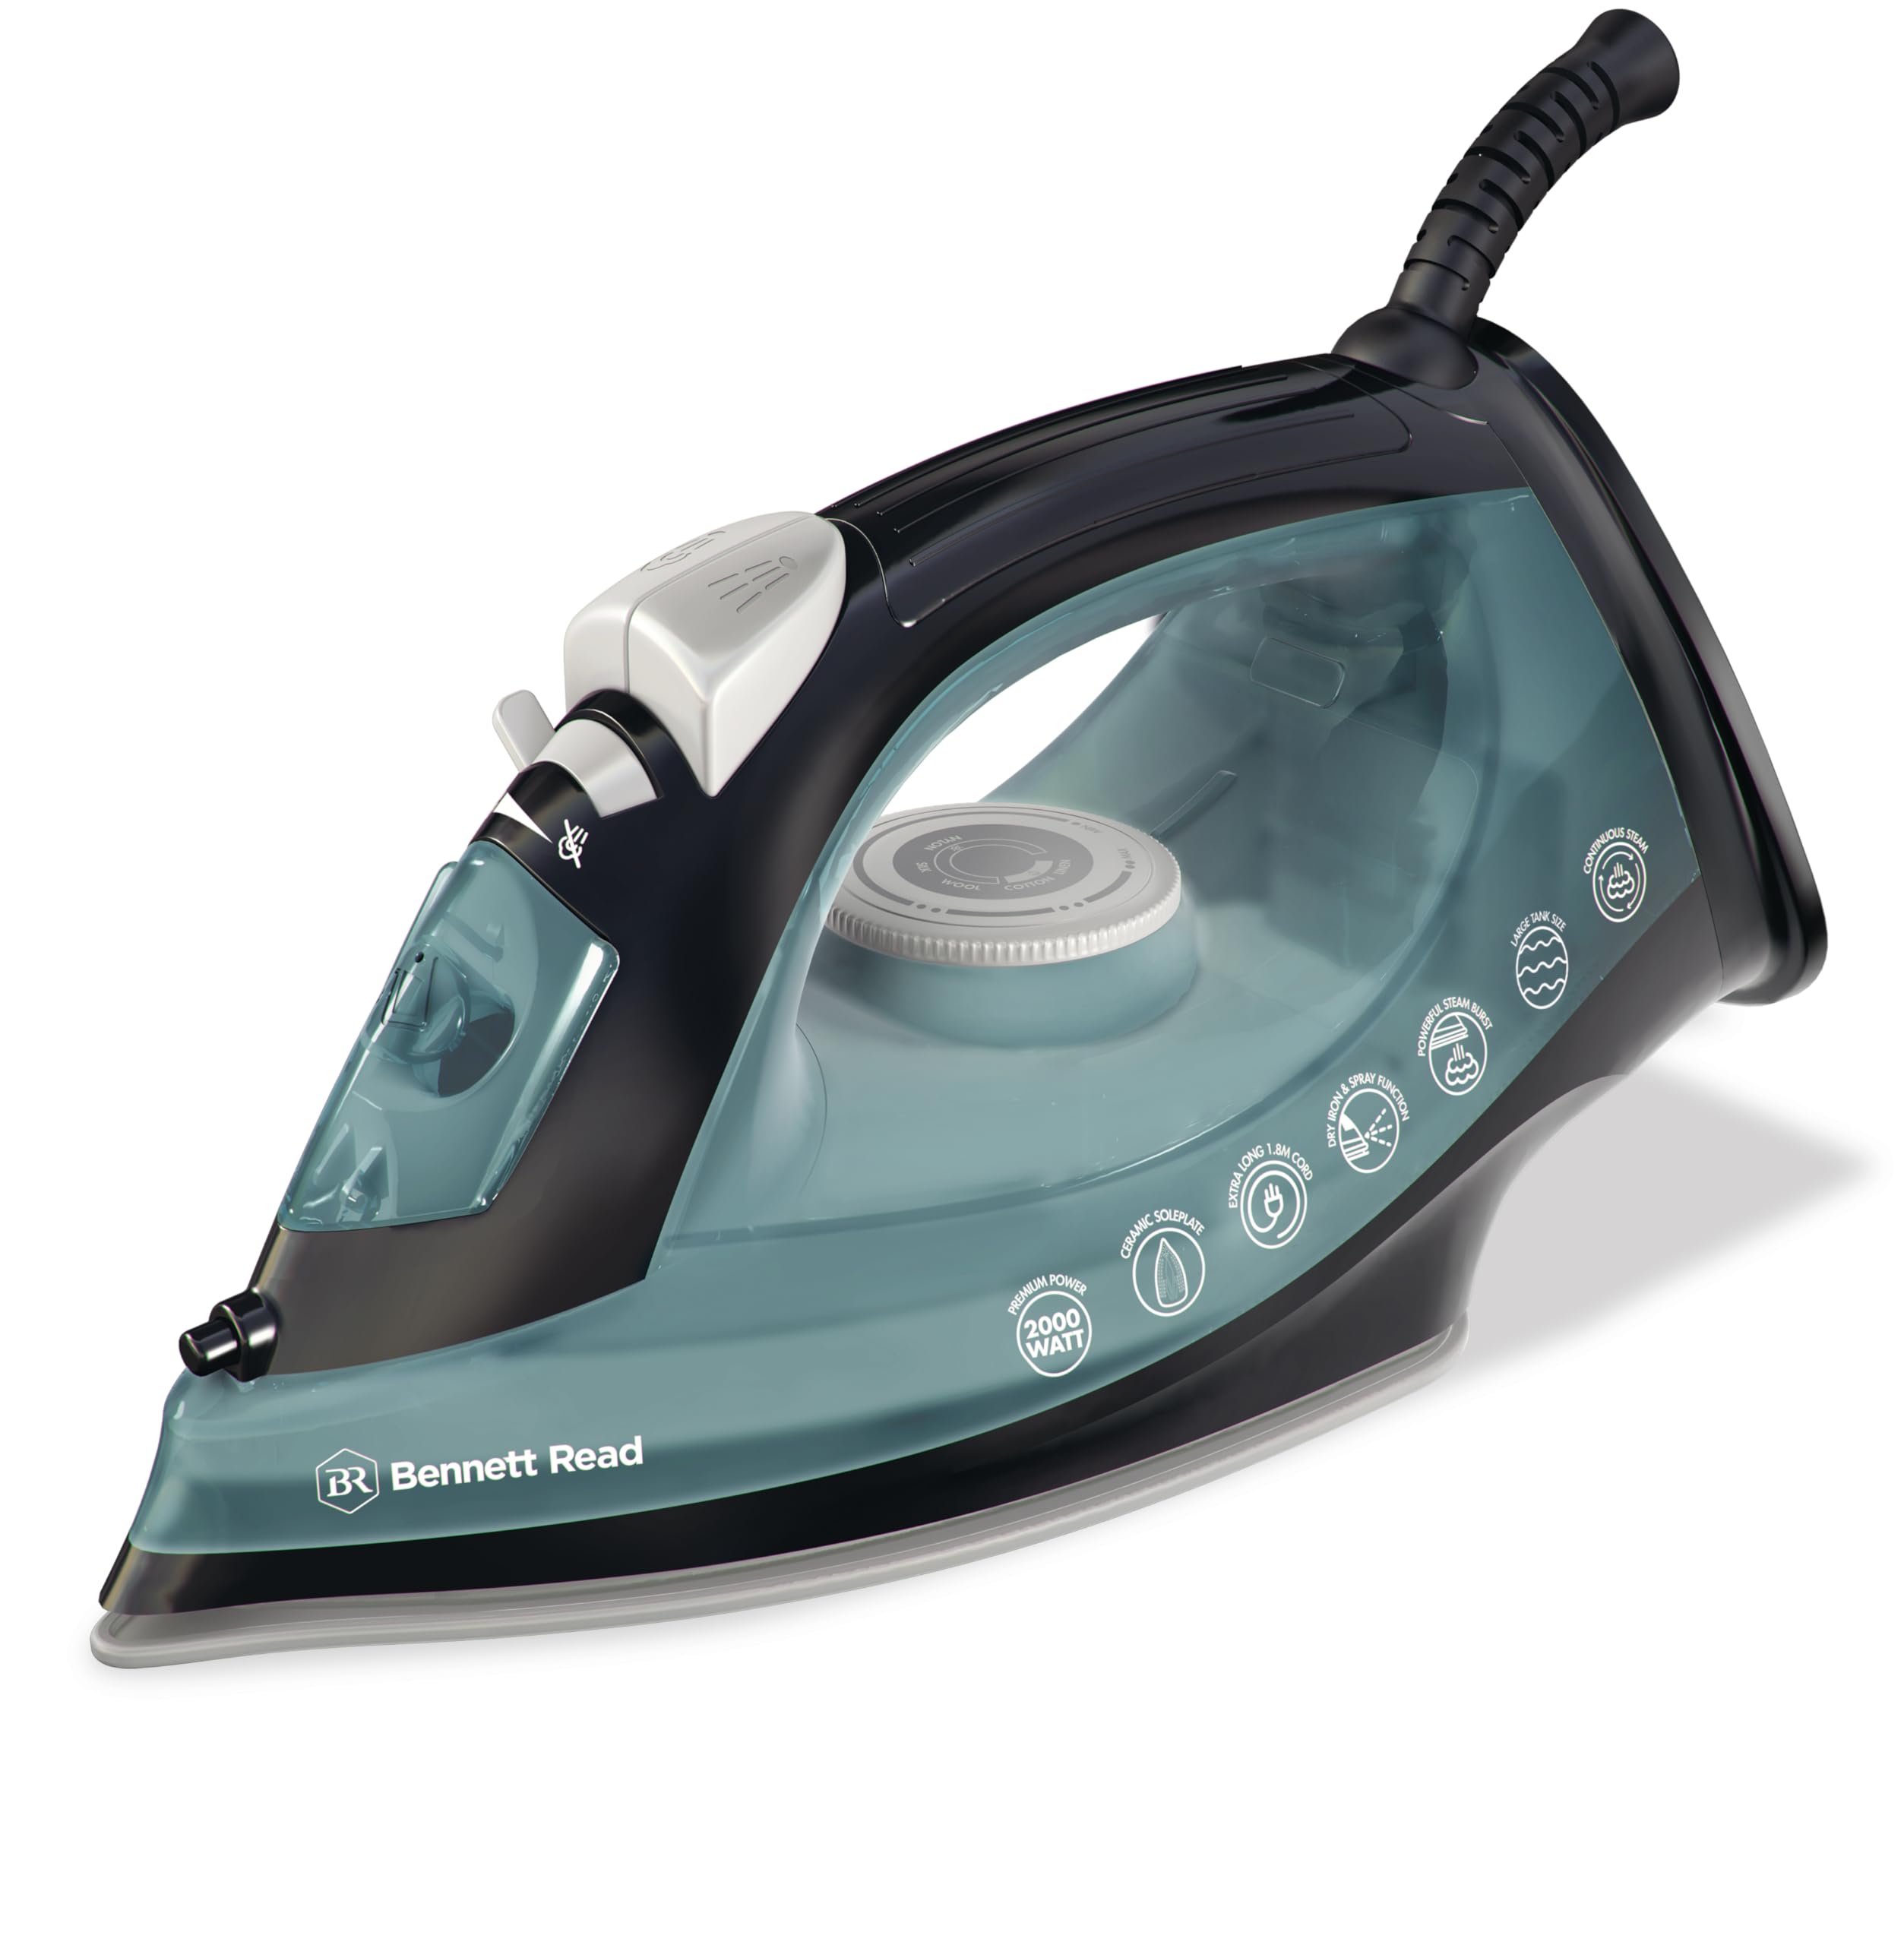
The Bennett Read 2000W Steam Iron is designed for efficient and effective garment care. It features a premium ceramic soleplate, variable steam control, and a powerful steam burst function.


Key Features:
- 2000W Power: For rapid heat-up and efficient performance.
- Ceramic Soleplate: Premium, mid-size soleplate for smooth gliding and even heat distribution.
- Variable Steam Flow: Adjustable steam output for different fabric types.
- Powerful Steam Burst: Tackles stubborn creases and deep wrinkles.
- Independent Temperature Control: Allows selection of appropriate heat settings.
- Dry Ironing Function: For delicate fabrics or when steam is not required.
- Spray Function: Provides a fine mist for dampening fabrics.
3. Setup and First Use
Before First Use:
- Remove any labels or protective film from the soleplate.
- Wipe the soleplate with a soft, damp cloth to remove any residue.
- It is normal for a slight odor or smoke to occur during the first few minutes of use as manufacturing oils burn off. This is harmless.
Filling the Water Tank:
Always unplug the iron before filling the water tank.
- Ensure the steam control is set to the 'Dry Iron' position (no steam).
- Open the water filler cap.
- Using a measuring cup, carefully pour tap water into the water inlet until the 'MAX' fill line is reached. Do not overfill.
- Close the water filler cap securely.

Note: For areas with hard water, it is recommended to use a mixture of 50% tap water and 50% distilled water to prolong the life of your iron.
4. Operating Instructions
Temperature Setting:
- Plug the iron into a suitable power outlet.
- Turn the temperature control dial to the desired setting based on the fabric type. Refer to the fabric guide on the dial or garment care labels.
- The indicator light will illuminate, showing the iron is heating. It will turn off when the set temperature is reached.
Dry Ironing:
For dry ironing, ensure the water tank is empty or the steam control is set to the 'Dry Iron' position. Select the appropriate temperature and wait for the iron to heat up.
Steam Ironing:
Steam ironing is suitable for most fabrics except delicate ones like silk or synthetic materials. Ensure the water tank is filled.
- Set the temperature control to the 'Steam' range (usually indicated by three dots or a steam symbol).
- Once the indicator light turns off, indicating the iron is hot enough, adjust the steam control to the desired steam level.
- Move the iron smoothly over the fabric.

Steam Burst and Spray Functions:
- Steam Burst: Press the steam burst button for an extra shot of steam to remove stubborn creases. Wait a few seconds between bursts.
- Spray Function: Press the spray button to emit a fine mist of water, useful for dampening dry areas before ironing.

5. Maintenance and Cleaning
Cleaning the Soleplate:
To maintain the smooth glide of the ceramic soleplate:
- Ensure the iron is unplugged and completely cool.
- Wipe the soleplate with a damp cloth and a non-abrasive liquid cleaner.
- Do not use abrasive scourers or chemical cleaners as these can damage the soleplate.

Descaling (Self-Clean Function):
Regular descaling helps prevent mineral build-up and ensures optimal steam performance. Perform this monthly or more often in hard water areas.
- Fill the water tank to the 'MAX' line.
- Set the steam control to 'Dry Iron' and the temperature to 'MAX'.
- Plug in the iron and wait for the indicator light to turn off.
- Unplug the iron. Hold it horizontally over a sink.
- Press and hold the self-clean button (if available, refer to your iron's specific controls). Hot water and steam will be expelled from the soleplate, flushing out mineral deposits.
- Gently shake the iron back and forth until the water tank is empty.
- Plug the iron back in, let it heat up to dry the soleplate, then unplug and let it cool completely.
Storage:
When not in use, ensure the iron is unplugged, cooled down, and the water tank is empty. Store it upright on its heel rest in a safe, dry place.
6. Troubleshooting
| Problem | Possible Cause | Solution |
|---|---|---|
| Iron does not heat up. | Not plugged in; power outlet faulty; temperature dial set to 'Min'; internal fault. | Check power connection; try another outlet; set temperature dial to desired heat; if problem persists, contact customer support. |
| Iron leaks water. | Temperature too low for steam; steam control set too high; water tank overfilled; mineral deposits. | Ensure iron is hot enough for steam (indicator light off); reduce steam setting; do not overfill water tank; perform descaling. |
| No steam or insufficient steam. | Water tank empty; temperature too low; steam vents blocked by mineral deposits. | Fill water tank; allow iron to reach proper steam temperature; perform descaling. |
| Soleplate is dirty or sticky. | Residue from fabrics; starch build-up. | Clean soleplate as per 'Maintenance' section. Ensure iron is cool before cleaning. |
7. Specifications
- Model Number: HIR200
- Power / Wattage: 2000 watts
- Material: Ceramic (Soleplate)
- Colour: Green/Black
- Product Dimensions: 27.7 x 11.2 x 14 cm
- Item Weight: 900 g
- Special Feature: Temperature Control
8. Warranty and Support
This product is covered by a manufacturer's warranty. Please refer to the warranty card included with your purchase for specific terms and conditions, including the warranty period and coverage details.
For technical assistance, troubleshooting beyond this manual, or warranty claims, please contact Bennett Read customer support. Contact information can typically be found on the product packaging or the official Bennett Read website.


