
OSALO OS-82MS II
OSALO Scientific Calculator OS-82MS II User Manual
Model: OS-82MS II
1. Introduction
Thank you for choosing the OSALO Scientific Calculator OS-82MS II. This calculator is designed for students and professionals, offering 240 functions and a user-friendly 2-line display. Please read this manual carefully to understand the features and proper operation of your new calculator.

Image 1.1: Front view of the OSALO Scientific Calculator OS-82MS II.
2. Key Features
- 2-Line Display: Input expressions and calculation results are displayed simultaneously for easy verification.
- 240 Functions: Comprehensive set of scientific, statistical, and mathematical functions.
- Dual Power Source: Operates on both solar power and a LR44 battery, ensuring uninterrupted use.
- Multi-Replay Function: Quickly recall and re-execute previously performed formulas.
- Durable Design: Features ABS plastic keys with clear printing for longevity and a comfortable feel.
- Protective Sliding Cover: A hard case is included to protect the calculator body during transport and storage.
- Lightweight and Portable: Compact design for easy carrying.

Image 2.1: Overview of the calculator's key features, including multi-replay, combination/permutation, statistics, 9 variable memories, and the slide-on hard case.
3. Setup
3.1 Power Source
The OSALO OS-82MS II calculator utilizes a dual power system: solar power and a single LR44 battery (included). The solar panel provides power in well-lit environments, while the battery ensures operation in low-light conditions or when solar power is insufficient.
3.2 Initial Use
Upon first use, the calculator should power on automatically when exposed to light. If the display does not appear, press the ON button. The calculator will automatically turn off after a period of inactivity to conserve battery life.

Image 3.1: Diagram showing the main components and keys of the calculator, including the solar panel, extra large display, control keys, SHIFT key, MODE key, Power On, function keys, Delete key, and Last Answer key.
4. Operating Instructions
4.1 Basic Operations
To perform basic arithmetic, simply input the numbers and operators. For example, to calculate 34 + 45, press 3 4 + 4 5 =. The result will be displayed on the second line.
4.2 2-Line Display
The 2-line display shows the input expression on the top line and the calculation result on the bottom line. This allows for easy review and correction of entries.

Image 4.1: Illustration of the 2-line display, showing both input/output and full calculation display.
4.3 Scientific Functions
The calculator offers 240 functions, including trigonometric, logarithmic, exponential, and statistical calculations. To access secondary functions printed above the keys, press the SHIFT key followed by the desired function key.
4.4 Contrast Adjustment
You can adjust the display contrast for optimal visibility. Refer to the calculator's on-screen menu or specific key combinations (usually involving the MODE or SHIFT key) to access this setting. Adjusting contrast can help reduce visual fatigue.

Image 4.2: Demonstrates the contrast adjustment feature, showing both dark (relieves visual fatigue) and light (clear and intuitive) display settings.
5. Maintenance
5.1 Cleaning
To clean the calculator, use a soft, dry cloth. For stubborn dirt, slightly dampen the cloth with water and wipe gently. Do not use harsh chemicals, abrasive cleaners, or solvents, as these can damage the calculator's surface or internal components.
5.2 Storage
When not in use, store the calculator in its protective sliding cover to prevent scratches and damage. Keep it in a cool, dry place away from direct sunlight, extreme temperatures, and high humidity.
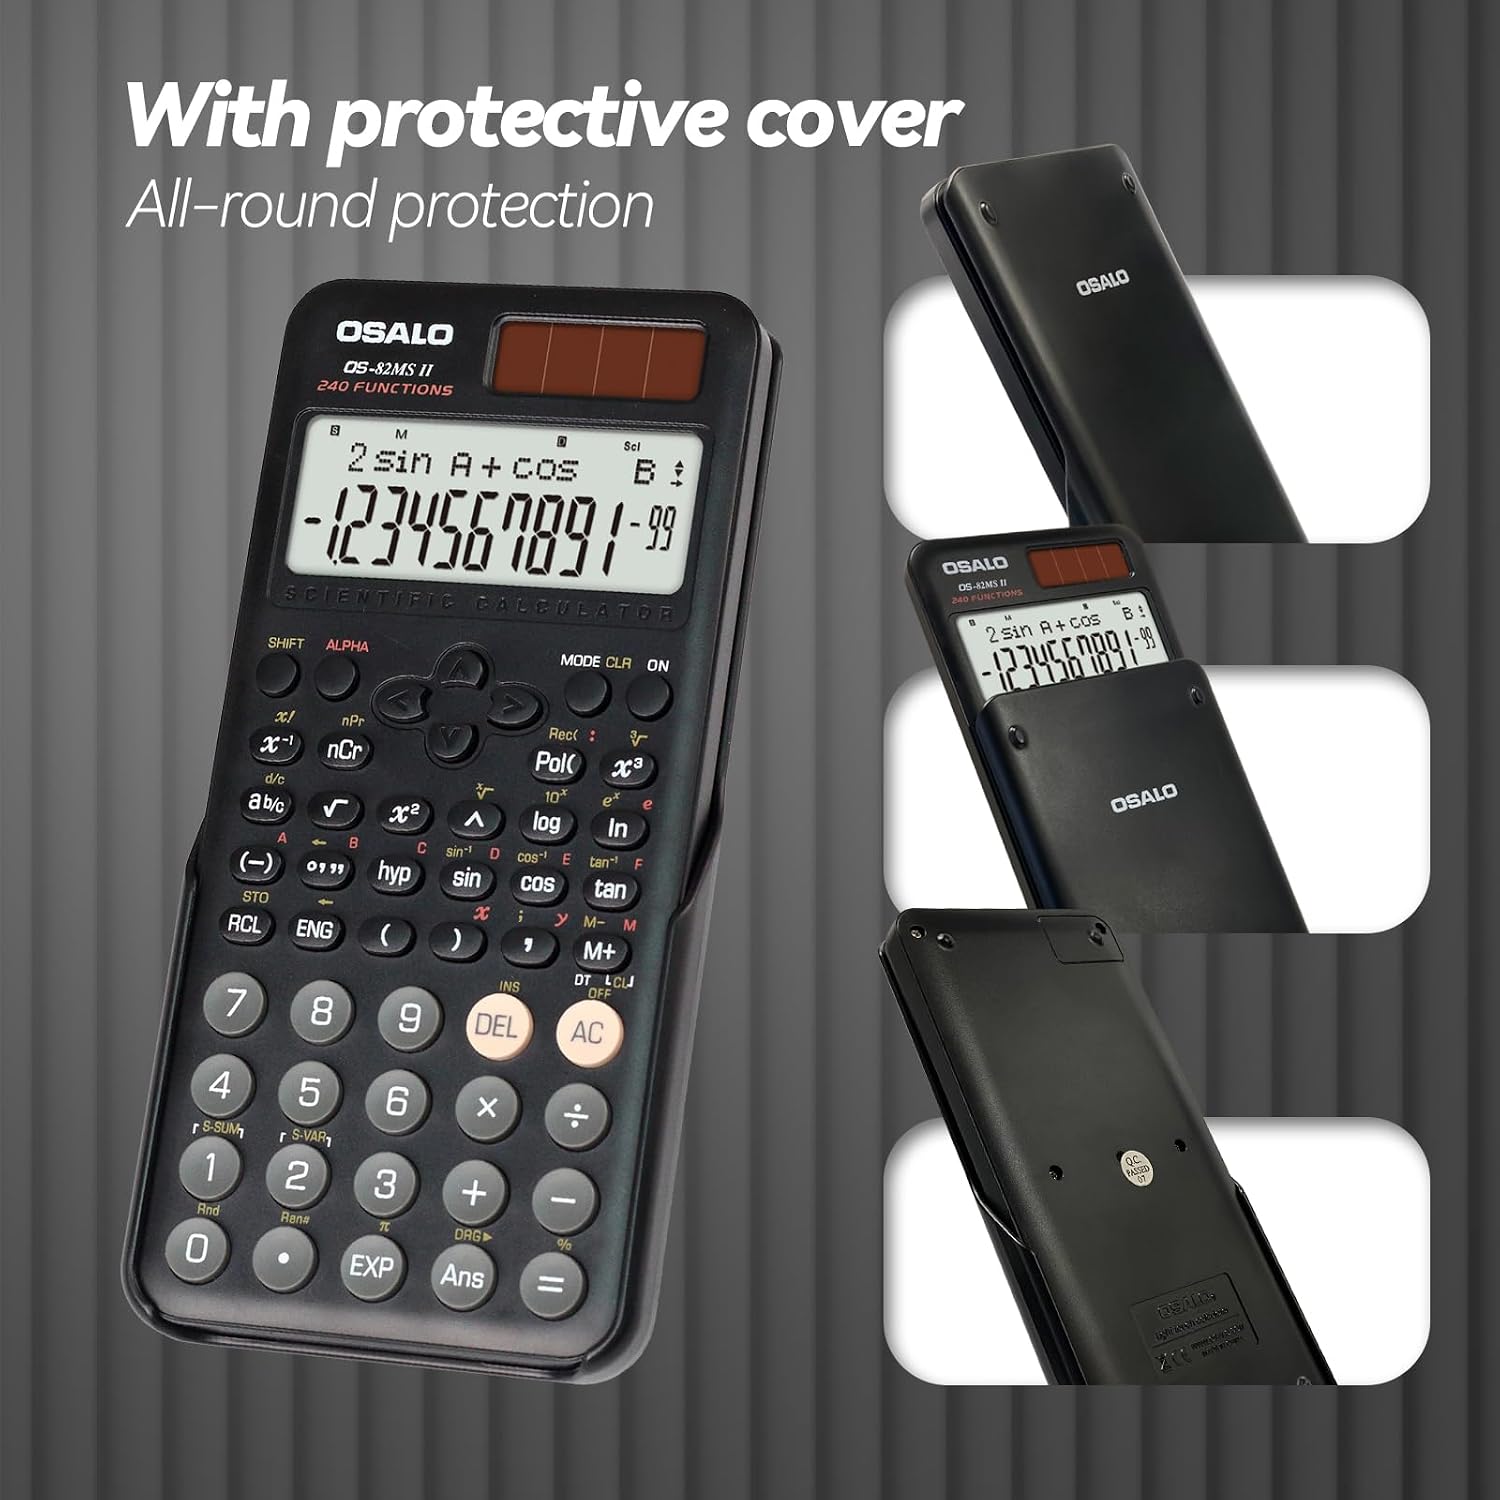
Image 5.1: The calculator shown with its protective slide-on cover, emphasizing all-round protection.
5.3 Battery Replacement
The calculator uses one LR44 battery. When the display becomes dim or unresponsive, it may be time to replace the battery. To replace the battery, carefully open the battery compartment located on the back of the calculator. Insert a new LR44 battery, ensuring correct polarity. Close the compartment securely. Warning: Disassembly should only be performed by professionals.
6. Troubleshooting
- Calculator does not turn on: Ensure there is sufficient light for the solar panel or replace the LR44 battery.
- Display is dim or unclear: Adjust the display contrast (refer to section 4.4) or replace the battery.
- Incorrect calculation results: Check your input, ensure correct mode (e.g., DEG/RAD), and verify formula entry. Resetting the calculator (refer to the manual's reset procedure, usually a small button on the back) may resolve persistent issues.
- Keys are unresponsive: Clean the keys and surrounding areas. If the issue persists, contact customer support.
7. Specifications
| Feature | Detail |
|---|---|
| Brand | OSALO |
| Model Name | OS 82MS 2nd Edition (OS-82MS II) |
| Calculator Type | Scientific |
| Color | Black |
| Display Type | LCD, 2-line display |
| Screen Size | 6 Centimeters |
| Number of Functions | 240 |
| Power Source | Battery and Solar Power (Dual Power) |
| Battery Type | 1 x LR44 (included) |
| Material | Plastic (ABS) |
| Product Dimensions | 16.4L x 1.7W Centimeters (approx. 6.46 x 0.79 inches) |
| Weight | 141g (approx. 4.9 oz) |

Image 7.1: Visual representation of the calculator's dimensions and weight, highlighting its thin and lightweight design.
8. Warranty and Support
Information regarding product warranty and specific support contact details is not provided in this manual. Please refer to the product packaging or the retailer's website for warranty terms and customer service information.
Ask a question about this manual
Ask about setup, troubleshooting, compatibility, parts, safety, or missing instructions. Manuals+ will review the question and use this page’s manual context to help answer it.