1. Introduction
Thank you for choosing the vidaXL Raised Garden Bed. This manual provides essential information for the safe and correct assembly, operation, and maintenance of your new garden bed. Please read these instructions carefully before beginning assembly and retain them for future reference.
This wooden raised garden bed is designed to enhance your garden or balcony. Constructed from solid pine wood, it offers a natural aesthetic with its straight grain and rustic knots. Its generous depth and width provide ample space for various plants, vegetables, herbs, and flowers, serving both a practical and decorative function in your outdoor space.
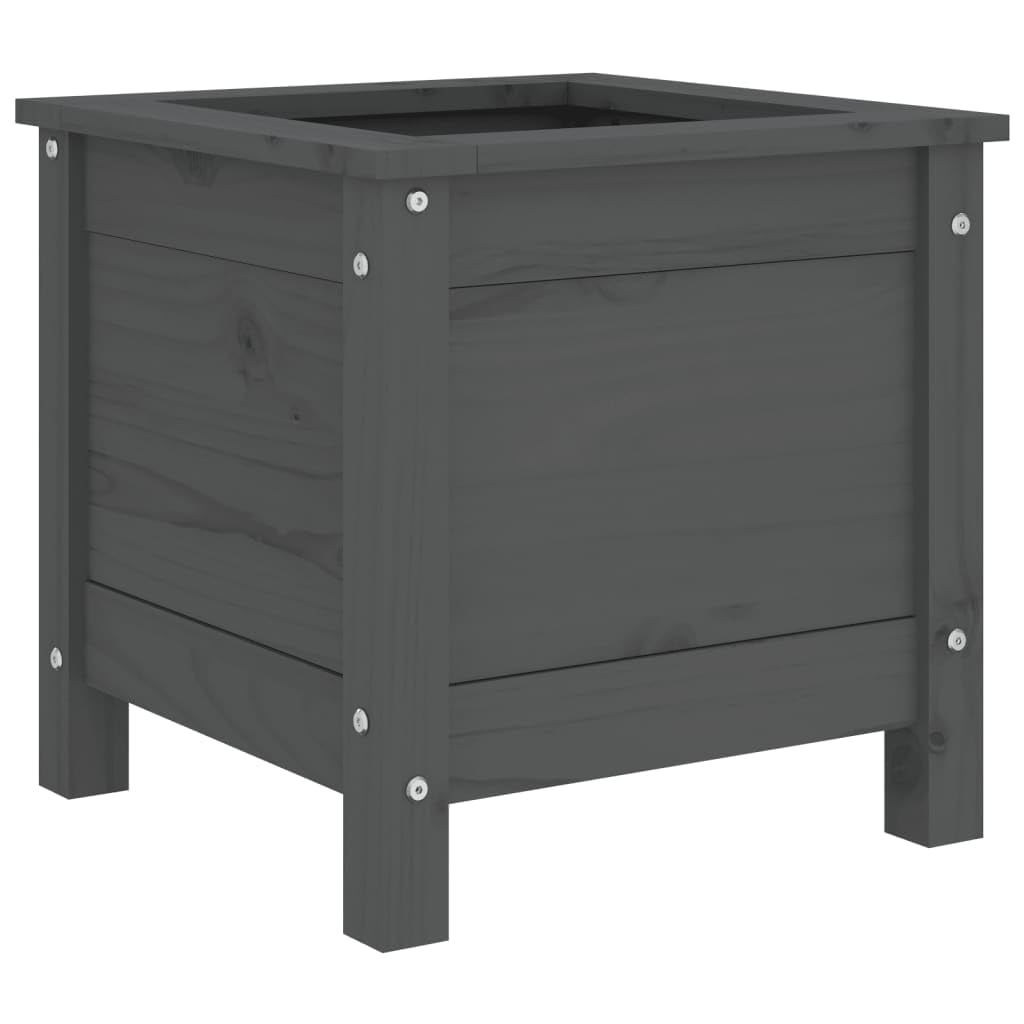
Image 1.1: Assembled vidaXL Raised Garden Bed.
2. Product Overview
2.1 Key Features
- Material: Solid pine wood, known for its natural beauty and durability.
- Design: Box-shaped planter with a standing mounting type.
- Ample Space: Deep and wide design suitable for various plants.
- Decorative: Enhances outdoor spaces with its rustic appeal.
2.2 Components
The package includes all necessary wooden panels and hardware for assembly. Please verify all components are present and undamaged before starting assembly.

Image 2.1: Detail of internal corner and screw connection.
3. Setup and Assembly
Assembly is required for this product. Please follow these steps carefully. It is recommended to have a second person assist with assembly for stability and ease.
3.1 Required Tools (Not Included)
- Screwdriver (manual or electric with appropriate bit)
- Rubber mallet (optional, for gentle tapping)
3.2 Assembly Steps
- Unpack Components: Carefully unpack all parts and lay them out on a clean, flat surface. Check against the parts list (if provided in packaging) to ensure all pieces are present.
- Identify Panels: Distinguish between the side panels and bottom support panels. The main image (Image 1.1) and dimension image (Image 4.1) can help identify the structure.
- Assemble Side Walls: Connect the side panels using the provided screws. Ensure the panels are aligned correctly and the pre-drilled holes match. Tighten screws securely but do not overtighten to avoid stripping the wood.
- Attach Bottom Supports: Once the four side walls are assembled into a box shape, attach the bottom support panels. These typically fit into grooves or are screwed to the lower sections of the side panels to form the base of the planter.
- Final Check: Ensure all screws are tightened and the structure is stable. Gently shake the assembled garden bed to confirm its rigidity.
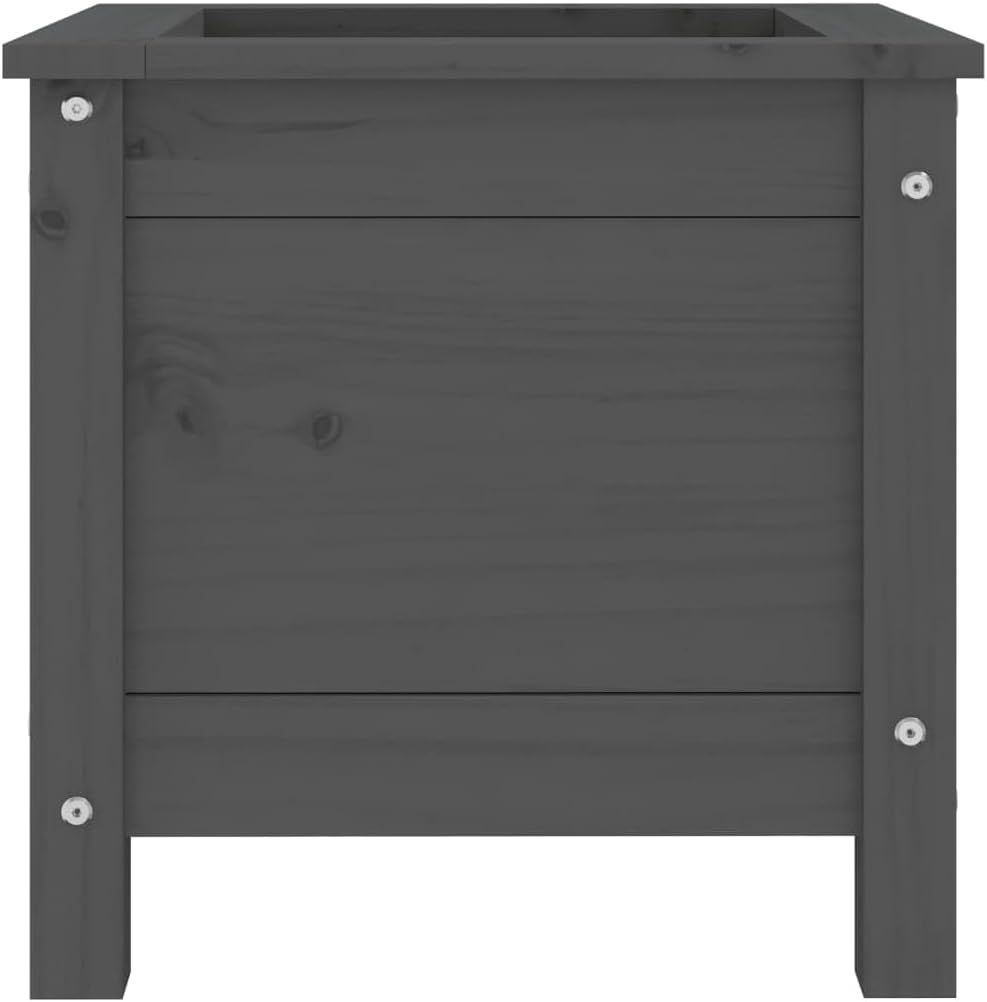
Image 3.1: Side view of the assembled garden bed.
4. Operating and Usage
4.1 Placement
- Choose a level surface for placement to ensure stability.
- Consider sunlight requirements for the plants you intend to grow.
- Ensure adequate drainage. If placing on a solid surface, consider using risers to allow water to escape from the bottom.
4.2 Filling and Planting
- Drainage Layer: For optimal drainage, you may place a layer of gravel or broken pottery at the bottom before adding soil.
- Soil: Fill the garden bed with high-quality potting mix or garden soil suitable for your chosen plants. Leave a few centimeters of space from the top edge.
- Planting: Plant your desired vegetables, herbs, or flowers according to their specific spacing and depth requirements.
- Watering: Water thoroughly after planting.
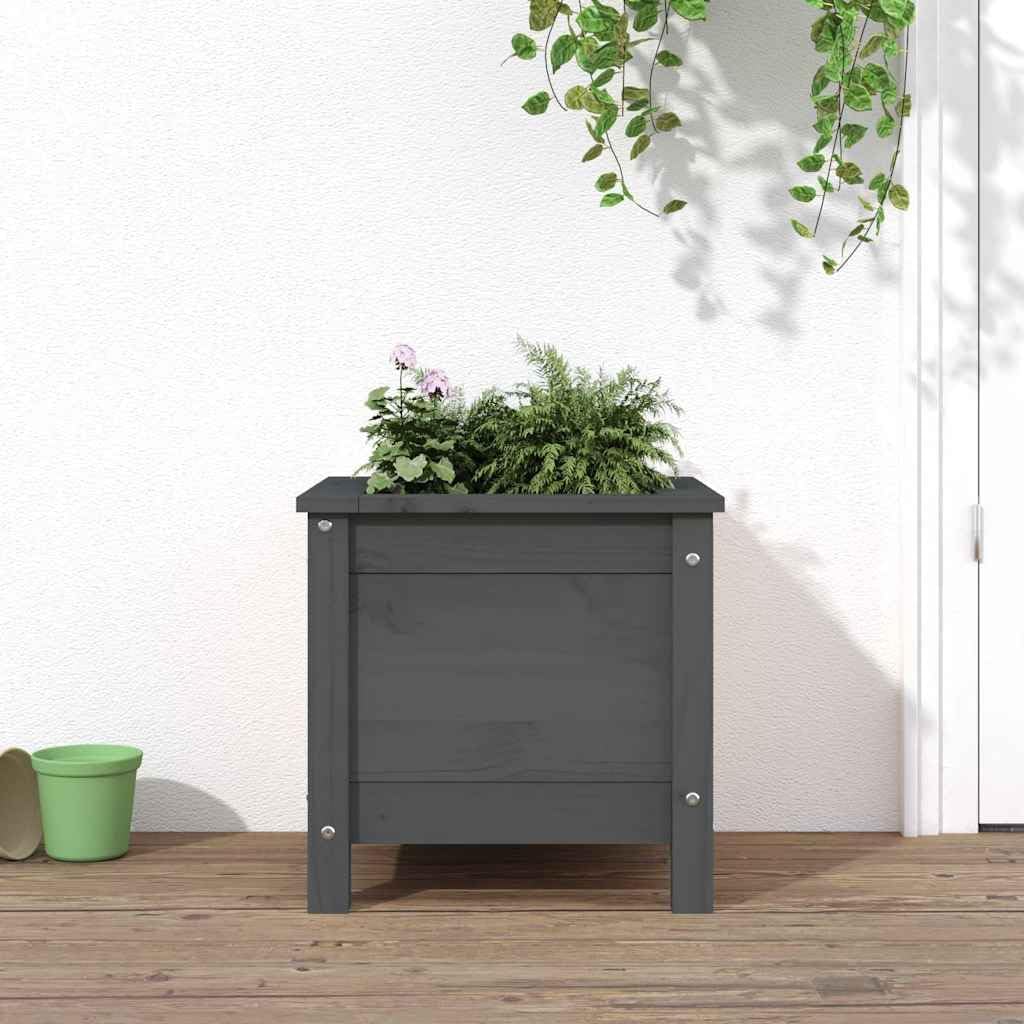
Image 4.1: Raised garden bed in use with plants.
5. Maintenance
5.1 Wood Care
- To prolong the life of the solid pine wood, consider applying a wood sealant or protective stain annually, especially if exposed to harsh weather conditions.
- Inspect the wood periodically for any signs of wear, rot, or insect damage.
5.2 Cleaning
- Clean the exterior of the garden bed with a damp cloth. Avoid harsh chemicals that could damage the wood finish.
- Remove any accumulated debris or soil from the interior after each growing season.

Image 5.1: Detail of solid pine wood texture.
6. Troubleshooting
6.1 Assembly Difficulties
- Parts not fitting: Double-check that you are using the correct parts for each step and that they are oriented correctly. Refer to the diagrams in the original packaging.
- Screws not aligning: Ensure panels are flush and held firmly in place while inserting screws. Do not force screws; if resistance is met, re-check alignment.
- Instability: Verify all screws are fully tightened. If the bed feels wobbly, disassemble and reassemble, paying close attention to connections.
6.2 Wood Issues
- Cracking/Splitting: Wood is a natural material and can react to environmental changes. Ensure the garden bed is not exposed to extreme temperature fluctuations or prolonged dryness/wetness without proper treatment.
- Discoloration: Natural weathering will occur over time. Regular application of wood sealant can help maintain color and protect the wood.
7. Specifications
| Feature | Detail |
|---|---|
| Brand | vidaXL |
| Model Number | 825249 |
| Material | Solid Pine Wood |
| Color | Grey |
| Overall Dimensions (W x D x H) | 40 x 40 x 39 cm (15.7 x 15.7 x 15.4 inches) |
| Item Weight | 5.67 kg |
| Pot Shape | Box |
| Mounting Type | Standing |

Image 7.1: Product dimensions diagram.
8. Warranty and Support
For warranty information, product support, or to purchase replacement parts, please refer to the documentation included with your purchase or visit the official vidaXL website. You can also contact vidaXL customer service directly for assistance.
Online Support: Visit the vidaXL Store on Amazon


