
1. Introduction
This manual provides comprehensive instructions for the operation and maintenance of your BAOFENG UV-10R Two-Way Radio. Please read this manual thoroughly before using the device to ensure proper function and safety.
2. Package Contents
Verify that all items are present in your package:
- Portable Radio
- 771 Antenna
- Type-C Cable
- Battery
- High Gain Antenna
- Charger Base
- Belt Clip
- Hand Strap
- User's Manual

Image 1: BAOFENG UV-10R radio with all included accessories, including the radio unit, two antennas, USB-C cable, charger base, battery, belt clip, hand strap, and user manual.
3. Product Overview
Familiarize yourself with the components and controls of your UV-10R radio.

Image 2: Labeled diagram of the BAOFENG UV-10R radio, indicating the Power/Volume knob, Antenna, Indicator light, Flashlight, PTT button, Mic, 2-pin K Jack, LED Screen, Menu button, Exit button, and Keypad.
- Power/Volume Knob: Rotates to turn the radio on/off and adjust volume.
- Antenna: For transmitting and receiving signals.
- Indicator Light: Illuminates to show radio status (e.g., transmitting, receiving).
- Flashlight: Provides illumination.
- PTT (Push-to-Talk) Button: Press and hold to transmit, release to receive.
- Mic (Microphone): For voice input during transmission.
- 2-pin K Jack: For connecting external audio accessories like headsets or programming cables.
- LED Screen: Displays channel, frequency, battery status, and other operational information.
- Menu Button: Accesses the radio's menu settings.
- Exit Button: Exits menu or cancels current operation.
- Keypad: For entering frequencies, channel numbers, and navigating menus.
4. Setup
4.1 Battery Installation and Charging
- Ensure the radio is powered off.
- Align the battery pack with the grooves on the back of the radio and slide it into place until it clicks securely.
- To charge, connect the Type-C cable directly to the radio's Type-C port or place the radio in the charger base.
- The indicator light will show charging status. A full charge is indicated when the light changes color (refer to specific light indications in the full manual if available).

Image 3: The BAOFENG UV-10R radio connected to a USB-C power source, demonstrating its direct charging capability. The image also shows the radio in its charging cradle.
4.2 Antenna Attachment
- Screw the antenna clockwise into the connector on the top of the radio until it is finger-tight. Do not overtighten.
5. Operating Instructions
5.1 Power On/Off and Volume Adjustment
- To power on, rotate the Power/Volume knob clockwise.
- To power off, rotate the Power/Volume knob counter-clockwise until it clicks.
- Adjust the volume by rotating the Power/Volume knob.
5.2 Channel Selection and Frequency Input
- Use the up/down arrow keys on the keypad to navigate through programmed channels.
- In VFO (Frequency Mode), directly input desired frequencies using the numeric keypad.
5.3 Transmitting and Receiving
- To transmit, press and hold the PTT button. Speak clearly into the microphone.
- Release the PTT button to return to receive mode.
5.4 NOAA Weather Alert
- The radio supports NOAA weather alerts. Refer to the full manual for specific instructions on activating and monitoring NOAA channels.
5.5 Multimode Scanning
- The radio can scan through channels or frequencies. Consult the menu options for scanning modes (e.g., time, carrier, search).
5.6 VOX Function
- VOX (Voice Operated Exchange) allows hands-free transmission. When activated, the radio transmits automatically when it detects your voice. Adjust VOX sensitivity in the menu.
5.7 DTMF (Dual-Tone Multi-Frequency)
- DTMF tones can be used for various functions, such as remote control or selective calling. Refer to advanced programming sections for DTMF usage.
5.8 LED Flashlight
- Activate the LED flashlight via a dedicated button or menu option (refer to the full manual for exact control).
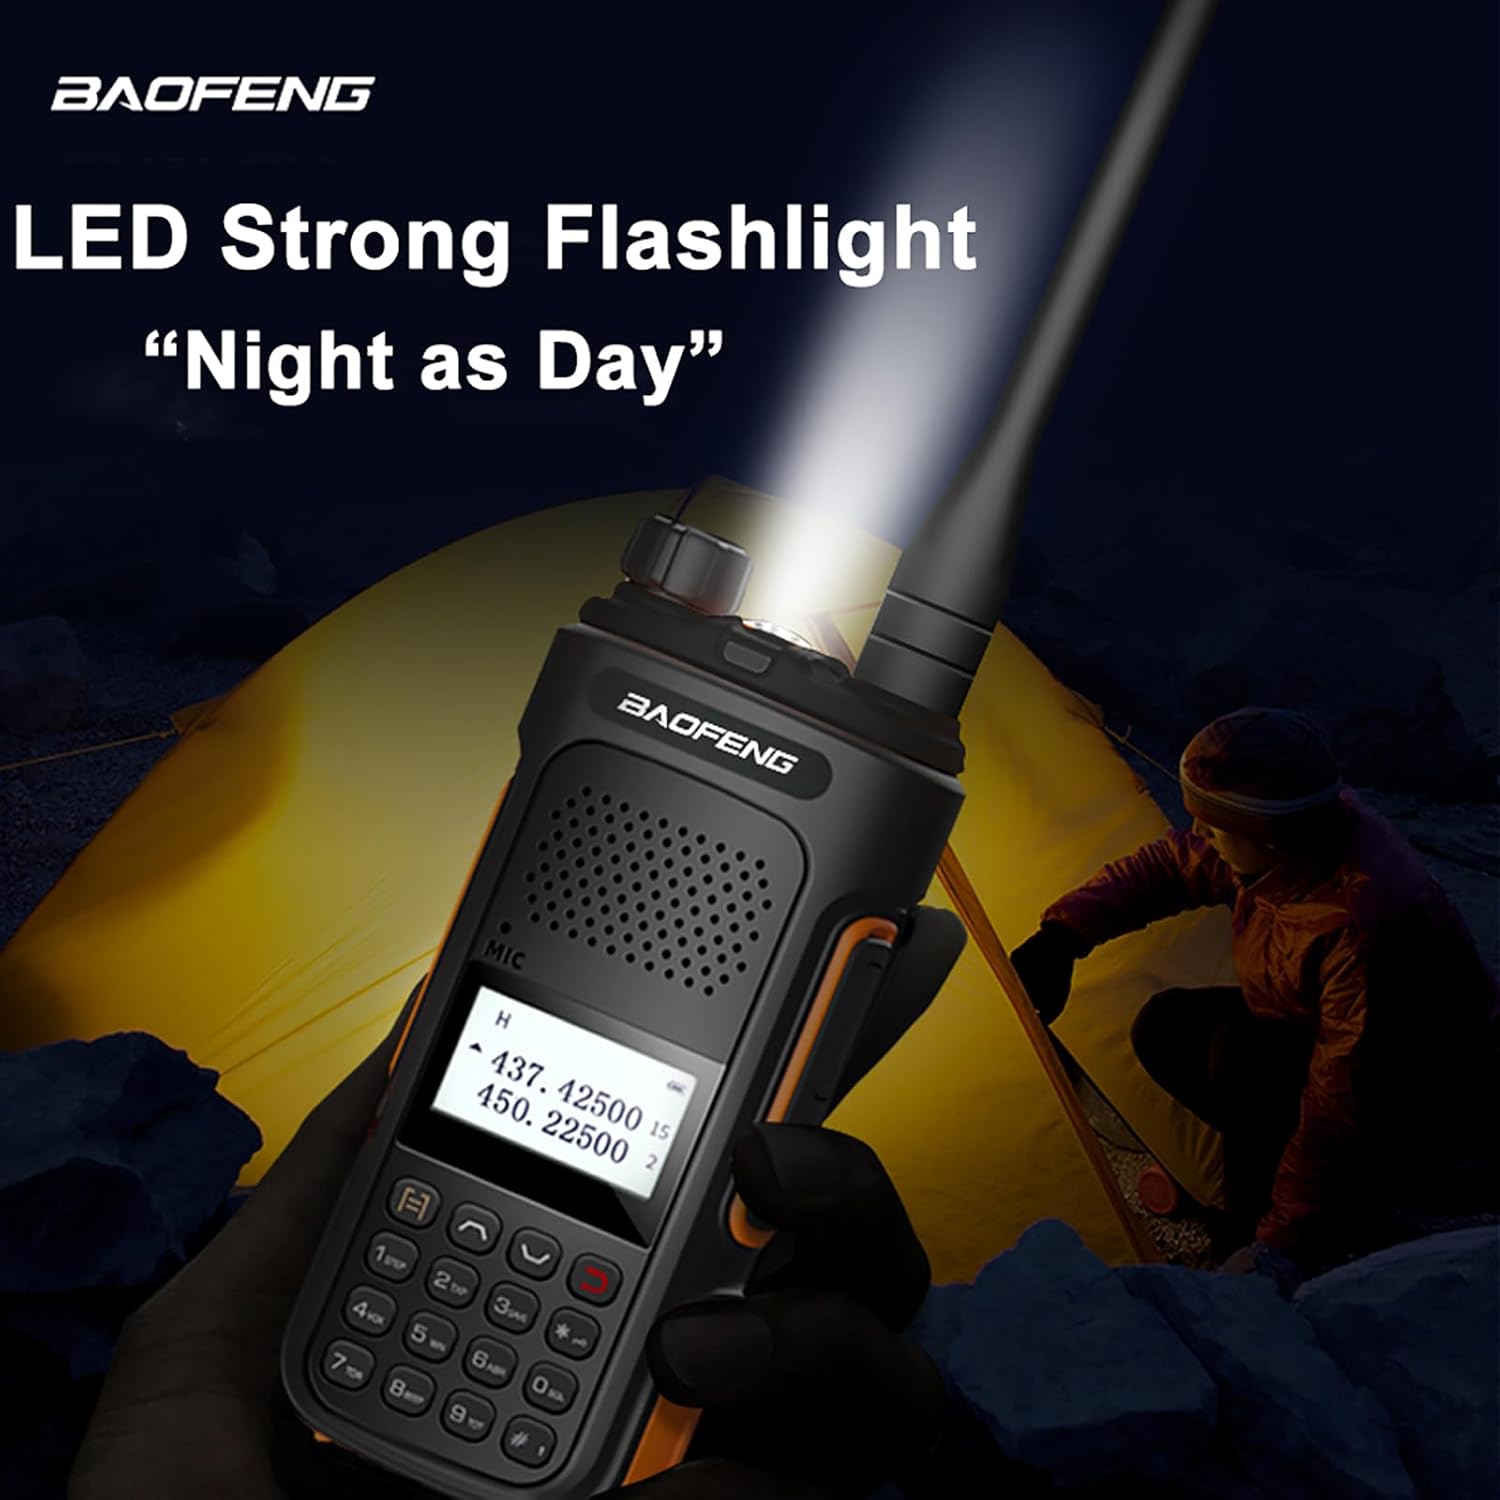
Image 4: The BAOFENG UV-10R radio demonstrating its integrated LED flashlight, illuminating a dark environment.
6. Maintenance
- Cleaning: Use a soft, damp cloth to clean the radio's exterior. Do not use harsh chemicals or solvents.
- Battery Care: Avoid overcharging or completely discharging the battery. Store the radio and battery in a cool, dry place when not in use for extended periods.
- Antenna: Ensure the antenna is securely attached but not overtightened. Avoid bending or stressing the antenna.
7. Troubleshooting
| Problem | Possible Cause | Solution |
|---|---|---|
| Radio does not power on. | Battery is low or not installed correctly. | Charge the battery or re-install it securely. |
| Cannot transmit or receive. | Incorrect frequency/channel, antenna not attached, or low battery. | Verify frequency/channel settings, ensure antenna is attached, charge battery. |
| Poor audio quality. | Weak signal, incorrect squelch setting, or damaged microphone/speaker. | Move to an area with better signal, adjust squelch level, check for physical damage. |
8. Specifications
| Feature | Detail |
|---|---|
| Brand | BAOFENG |
| Model Number | BF-UV10/UV-10R |
| Frequency Range | 144-148MHz, 420-450MHz |
| Number of Channels | 999 |
| Input Voltage | DC 7.4V |
| Antenna Impedance | 50 Ω |
| Max Talking Range | 3.1 Miles (approx. 5 km) |
| Item Weight | 22.75 Ounces (approx. 645 grams) |
| Product Dimensions | 1.1 x 1.96 x 4.72 inches |
| Battery Type | Lithium Ion (1 required) |
| Special Features | Long Range, Portable, USB-C Charging, NOAA Weather Alert, Multimode Scanning, VOX, DTMF, LED Flashlight |

Image 5: The BAOFENG UV-10R radio screen showing dual-band frequencies (144-148MHz and 420-450MHz), highlighting its amateur radio capabilities and 999 channel capacity.
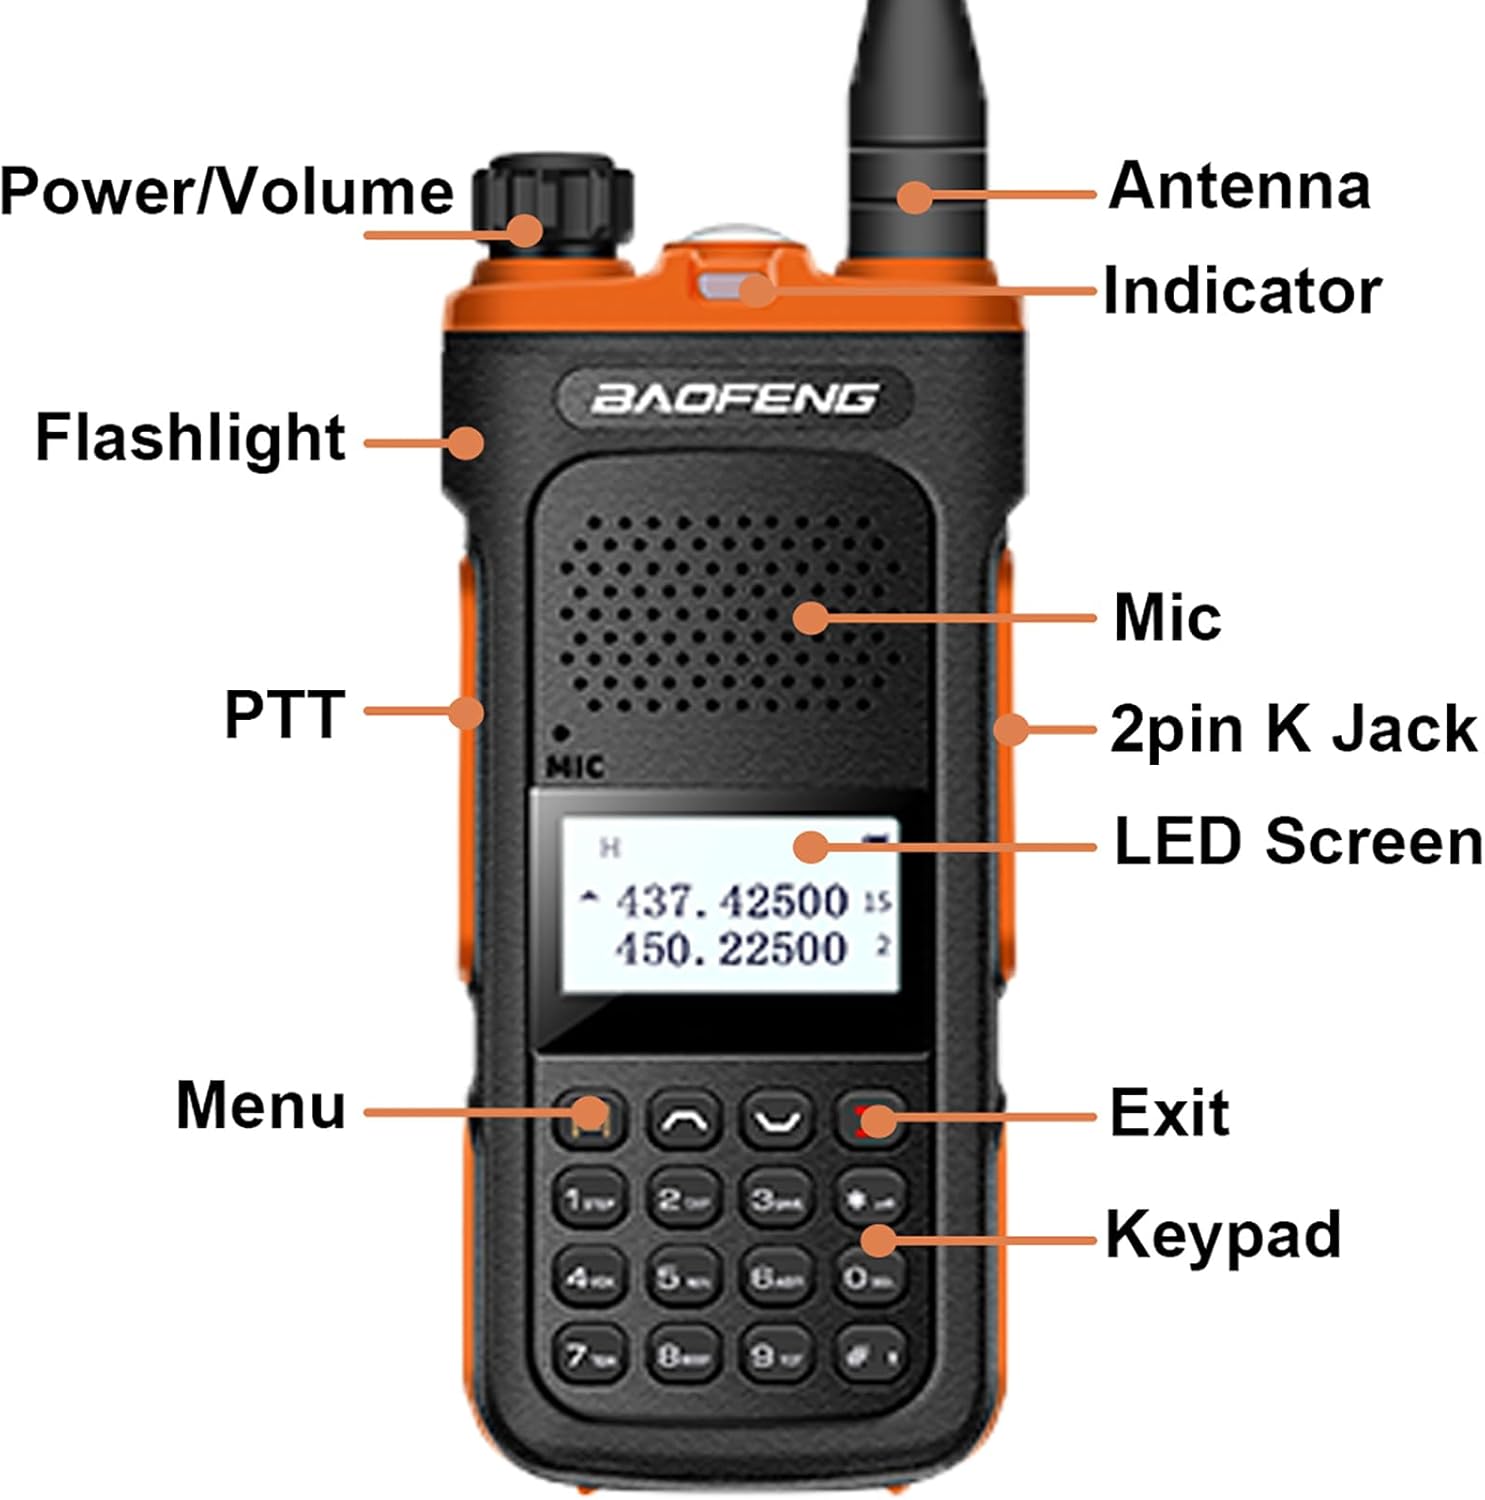
Image 6: Dimensional view of the BAOFENG UV-10R radio, indicating its height of 4.72 inches, width of 1.96 inches, and depth of 1.1 inches.
9. Warranty and Support
Warranty: A 1-year warranty is provided exclusively through "Shiqun Electronics Co., Ltd." Please retain your proof of purchase for warranty claims.
For further assistance or technical support, please contact the manufacturer or authorized dealer.