1. Product Overview
This manual provides instructions for the vidaXL Wheelie Bin Storage Extension, designed to expand your existing wheelie bin storage unit. Constructed from solid Douglas wood, this extension allows you to accommodate additional bins, enhancing your outdoor waste management solution. Douglas wood is known for its durability and low maintenance requirements, making it suitable for outdoor use.
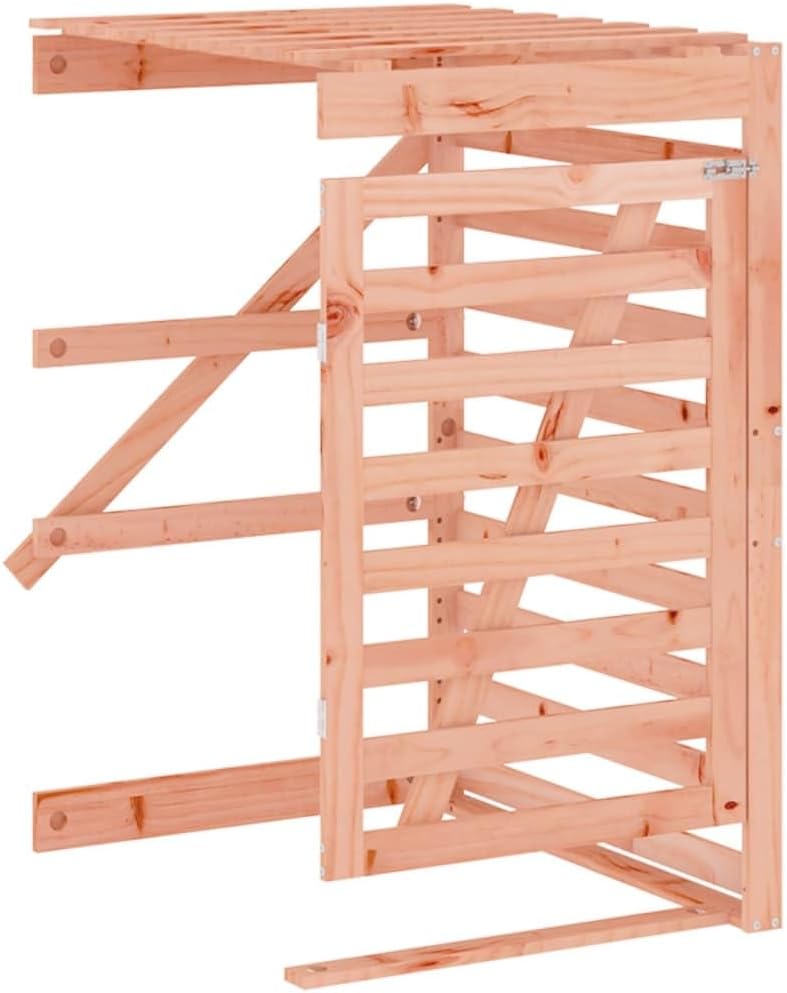
Image 1.1: Front view of the vidaXL Wheelie Bin Storage Extension, showcasing its slatted wooden design.
Key Features:
- Expandable Design: Easily integrates with an existing vidaXL bin shed to increase capacity for 2, 3, or 4 bins.
- Durable Material: Made from solid Douglas wood, offering high durability and requiring minimal maintenance in outdoor conditions.
- User-Friendly Access: Features a door and lid for convenient trash disposal and retrieval.
- Secure Closure: Equipped with a front lock to keep the door securely closed.
- Ventilation: Slatted design promotes air circulation, helping to prevent unpleasant odors.
2. Setup and Assembly
The vidaXL Wheelie Bin Storage Extension requires assembly. Ensure all components are present before beginning. This extension is designed to be added to an existing vidaXL bin shed unit.
Components Checklist:
- Wooden panels (sides, back, door, lid)
- Hardware (screws, hinges, lock mechanism)
- Assembly instructions (included in packaging)
Assembly Steps:
- Prepare the Area: Choose a flat, stable surface for assembly. Ensure sufficient space around your existing bin shed for the extension.
- Unpack Components: Carefully remove all parts from the packaging and verify against the components checklist.
- Attach Side Panels: Securely attach the side panels to the base and back panels using the provided hardware. Ensure all connections are tight.
- Integrate with Existing Unit: Position the extension next to your existing vidaXL bin shed. Use the designated connection points and hardware to securely join the two units.

Image 2.1: Illustration of the extension being connected to a primary bin storage unit.
- Install Door and Lid: Attach the door using the hinges, ensuring it swings freely. Install the lid, also with hinges, allowing for easy opening and closing.

Image 2.2: Depiction of the door and lid installation process for the extension unit.
- Attach Lock: Secure the lock mechanism to the front of the door as per the instructions to ensure secure closure.
- Final Check: Verify that all screws are tightened and the unit is stable. Ensure the door and lid operate smoothly.
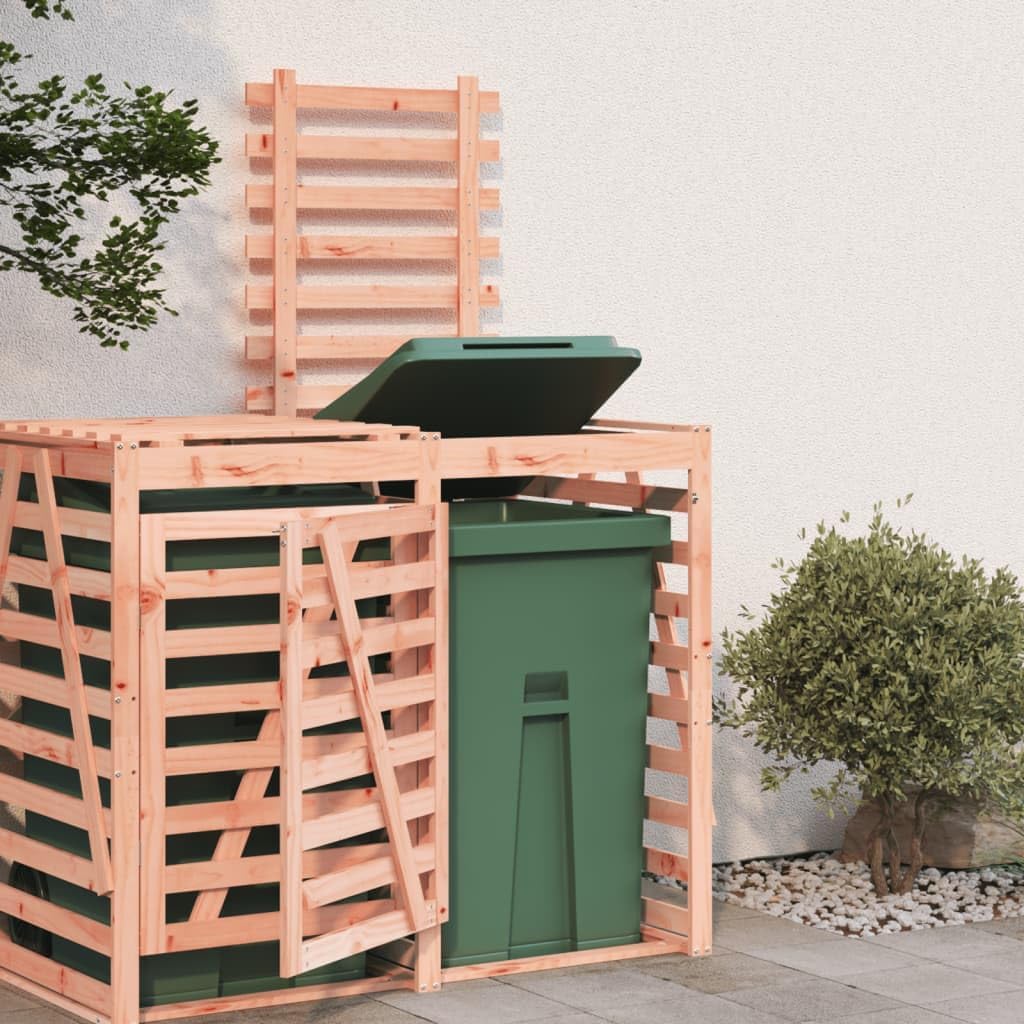
Image 2.3: The assembled bin storage extension shown with a wheelie bin placed inside, demonstrating its function.
3. Operating Instructions
Using your vidaXL Wheelie Bin Storage Extension is straightforward.
- Placing a Bin: Open the front door and slide your wheelie bin into the storage unit. Ensure the bin fits comfortably within the dimensions.
- Disposing of Trash: To dispose of trash, lift the top lid of the storage extension. This allows access to the bin's lid without needing to pull the bin out.

Image 3.1: The bin storage extension with its top lid open, providing access to the wheelie bin for waste disposal.
- Securing the Unit: After placing or removing a bin, ensure the front door is closed and the lock is engaged to keep it securely shut.
- Removing a Bin: To remove the bin for collection, unlock and open the front door, then pull the bin out. Close and lock the door once the bin is removed or returned.
4. Maintenance
The vidaXL Wheelie Bin Storage Extension is constructed from solid Douglas wood, which is naturally durable and requires minimal maintenance. However, regular care will extend its lifespan and maintain its appearance.
- Cleaning: Periodically wipe down the wooden surfaces with a damp cloth to remove dirt and debris. Avoid harsh chemicals that could damage the wood.
- Wood Treatment: While Douglas wood is durable, applying a wood sealant or stain annually can provide additional protection against weathering and UV radiation, preserving its natural color and preventing premature aging.
- Hardware Check: Regularly inspect all screws, hinges, and the lock mechanism. Tighten any loose fasteners to ensure structural integrity and smooth operation of the door and lid.
- Ventilation: Ensure the slatted design remains clear of obstructions to allow for proper air circulation, which helps in odor control.
5. Troubleshooting
If you encounter any issues with your bin storage extension, refer to the following common solutions.
| Problem | Possible Cause | Solution |
|---|---|---|
| Door or Lid Sticks/Does Not Close Properly |
|
|
| Lock Mechanism Malfunctions |
|
|
| Unpleasant Odors Persist |
|
|
6. Specifications
Detailed specifications for the vidaXL Wheelie Bin Storage Extension.
- Material: Solid Douglas Wood (untreated)
- Dimensions (W x D x H): 30.7 x 36.0 x 50.6 inches (78 x 91.5 x 128.5 cm)

Image 6.1: Technical drawing illustrating the width, depth, and height dimensions of the storage extension.
- Item Weight: 40.8 pounds (18.53 kg)
- Model Number: 825112
- ASIN: B0CJBGLY85
- GTIN: 08720845808761
- Assembly Required: Yes
- Door Design: Single door with lock
7. Warranty and Support
For information regarding warranty coverage or technical support, please refer to the documentation included with your purchase or visit the official vidaXL website.
You can also visit the vidaXL store on Amazon for additional product information and support: vidaXL Amazon Store.


