
1. Product Overview
This manual provides instructions for the SUSUCAR NON AFM DOD Disable Camshaft Lifter Kit. This kit is designed to replace the Active Fuel Management (AFM) / Displacement On Demand (DOD) system components in compatible GM Chevrolet Gen V L83 5.3L engines, converting them to a non-AFM configuration. The kit includes a camshaft, lifters, head gaskets, and associated hardware necessary for the conversion.
2. Compatibility and Fitment
This camshaft and lifter kit is specifically designed for the following vehicle applications:
- Engine Type: GM Chevrolet Gen V L83 5.3L Engine
- Model Years: 2014-2021
Ensure your vehicle's engine type and model year match the specifications above for proper fitment. Incorrect application may lead to engine damage or improper function.
3. Package Contents
The SUSUCAR NON AFM DOD Disable Camshaft Lifter Kit includes the following components. Please verify all parts are present and undamaged before beginning installation.
- Gen V Non-AFM Camshaft
- LS7 Style Lifters (16 pieces)
- LS2 Lifter Trays (4 pieces)
- Multi-Layer Steel (MLS) Head Gaskets (2 pieces)
- Gen V Head Bolt Set (20 pieces)
- Various Seals (e.g., valve cover gaskets, intake manifold gaskets, front cover seal, water pump gaskets, exhaust manifold gaskets, O-rings)

Image: Overview of all components included in the SUSUCAR NON AFM DOD Disable Camshaft Lifter Kit.

Image: Detailed view of the camshaft, lifters, head gaskets, and bolts included in the kit.

Image: The non-AFM camshaft, a key component for disabling the AFM system.
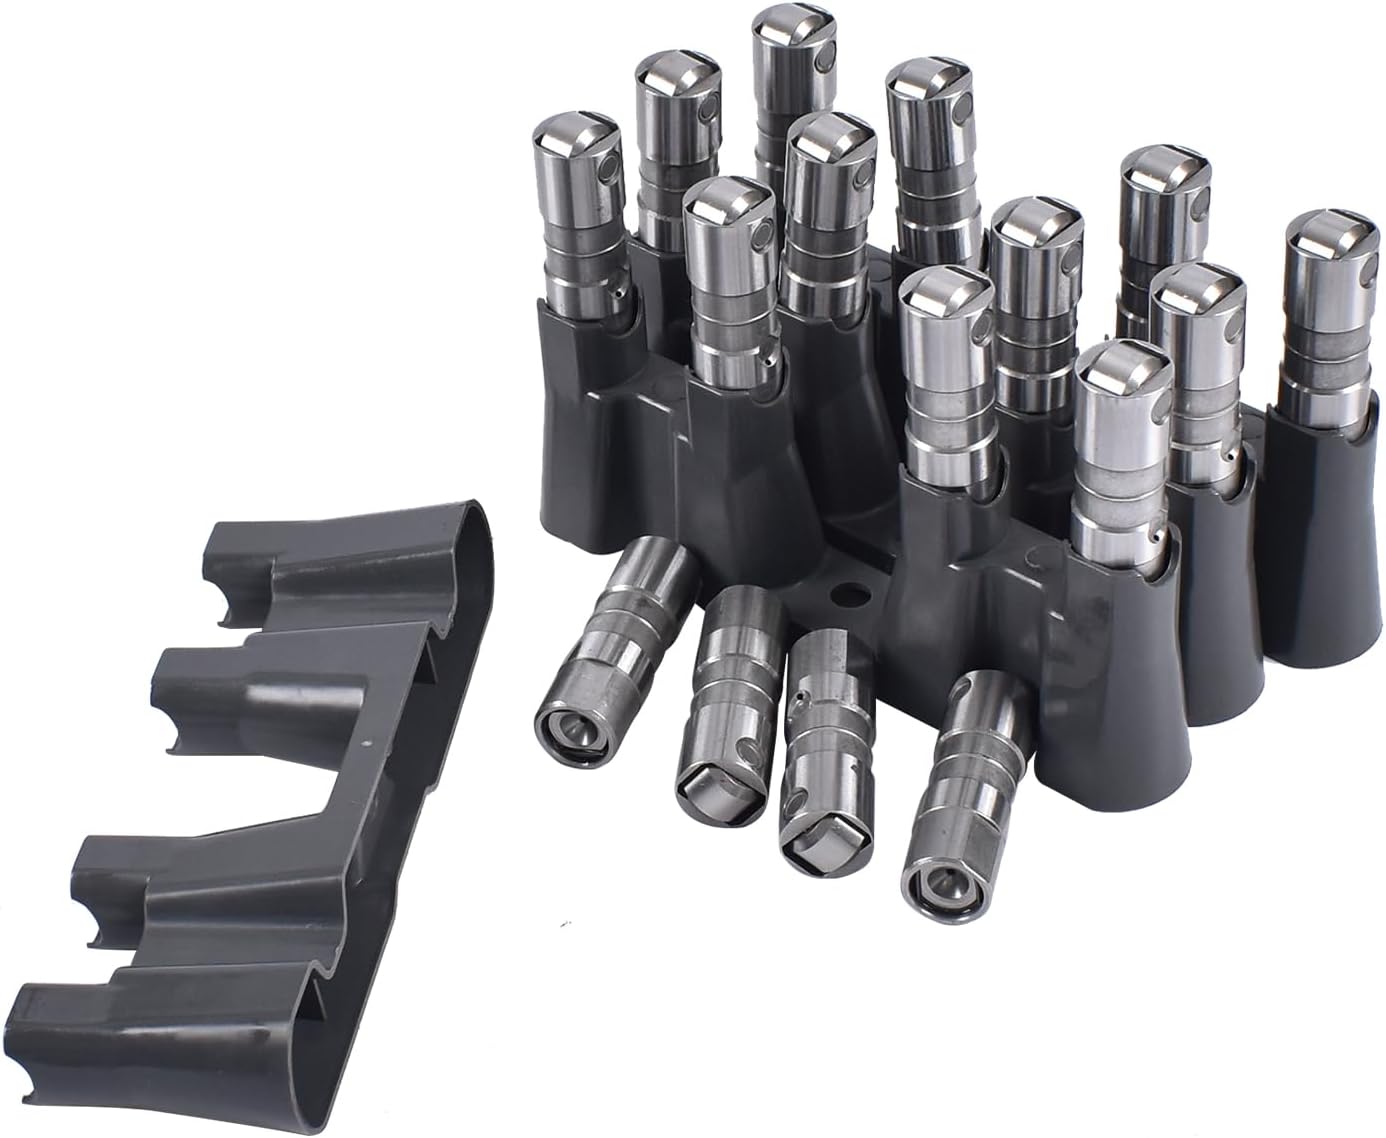
Image: LS7 style lifters and lifter trays, designed for reliable valve train operation.

Image: Multi-Layer Steel (MLS) head gaskets, essential for sealing the cylinder heads.
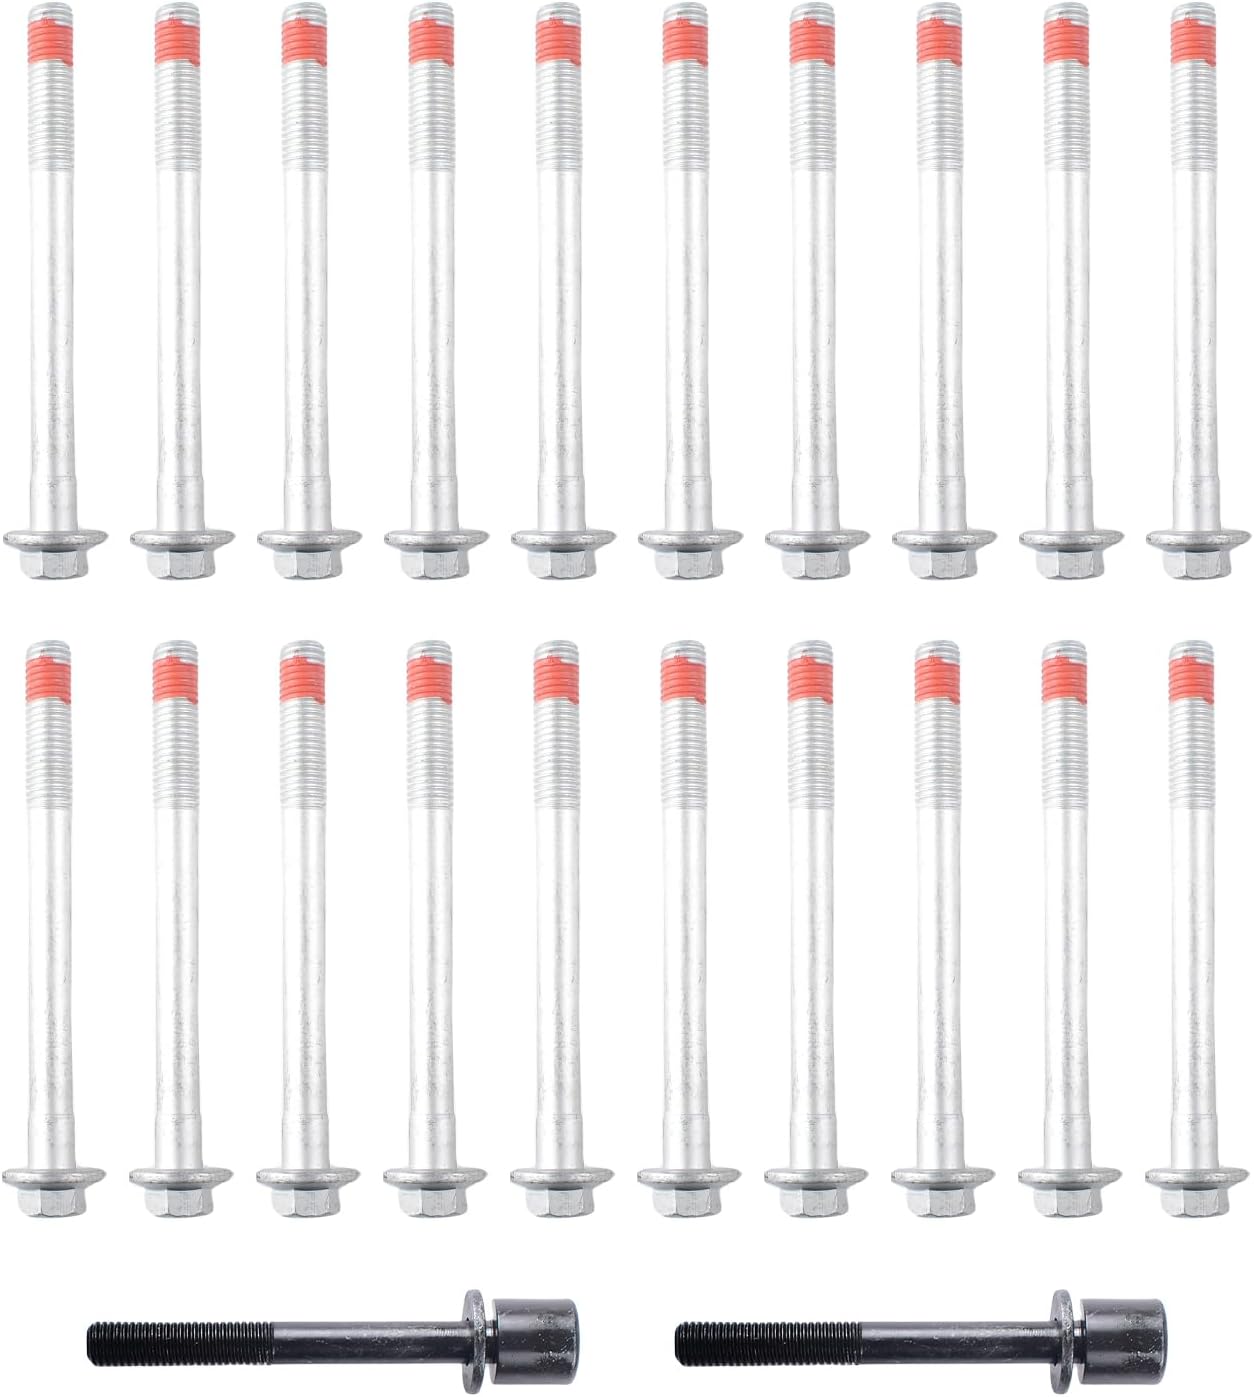
Image: Gen V head bolt set, critical for securing the cylinder heads to the engine block.
4. Installation Guide
Warning: Installation of this kit requires advanced mechanical knowledge and specialized tools. Improper installation can lead to severe engine damage. It is highly recommended that installation be performed by a certified professional mechanic.
4.1 Pre-Installation Checks
- Verify all components listed in Section 3 are present and free from damage.
- Ensure the engine is cool and disconnected from the battery.
- Gather all necessary tools, including torque wrenches, engine hoists (if required), and specialized GM engine tools.
- Consult a comprehensive service manual for your specific vehicle model for detailed engine disassembly and reassembly procedures.
4.2 General Installation Steps (Overview)
The following is a general overview. Refer to your vehicle's service manual for precise, step-by-step instructions, torque specifications, and component-specific procedures.
- Engine Disassembly: Carefully remove all components necessary to access the camshaft, lifters, and head gaskets. This typically includes the intake manifold, valve covers, cylinder heads, and timing cover.
- AFM Component Removal: Remove the original AFM camshaft, AFM lifters, and lifter trays.
- Surface Preparation: Thoroughly clean all mating surfaces, especially the engine block and cylinder head surfaces, to ensure proper sealing with the new gaskets.
- New Component Installation:
- Install the new non-AFM camshaft, ensuring proper lubrication and alignment.
- Install the new LS2 lifter trays and LS7 style lifters.
- Position the new MLS head gaskets.
- Install the cylinder heads and secure them with the new Gen V head bolts, following the manufacturer's specified torque sequence and specifications.
- Engine Reassembly: Reinstall all removed components, paying close attention to proper routing of wires, hoses, and vacuum lines. Replace all seals and gaskets as necessary.
- Engine Control Module (ECM) Reprogramming: After installing the non-AFM components, the vehicle's ECM must be reprogrammed to disable the AFM/DOD system. Failure to do so will result in engine malfunction and diagnostic trouble codes. This typically requires specialized tuning software and equipment.
5. Initial Engine Operation and Checks
After completing the installation and ECM reprogramming, perform the following steps:
- Fluid Levels: Check and refill all engine fluids (engine oil, coolant) to the appropriate levels.
- Leak Inspection: Before starting the engine, visually inspect for any signs of fluid leaks or loose connections.
- First Start-up: Start the engine and allow it to idle. Monitor oil pressure, coolant temperature, and listen for any unusual noises.
- Post-Installation Drive: After initial checks, perform a short test drive, gradually increasing engine load and speed. Continue to monitor engine performance and temperature.
- Diagnostic Scan: Use an OBD-II scanner to check for any diagnostic trouble codes (DTCs). Address any codes immediately.
6. Maintenance
Proper maintenance is crucial for the longevity and performance of your engine components. After installing this kit, adhere to the following:
- Oil Changes: Follow your vehicle manufacturer's recommended oil change intervals using high-quality engine oil and filters.
- Fluid Checks: Regularly check engine oil and coolant levels.
- Inspection: Periodically inspect engine components for any signs of wear, leaks, or damage.
7. Troubleshooting
If you experience issues after installation, consider the following common problems and solutions:
- Engine Malfunction / Check Engine Light: This often indicates that the ECM was not properly reprogrammed to disable AFM/DOD, or there is an issue with sensor connections. Ensure professional ECM tuning has been performed.
- Rough Idle or Misfires: Could be related to incorrect camshaft timing, improperly installed lifters, or vacuum leaks. Re-check installation steps and consult a professional.
- Oil Leaks: Indicates improper sealing of gaskets or seals during reassembly. Inspect valve covers, oil pan, timing cover, and head gasket areas.
- Incorrect Camshaft Supplied: In rare cases, an incorrect camshaft may be supplied. Verify the part number on the camshaft matches the non-AFM specification for your engine.
Common symptoms indicating a need for camshaft replacement (which this kit addresses):
- Difficulty starting the car or engine failing to ignite easily.
- Loss of engine power, with noticeable obstruction when accelerating.
- Increased fuel consumption.
- Engine stalling unexpectedly during warm-up.
- Persistent illumination of the check engine light.

Image: Visual representation of common engine faults that suggest a camshaft replacement is necessary.
8. Product Specifications
| Manufacturer | SUSUCAR |
| Brand | SUSUCAR |
| Model Number | noafm-1421 |
| Item Weight | 28 pounds |
| Package Dimensions | 24 x 15 x 6.25 inches |
| Exterior Finish | Machined |
| Replace Part Numbers | 12619823, 17122490, 17120735, 12499225, 12576400, HS26744PT |
9. Warranty and Support
For warranty information, technical support, or assistance with product-related inquiries, please contact the SUSUCAR customer service department or refer to the seller's return policy on the platform where the product was purchased.
It is recommended to retain your purchase receipt for warranty claims.