
1. Introduction
This manual provides essential information for the safe and efficient operation of your DROK AC 110V/220V to DC 0-12V 2A 25W Adjustable Switching Power Supply. Please read this manual thoroughly before use and retain it for future reference.
2. Safety Instructions
Always observe the following safety precautions to prevent injury or damage to the device:
- Ensure the input voltage switch (110V/220V) is correctly set before connecting to power. Incorrect setting can cause damage.
- Do not exceed the maximum output current (2A) or power (25W) to prevent overload.
- Connect the earth wire properly to prevent electric shock.
- Do not operate in wet or humid environments.
- Keep away from flammable materials.
- Do not disassemble or modify the power supply. Refer servicing to qualified personnel.
- Ensure adequate ventilation to prevent overheating.
3. Product Overview
The DROK Switching Power Supply is designed to convert AC input voltage (110V or 220V) to a stable and adjustable DC output voltage ranging from 0-12V. It features built-in protection mechanisms for safe operation.
3.1 Key Features
- Adjustable DC output voltage (0-12V, up to 15V max).
- AC 110V/220V input voltage selection.
- Overload protection.
- Overvoltage protection.
- Short circuit protection.
- Durable aluminum cover for effective heat dissipation and impact resistance.
3.2 Components

The power supply unit includes input terminals for AC power, output terminals for DC power, and an adjustable potentiometer for fine-tuning the output voltage. An LED display shows the output voltage.
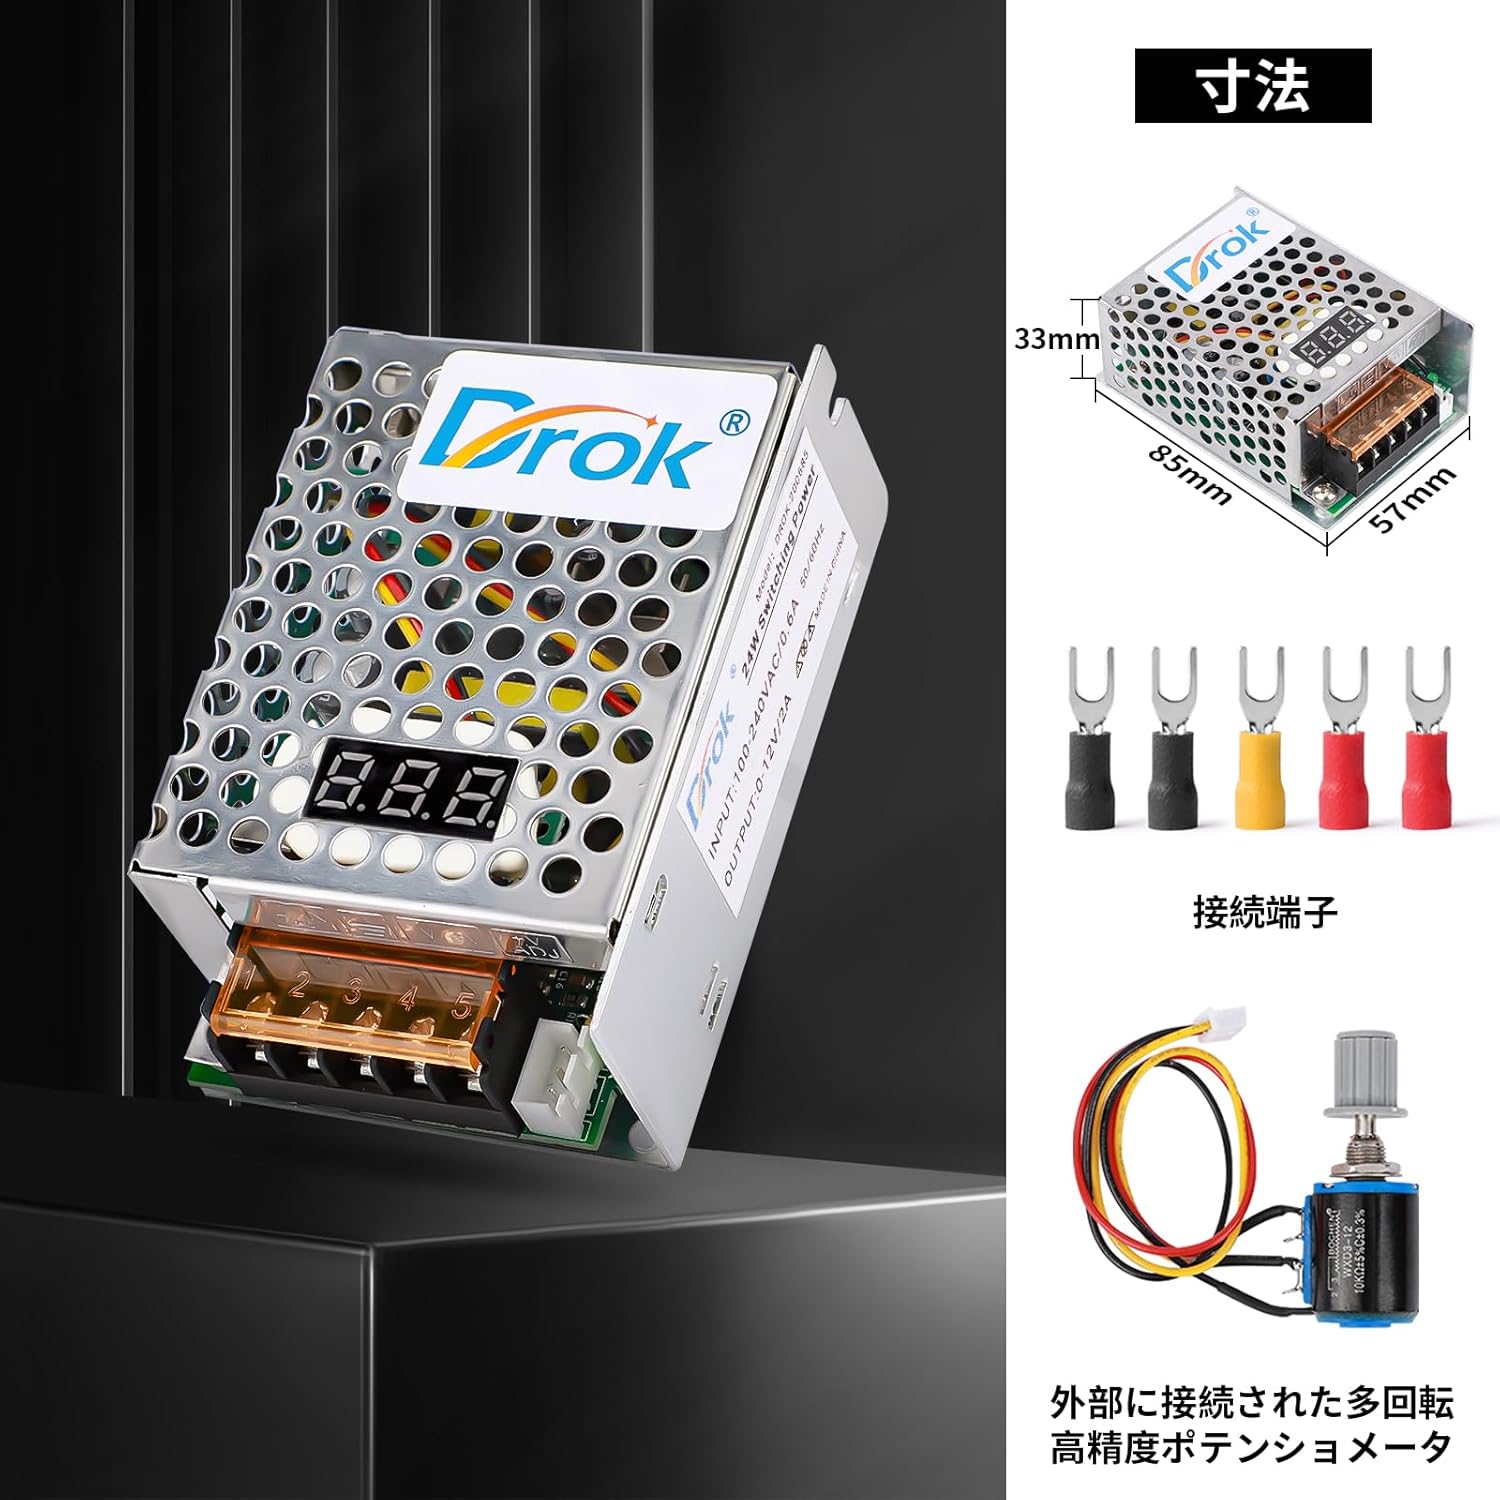
The external potentiometer allows for precise adjustment of the output voltage, offering greater control for various applications.

These integrated protection mechanisms safeguard both the power supply and connected devices from electrical faults.
4. Specifications
| Parameter | Value |
|---|---|
| Input Voltage | AC 110V/220V ±15% (Switchable) |
| Output Voltage | DC 0-12V (Adjustable, 15V Max) |
| Output Current | 2A |
| Output Power | 25W |
| Operating Temperature | -10°C to 50°C |
| Operating Humidity | 20% to 90% RH (non-condensing) |
| Dimensions | 85mm x 57mm x 33mm |
| Weight | 130g |
| Model Number | 200685_JPN |
5. Setup
Follow these steps to set up your power supply:
- Check Input Voltage Switch: Before connecting any power, locate the input voltage selector switch on the unit. Ensure it is set to either 110V or 220V, matching your local mains power supply.
Warning: Setting the switch incorrectly can cause severe damage to the power supply and connected devices.
- Wire Connections: Connect your AC input wires and DC output wires to the appropriate terminals. Refer to Figure 4 for terminal identification.

Figure 4: Detailed view of the terminal connections. Ensure correct wiring for Live (L), Neutral (N), Earth (GND), Negative (-), Positive (+), and ADJ for voltage adjustment. - AC Input: Connect the Live wire to 'L' and the Neutral wire to 'N'. Connect the Earth wire to the 'GND' terminal.
- DC Output: Connect the positive lead of your device to '+' and the negative lead to '-'.
- ADJ Potentiometer: If using the external potentiometer for voltage adjustment, connect it to the 'ADJ' terminals as shown.
- Secure Connections: Ensure all wire connections are tight and secure to prevent loose contacts and potential hazards.
6. Operating Instructions
Once the power supply is correctly wired and the input voltage switch is set:
- Power On: Connect the AC input to your mains power supply. The LED display on the unit should illuminate, showing the current output voltage.
- Adjust Output Voltage: Use the built-in or external ADJ potentiometer to adjust the DC output voltage to your desired level (0-12V). Turn clockwise to increase voltage, counter-clockwise to decrease.
- Monitor Output: Observe the LED display to confirm the output voltage. If connecting sensitive equipment, it is recommended to verify the voltage with a multimeter before connecting the load.
- Connect Load: Once the desired voltage is set, connect your DC-powered device to the output terminals. Ensure the device's current and power requirements do not exceed 2A and 25W, respectively.
- Power Off: To turn off the power supply, disconnect it from the AC mains.
6.1 Typical Applications

This power supply is versatile and can be used in various settings requiring a stable and adjustable DC power source.
7. Maintenance
To ensure the longevity and optimal performance of your DROK power supply:
- Keep the unit clean and free from dust. Use a soft, dry cloth for cleaning.
- Ensure proper ventilation. Do not block the ventilation holes.
- Store in a cool, dry place when not in use.
- Regularly check wire connections for tightness and signs of wear.
- Do not expose to extreme temperatures or direct sunlight.
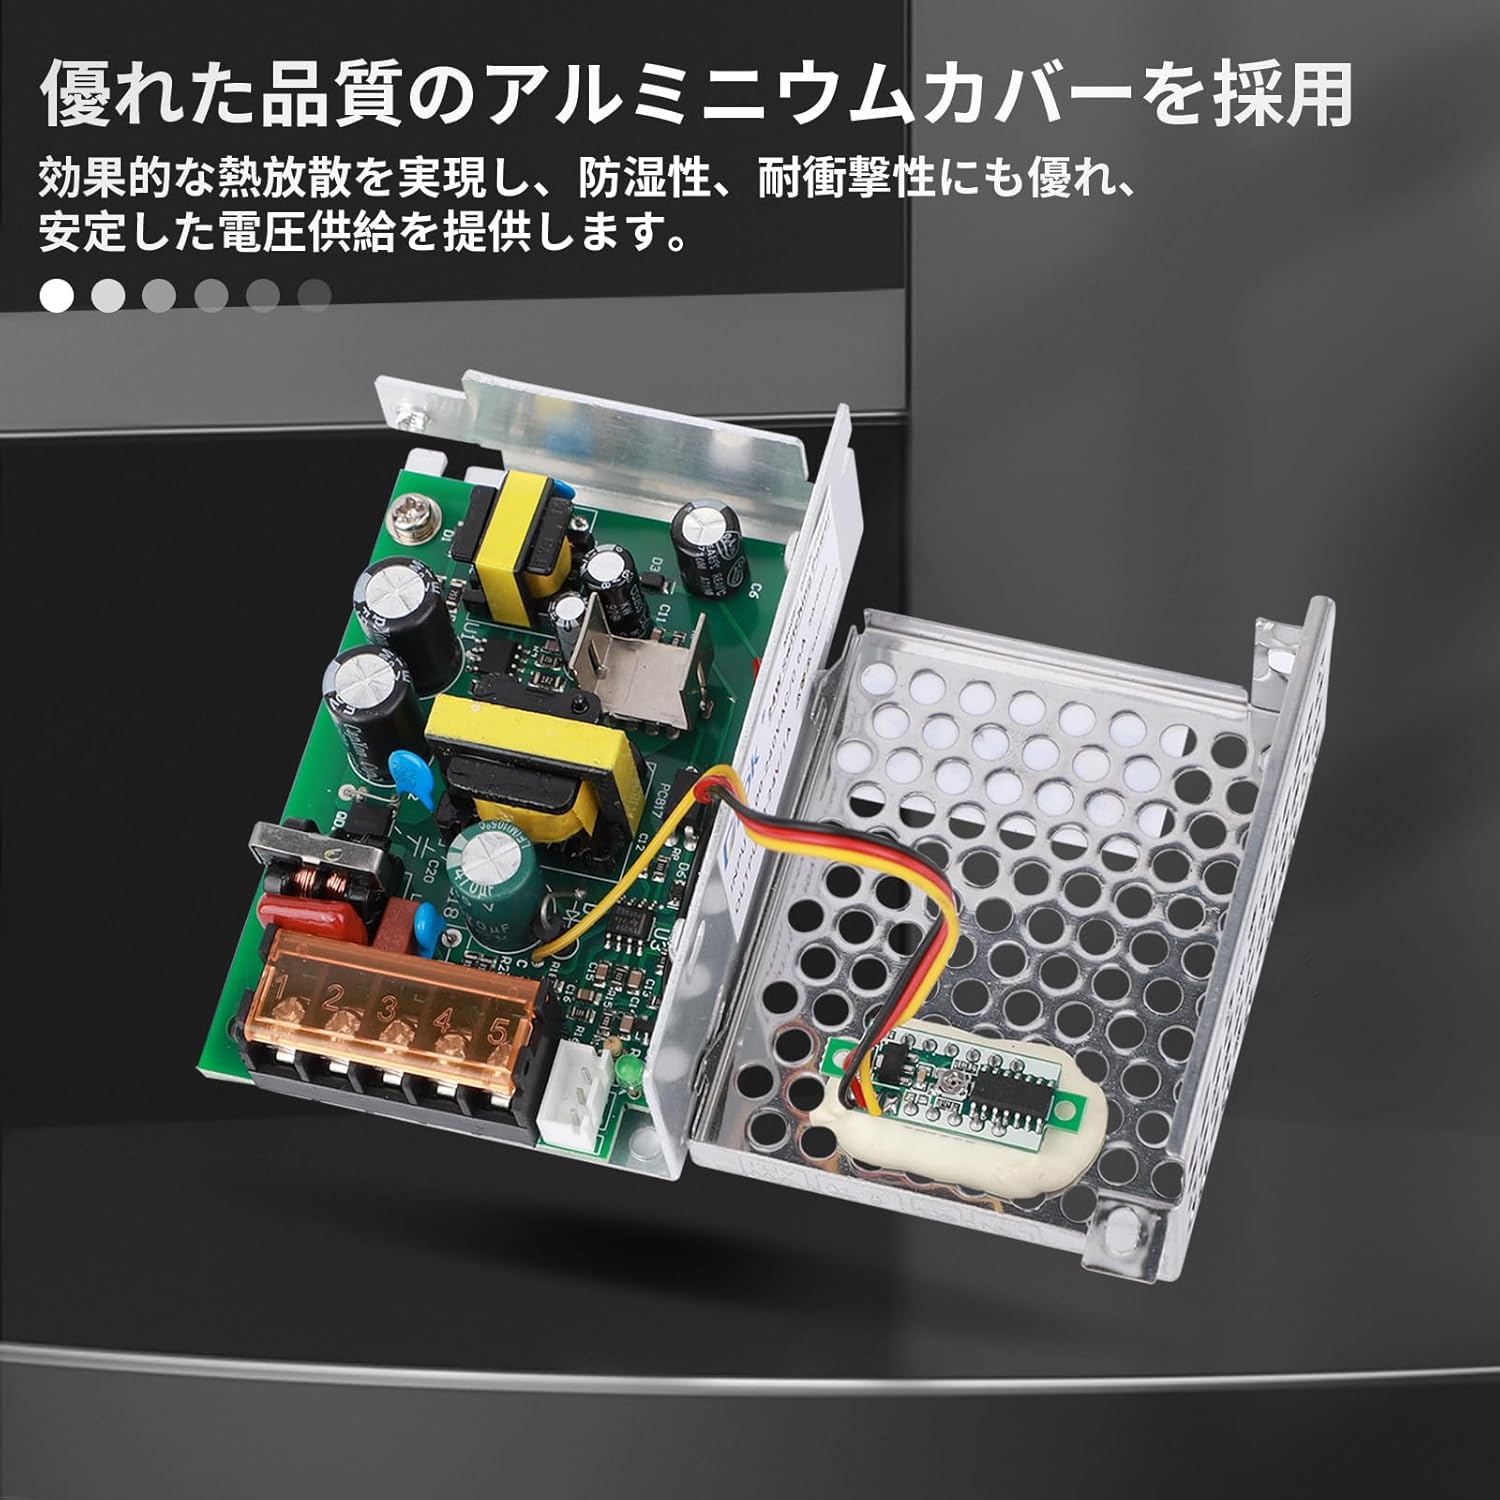
The robust aluminum casing provides protection and aids in thermal management, contributing to the device's reliability.
8. Troubleshooting
If you encounter issues with your power supply, refer to the following common problems and solutions:
| Problem | Possible Cause | Solution |
|---|---|---|
| No output voltage / LED display off | No AC input power, incorrect input voltage switch setting, loose connections, internal fault. | Check AC power source. Verify input voltage switch (110V/220V) is correct. Inspect all wiring for secure connections. If problem persists, contact support. |
| Output voltage unstable or fluctuating | Overload, faulty load, loose ADJ potentiometer connection, internal fault. | Reduce load to below 2A/25W. Disconnect load and test power supply independently. Check ADJ potentiometer wiring. |
| Power supply gets excessively hot | Insufficient ventilation, continuous overload, high ambient temperature. | Ensure clear airflow around the unit. Reduce load. Operate within specified temperature range. |
| Protection features (overload, short circuit) frequently activate | Load exceeding specifications, short circuit in connected device, incorrect wiring. | Verify load requirements are within 2A/25W. Check connected device for short circuits. Re-examine all wiring. |
9. Warranty and Support
DROK products are designed for reliability and performance. For warranty information or technical support, please contact your retailer or visit the official DROK website. Please have your model number (200685_JPN) and purchase details ready when contacting support.
For further assistance, you may refer to the product page on Amazon: Amazon Product Page


