
LUXOAK BMB007
Contents
LUXOAK Queen Size Lift Up Storage Bed Instruction Manual
Model: BMB007
Introduction
This manual provides comprehensive instructions for the assembly, operation, maintenance, and troubleshooting of your LUXOAK Queen Size Lift Up Storage Bed. Please read these instructions carefully before beginning assembly and retain this manual for future reference.
Safety Information
- Exercise caution around sharp edges during assembly and use.
- Do not exceed the maximum weight capacity of 1000 pounds.
- Always operate the gas lift mechanism carefully to prevent injury. Ensure hands and fingers are clear of moving parts.
- Assembly requires two adults. Do not attempt to assemble alone.
- Ensure all bolts and fasteners are securely tightened before use. Periodically check and retighten as necessary.
- Keep small parts and packaging materials away from children.
Package Contents
Before assembly, verify that all components listed below are present. If any parts are missing or damaged, please contact customer support.
- Headboard with integrated charging station
- Bed frame side panels (left, right, footboard)
- Gas lift mechanism components
- Metal support frame
- Wooden slats
- Hardware kit (bolts, screws, washers, Allen wrench)
- Anti-falling device for mattress retention
- Instruction manual
Setup and Assembly Instructions
Assembly typically requires two adults and can be completed within 30 minutes. All parts are labeled, and instructions are clear. Please follow the steps in order.
Step 1: Prepare the Area and Unpack
Clear a spacious area for assembly. Unpack all components and lay them out, verifying against the package contents list. Keep the hardware kit organized.
Step 2: Assemble the Headboard
Attach the headboard panels and support bars according to the detailed diagrams in your included paper manual. Ensure the charging station component is correctly oriented.

Image: Detail of the headboard featuring two AC outlets and two USB ports for convenient charging.
Step 3: Construct the Bed Frame Base
Connect the side panels and footboard to form the base of the bed frame. Use the provided hardware and tighten all connections securely. Do not overtighten.
Step 4: Install the Gas Lift Mechanism and Metal Frame
Attach the gas lift mechanisms to the bed frame and the metal support frame. Ensure the mechanisms are installed on both sides for balanced operation. Refer to the diagrams for correct orientation.
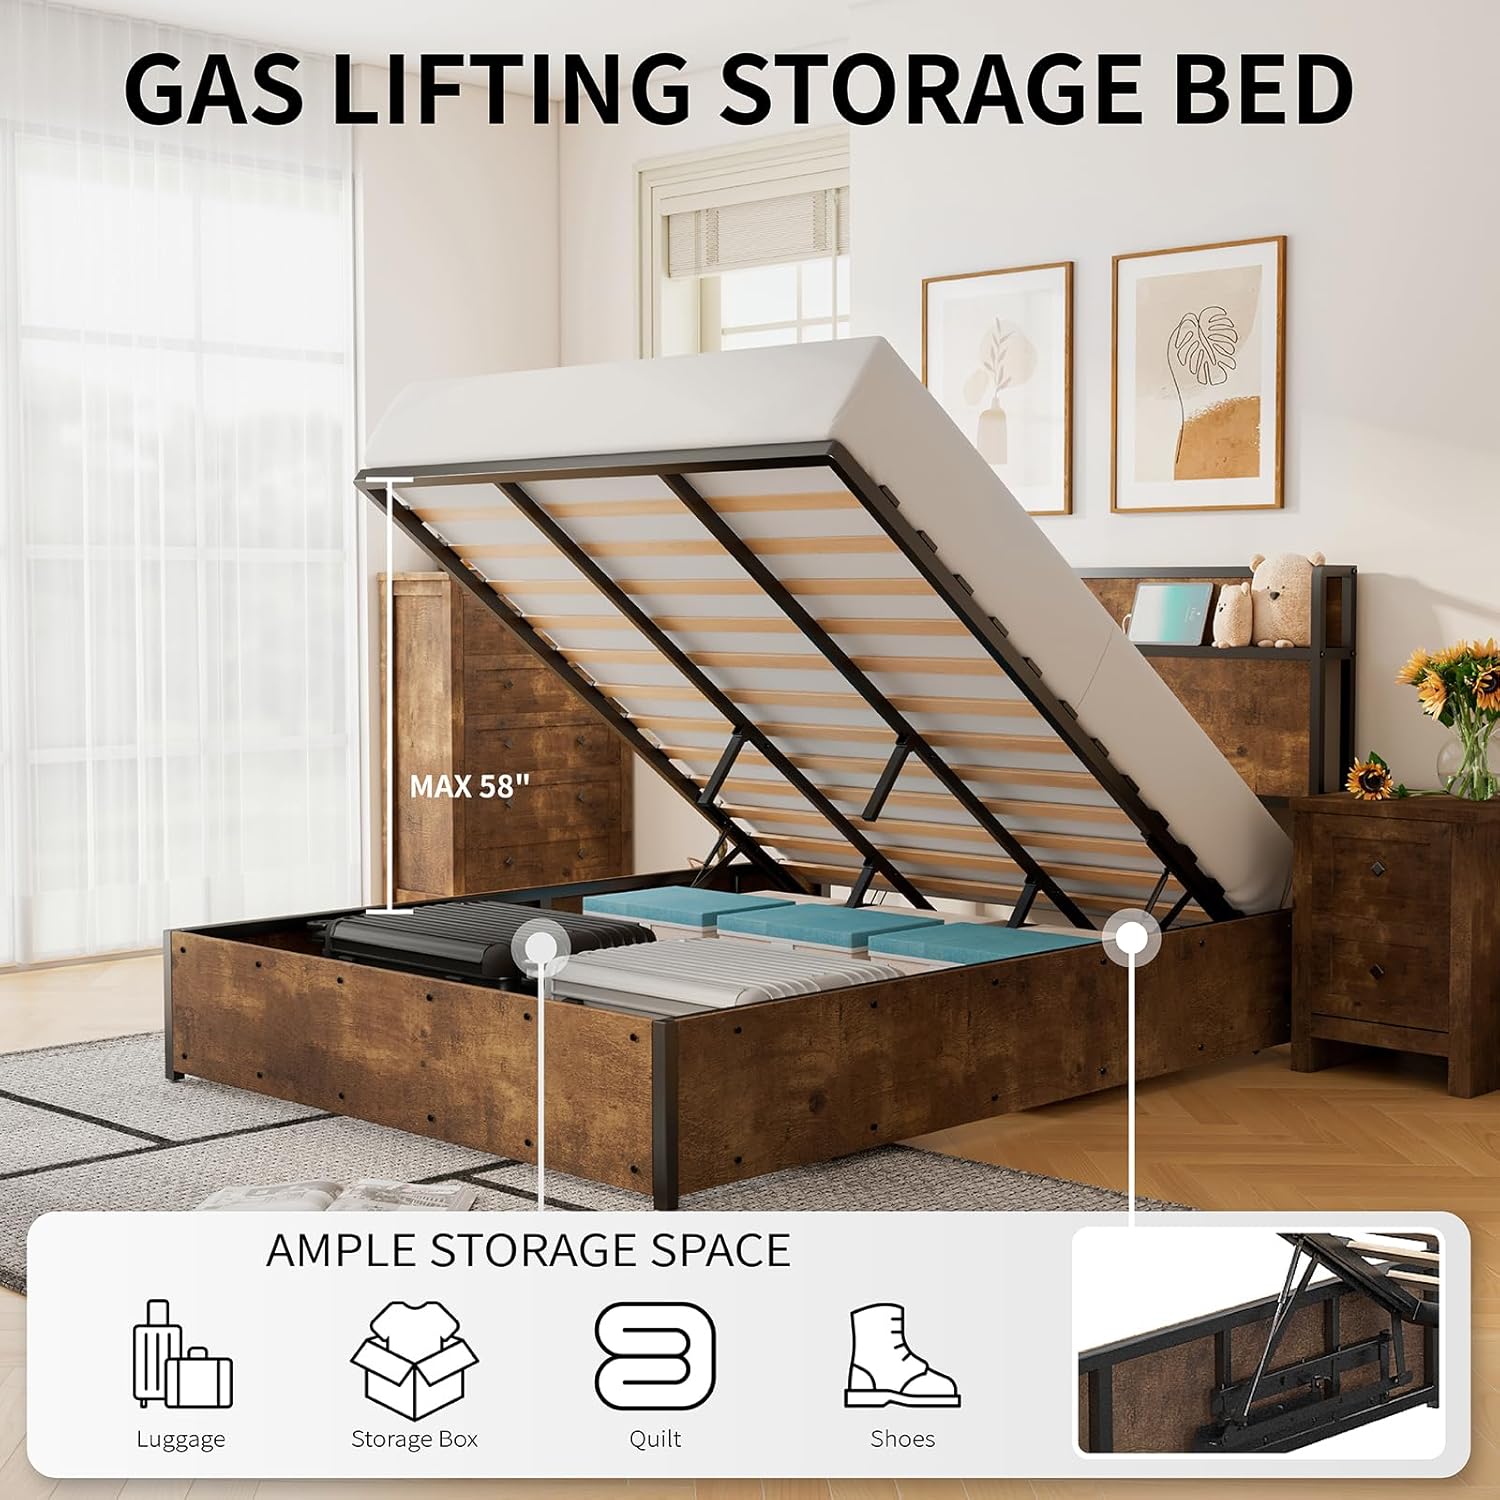
Image: Illustration of the gas lift design for easy access to storage and the anti-falling device to secure the mattress.
Step 5: Place the Wooden Slats
Insert the wooden slats into the designated slots on the metal support frame. The slats feature a snap-fit design for easy installation. Ensure all slats are firmly in place.
Step 6: Attach the Anti-Falling Device
Secure the anti-falling device at the foot of the bed frame. This device prevents the mattress from sliding when the bed is lifted.
Step 7: Final Checks
Double-check all connections to ensure they are tight and secure. Place your mattress on the bed frame. The bed is now ready for use.
Operating Instructions
Using the Gas Lift Storage
To access the under-bed storage, firmly grasp the handle or edge of the bed frame at the foot end. Lift the frame upwards. The gas lift mechanism will assist in raising and holding the mattress and frame in an open position, providing easy access to the storage space. To close, gently pull the frame downwards until it rests securely on the base. Ensure no objects or body parts are in the way of the closing mechanism.

Image: The bed frame with the mattress lifted, showcasing the large storage area beneath.

Image: Visual representation of the ample storage capacity under the gas lift bed.
Using the Charging Station
The headboard features an integrated charging station with two 120V/12A AC outlets and two 5V/2A USB ports. Connect the bed's power cord to a standard wall outlet. You can then plug in your electronic devices such as phones, tablets, or lamps directly into the headboard for convenient power access.

Image: The headboard shelf with devices charging, highlighting the convenience of the built-in power outlets.
Maintenance
- Cleaning: Wipe down the bed frame with a soft, damp cloth. Avoid harsh chemicals or abrasive cleaners that may damage the finish.
- Hardware Check: Periodically inspect all bolts and screws to ensure they remain tight. Retighten as needed to maintain stability and prevent squeaking.
- Gas Lift Mechanism: Keep the gas lift components free from dust and debris. Do not apply lubricants unless specifically instructed by the manufacturer.
- Charging Station: Ensure the power cord is not pinched or damaged. Do not overload the outlets.
Troubleshooting
Gas Lift Mechanism is Stiff or Difficult to Lower
The gas lift pistons are designed to be stiff when new and require the weight of a mattress to operate correctly. If the mechanism feels too stiff or difficult to lower after placing the mattress, ensure the mattress is fully seated on the frame. The gas lifts are calibrated to support the weight of a standard mattress, and without sufficient weight, they will resist closing. Apply firm, even downward pressure to initiate closing. If issues persist, verify that the gas lifts are installed correctly according to the assembly instructions.
Bed Frame Squeaks
Squeaking often indicates loose connections. Carefully inspect all bolts and screws throughout the bed frame, including those connecting the headboard, side rails, and support beams. Tighten any loose hardware. Ensure all wooden slats are properly seated and not rubbing against the metal frame.
Charging Station Not Working
- Check Power Connection: Ensure the bed's power cord is securely plugged into a functional wall outlet.
- Test Outlet: Plug another device into the wall outlet to confirm it is supplying power.
- Inspect Cord: Check the power cord for any visible damage or kinks.
- Device Compatibility: Ensure your device is compatible with the charging station's specifications (120V/12A for AC, 5V/2A for USB).
Specifications
| Model Number | BMB007 |
| Brand | LUXOAK |
| Size | Queen |
| Product Dimensions (L x W x H) | 88" x 62.5" x 39.5" |
| Item Weight | 117.5 pounds |
| Weight Capacity | 1000 pounds |
| Color | Rustic Brown |
| Material | Wood, Metal |
| Special Features | Gas Lift Storage, Storage Headboard, Built-in Charging Station (2 AC Outlets, 2 USB Ports), Squeak Resistant Design |
| Assembly Required | Yes |
| Compatible Mattress Size | Queen |
| Recommended Mattress Height | 10-14 inches |
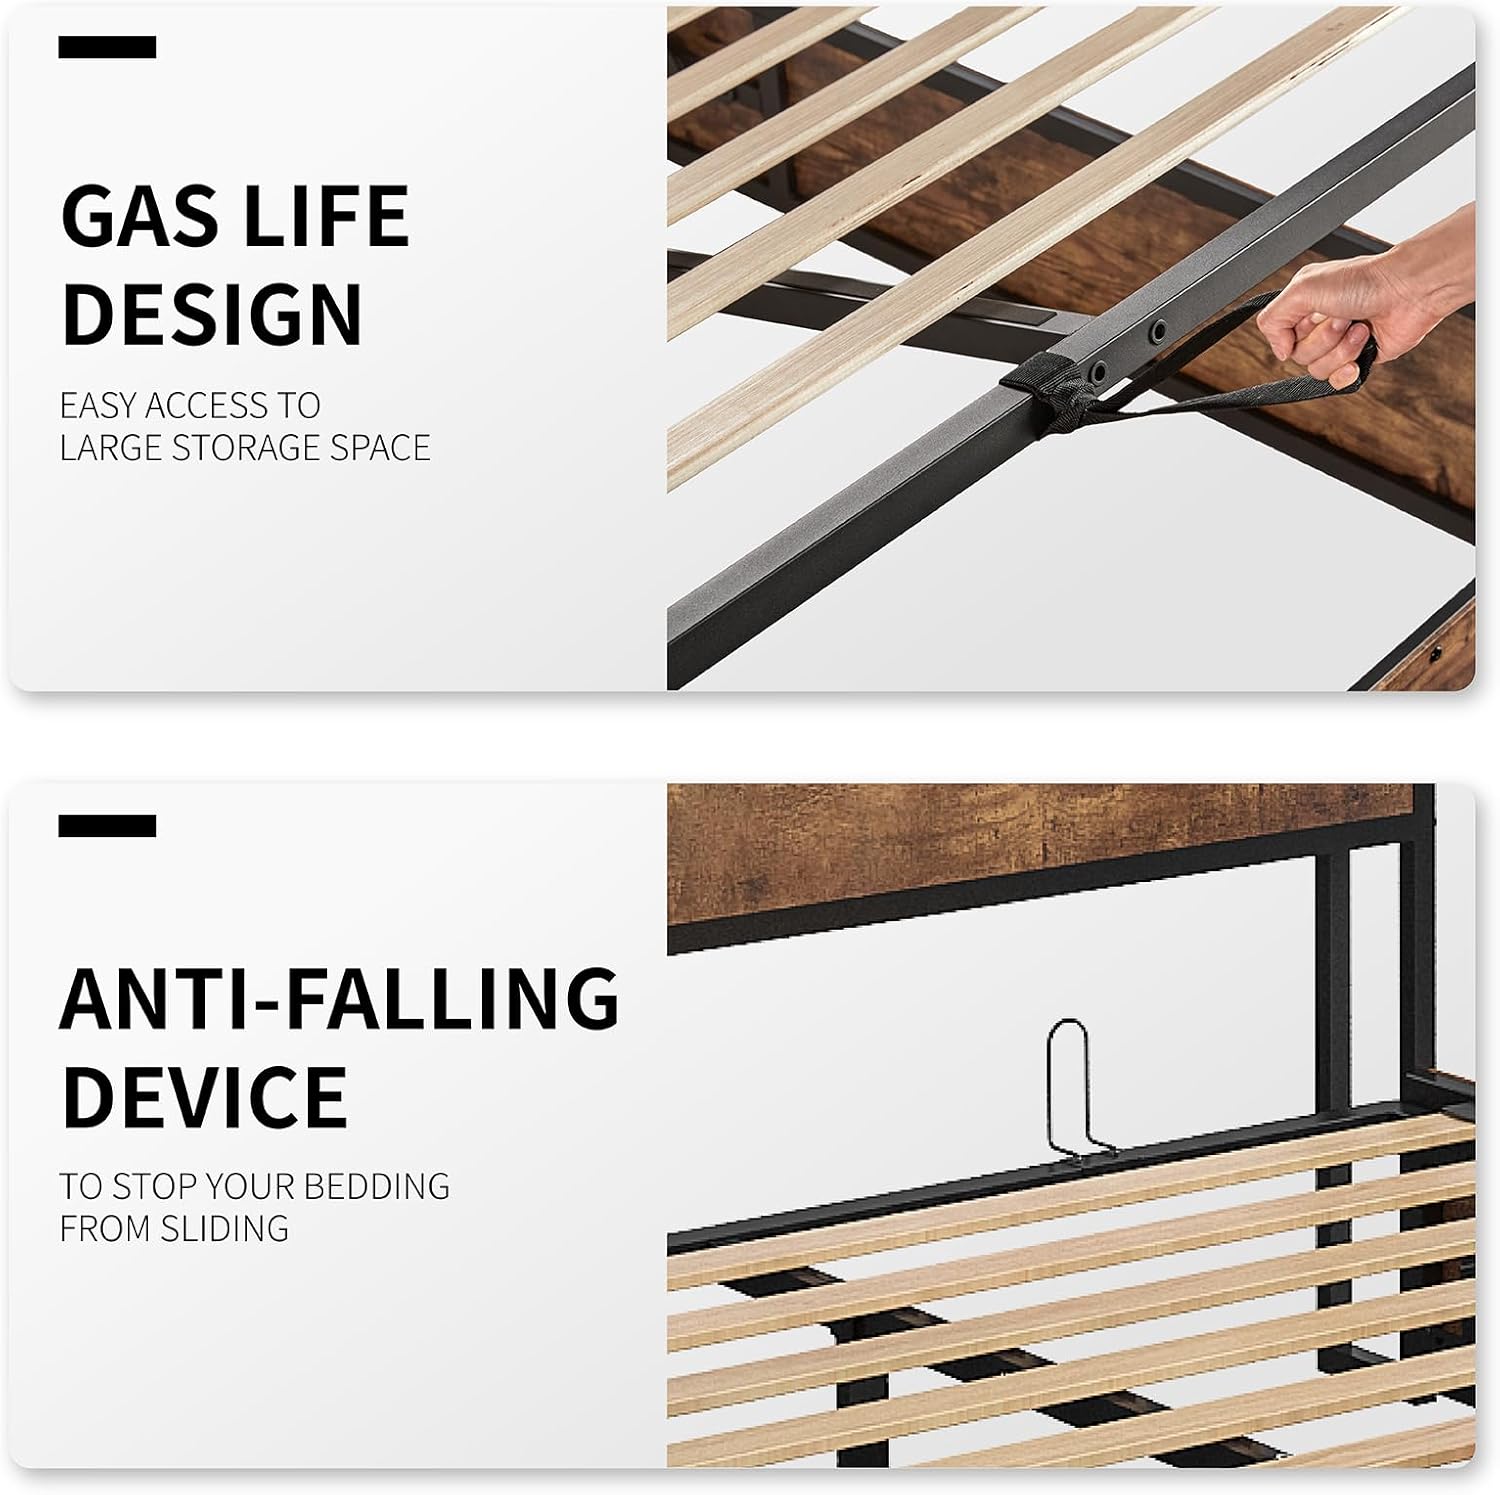
Image: Detailed dimensions and weight capacity of the LUXOAK Queen Size Lift Up Storage Bed.
Warranty and Customer Support
For any questions, missing parts, or assistance with your LUXOAK product, please contact our customer support team. Refer to your purchase documentation for specific warranty details. We are committed to providing support for your product.
Contact Information: Please refer to the seller's contact information on your purchase platform or the packaging for direct support.
Ask a question about this manual
Ask about setup, troubleshooting, compatibility, parts, safety, or missing instructions. Manuals+ will review the question and use this page’s manual context to help answer it.