1. Introduction
This manual provides detailed instructions for the KODAK Mini Shot 4 ERA 4PASS 2-in-1 Instant Camera and Photo Printer. It covers essential information regarding product setup, operation, maintenance, and troubleshooting to ensure optimal performance and user experience. Please read this manual thoroughly before using your device.

Image: The KODAK Mini Shot 4 ERA camera, a 60-sheet cartridge, and example 4x4 inch instant prints.
2. What's in the Box
Verify that all items are present in your package:
- KODAK Mini Shot 4 ERA Camera
- Initial Ink Cartridge (for 10 sheets)
- 60 Sheets of Photo Paper
- Strap
- Power Adapter
- Power Cord
- Quick Start Manual
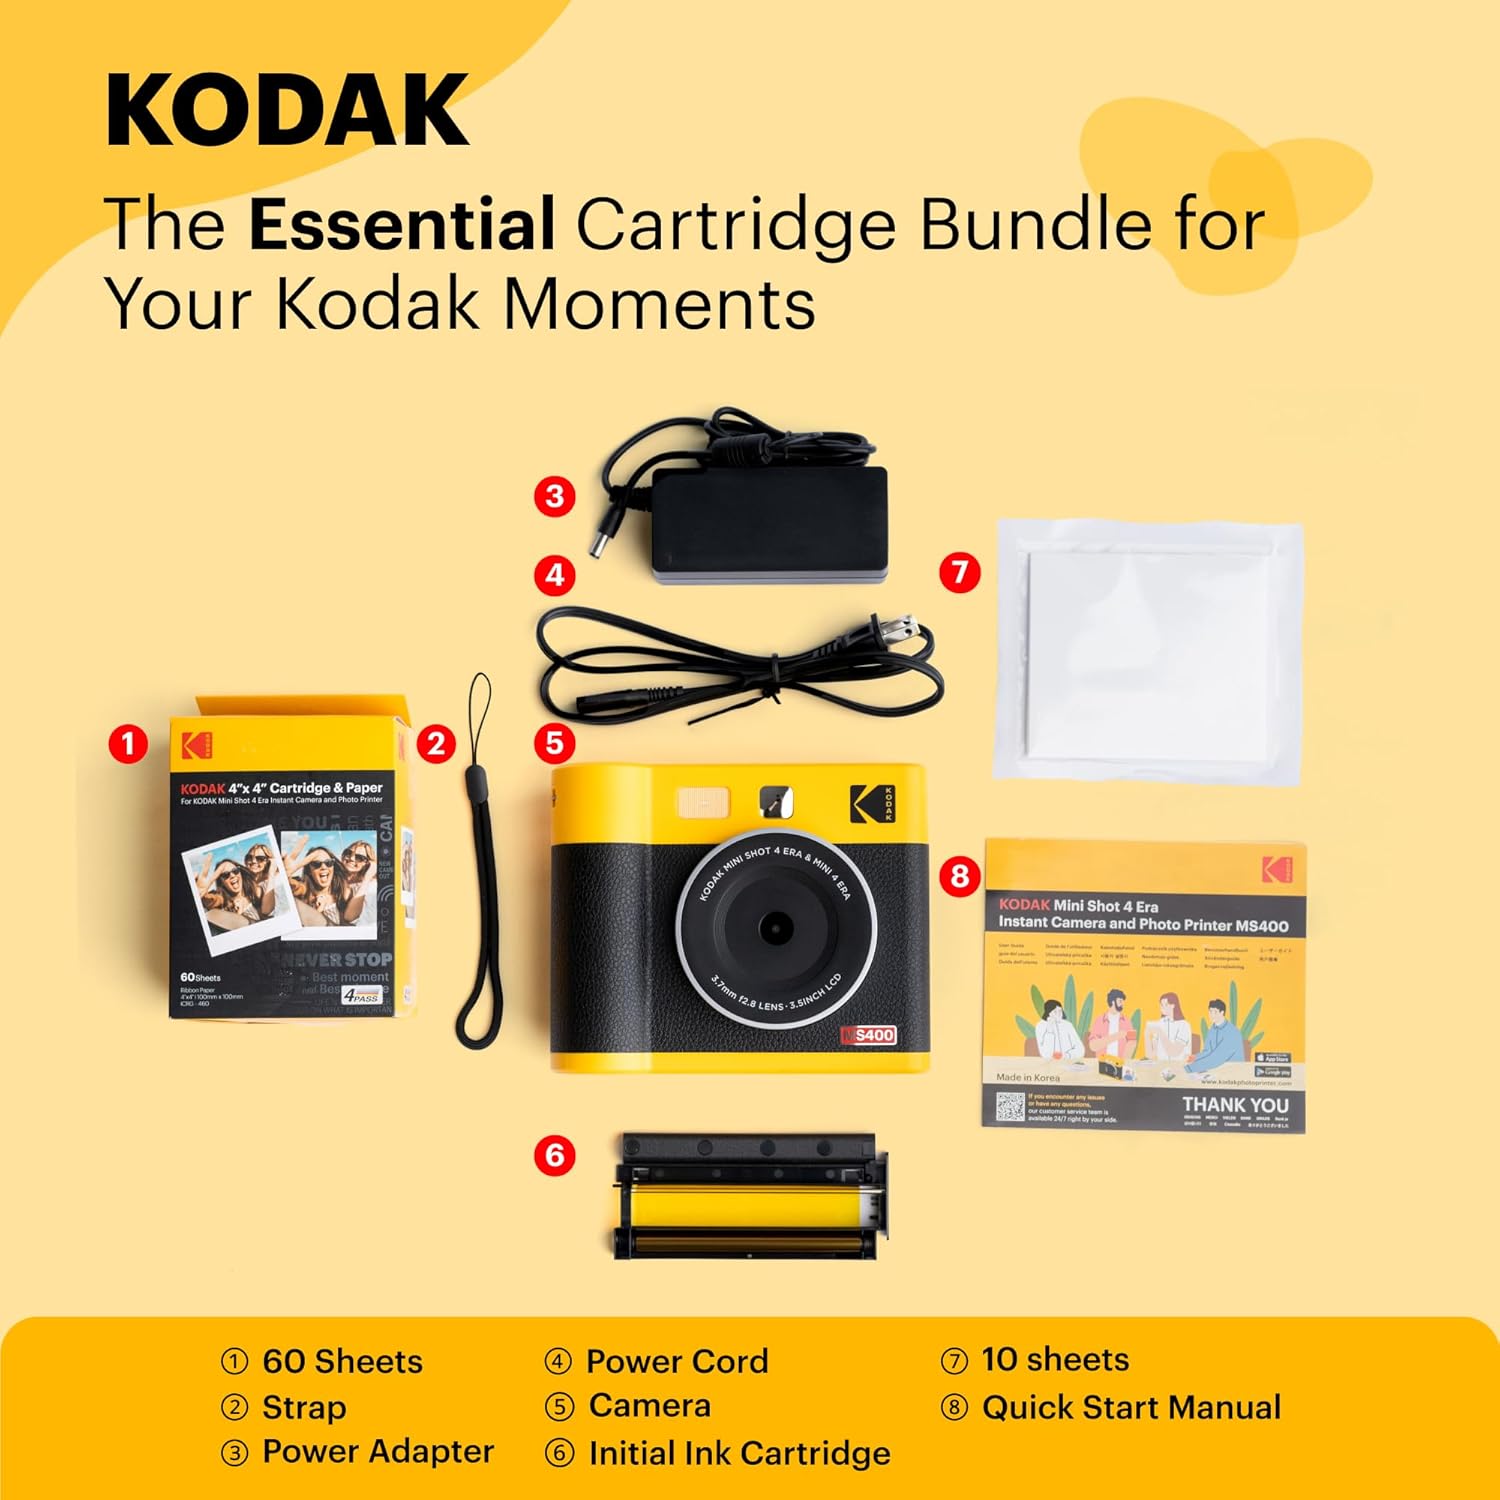
Image: All components included in the KODAK Mini Shot 4 ERA package.
3. Product Overview
3.1 Key Features
- 4x4 Inch Instant Prints: Produces square 4x4 inch instant photos.
- 2-in-1 Functionality: Operates as both a standalone instant camera and a portable photo printer.
- 4PASS Printing Technology: Utilizes a dye-sublimation process for 34-bit, 16.7 million color prints with enhanced saturation. Prints are laminated, fingerprint-resistant, and water-resistant.
- Auto Focus & Face Detection: Features automatic focusing and face detection for clear and sharp images.
- Bluetooth Connectivity: Connects wirelessly to Apple iPhone, iPad, and Android devices for printing photos from your mobile gallery.

Image: The KODAK Mini Shot 4 ERA functioning as both an instant camera and a Bluetooth printer.
4. Initial Setup
4.1 Charging the Device
Before first use, fully charge the KODAK Mini Shot 4 ERA. Connect the provided power adapter and cord to the device and a power outlet. The charging indicator light will show the charging status.
4.2 Inserting the Cartridge and Paper
- Open the cartridge cover on the side of the device.
- Insert the photo paper stack into the paper tray, ensuring the glossy side faces up.
- Insert the ink cartridge into its designated slot until it clicks into place.
- Close the cartridge cover securely.
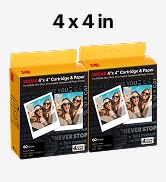
Image: Step 1 - Inserting photo paper.
Image: Steps 2 & 3 - Inserting the ink cartridge.
4.3 Powering On/Off
To power on the device, press and hold the power button until the screen illuminates. To power off, press and hold the power button again until the device shuts down.
5. Camera Operation
5.1 Taking a Photo
- Ensure the device is powered on and a cartridge is loaded.
- Frame your shot using the LCD screen.
- Press the shutter button to capture the image.
- The device will automatically begin printing the photo.
5.2 Auto Focus and Face Detection
The camera features automatic focus and face detection to help ensure subjects are sharp and clear. These functions operate automatically when composing your shot.

Image: Auto Focus demonstration.

Image: Face Detection demonstration.
5.3 Applying Filters
The camera offers various filters to enhance your photos. Navigate through the menu options using the device controls to select filters such as Retro, Vivid, Black & White, or Sepia before taking a picture.

Image: Examples of various photo filters available.
6. Printer Operation
6.1 Connecting via Bluetooth
- Ensure the KODAK Mini Shot 4 ERA is powered on.
- Enable Bluetooth on your mobile device (smartphone or tablet).
- Open the KODAK app on your mobile device.
- Follow the in-app instructions to pair with your KODAK Mini Shot 4 ERA.

Image: Printing a photo from a smartphone via Bluetooth.
6.2 Printing from a Mobile Device
Once connected via Bluetooth, you can select photos from your mobile device's gallery within the KODAK app. Choose the desired image and initiate the print command. The device will process and print the photo.
6.3 KODAK App
The KODAK app provides additional features and controls for your device, including photo editing, filter options, and print management. Download the app from your device's app store.

Image: QR codes for KODAK app download.
7. Printing Details
7.1 4PASS Technology
The KODAK Mini Shot 4 ERA uses 4PASS (dye-sublimation) technology, which applies yellow, magenta, and cyan dyes in successive layers, followed by a protective overcoat. This process ensures vibrant colors, sharp details, and a durable finish that is resistant to fingerprints and water.

Image: Illustration of the 4PASS printing layers.

Image: Water-resistant print example.
7.2 Print Size and Options
The device produces 4x4 inch square prints. You can choose between bordered or borderless prints through the device settings or the KODAK app.

Image: Borderless vs. Bordered 4x4 inch prints.
8. Maintenance
8.1 Cleaning the Device
To maintain optimal performance, regularly clean the exterior of the device with a soft, dry cloth. Avoid using liquid cleaners or abrasive materials. Do not attempt to clean the internal components unless specifically instructed.
8.2 Replacing Cartridges
When the ink or paper runs out, the device will indicate that the cartridge needs replacement. Follow the steps in Section 4.2 to replace the used cartridge with a new one. Ensure you use genuine KODAK 4PASS cartridges for the KODAK Mini Shot 4 ERA.
9. Troubleshooting
If you encounter issues with your KODAK Mini Shot 4 ERA, refer to the following common problems and solutions:
| Problem | Possible Cause | Solution |
|---|---|---|
| Device does not power on | Low battery; Power button not pressed correctly | Charge the device fully; Press and hold the power button firmly. |
| Poor print quality (streaks, faded colors) | Ink cartridge low or empty; Damaged cartridge; Dirty print head | Replace the ink cartridge; Ensure cartridge is correctly installed; Contact support if issues persist. |
| Cannot connect via Bluetooth | Bluetooth off on mobile device; Device not in pairing mode; Interference | Ensure Bluetooth is enabled; Restart both devices; Move closer to the printer; Check KODAK app for pairing instructions. |
| Paper jam | Incorrect paper loading; Foreign object in paper path | Carefully remove any jammed paper; Ensure paper is loaded correctly and not overfilled. |
| Error message on screen | Specific error condition | Refer to the Quick Start Manual or KODAK app for specific error code meanings and solutions. |
10. Technical Specifications
| Model Name | Mini Shot 4 ERA |
| Item Model Number | MS400 |
| Brand | KODAK |
| Film Format Type | Instant |
| Film Color | Colored |
| Compatible Devices | Smartphone |
| Min Shutter Speed | 0.0005 seconds |
| Max Shutter Speed | 30 seconds |
| Batteries | 1 Lithium Ion battery (included) |
| Item Weight | 4.2 pounds (1905 Grams) |
| Package Dimensions | 15.39 x 8.27 x 3.74 inches |
| Manufacturer | Prinics Co.Ltd |
| Date First Available | September 12, 2023 |
| UPC | 192143004332 |
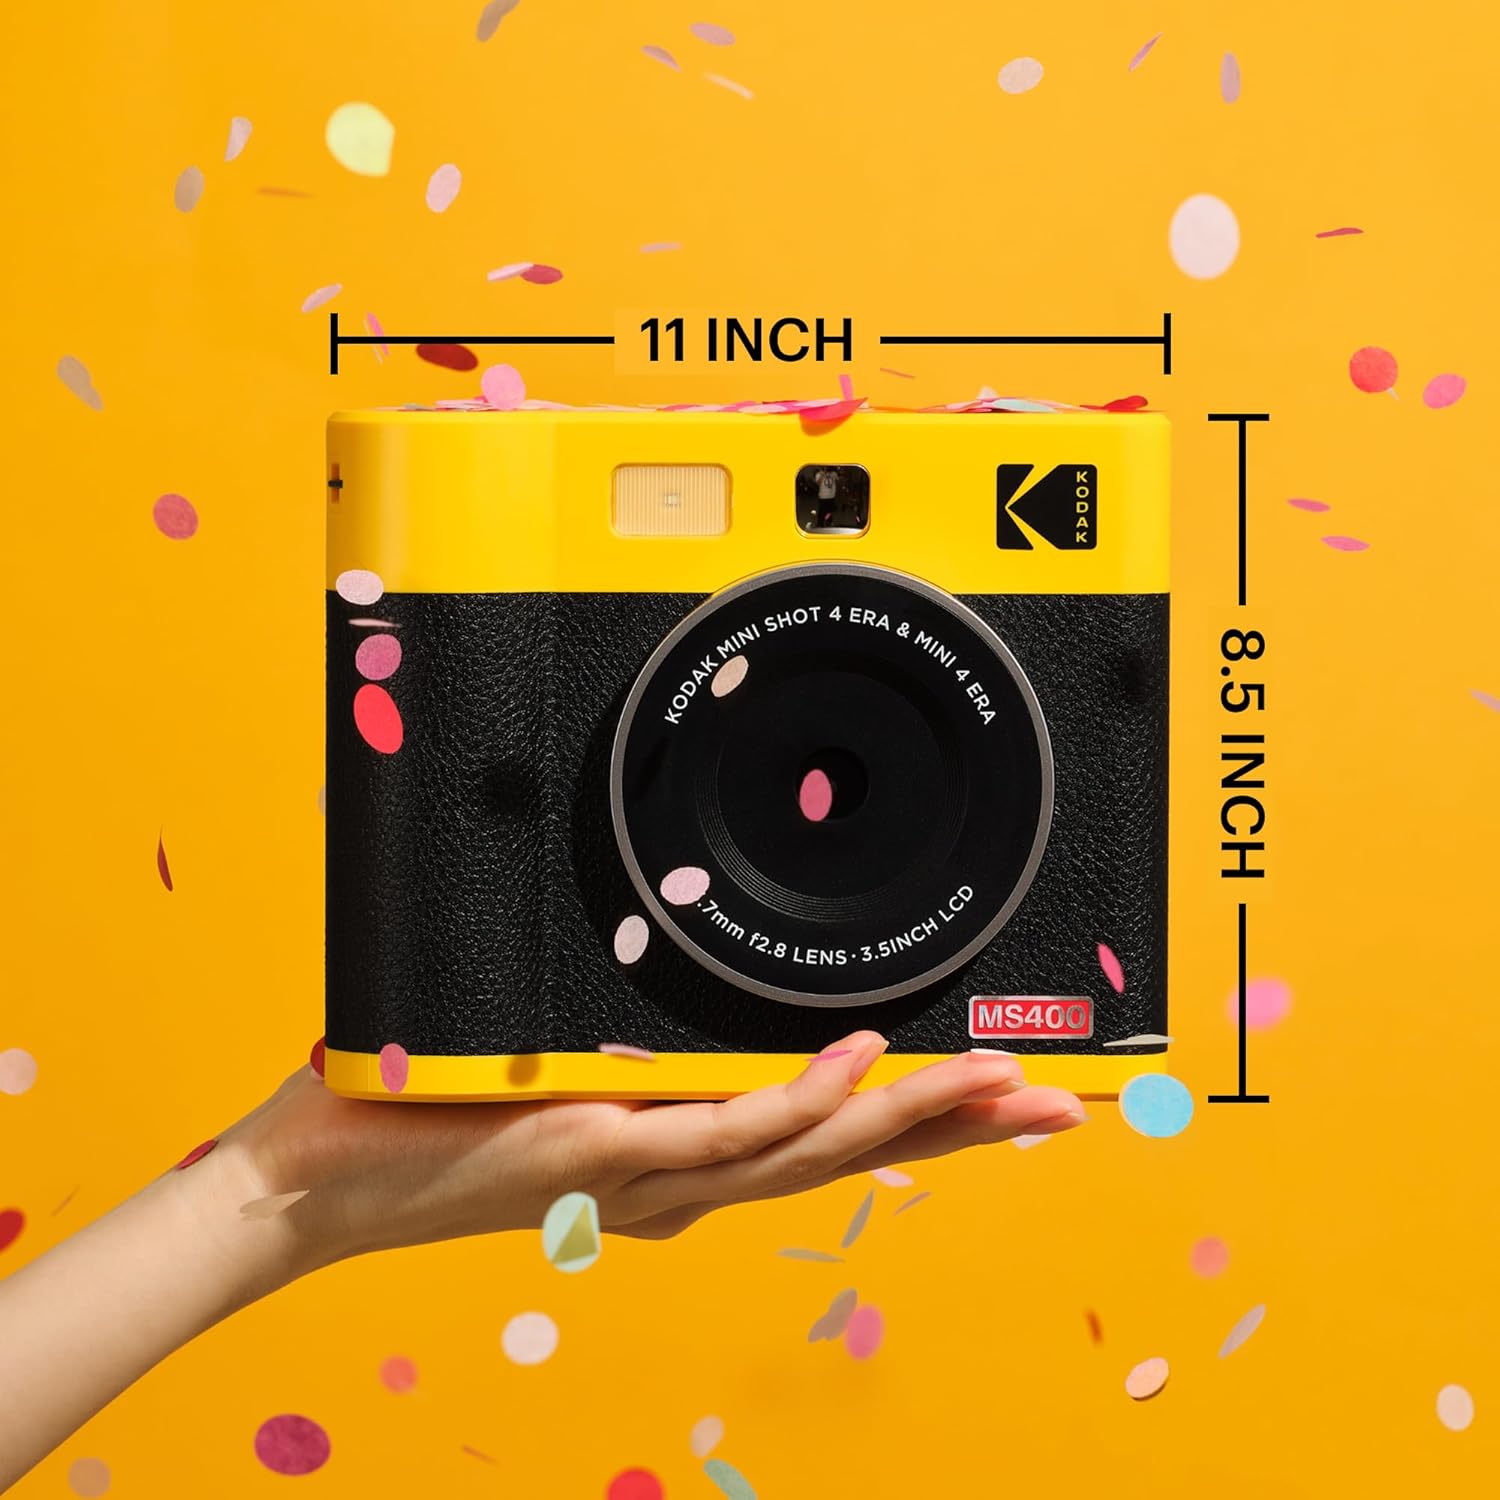
Image: Approximate dimensions of the KODAK Mini Shot 4 ERA.
11. Safety Information
- Do not disassemble, repair, or modify the device.
- Keep the device away from water and moisture.
- Avoid exposing the device to extreme temperatures or direct sunlight.
- Use only KODAK-approved accessories and power adapters.
- Keep out of reach of children.
12. Environmental Responsibility
KODAK is committed to environmental sustainability. The Mini Shot 4 ERA incorporates features designed to reduce environmental impact:
- Recyclable Cartridges: Ink cartridges are made from 100% recycled plastic.
- USB-C Charging: Utilizes a common USB-C cable, reducing electrical waste from proprietary chargers.
- Recycled Packaging: Product packaging is made from recycled paper.

Image: Recyclable cartridges.

Image: USB-C charging port.

Image: Recycled paper packaging.
13. Warranty and Support
For warranty information and customer support, please refer to the warranty card included with your product or visit the official KODAK support website. Keep your proof of purchase for warranty claims.