
Introduction
Thank you for purchasing the Mesqool Projection Alarm Clock. This manual provides detailed instructions for the proper setup, operation, and maintenance of your new device. Please read this manual thoroughly before use and retain it for future reference.
Important Safety Instructions
- Do not expose the device to extreme temperatures, direct sunlight, or high humidity.
- Avoid dropping or subjecting the device to strong impacts.
- Use only the provided power adapter or a compatible Type-C power source.
- Do not attempt to disassemble or repair the device yourself. Contact customer support for assistance.
- Keep the device away from water or other liquids.
Package Contents
- Mesqool Projection Alarm Clock
- Power Adapter (USB Type-C cable and wall adapter)
- User Manual
Product Overview
Familiarize yourself with the main components and controls of your alarm clock.
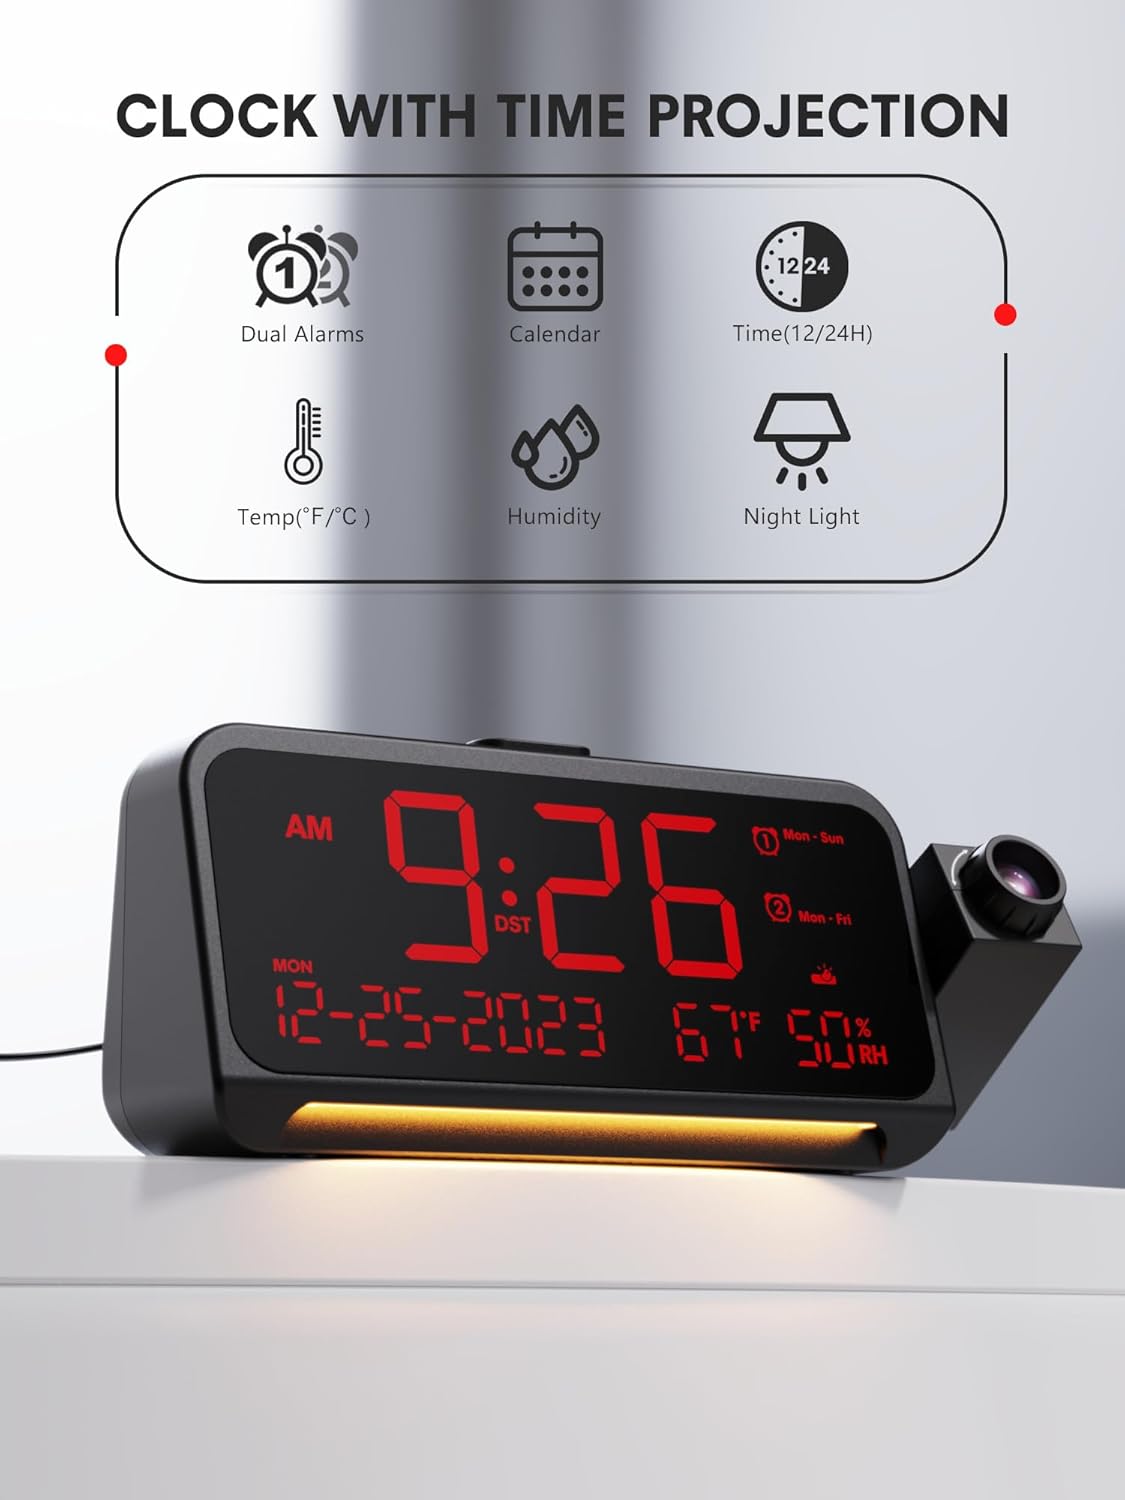
Figure 1: Front View and Key Features
This image shows the front of the Mesqool Projection Alarm Clock, highlighting its main display with time, date, temperature, and humidity. Icons above the clock indicate its features: dual alarms, calendar, 12/24-hour format, temperature, humidity, and night light.
Control Buttons:
- TIME SET: Press to enter time setting mode.
- AL1/AL2: Press to set Alarm 1 or Alarm 2.
- VOL: Adjust alarm volume.
- SNOOZE/OK/DIM: Snooze alarm, confirm settings, or adjust display brightness.
- +/-: Adjust values up or down.
- PROJECTION ON/OFF: Toggle projection.
- PROJECTION ROTATION/FLIP: Adjust projection orientation.
- FOCUS RING: Adjust projection clarity.
Setup
1. Power Connection
- Connect the provided USB Type-C cable to the Type-C port on the back of the alarm clock.
- Plug the other end of the USB cable into the wall adapter, then plug the adapter into a standard electrical outlet.
- The display will light up, indicating the clock is powered on.
2. Initial Time Setting
Upon first power-on, the clock may display a default time. Follow the 'Setting Time and Date' instructions in the Operating section to set the correct time.
Operating Instructions
1. Setting Time and Date
- Press and hold the TIME SET button for 3 seconds to enter time setting mode. The hour digit will flash.
- Use the +/- buttons to adjust the hour. Press TIME SET to confirm.
- Repeat for minutes, year, month, and day.
- After setting the date, you can select 12-hour or 24-hour format using the +/- buttons. Press TIME SET to confirm.
- Finally, set Daylight Saving Time (DST) ON or OFF. Press TIME SET to exit.

Figure 2: Display Formats and Dimensions
This image provides the physical dimensions of the alarm clock (7.87 inches length, 3.15 inches height, 1.18 inches depth). It also shows examples of the 12-hour, 24-hour, and Daylight Saving Time (DST) display formats.
2. Setting Alarms (Dual Alarms, Modes, Snooze)
The clock supports two independent alarms (AL1 and AL2).
- Press and hold the AL1 or AL2 button for 3 seconds to enter alarm setting mode. The hour digit will flash.
- Use the +/- buttons to adjust the hour. Press AL1/AL2 to confirm.
- Repeat for minutes.
- Select the alarm mode: Mon-Sun (every day), Mon-Fri (weekdays), Sat-Sun (weekends), or One-time. Use +/- and confirm with AL1/AL2.
- To adjust alarm volume, press the VOL button during alarm setting or when the alarm is sounding. There are 7 levels.
- To activate/deactivate an alarm, short press AL1 or AL2. An alarm icon will appear/disappear on the display.

Figure 3: Alarm Settings and Modes
This image depicts the alarm clock in a bedroom setting, displaying '7:20 AM'. Graphics highlight its 7-level adjustable alarm volume (ranging from 45dB to 116dB) and four customizable alarm modes: Monday-Sunday, Monday-Friday, Saturday-Sunday, and One-time.
Snooze Function:
When the alarm sounds, press the SNOOZE/OK/DIM button to activate snooze. The alarm will pause for 9 minutes and then sound again. To turn off the alarm completely, press any other button.
3. Adjusting Display Brightness
The main LED display has 5 brightness levels.
- Short press the SNOOZE/OK/DIM button repeatedly to cycle through the 5 brightness levels (brightest to off).

Figure 4: Display Dimmer Levels
This image demonstrates the clock's 5-level adjustable dimmer feature, showing the main LED display at two different brightness settings to illustrate customization options for optimal viewing comfort.
4. Using the Projection Feature
The clock can project the time onto a wall or ceiling.

Figure 5: Clear Time Projection
The alarm clock is shown projecting the time '23:50' onto a wall, demonstrating its clear time projection feature in a bedroom environment.

Figure 6: Ceiling Projection Features
This image illustrates the clock projecting time onto a bedroom ceiling. It highlights key projection features: optional projection distance of 4.9-9.8 feet, 350-degree adjustable projector, 180-degree flip of projection time, focus ring for clarity, and 5 adjustable projection brightness levels.
- Turn On/Off: Press the PROJECTION ON/OFF button to toggle the projection.
- Adjust Brightness: Short press the PROJECTION ON/OFF button repeatedly to cycle through 5 projection brightness levels.
- Rotate Projection: The projector arm can be swiveled 350 degrees manually to direct the time onto your desired surface.
- Flip Projection: Press the PROJECTION ROTATION/FLIP button to flip the projected image 180 degrees, ensuring correct orientation.
- Adjust Focus: Rotate the FOCUS RING on the projector lens to achieve a clear and sharp image. Optimal projection distance is 4.92-9.84 feet.

Figure 7: Projection Customization
This image provides a close-up view of the projection mechanism, illustrating its customizable features including an optimal projection distance of 4.92-9.84 feet, time flip function, 350-degree rotatable projector, adjustable focus ring for clarity, and five levels of projection brightness.
5. Using the Night Light
The clock features a soft LED night light at its base.
- Press the dedicated Night Light button (if available, otherwise refer to general controls) to turn the night light on.
- Press again to cycle through brightness levels (Off, Medium, Full) or turn it off.
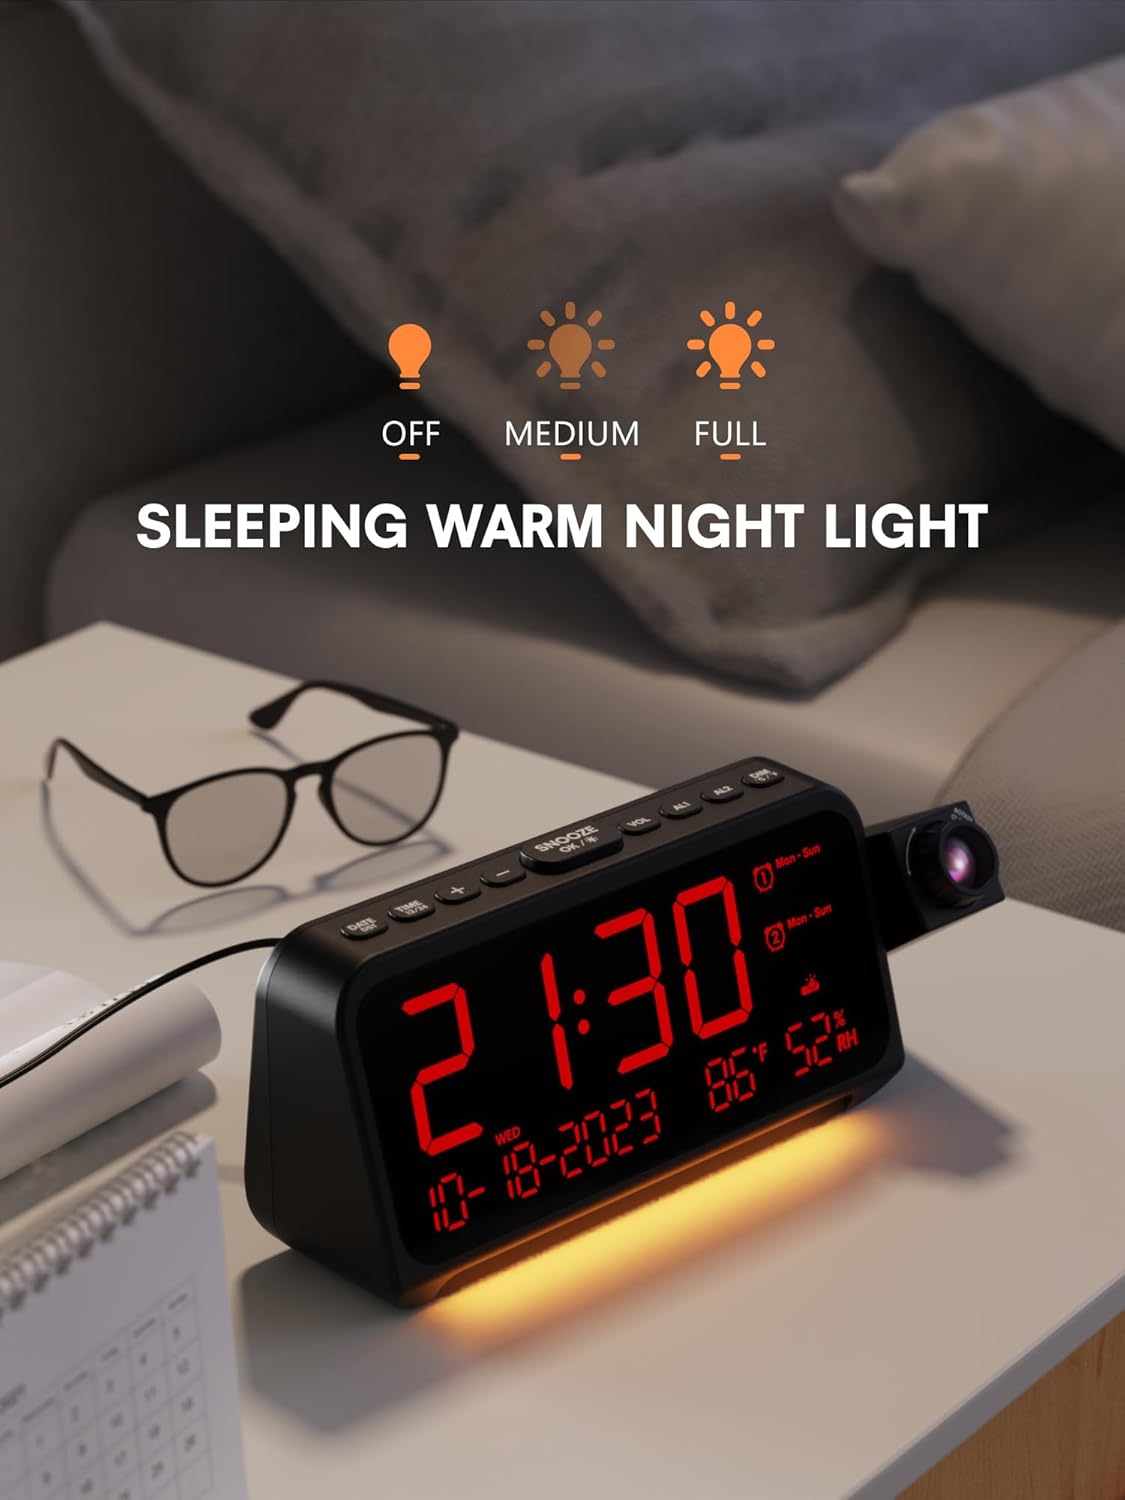
Figure 8: Night Light Function
The alarm clock is shown on a bedside table with its integrated night light emitting a soft glow. The display shows '21:30', and icons above indicate the night light's adjustable brightness settings: Off, Medium, and Full.
6. Temperature and Humidity Display
The clock continuously displays indoor temperature (℉/℃) and humidity.
- To switch between Fahrenheit (℉) and Celsius (℃), press the +/- button while in normal time display mode.
Maintenance
- Cleaning: Wipe the clock's surface with a soft, dry cloth. Do not use abrasive cleaners or solvents.
- Lens Care: Gently clean the projector lens with a soft, lint-free cloth to maintain clear projection.
- Storage: If storing for an extended period, disconnect the power adapter and keep the device in a cool, dry place.
Troubleshooting
| Problem | Possible Cause | Solution |
|---|---|---|
| Clock display is blank. | No power. | Ensure the power adapter is securely connected to the clock and a working power outlet. |
| Projection is blurry. | Focus not adjusted. | Rotate the FOCUS RING on the projector lens until the image is clear. Ensure optimal projection distance. |
| Alarm does not sound. | Alarm is not activated or volume is too low. | Check if the AL1/AL2 icon is displayed. Adjust alarm volume using the VOL button. |
| Time is incorrect. | Time not set correctly or DST setting is wrong. | Re-enter time setting mode and adjust the time, date, and DST settings. |
Specifications
- Brand: Mesqool
- Model: B0CHS1KY2W
- Display Type: Digital LED
- Power Source: Corded Electric (Type-C)
- Projection: 350° Swivel, 5 Brightness Levels, Adjustable Focus, 180° Flip
- Alarms: Dual Alarms, 4 Modes (Mon-Sun, Mon-Fri, Sat-Sun, One-time), 7 Volume Levels, 9-minute Snooze
- Display Dimmer: 5 Levels
- Night Light: Integrated, Adjustable Brightness
- Additional Features: Temperature (℉/℃), Humidity, 12/24H Format, DST
- Dimensions: Approximately 7.87 x 3.15 x 1.18 inches
- Material: Metal (Frame)
Warranty and Support
Mesqool products are designed for reliability and performance. For warranty information or technical support, please refer to the contact details provided with your purchase or visit the official Mesqool website. Please have your model number (B0CHS1KY2W) ready when contacting support.


