1. Introduction
The Philips MG7920/65 is a versatile all-in-one grooming tool designed for precision trimming of face, hair, body, and private parts. This manual provides essential information for safe and effective use, maintenance, and troubleshooting of your trimmer.

Image 1.1: Philips MG7920/65 All-in-One Trimmer and its retail packaging.
2. Important Safety Information
WARNING:
- Keep the appliance out of reach of children.
- Do not use the appliance if it is damaged.
- Ensure the charging cable is not damaged before use.
- This appliance is suitable for cleaning under running tap water.
- Only use the appliance for its intended purpose as described in this manual.
3. Package Contents
Your Philips MG7920/65 All-in-One Trimmer package includes the following items:
- Steel Trimmer
- Nose and Ear Trimmer
- Body Shaver with Skin Protector
- Steel Precision Trimmer
- Precision Trimming Comb (1-3mm)
- 3 Beard Combs (0.5-16mm)
- 3 Hair Combs (0.5-16mm)
- 1 Body Comb (5mm)
- Soft Pouch
- Cleaning Brush
- Charging Cable

Image 3.1: Overview of the 13-in-1 grooming kit components.
4. Key Product Features
- 13-in-1 Versatility: Comprehensive kit for face, hair, body, nose, and ear grooming.
- BeardSense Technology: Scans beard density 125 times per second and adjusts motor power for consistent trimming, even on dense beards.
- Patented Twin Trim Blades: Designed for an even trim and sharp finish.
- Self-Sharpening Steel Blades: Blades remain sharp over time, ensuring consistent performance without the need for oiling.
- 100% Waterproof: Allows for convenient wet or dry use and easy cleaning under running water.
- Ergonomic Rubber Grip: Provides superior comfort and control during use.

Image 4.1: Visual representation of BeardSense Technology adapting to beard density.

Image 4.2: Detail of the self-sharpening steel blades.
5. Charging and Battery
5.1 Initial Charge
Before first use, fully charge the trimmer for approximately 60 minutes. A full charge provides up to 120 minutes of cordless runtime.
5.2 Quick Charge Function
A 5-minute quick charge provides enough power for one full trim session.
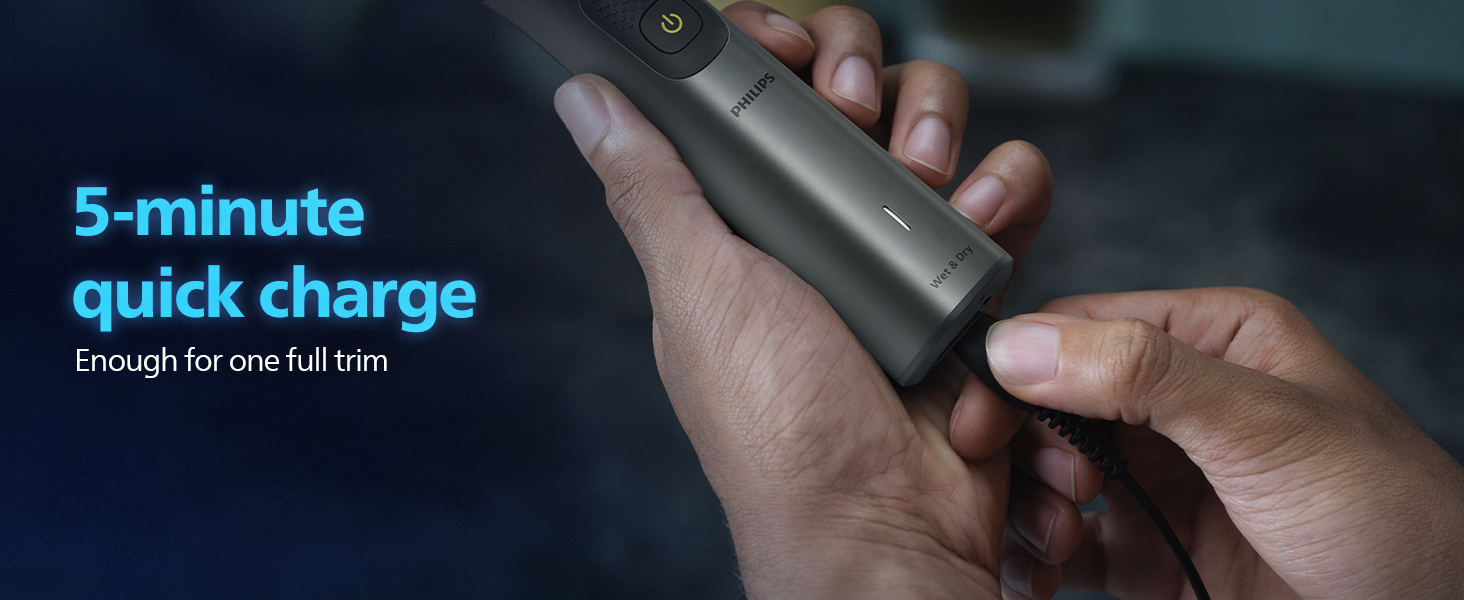
Image 5.1: Connecting the charging cable to the trimmer.
5.3 Battery Indicator
The trimmer features a battery indicator light that shows the charging status and remaining battery level.

Image 5.2: The battery indicator light on the trimmer.
6. Assembly and Attachment
6.1 Attaching Trimming Combs and Heads
- Ensure the trimmer is switched off.
- Align the desired trimming comb or attachment head with the trimmer blade.
- Press firmly until it clicks into place.
6.2 Detaching Trimming Combs and Heads
- Ensure the trimmer is switched off.
- Gently pull the comb or attachment head upwards and away from the blade.
7. Operating Instructions
7.1 General Trimming Tips
- Always start with a longer length setting if you are unsure.
- Move the trimmer against the direction of hair growth for best results.
- Use slow, controlled movements.
7.2 Trimming Facial Hair (Beard & Moustache)
- Attach a beard comb or the precision trimming comb.
- Adjust the length setting on the precision comb as desired (0.5mm to 16mm).
- Trim your beard and moustache, moving the trimmer in smooth strokes.
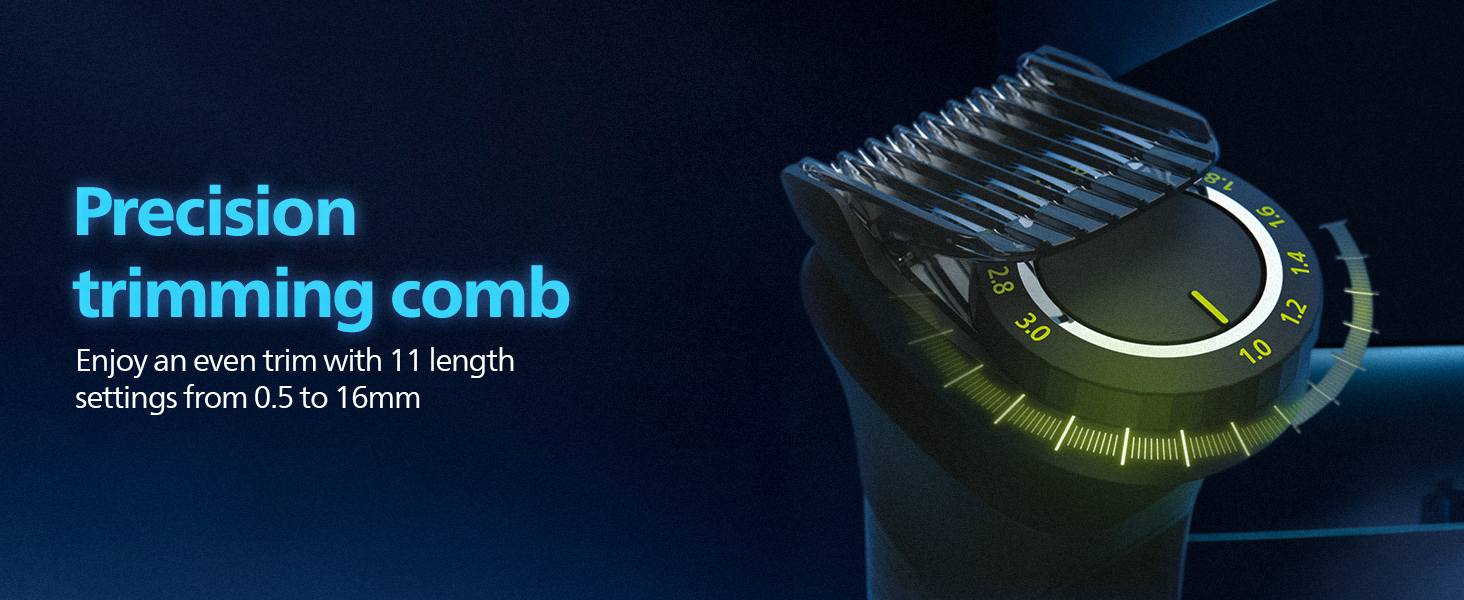
Image 7.1: The precision trimming comb with adjustable length settings.
7.3 Body Grooming
- Attach the body shaver with skin protector or the body comb (5mm).
- Use for trimming hair on the chest, legs, and private parts.
- For sensitive areas, use the body shaver with skin protector for a comfortable trim.

Image 7.2: Demonstrating the trimmer's use for various body areas.
7.4 Nose and Ear Trimming
- Attach the nose and ear trimmer head.
- Gently insert the trimmer into your nostril or ear canal.
- Move it in a circular motion to trim unwanted hair.
8. Cleaning and Maintenance
8.1 Cleaning the Trimmer
- Switch off the trimmer and disconnect it from the power outlet.
- Remove any attached combs or heads.
- Rinse the trimmer head and combs under running tap water. The trimmer body is 100% waterproof and can also be rinsed.
- Use the provided cleaning brush to remove any stubborn hair particles from the blades.
- Allow all parts to air dry completely before reassembling or storing.
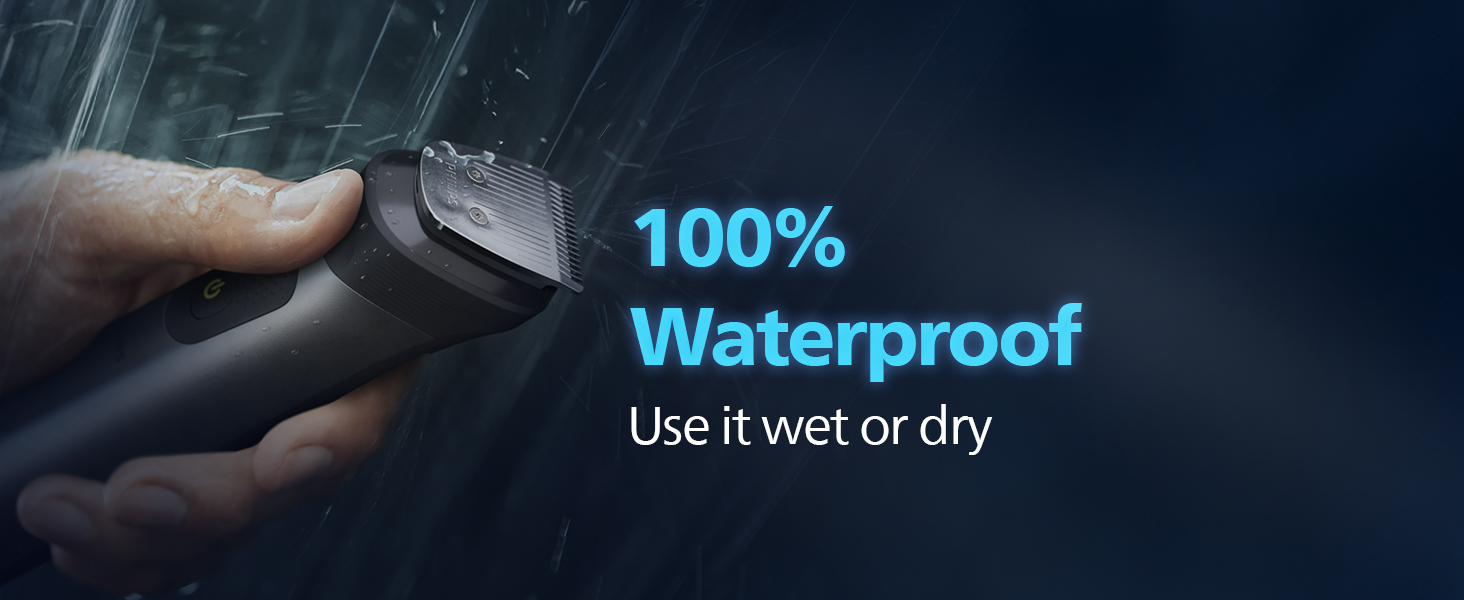
Image 8.1: The trimmer is 100% waterproof for easy cleaning.
8.2 Blade Maintenance
The Philips MG7920/65 features self-sharpening blades that do not require oiling. Regular cleaning is sufficient to maintain optimal performance.
9. Troubleshooting
| Problem | Possible Cause | Solution |
|---|---|---|
| Trimmer does not turn on. | Battery is depleted. | Charge the trimmer for at least 5 minutes for a quick trim, or 60 minutes for a full charge. |
| Trimmer pulls hair or cuts unevenly. | Blades are clogged with hair or attachment is not properly secured. | Clean the trimmer head and blades thoroughly. Ensure the attachment is securely clicked into place. Move the trimmer against the direction of hair growth. |
| Trimmer makes unusual noise. | Foreign object caught in blades or internal issue. | Switch off and clean the trimmer. If the noise persists, contact Philips customer support. |
10. Specifications
| Feature | Detail |
|---|---|
| Model Number | MG7920/65 |
| Power Source | Battery Powered |
| Battery Type | Rechargeable |
| Runtime | Up to 120 minutes |
| Quick Charge | 5 minutes for one full trim |
| Blade Material | Stainless Steel |
| Waterproof | Yes, 100% waterproof |
| Dimensions (LxWxH) | 7 x 16 x 23 cm |
| Item Weight | 274 g |
| Country of Origin | Indonesia |
11. Warranty and Support
11.1 Warranty Information
The Philips MG7920/65 Trimmer comes with a 2-year worldwide warranty, with an additional 1-year warranty upon registering the product on the official Philips website. Please retain your proof of purchase for warranty claims.
11.2 Customer Support
For any product-related queries, assistance, or warranty claims, please contact Philips Customer Care:
- Customer Care Number: 18001022929
- WhatsApp Number: 9311855819


