
Introduction
This manual provides detailed instructions for the safe installation, operation, and maintenance of your POCHFAN 52-inch Black Ceiling Fan with integrated lights and remote control. Please read this manual thoroughly before installation and retain it for future reference. Proper installation and use are essential for optimal performance and safety.
Safety Information
WARNING: To reduce the risk of fire, electric shock, or personal injury, always follow these instructions:
- Always disconnect power at the main circuit breaker or fuse box before beginning installation or performing any maintenance.
- Consult a qualified electrician if you are unsure about wiring procedures.
- Ensure the mounting structure (outlet box) is securely attached to the building structure and can support a minimum of 35 lbs (15.9 kg). Use only UL/ETL listed outlet boxes marked "Acceptable for Fan Support of 35 lbs (15.9 kg) or less."
- Install the fan with the blades at least 7 feet (2.1 meters) from the floor.
- Do not operate the fan with damaged blades or any other damaged components.
- Avoid placing objects in the path of the fan blades.
- This fan is designed for indoor use only. Do not install in damp or wet locations.
Package Contents
Carefully unpack your fan and check the contents. You should have the following items:
- Ceiling Fan Motor Assembly
- Fan Blades (5)
- Light Kit with Integrated LED
- Remote Control and Receiver
- Down Rod (for downrod mount)
- Mounting Bracket
- Hardware Pack (screws, washers, wire nuts)
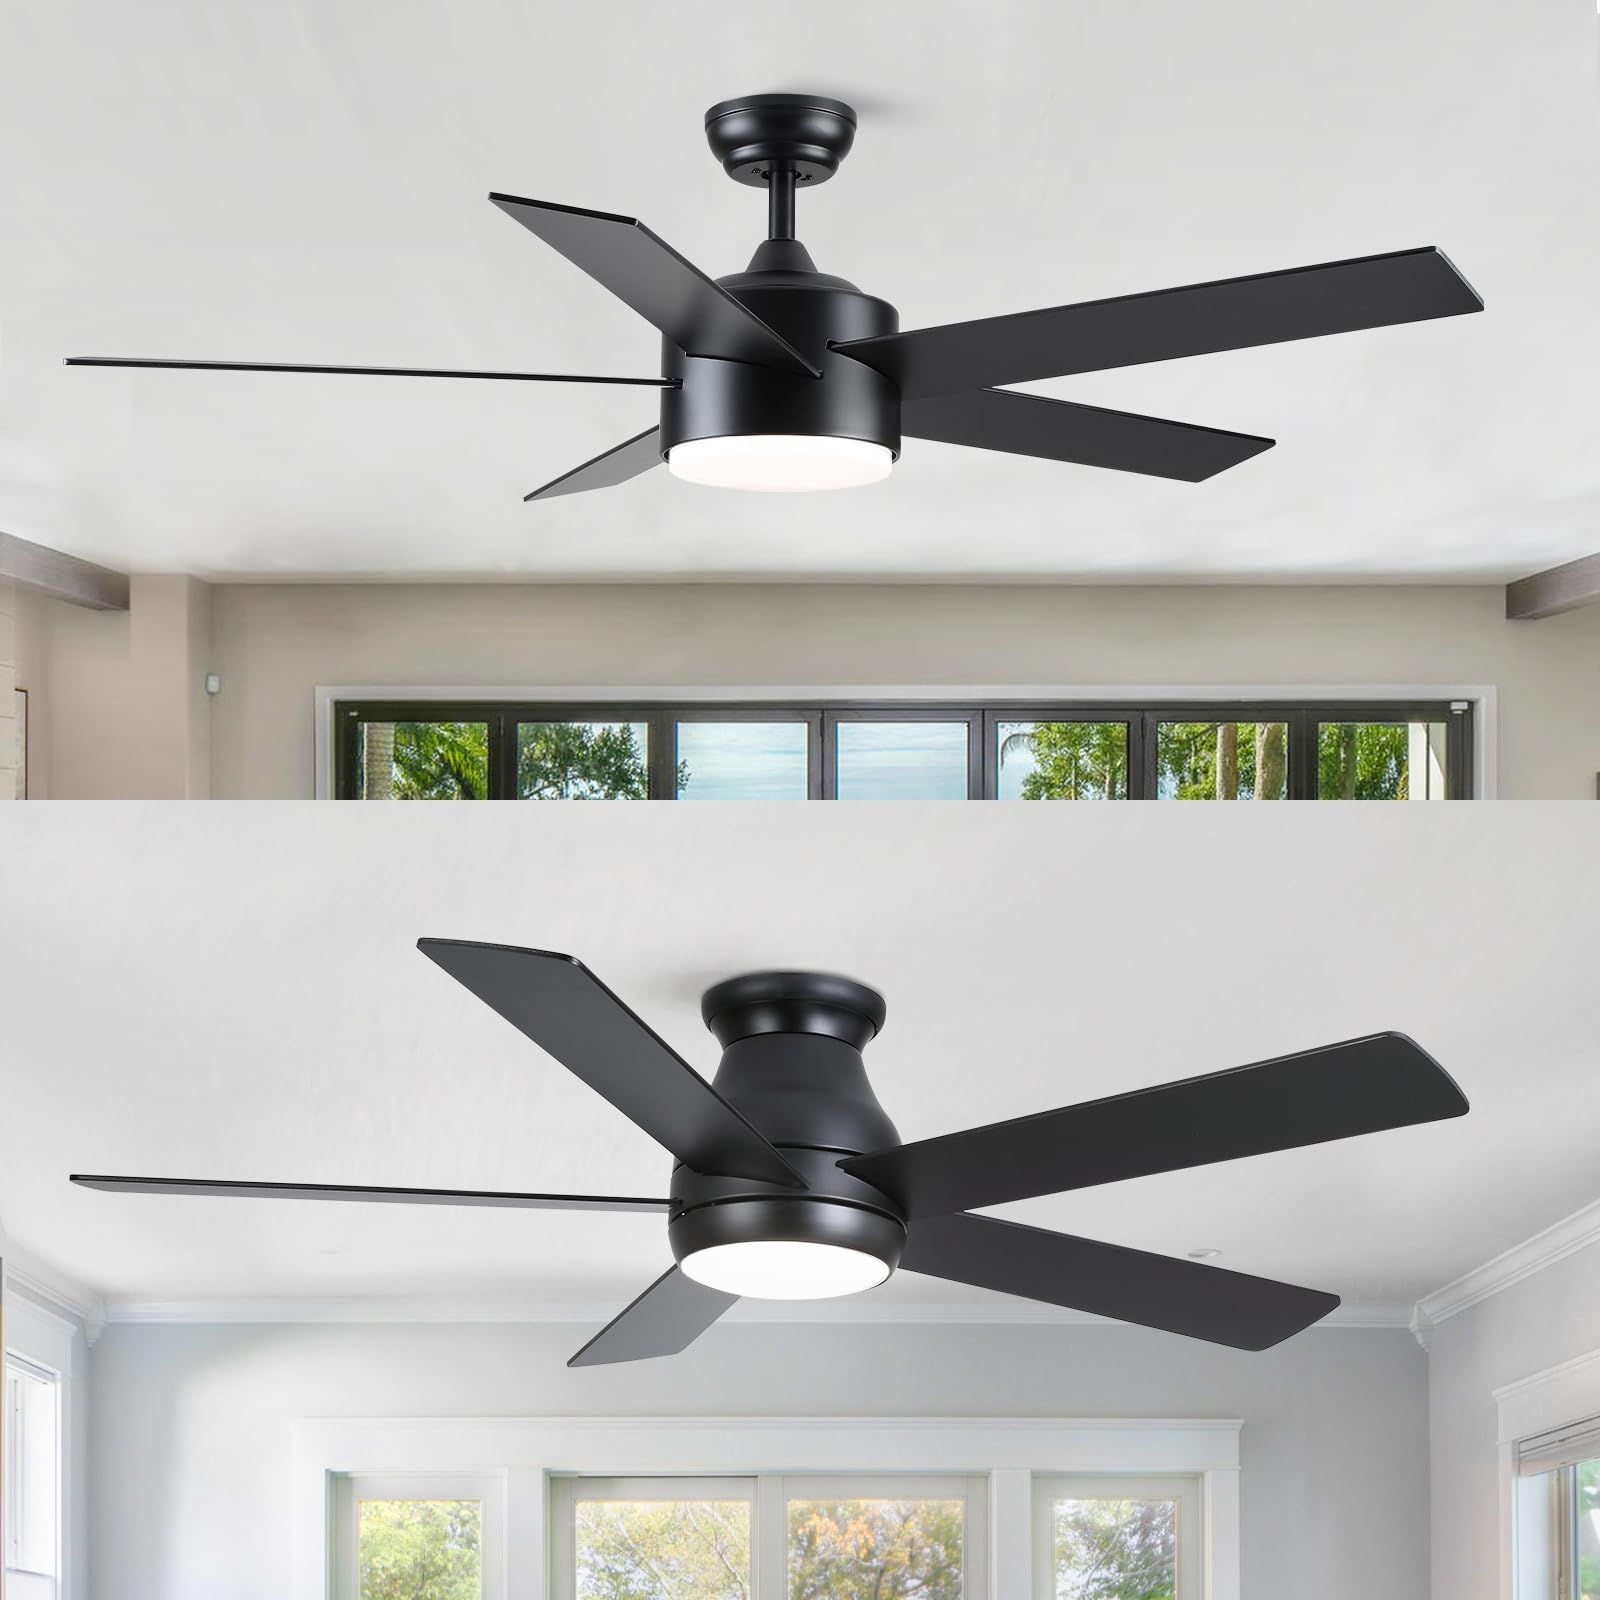
Image: The POCHFAN 52-inch Black Ceiling Fan installed in a living room, bedroom, and kitchen, showcasing its versatile design.
Setup and Installation
Before starting, ensure all components are present and you have the necessary tools (screwdriver, wire strippers, ladder, etc.).
1. Secure the Mounting Bracket
- Turn off power at the circuit breaker.
- Attach the mounting bracket to the ceiling outlet box using the screws provided with the outlet box. Ensure it is securely fastened.
2. Assemble the Fan (Down Rod or Flush Mount)
This fan supports both down rod and flush mount installations. Choose the method suitable for your ceiling height.
- Down Rod Mount: Insert the down rod through the canopy and motor housing. Feed the motor wires through the down rod. Secure the down rod to the motor assembly with the provided pin and screw.
- Flush Mount: Remove the down rod and canopy if pre-assembled. Attach the canopy directly to the motor housing according to the instructions for flush mounting.
3. Wiring the Fan
- Carefully lift the fan assembly and hang it on the mounting bracket hook (if available) or have an assistant hold it.
- Connect the remote receiver wires to the fan motor wires and house wires using the wire nuts. Follow the color-coded diagram provided in the separate wiring diagram sheet (not included in this general manual). Typically: Black to Black (Live), White to White (Neutral), Green/Bare Copper to Green/Bare Copper (Ground).
- Insert the remote receiver into the mounting bracket.
4. Attaching Fan Blades
- Attach each of the five fan blades to the motor housing using the screws and washers provided. Ensure all screws are tightened securely.
5. Installing the Light Kit
- Connect the light kit wires to the corresponding wires from the fan motor assembly.
- Secure the light kit to the bottom of the fan motor housing. The integrated LED light does not require bulb installation.

Image: A detailed diagram illustrating the 52-inch fan's dimensions (10.8 inches height, 7.4 inches body width), and close-ups of the acrylic shade, quiet motor, and integrated LED light components.
Operating Instructions
Your POCHFAN ceiling fan is operated by the included remote control. Ensure the remote has batteries installed (not included, typically 2x AAA).
Remote Control Functions:
- Fan ON/OFF: Press the fan button to turn the fan on or off.
- Fan Speed Control: Use the speed buttons (e.g., 1-6 or +/-) to adjust the fan speed.
- Light ON/OFF: Press the light button to turn the integrated LED light on or off.
- Light Dimming: Hold the light button or use dedicated dimming buttons (if present) to adjust the brightness (20%-100% smooth dimmable).
- Color Temperature Selection: Press the color temperature button (often labeled 'CCT' or a light bulb icon) to cycle through Warm Light (3000K), Natural Light (4000K), and Cold White Light (6500K).
- Reversible Fan Direction: Press the reverse button (often depicted with arrows) to change the blade rotation direction. This allows for updraft mode (winter) to enhance air circulation or downdraft mode (summer) for a cooling effect.
- Timer Setting: Use the timer buttons (1H/3H/6H) to set the fan to automatically turn off after the selected duration.

Image: An illustration demonstrating the fan's 20%-100% smooth dimmable light feature and the three selectable color temperatures (Warm Light 3000K, Natural Light 4000K, Cold White Light 6500K), controlled by the remote.

Image: A visual guide explaining the reversible function, showing updraft mode for winter to enhance air circulation and downdraft mode for summer to provide a cooling breeze.
Maintenance
Regular maintenance helps prolong the life and performance of your ceiling fan.
- Cleaning: Periodically clean the fan blades and motor housing with a soft, damp cloth. Do not use abrasive cleaners or solvents. Ensure power is off before cleaning.
- Tightening Screws: Check all screws on the fan blades and mounting hardware annually to ensure they are secure. Loose screws can cause wobbling or noise.
- Remote Control Battery: Replace the remote control batteries when the remote's range decreases or it stops responding. Typically uses 2x AAA batteries.
- LED Light: The integrated LED light is designed for long life and does not require bulb replacement.

Image: Features of the fan including its energy-efficient design, quiet operation with a motor producing less than 30db, and convenient timer settings for 1, 3, or 6 hours.
Troubleshooting
If you experience issues with your fan, refer to the following common problems and solutions:
| Problem | Possible Cause | Solution |
|---|---|---|
| Fan does not start | No power to the fan; Loose wire connections; Remote control not paired or batteries dead. | Check circuit breaker; Ensure all wire connections are secure; Replace remote batteries or re-pair remote. |
| Light does not work | Loose wire connection to light kit; Faulty light kit. | Check light kit wiring; Contact customer support if light kit is faulty. |
| Fan wobbles | Loose blade screws; Unbalanced blades; Loose mounting bracket. | Tighten all blade screws; Use a balancing kit (not included) if needed; Ensure mounting bracket is secure. |
| Noisy operation | Loose screws; Motor housing rubbing; Incorrect installation. | Check and tighten all screws; Ensure no parts are rubbing; Re-check installation steps. |
| Remote not responding | Dead batteries; Remote not paired with receiver; Obstruction between remote and receiver. | Replace batteries; Follow pairing instructions (if applicable); Ensure clear line of sight. |
Specifications
| Feature | Detail |
|---|---|
| Brand | POCHFAN |
| Model | 52 inch Black Ceiling Fan |
| Size | 52 inches |
| Color | Black |
| Light Source | Integrated LED, 24W |
| Brightness | 2000 lumens |
| Dimmable | Yes (20%-100% smooth dimmable) |
| Color Temperature | 3000K (Warm), 4000K (Natural), 6500K (Cold White) |
| Control Method | Remote Control |
| Motor Type | Quiet Motor (less than 30db) |
| Mounting Type | Downrod Mount, Flush Mount |
| Power Source | Hardwired |
| Indoor/Outdoor Usage | Indoor |
| Efficiency | 83.33 lumens per watt |
| Included Components | Remote Control |
| Water Resistance Level | Not Water Resistant |
Warranty and Support
This POCHFAN ceiling fan comes with a Limited Warranty. For specific details regarding the warranty period and coverage, please refer to the warranty card included in your product packaging or contact POCHFAN customer support.
If you require technical assistance, have questions about installation, or need to report a missing or damaged part, please contact POCHFAN customer service through the retailer where the product was purchased or visit the official POCHFAN website for support contact information.


