Introduction
This manual provides essential information for the proper use and maintenance of SINGER Class 15J Transparent Bobbins. These bobbins are designed for specific SINGER sewing and embroidery machines to ensure optimal performance and stitch quality. Please read this manual thoroughly before use.

Image: Two packs of SINGER Class 15J Transparent Bobbins, each containing three bobbins.
Product Overview
SINGER Class 15J bobbins are transparent plastic bobbins specifically designed for compatibility with various SINGER sewing and embroidery machines. Their transparent nature allows for easy monitoring of thread supply.
Key Features:
- Material: Durable transparent plastic.
- Compatibility: Specifically designed for SINGER Futura Embroidery Machines series 2600s, 3900s, 7400s, 8700s, and Izek 1500. Also compatible with Touch & Sew, Companion, and Confidence machines.
- Quantity: Typically sold in packs of three.
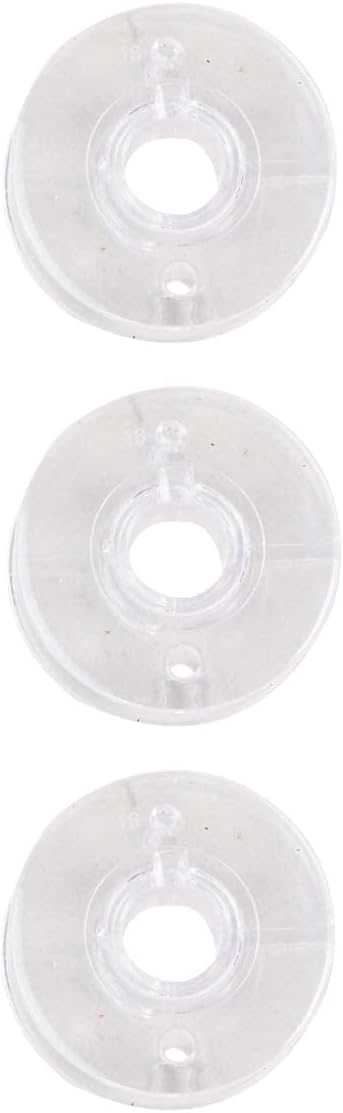
Image: A close-up view of three individual SINGER Class 15J transparent bobbins.
Setup
Winding the Bobbin:
- Place the desired thread spool onto the spool pin of your sewing machine.
- Follow your sewing machine's specific threading path for bobbin winding. This usually involves guiding the thread through a tension disc and then to the bobbin winding spindle.
- Place an empty SINGER Class 15J bobbin onto the bobbin winding spindle. Ensure it is seated correctly.
- Wrap the thread around the bobbin a few times clockwise to secure it.
- Engage the bobbin winding mechanism (refer to your sewing machine's manual for exact steps).
- Start the machine to begin winding. The bobbin will fill evenly.
- Once the bobbin is full, stop the machine, cut the thread, and remove the wound bobbin.
Important: Never add sewing thread to a partially wound bobbin. This can lead to uneven winding, which may cause thread tangling or breakage during sewing.

Image: Multiple SINGER Class 15J bobbins, some stacked, demonstrating their transparent design.
Operating
Inserting the Bobbin:
- Ensure your sewing machine is turned off and unplugged for safety.
- Open the bobbin case area of your sewing machine. This location varies by machine model (e.g., front-loading, top-loading). Refer to your sewing machine's manual for precise instructions.
- Insert the wound SINGER Class 15J bobbin into the bobbin case or bobbin holder. Ensure the thread unwinds in the correct direction as indicated by your machine's markings (usually clockwise or counter-clockwise).
- Guide the bobbin thread through the tension spring or slot in the bobbin case/holder. This is crucial for proper stitch formation.
- Close the bobbin case cover securely.
- Pull the bobbin thread up through the needle plate opening (if applicable) by turning the handwheel to lower and raise the needle, catching the bobbin thread loop.
Note: Always use genuine SINGER 15-J Bobbins with compatible SINGER machines to ensure proper function and prevent damage to your machine.

Image: A side view of two SINGER Class 15J bobbins, highlighting their clear plastic construction.
Maintenance
- Cleaning: Periodically inspect bobbins for any lint, dust, or thread residue. Clean them gently with a soft cloth or small brush.
- Storage: Store bobbins in a clean, dry place, preferably in a bobbin box or organizer to prevent tangling and protect them from damage.
- Inspection: Before each use, quickly inspect bobbins for any cracks, deformities, or rough edges that could snag thread or affect machine performance. Discard any damaged bobbins.
Troubleshooting
| Problem | Possible Cause | Solution |
|---|---|---|
| Thread tangles or breaks during sewing. |
|
|
| Stitches are uneven or skipped. |
|
|
Specifications
- Model Number: 06542
- Type: Class 15J Bobbins
- Material: Transparent Plastic
- Product Dimensions: Approximately 0.51 x 1.88 x 6 inches (packaging dimensions)
- Item Weight: Approximately 0.32 ounces
- Manufacturer: Dyno Merchandise (for SINGER)
Warranty and Support
For specific warranty information regarding SINGER Class 15J Bobbins, please refer to the packaging or contact SINGER customer support directly. As these are consumable accessories, warranty terms may vary.
For further assistance or inquiries, please visit the official SINGER website or contact their customer service department. Contact details are typically available on the product packaging or the SINGER brand website.
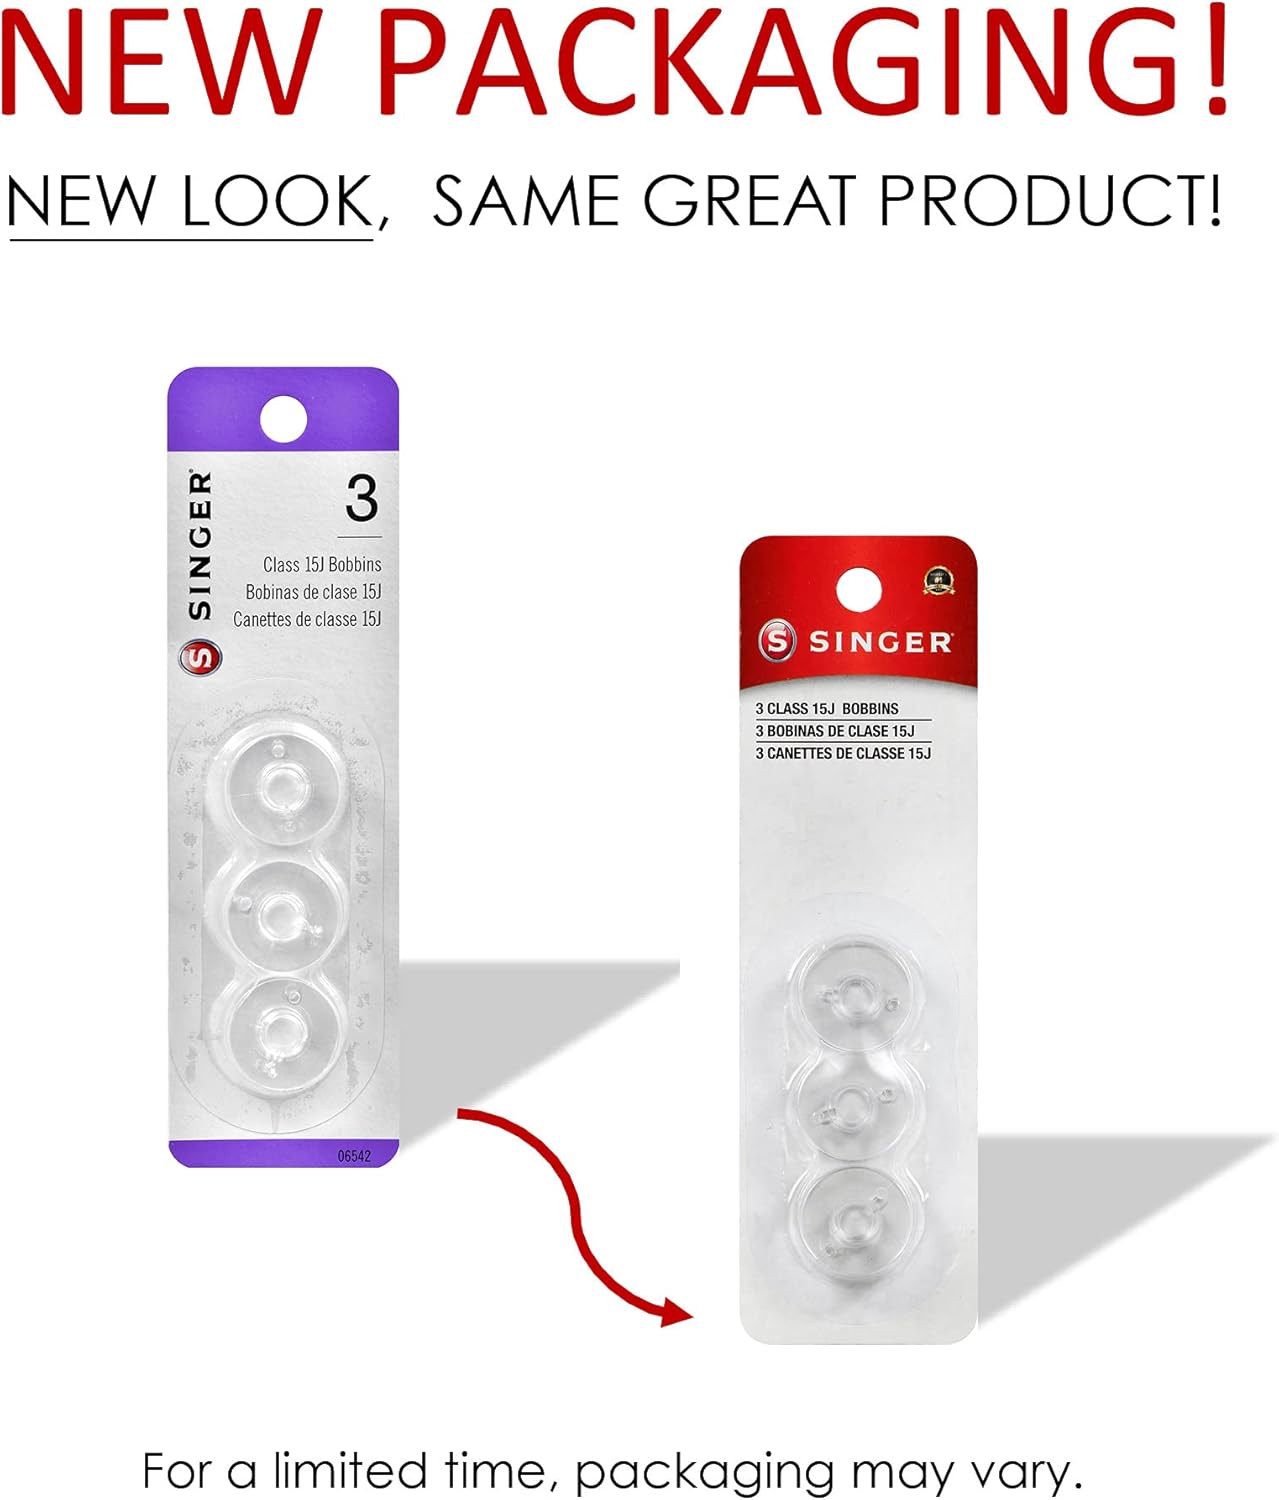
Image: Comparison of old and new packaging designs for SINGER Class 15J bobbins. Packaging may vary.


