1. Introduction
The GILOBABY Robot Toy is a versatile and engaging remote-controlled robot designed for children aged 3 years and up. It features a unique two-part design with a robot upper body and tank-like tracks for dynamic movement. Equipped with LED eyes, flexible head and arms, and various interactive functions including music, dance, and programming, this robot provides hours of entertainment while aiding in skill development.
This manual provides detailed instructions for setting up, operating, maintaining, and troubleshooting your GILOBABY Robot Toy to ensure a safe and enjoyable experience.
2. What's in the Box
- 1 x GILOBABY Robot Toy
- 1 x 2.4 GHz Remote Controller
- 1 x USB Charging Cable
- 1 x Instruction Manual (this document)

Figure 2.1: GILOBABY Robot Toy and Remote Control.
3. Setup
3.1 Remote Controller Battery Installation
The remote controller requires 2 AA batteries (not included).
- Locate the battery compartment on the back of the remote controller.
- Use a small screwdriver to open the battery cover.
- Insert 2 AA batteries, ensuring correct polarity (+/-).
- Replace the battery cover and secure it with the screw.

Figure 3.1: Remote Control showing battery compartment (bottom view).
3.2 Robot Charging
The robot toy has a built-in rechargeable battery. Use the provided USB charging cable.
- Ensure the robot's power switch is in the OFF position before charging. The power switch is located on the back of the robot, next to the charging port.
- Connect the small end of the USB charging cable (Type-C) to the charging port on the back of the robot.
- Connect the larger USB end of the cable to a standard USB power adapter (e.g., phone charger, computer USB port, power bank).
- The charging indicator light on the USB cable will turn RED during charging.
- Once fully charged (approximately 40 minutes), the indicator light will turn OFF.
- Disconnect the charging cable from both the robot and the power source.
A full charge provides approximately 1 hour of continuous play.

Figure 3.2: Robot showing USB charging port.
4. Operating Instructions
4.1 Power On/Off
- To power on the robot, slide the power switch on its back to the ON position. The robot's LED eyes will light up.
- To power on the remote controller, press the central ON/OFF button. The indicator lights on the remote will illuminate.
- To power off both devices, slide the robot's power switch to OFF and press the remote's ON/OFF button.
4.2 Basic Movement
Use the directional buttons on the remote controller to control the robot's movement:
- Forward (↑): Moves the robot straight forward.
- Backward (↓): Moves the robot straight backward.
- Left (←): Turns the robot left.
- Right (→): Turns the robot right.
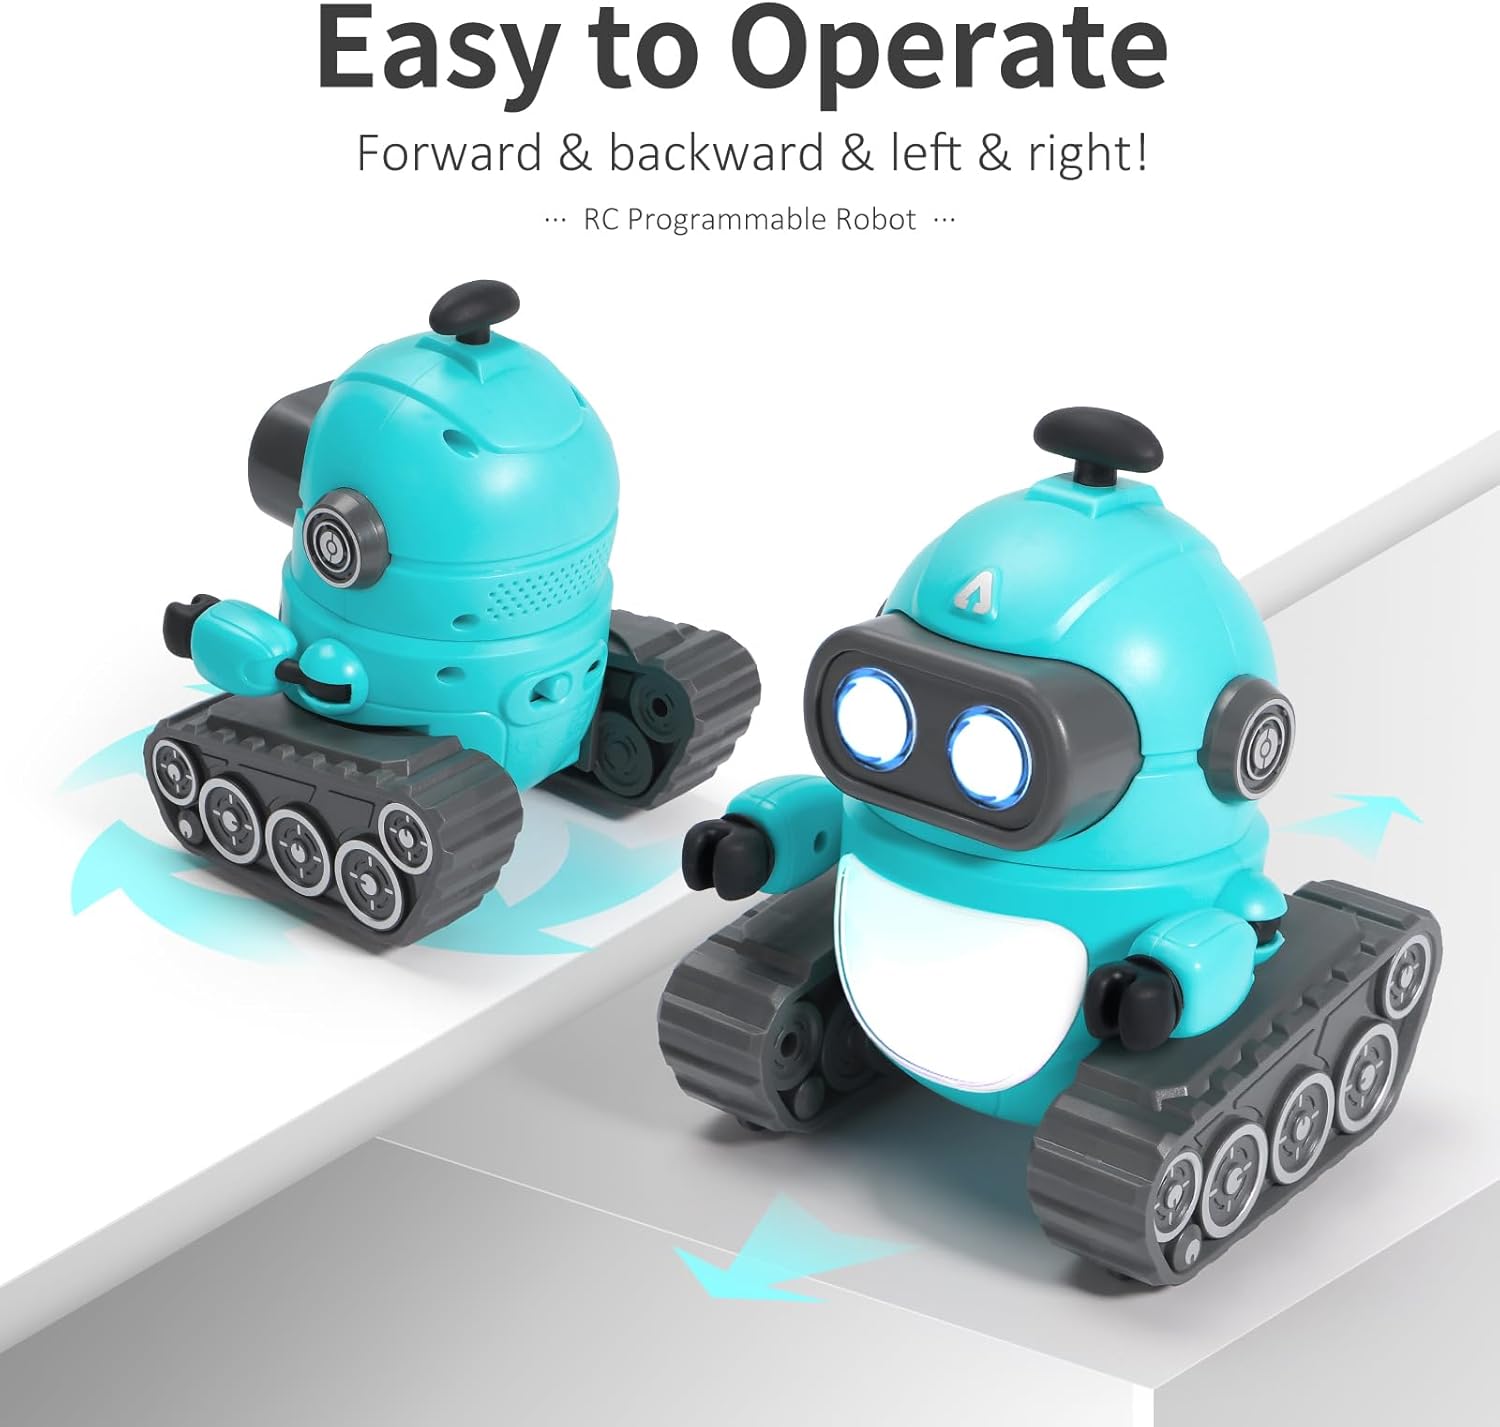
Figure 4.1: Robot demonstrating forward and backward movement.
4.3 Lights and Sounds
- Lights Button: Press the "LIGHTS" button on the remote to cycle through different LED eye colors and chest light patterns.
- Sound Button: Press the "SOUND" button to activate various robot sounds and music. Keep pressing to cycle through different sound effects and songs.

Figure 4.2: Robot displaying various colorful lights.
4.4 Dance Mode
Press the "DANCE" button on the remote controller to make the robot perform pre-programmed dance moves with accompanying music.

Figure 4.3: Robot performing a song and dance routine.
4.5 Programming Function
The robot can be programmed to perform a sequence of actions.
- Press and hold the "PROGRAM" button on the remote controller until the remote beeps. This indicates programming mode is active.
- Input your desired sequence of movements (Forward, Backward, Left, Right), sounds, or lights by pressing the corresponding buttons on the remote.
- Press and hold the "PROGRAM" button again until the remote beeps a second time. This saves the programmed sequence.
- To execute the programmed sequence, simply press the "PROGRAM" button once.

Figure 4.4: Robot executing a programmed sequence.
4.6 Official Product Videos
Video 4.1: Demonstration of the GILOBABY Robot's dancing and programmable features.
Video 4.2: Overview of the GILOBABY RC Robot Toy for Kids, highlighting key features.
5. Maintenance
- Cleaning: Wipe the robot and remote controller with a soft, dry cloth. Do not use water or cleaning solutions, as this may damage electronic components.
- Storage: When not in use for extended periods, turn off both the robot and the remote controller. Store them in a cool, dry place away from direct sunlight.
- Battery Care: Remove batteries from the remote controller if it will not be used for a long time to prevent leakage. Ensure the robot is fully charged before long-term storage to maintain battery health.
6. Troubleshooting
| Problem | Possible Cause | Solution |
|---|---|---|
| Robot does not respond. | Low battery in robot or remote; not powered on; out of range. | Charge robot; replace remote batteries; ensure both are powered on; bring remote closer to robot. |
| Robot moves slowly or erratically. | Low battery in robot. | Recharge the robot's battery. |
| Lights or sounds not working. | Low battery; function not activated. | Recharge robot/replace remote batteries; press the respective "LIGHTS" or "SOUND" button. |
| Programming not working. | Incorrect programming sequence; programming mode not entered/exited correctly. | Ensure "PROGRAM" button is held for 2 seconds to enter/exit programming mode; re-enter sequence carefully. |
7. Specifications
- Model: AG-R01
- Product Dimensions: 5.91 x 5.12 x 5.91 inches
- Item Weight: 11.2 ounces
- Control Frequency: 2.4 GHz
- Robot Battery: Rechargeable (USB-C charging)
- Remote Battery: 2 x AA batteries (not included)
- Recommended Age: 3 years and up
- Material: Child-friendly ABS material, BPA free
- Country of Origin: China
8. Safety Information
- Not suitable for children under 3 years old due to small parts.
- Adult supervision is recommended during play.
- Do not operate the robot near stairs, furniture, or other obstacles that could cause damage or injury.
- Do not disassemble or modify the robot or remote controller.
- Use only the provided charging cable for the robot.
- Do not mix old and new batteries, or different types of batteries in the remote controller.
- Dispose of batteries responsibly according to local regulations.
9. Warranty and Support
For warranty information or technical support, please contact GILOBABY customer service through the retailer where the product was purchased or visit the official GILOBABY website.
GILOBABY Store: Visit the GILOBABY Store on Amazon


